OTIS' DINOSAUR THEMED TODDLER BEDROOM WITH DIVINE SAVAGES

OTIS DINOSAUR BEDROOM

It’s already September and we’re almost close to the one year anniversary of us buying our beloved rat house (We bought it in October 2019!). Time is flying and I thought it’s about time that I showed you some more of my plans, so today I’m sharing my plans for Otis’ new toddler bedroom, especially since we’re so close to finally moving in… hurrah!

You might remember Otis’ last bedroom? It was a jungle themed nursery, with a striking banana leaf design wallpaper set above white wooden panelling. You can see it here, in a previous blog post.

As much as I loved his last bedroom at our old house, this time around I’ve got bigger, better and more original plans. Because, let’s face it, everyone seems to have a jungle bedroom these days for their kids and it’s time to create something fresh and exciting.

My plans for Otis’ new toddler bedroom involve creating a space which is a calm yet creative, but not over stimulating, and one which also won’t date and look too ‘baby-ish’, too quickly. I want this room to evolve with him- including the furniture.

So about the wallpaper… One of Otis’ favourite themes is ‘DINOSAURS’ , so I thought lets’ give him what he wants and find the perfect Dinosaur wallpaper.

Whilst researching Dinosaur wallpapers- and I did A LOT of research, all I could find we’re block prints in primary colours with bright garish green and red dinosaur prints. Everything looked very ‘baby-like’ and nothing had the feeling of looking like a classic timeless little childs wallpaper, well until I spotted this one.

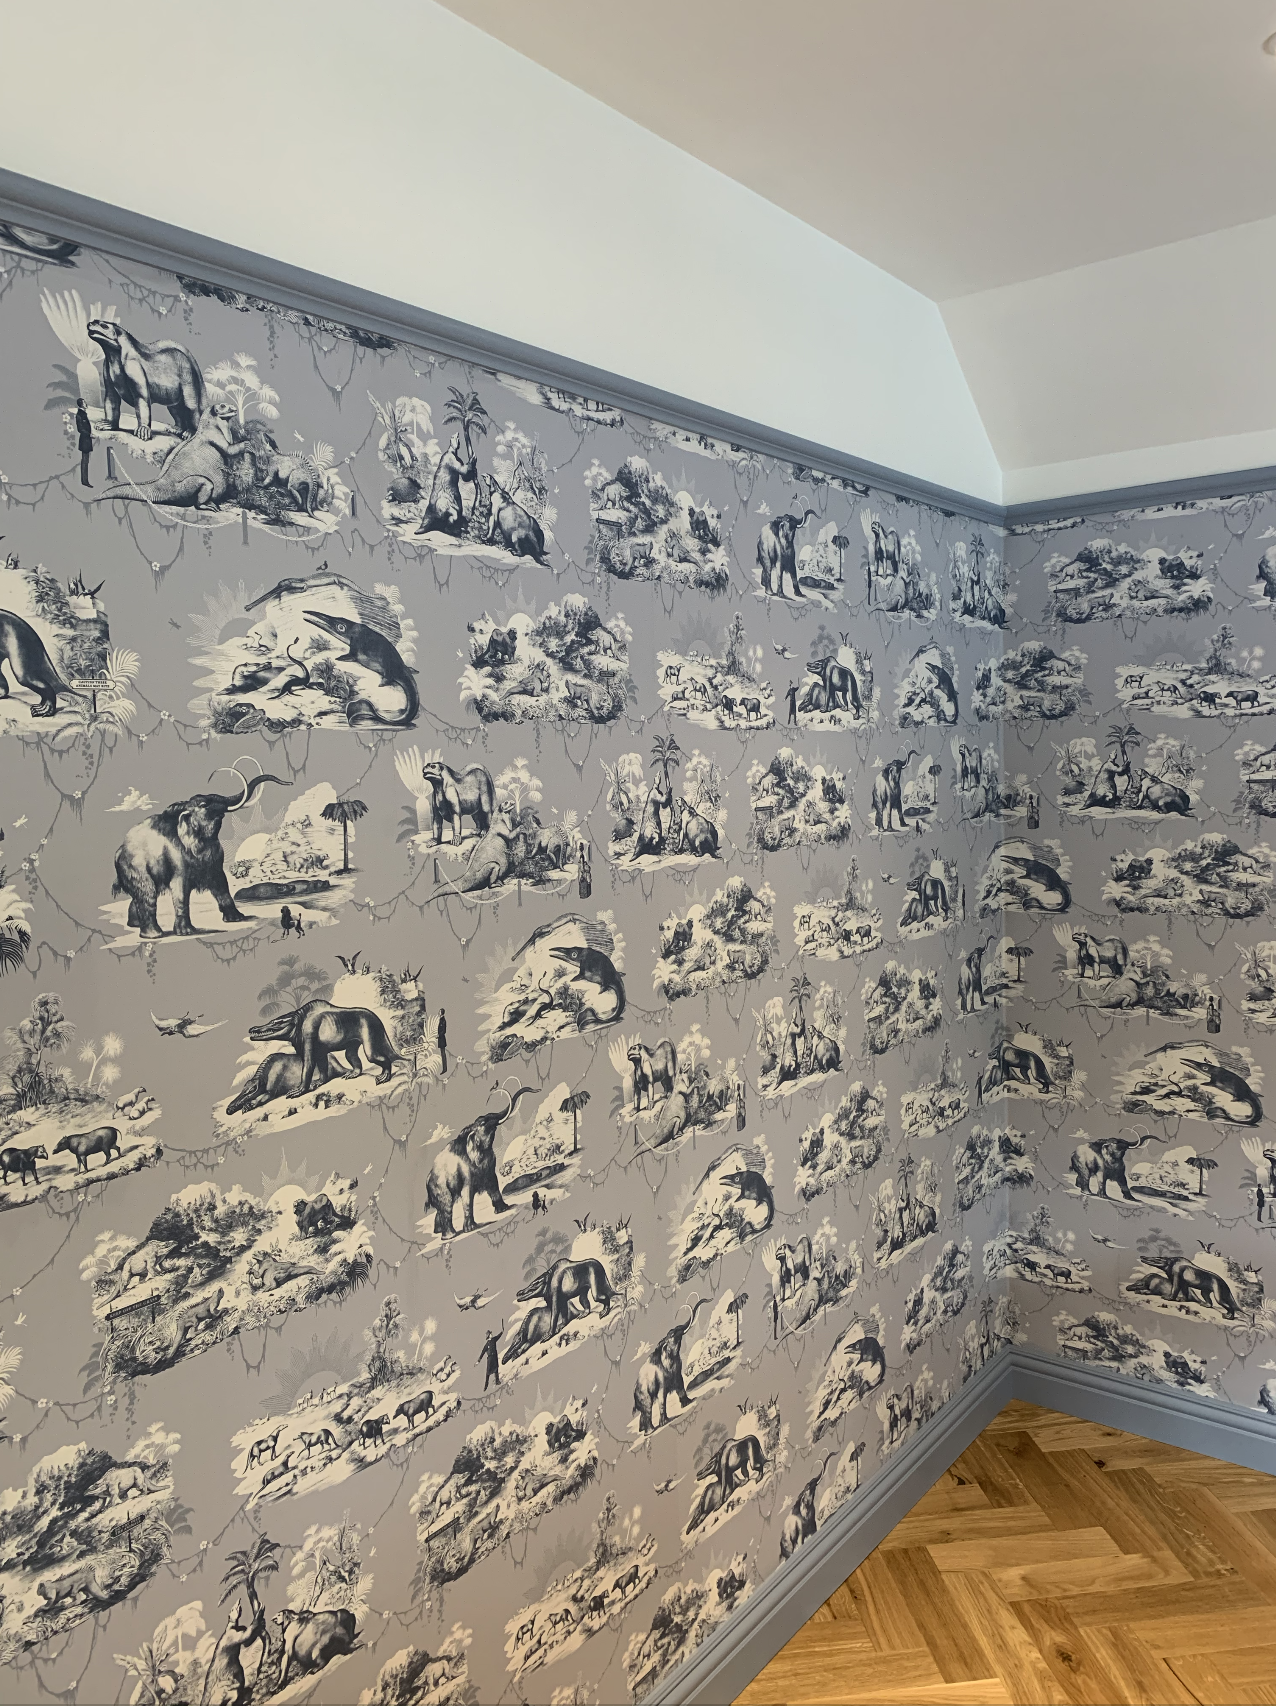
Having been a huge fan of Divine Savages since they launched a few years back (we had their fabulous Deco Martini Wallpaper in our last hallway) - see here in a previous post, I kept coming back to their ‘Extinctopia’ wallpaper in the glacier blue.

I love how this print was inspired by Benjamin Waterhouse Hawkin’s elaborate Victorian theme park at Crystal Palace which featured a plethora of prehistoric beasts as they skulk in the bushes and frolic in the water. They even included little victorian policeman, who look so sweet wandering through what looks like a Jurassic fantasy world. The print is rich in detail and was a collaboration between Divine Savages and the natural history museum. It also features woolly mammoths, several different dinosaurs and tropical palm prints for a pretty cute fantasy world.

As much as I didn’t want to go down the cliche route of creating a blue bedroom for a little boy, I seem to have naturally fallen into that- but hey its purely because the wallpaper was this colour, and blue is a pretty calm colour to have in a bedroom so I think it’s going to work out well.

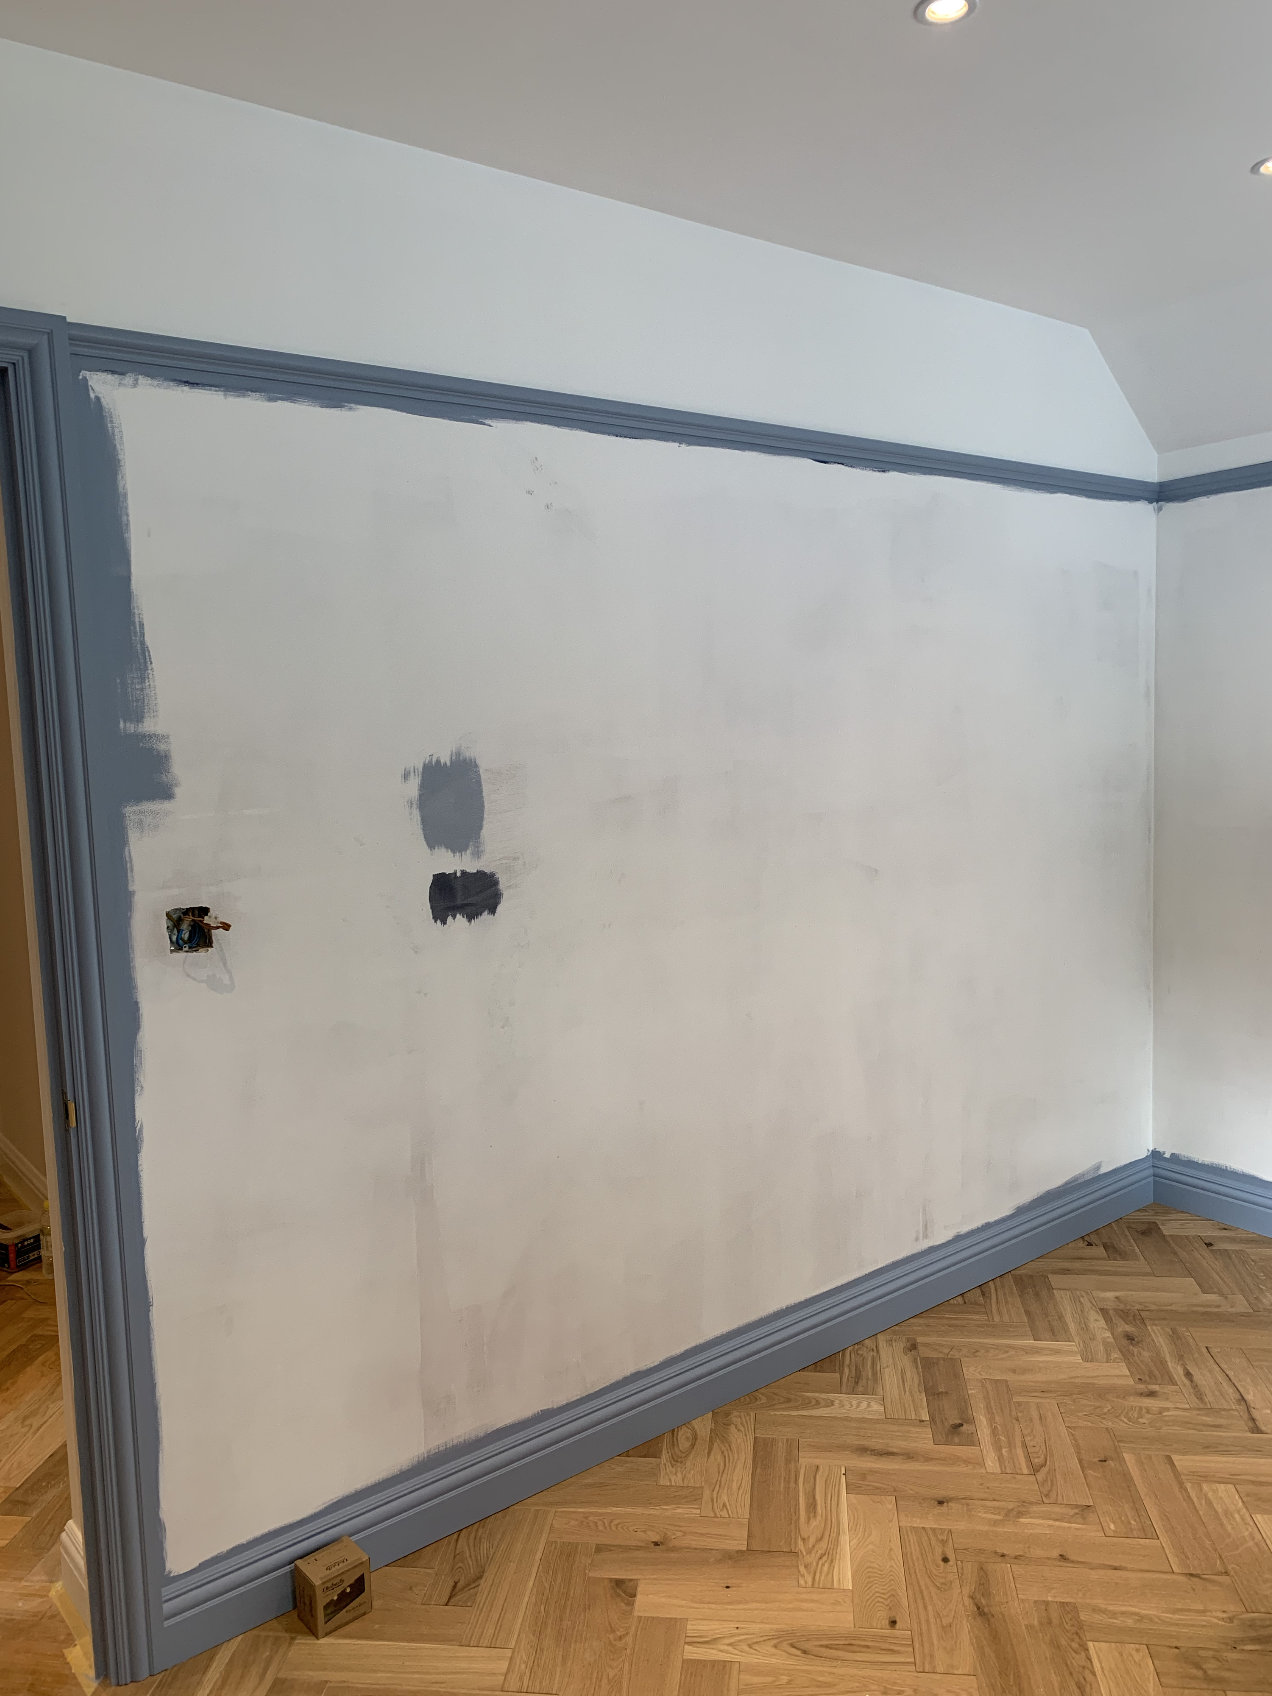
The beginings of Otis’ new bedoom in the extension part of the house

The beginings of Otis’ new bedoom in the extension part of the house

Otis’ bedroom is located in the new extension part of the house and is approx 3.5m deep x 3.75m long and is the perfect rectangle shape. I say perfect as all the walls are straight and are freshly plastered. The downside to this is that there aren’t any alcoves to tuck wardrobes into, and unlike our previous victorian house, we don’t have the high ceilings this time round to acomodate a picture rail and panelling.

To add some character back into the room we are adding a picture rail to sit all the wall around which emulates what was in other rooms in the house, before we gutted it.

The ceiling will be painted in white, then on two of the main walls will be the Divine Savages ‘Extinctopia’ dinosaur wallpaper, whilst the other two will be painted in Little Green’s ‘James’ - intelligent matt emulsion on the walls and matching eggshell finish on the woodwork.

I plan on bringing in more texture and depth, by adding different levels of blues and greys, with pops of soft sage and mustard so that the room doesn’t look too flat.

For now we’re going to extend Otis’ Stokke sleepi cot bed into a toddler bed, until we find the perfect rattan toddler bed which I’m still on the hunt for.

Which leads me nicely into my rattan obsession. I started to fall for Rattan in our old house - having a rattan cupboard in our bathroom with a shelf and side table, and now I want to extend our rattan furniture collection by adding a double wardrobe too.

Rat House renovation - Otis' new bedroom plans

I love how rattan brings more depth to a room, and its natural material has that organic, calm effect on a space where it’s present. I hoping to also add a swinging basket chair for a bit of fun too- because who wouldn’t want a swing chair in their bedroom, if their parents allowed it (although I’m worried about how the walls might take a battering if its too close) .

My favourite new additions to this room come from one of my favourite children’s accessory brand - Scandi born. I plan on adding colourful garlands in tones of mustard and blue, a mustard yellow teepee to create a reading nook and some gorgeous star printed bedding - all from Scandi born.

Otis will also be re using his previous Afaw XXL Berber-style rug from La Redoute which was a firm favourite in his old bedroom, and will also help protect his new engineered wood floor in here, and also his previous animal heads- including the gorgeous elephant head from Fiona Walker England - which was in his old bedroom - plus being an elephant it works well with the woolly mammoths on the ‘Extinctopia’ wallpaper.

My last thing to do is figure out how i’m going to store all of Otis’ books - but I’m sure that will come to me as we move in and get used to the space. I also still need to think about window coverings as black out blinds are essential when it comes to kids bedrooms!

But for now that gives you a taster of whats to come, and you can also see the wallpaper going up on a little Instagram reel which I did for a bit of fun- Here!

What do you think of Otis’ new dinosaur animal themed bedroom? I can’t wait to get our furniture all moved in and show you the room all styled up. And most importantly, I can’t wait for Otis to see his new bedroom. x

Progress shots…

Get the look ….

OTIS DINOSAUR TODDLER BEDROOM
  1. Wallpaper - Extinctopia in 'Glacier Blue’ from Divine Savages

  2. Lampshade -’Java’ lampshade from Made.com

  3. Bunting Garland - Scandi born £24.95 in blues and ochres.

  4. Stokke Sleepi cot bed £619 in Hazy grey with extension kit £70

  5. Sebra Bed Canopy in Denim Blue from Scandi born £98.95

  6. Bamboo shelf - The Round Dorm shelf - From Nordic nest £109

  7. Faux shark head - Fiona Walker England - nubie £45

  8. Bamboo hanging basket chair- Cielshop £354

  9. Liana double wardrobe - Made.com £699

  10. Wall paint - Little Green ‘James’ in Intelligent emulsion for the walls, and Eggshell finish for the woodwork

  11. . Mustard made shorty side locker - from mustard made £129

    12. Hibou Home - Starry Sky Organic Bed Linen in Indigo from Scandi born £55.00

    13. Nobodinoz Sahara Bean Bag in Provence Green from Scandi born £79.95

    14. Fiona Walker England Elephant head £74.95

    15. Nobodinoz Nevada Teepee in Farniente Yellow £159.95 from Scandi born

AD/PR GIFT Declaration - The Extinctopia wallpaper from Divine Savages has very kindly been gifted to me. My thoughts, opinions and styling ideas for the room based on the mood-board are all my own.

OUR RENOVATION JOURNEY: OUR EN-SUITE BATHROOM PLANS WITH KOHLER

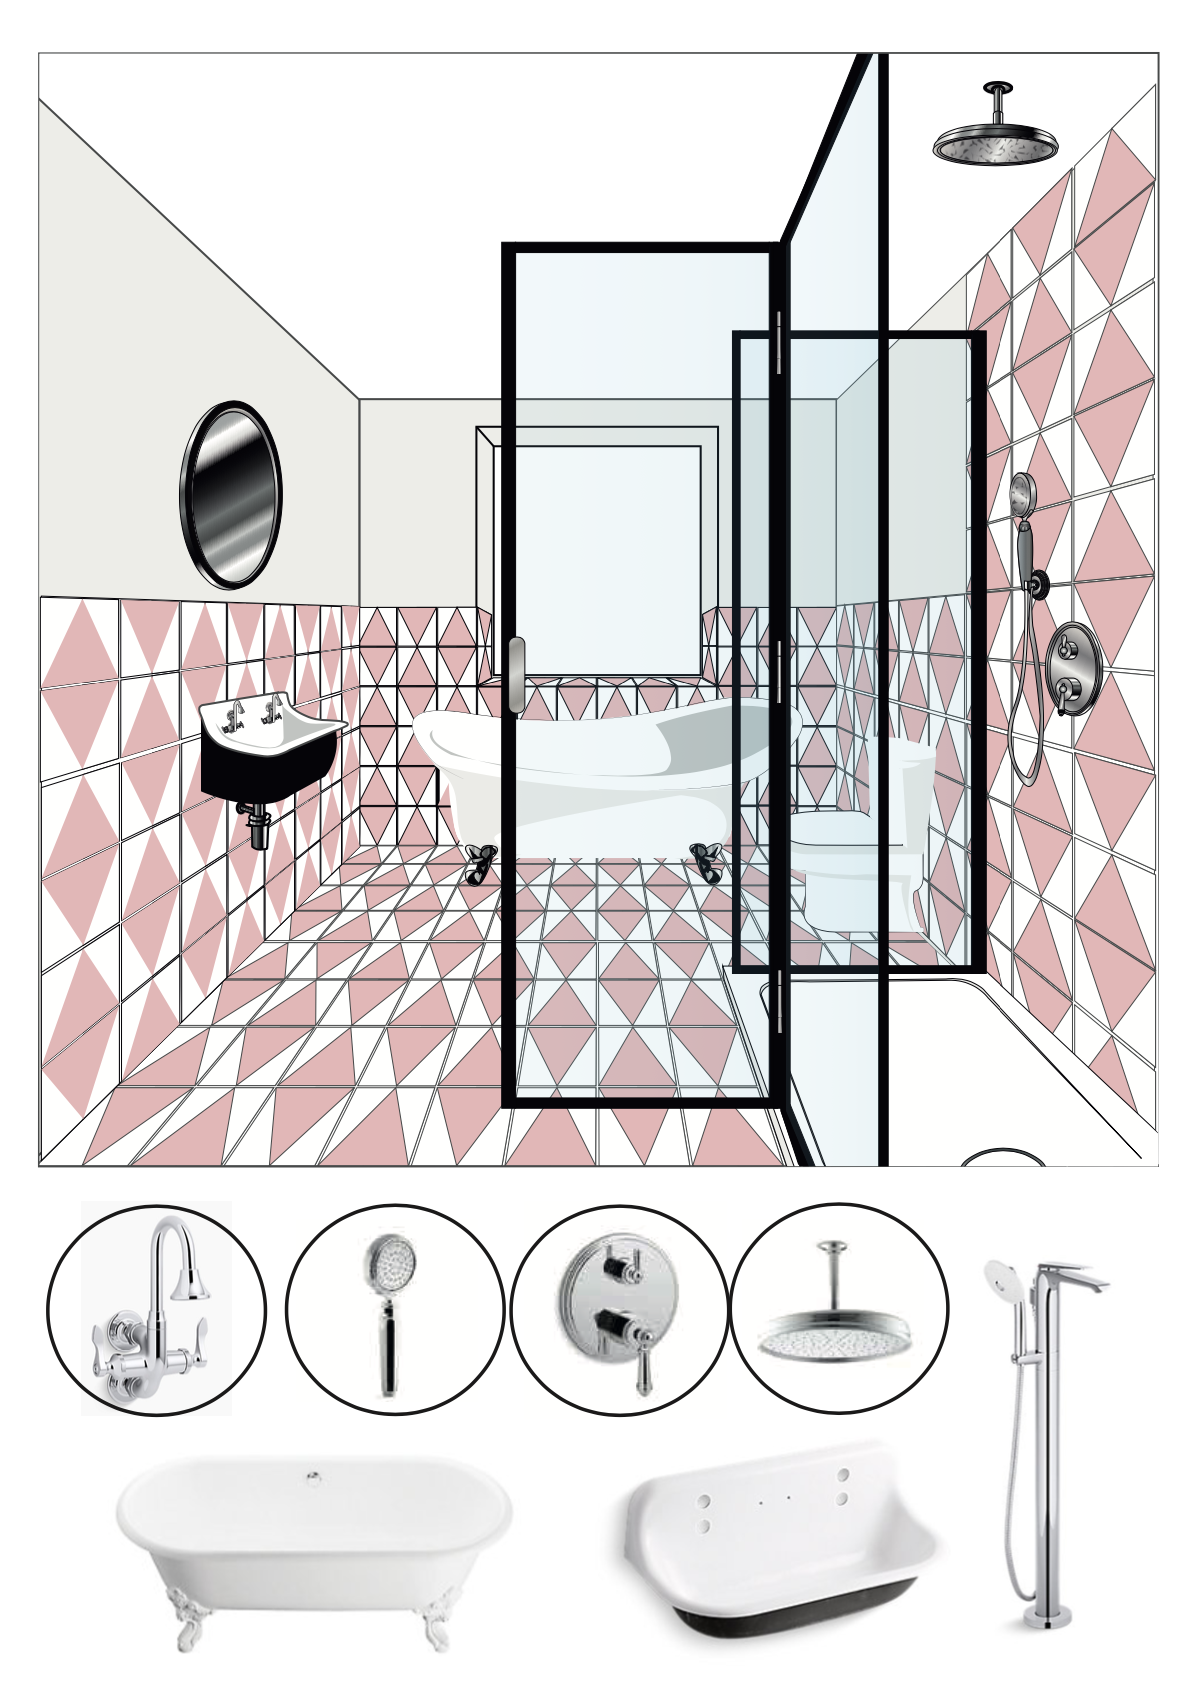
House Lust en-suite drawing by William at Drench showers. Design by Amanda Cotton.

House Lust en-suite drawing by William at Drench showers. Design by Amanda Cotton.

AD/ PR Gift : The Kohler products have all been gifted for marketing purposes across my social channels. All thoughts, opinions and interior design is my own.

It’s another week over at the rat house renovation and I thought it was about time I shared some more of our plans, so today I’m talking about our en-suite bathroom.

I found designing our bathrooms the hardest of all the rooms. Unlike the other rooms which are more or less just paint or wallpaper, there are so many more components which need to be considered with designing a bathroom.

First of all theres the layout to think about- the sewage pipe will dictate where the toilet has to go unless its easily moved, or if your planning a renovation then consider this from the start. Then there’s the look and style to consider- modern, traditional, retro, classic. Then the tiles and brassware. Storage is also an important factor, plus shower screens, bath shape, sinks… honestly the choice is endless.

I found sites such as Pinterest a mind-field as theres almost too much inspiration out there. All I knew is that I wanted the space to make my heart sing and bring me joy, and I didn’t want to get hung up on longevity this time. As much as I’d like to hope that I love it as much as I do right now in five years time, I’m not going to worry about that and enjoy it for the now. My theory is you never regret the choices you make, only the one you didn’t, and this design makes my heart sing.

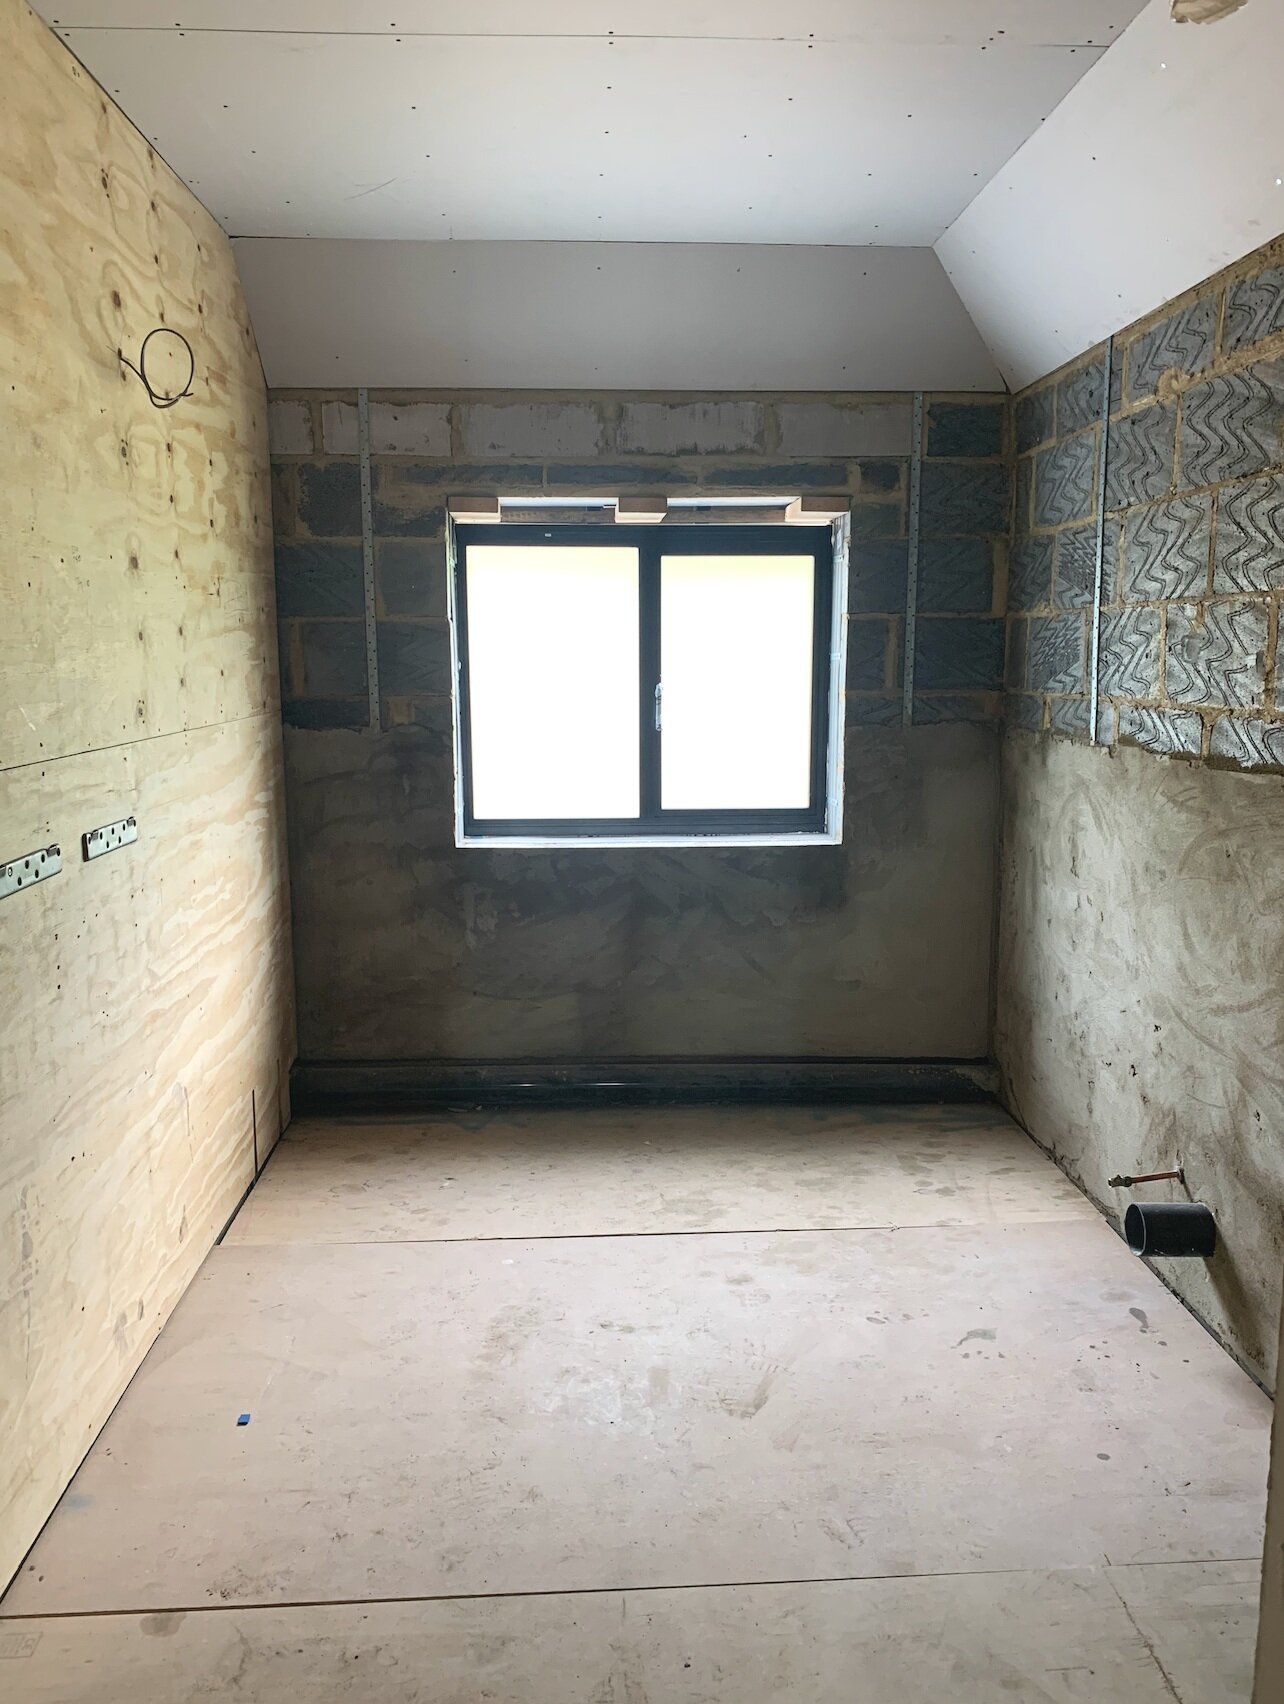
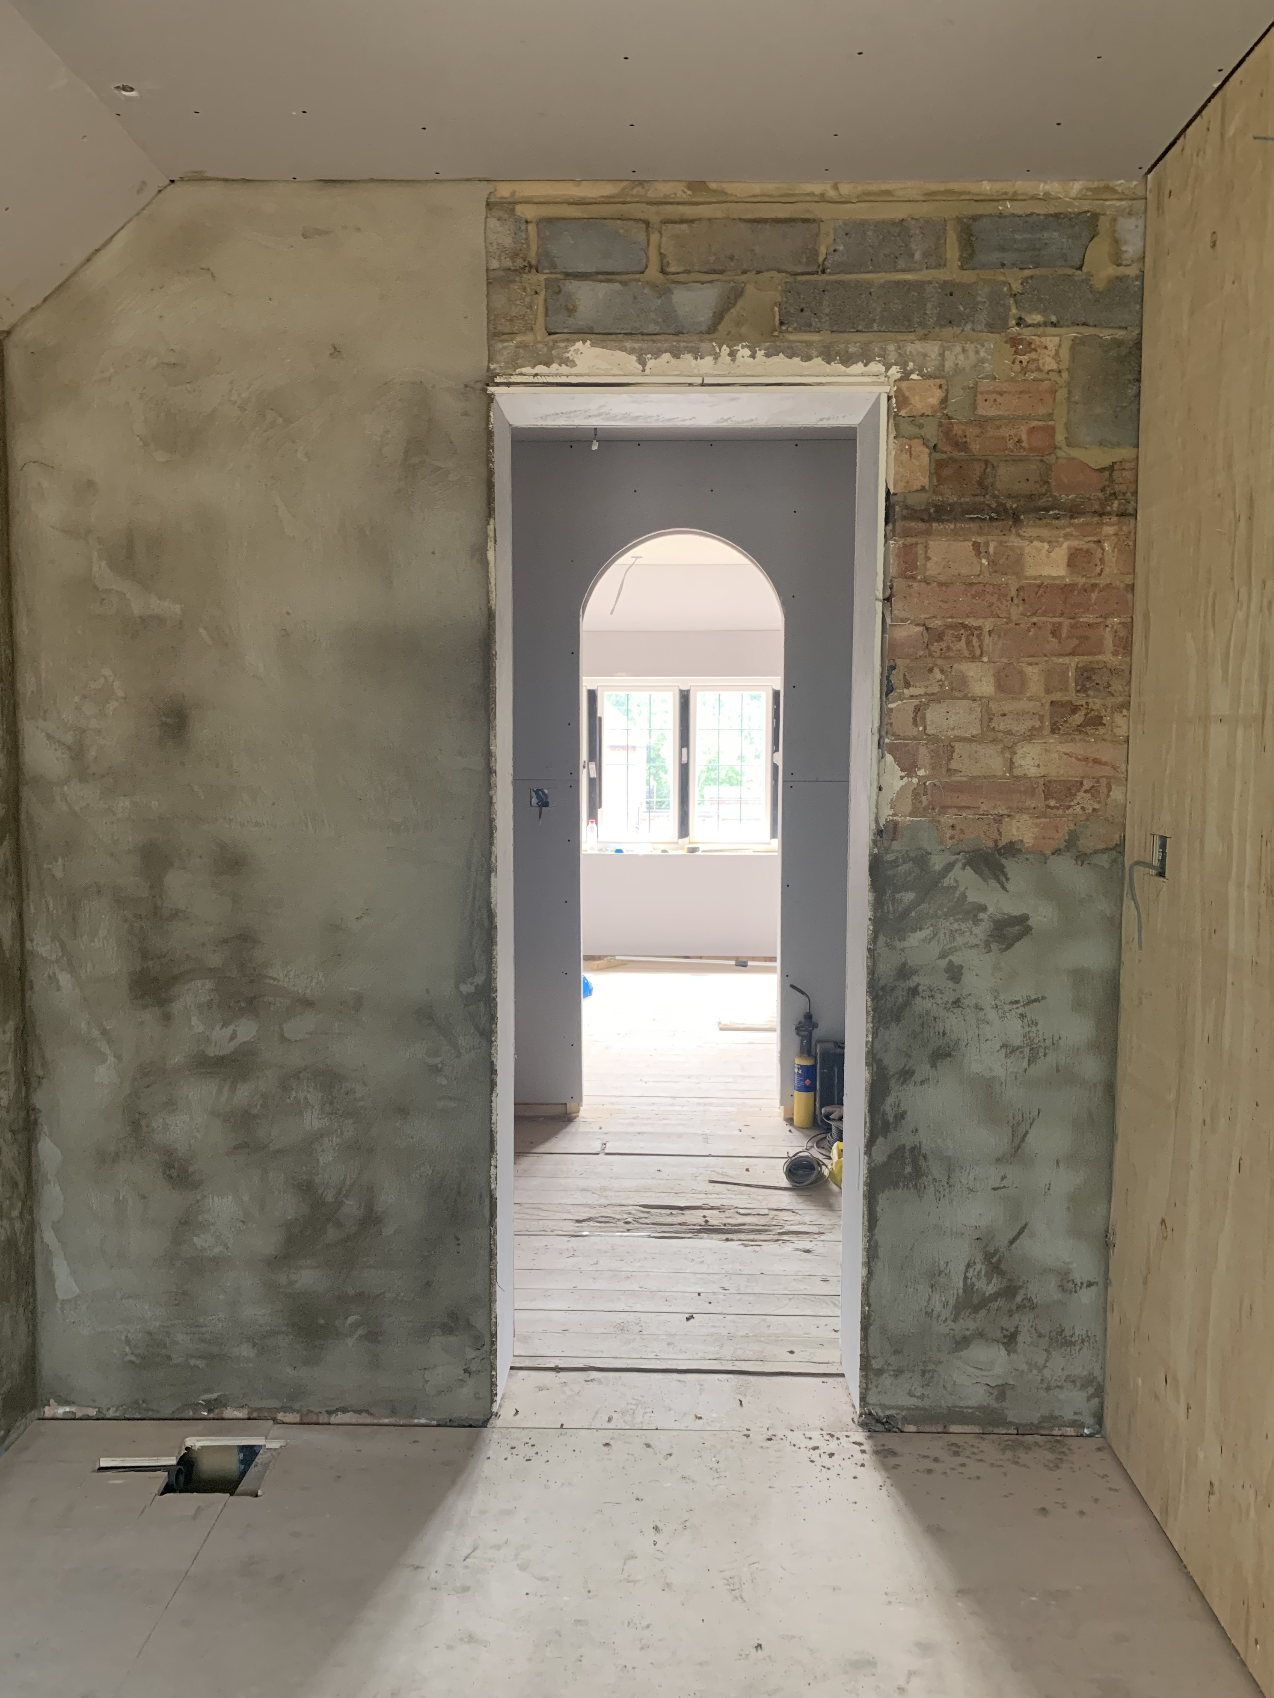
Before shots of the en-suite bathroom

Our ensuite bathroom is located in the new extension part of our house and is off the dressing room and master bedroom. It’s a good size at 3.5m x 2.7m wide so I decided to add a bath and a shower to it.

My starting point with the design of this bathroom was actually the washbasin. After scrolling through Pinterest (I know, after just saying it was overwhelming with ideas) I came across a scroll stopping image which stopped me in my tracks and it was this Brockway wall mounted cast iron basin from Kohler.

After doing a bit more research, I discovered that Kohler is an American brand, but unlike most of the other cool American brands which we don’t have access to here in the UK, Kohler is well and truly here in the UK!!

Kohler, Brockway basin.

After then delving further into Kohler, I fell deep down a Kohler rabbit hole of beautiful brassware and decided to design our whole ensuite bathroom around their chrome brassware, cast iron brockway sink and their cast iron Cleo bath.

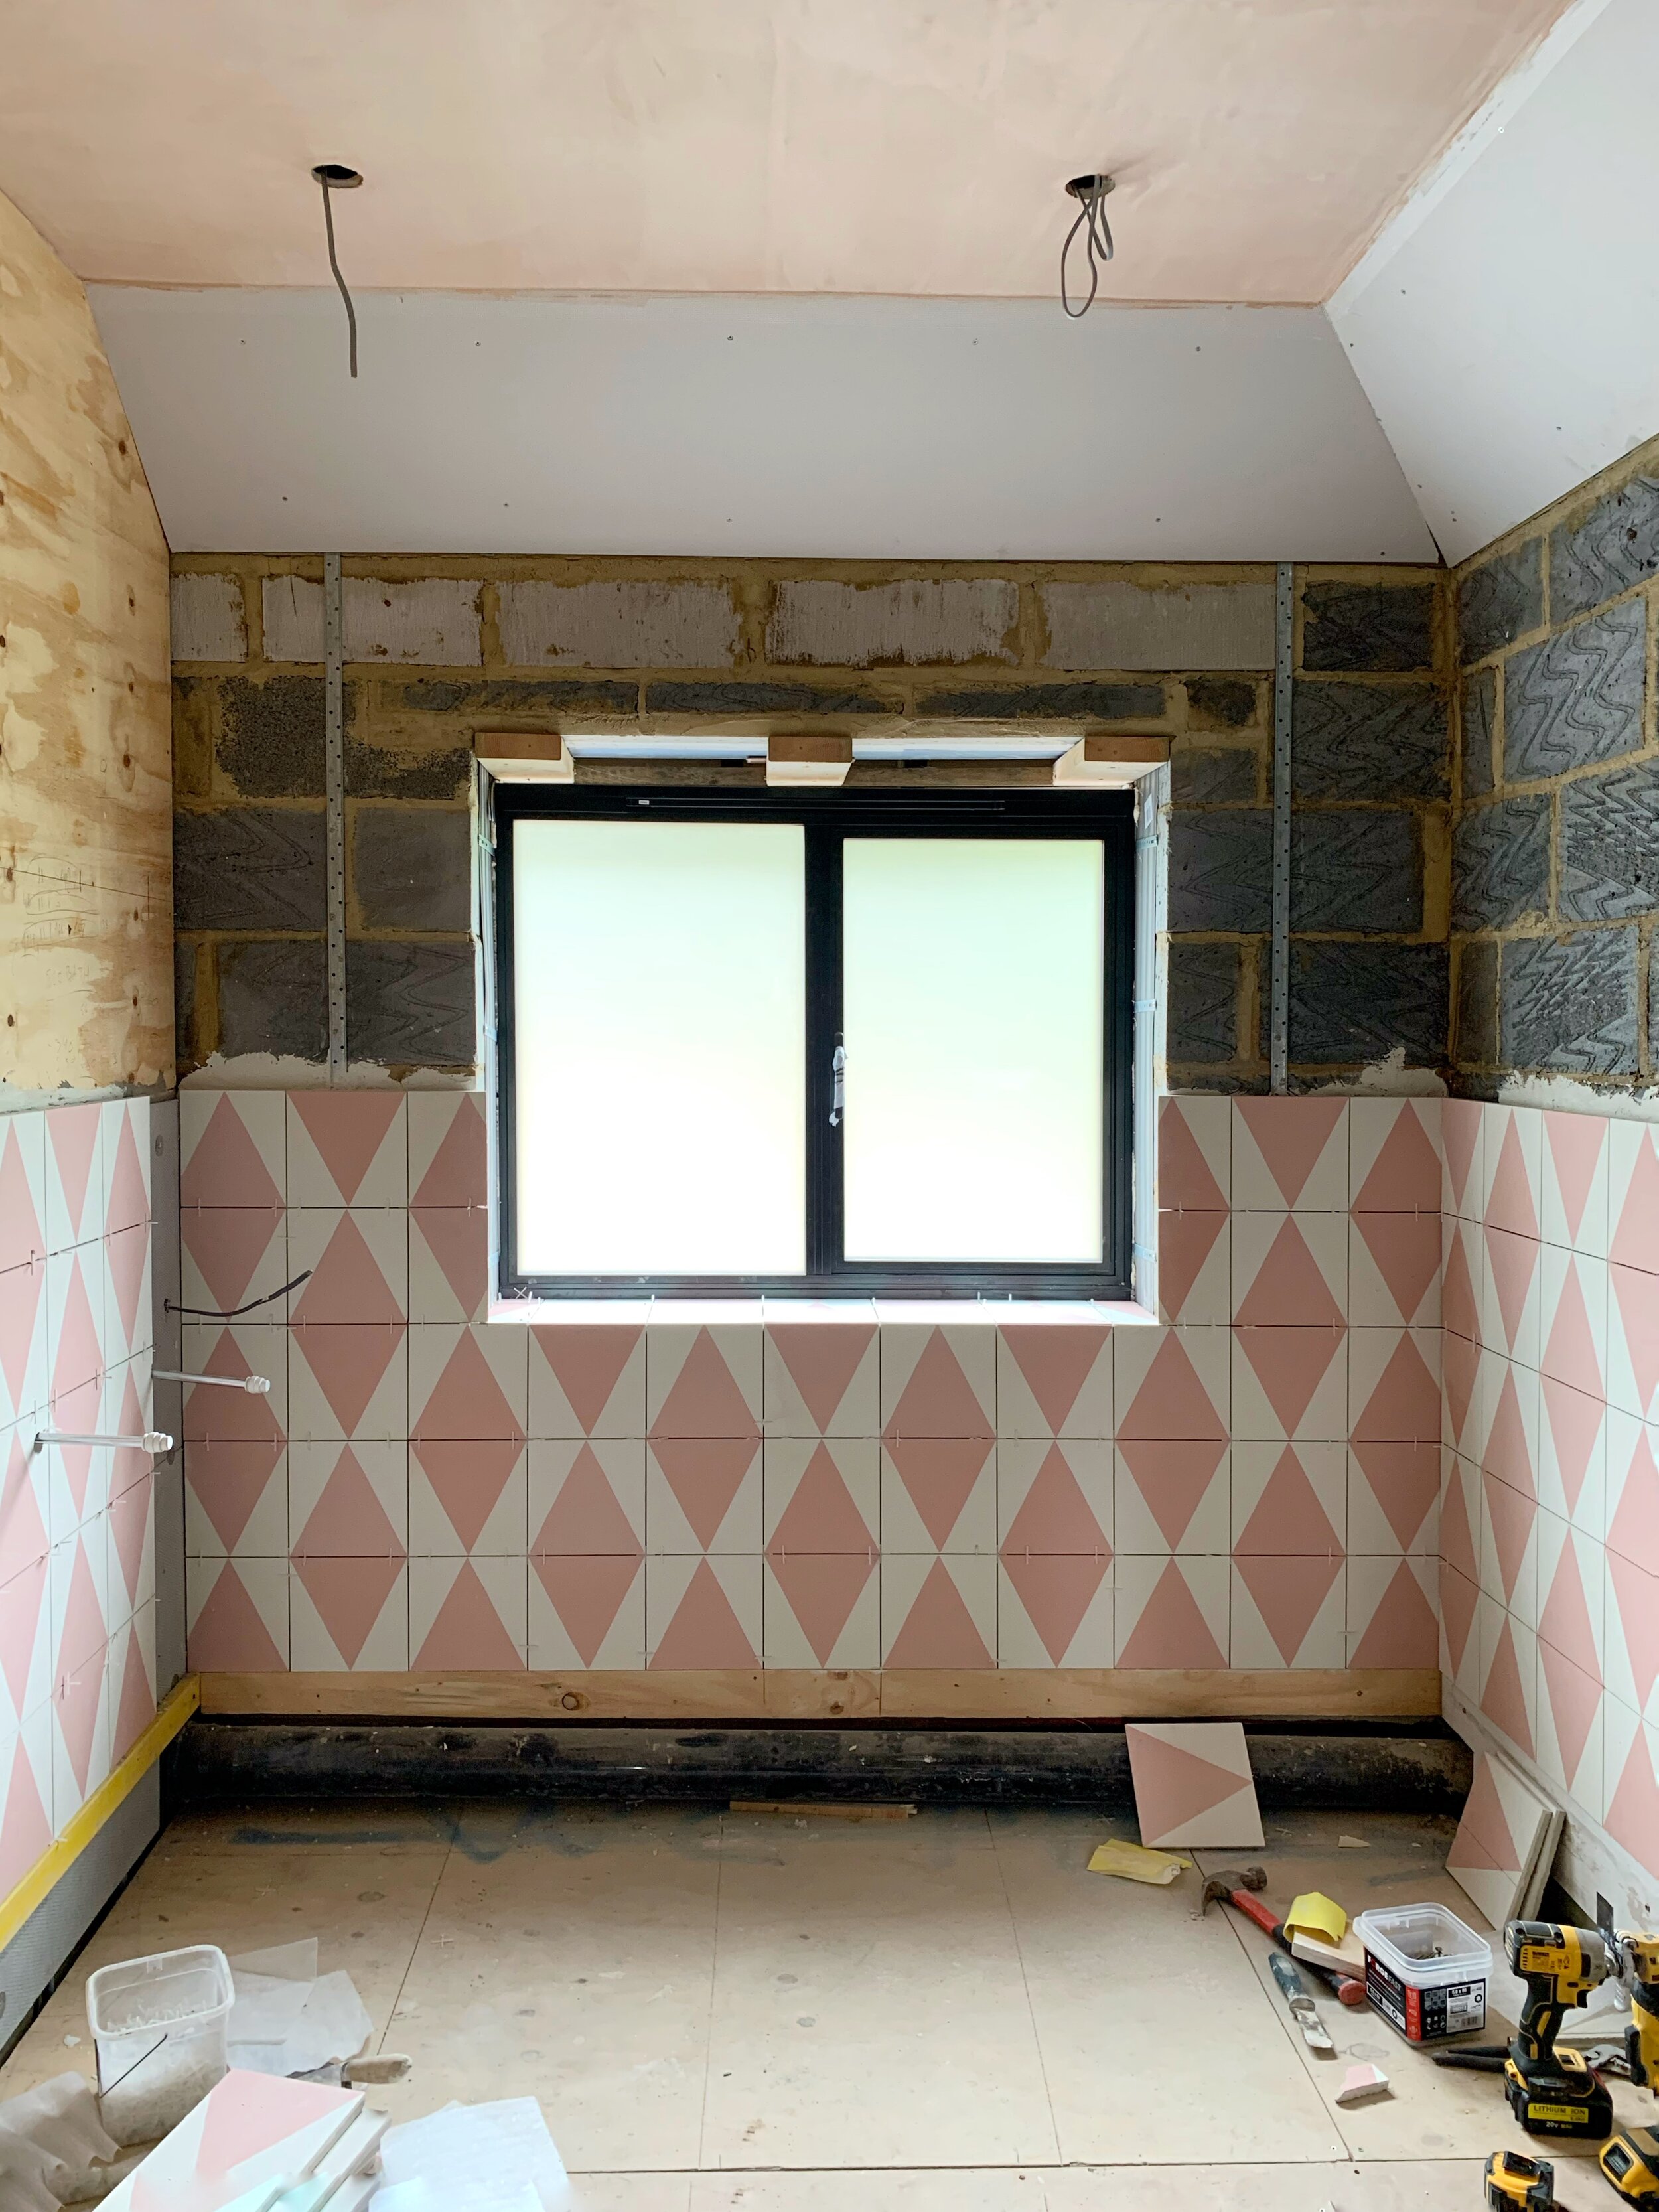
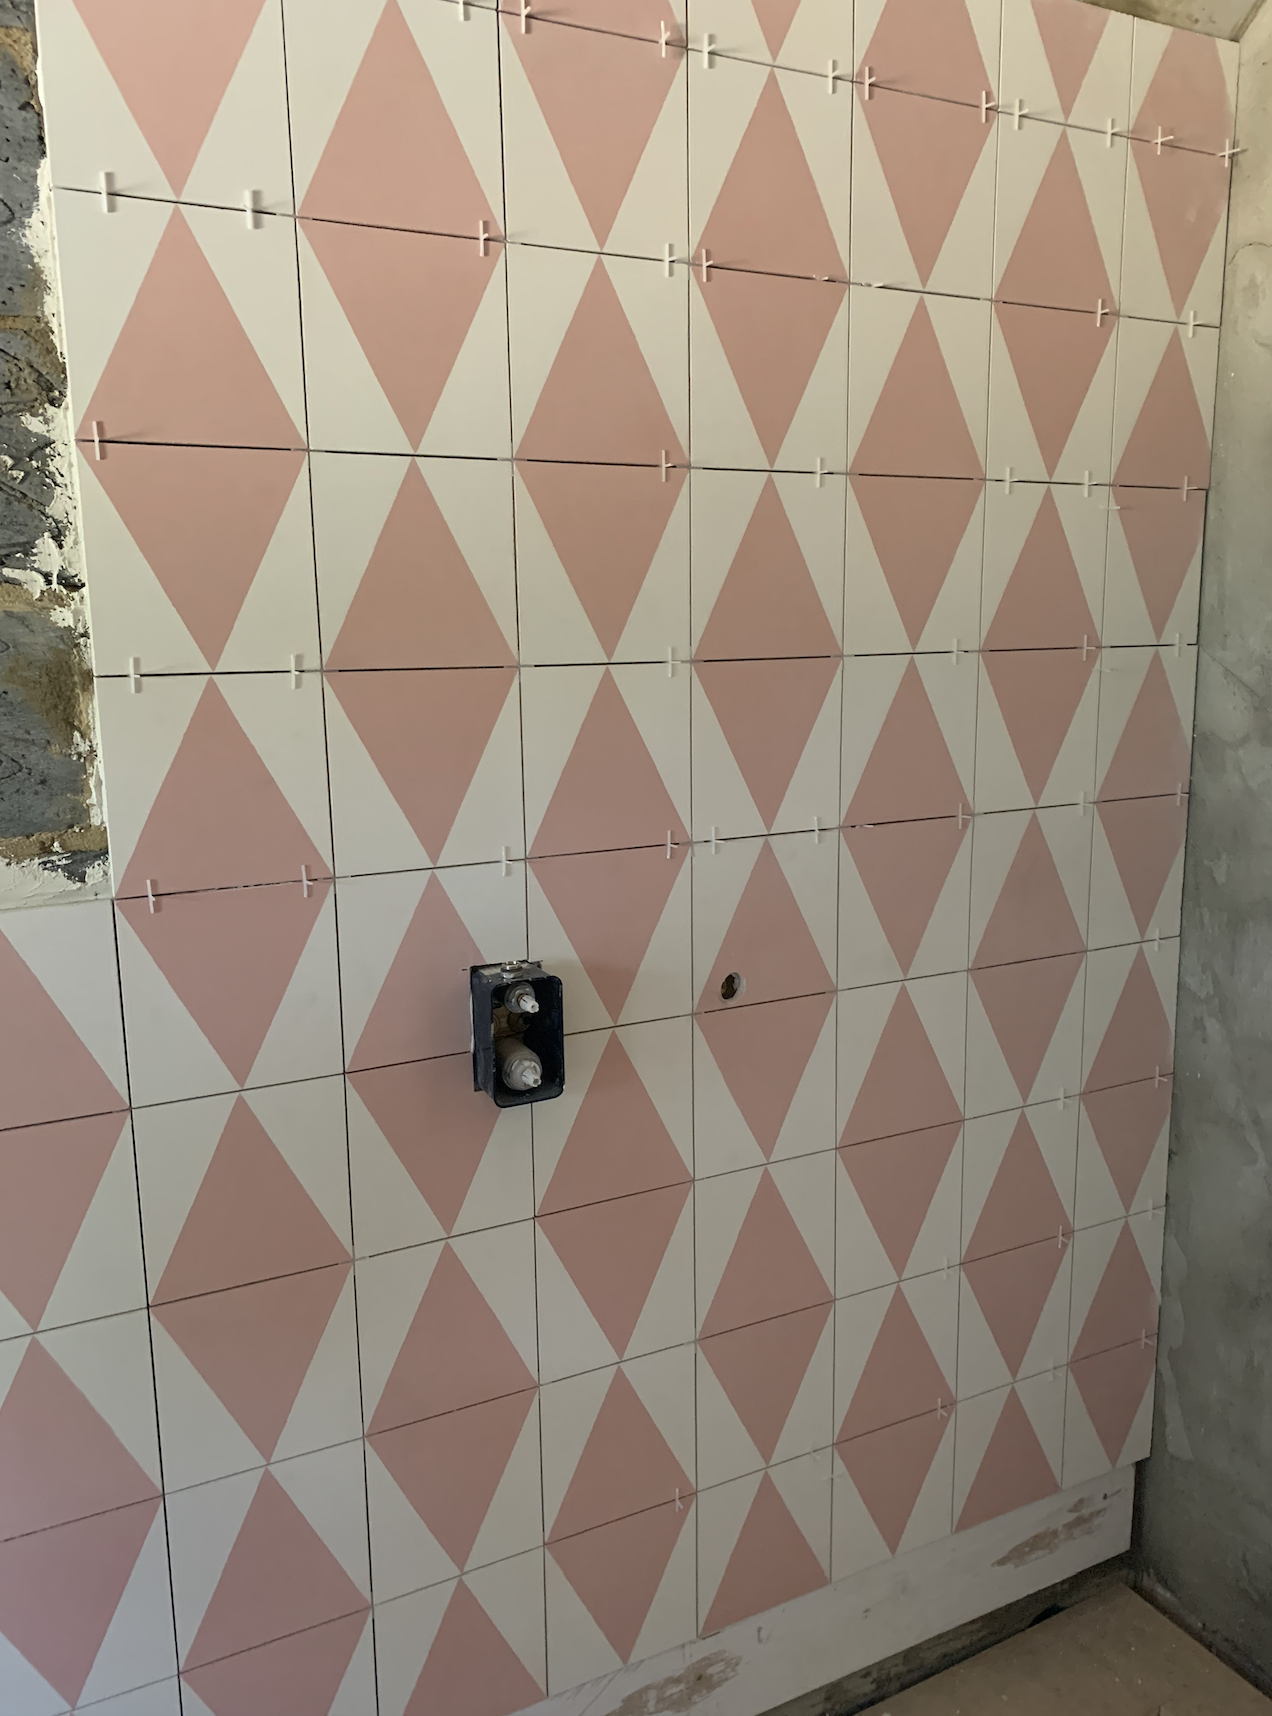
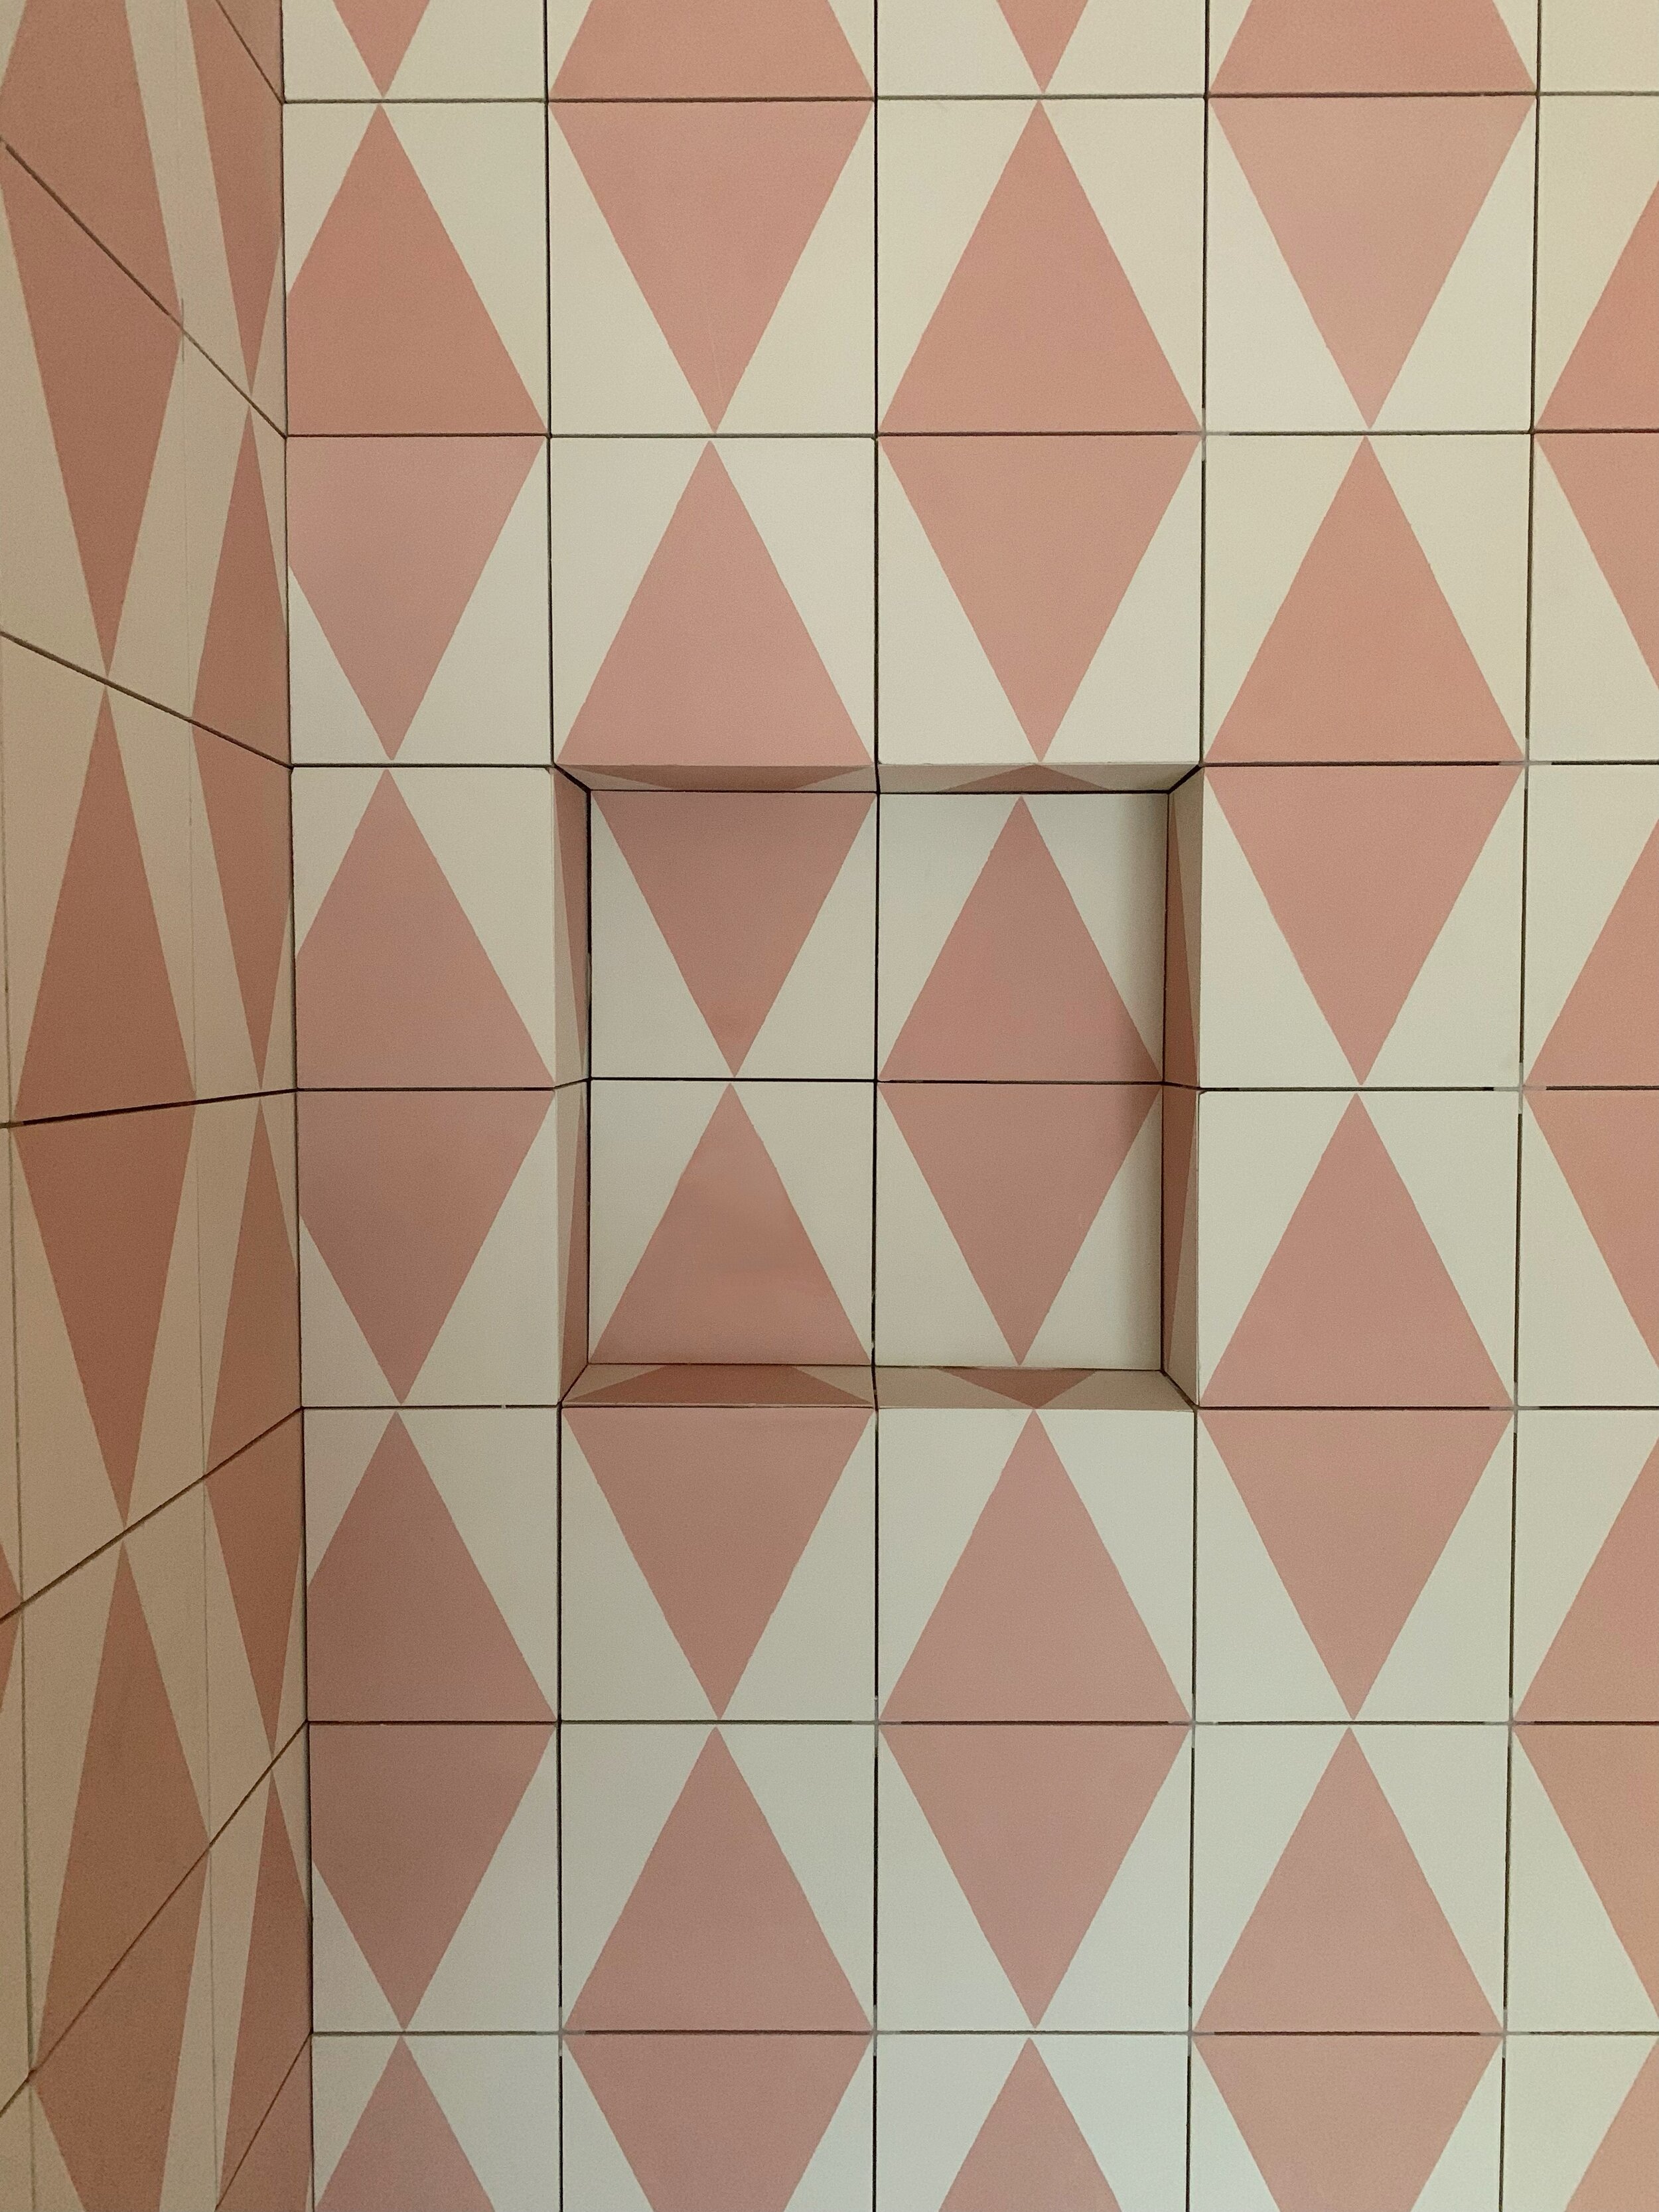
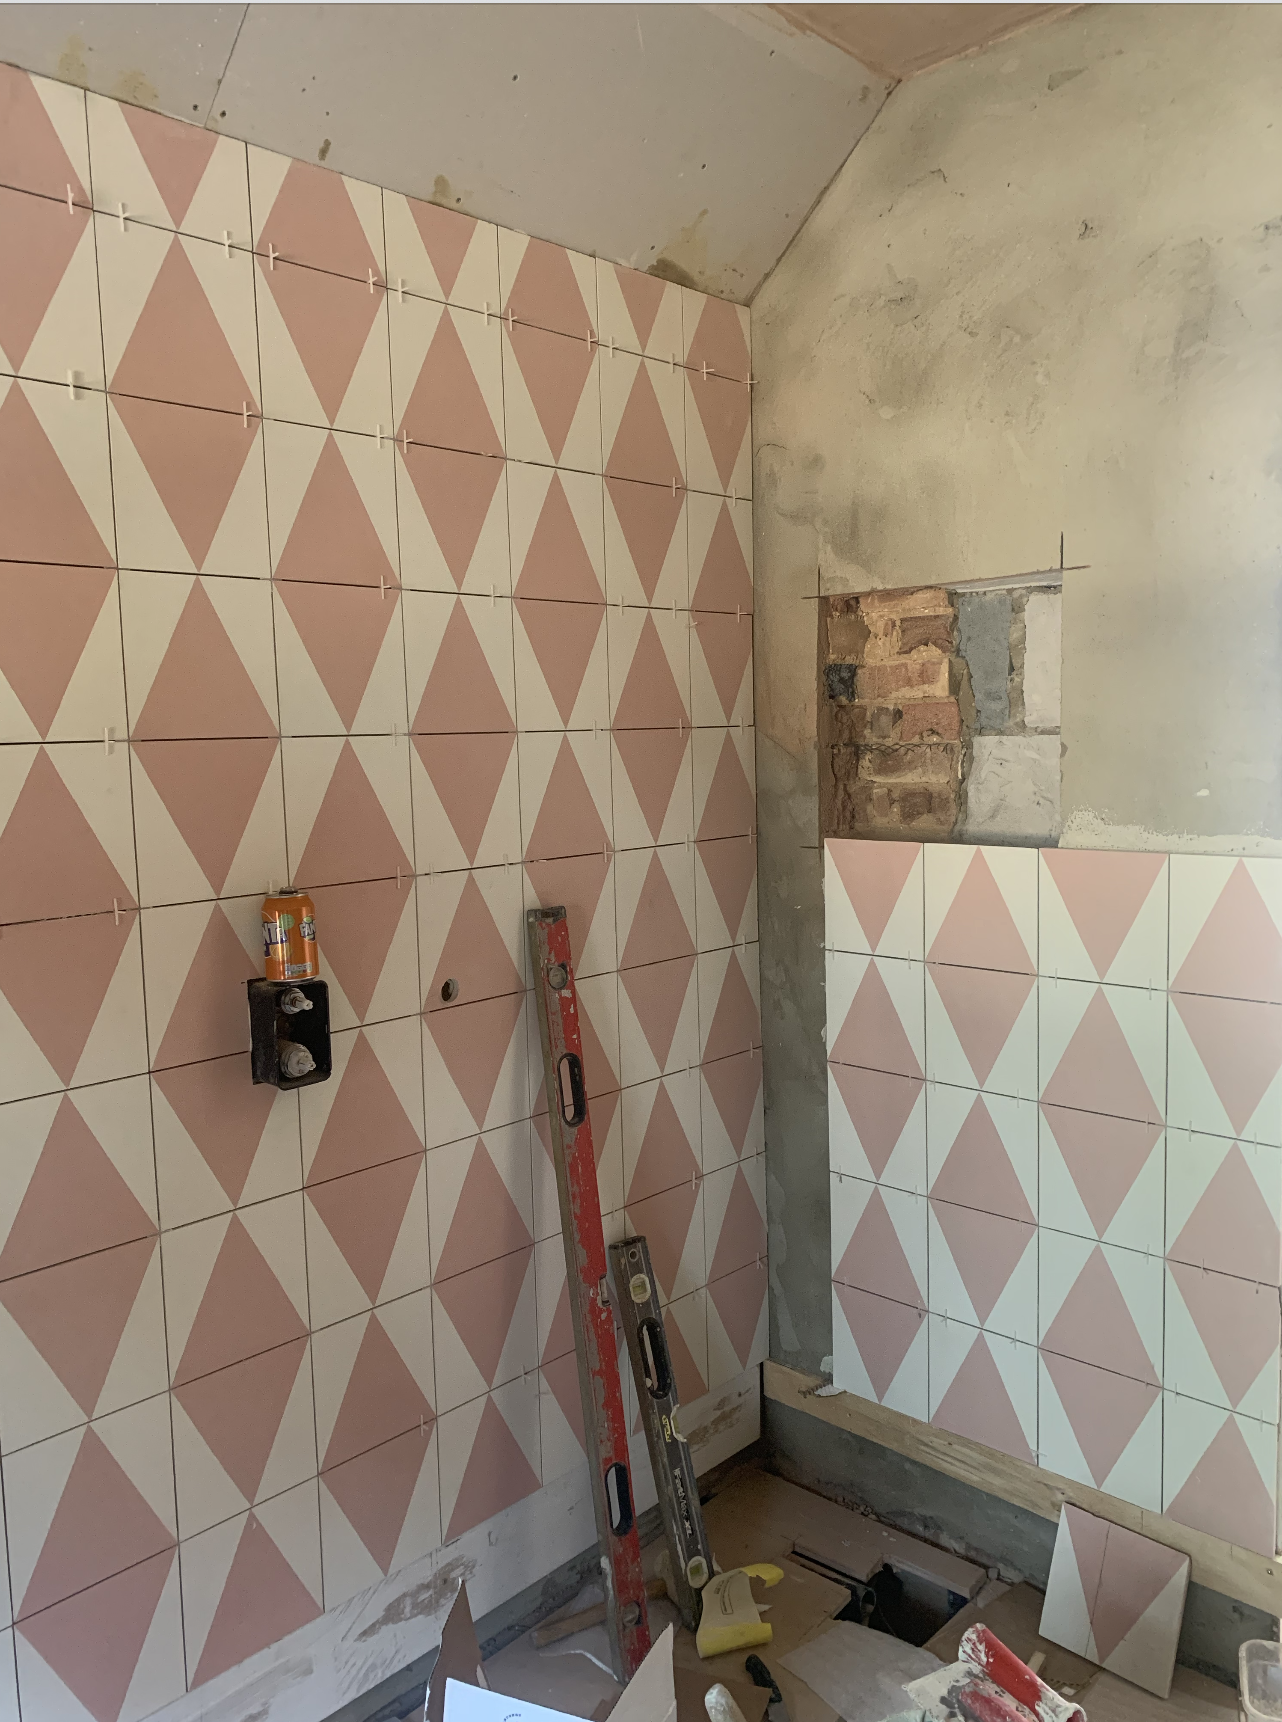
When it came to choosing tiles, I decided on encaustic (concrete) tiles from Mosaic factory. At Mosaic factory you can design the ties yourself and I was pretty sold on this. I mean, who doesn’t want to design their own tiles if they can? I went for a 20cm x 20cm square tile in colour R pink and B white. I wanted to bring the tiles all the wall down the walls and onto the floor for a bit of a seamless look in this room, then paint the rest of the walls white.

Mosaic factory encaustic tiles (20cm x 20cm) in colours B and R.  Shower enclosure colour choices from Drench Showers.

Mosaic factory encaustic tiles (20cm x 20cm) in colours B and R. Shower enclosure colour choices from Drench Showers.

I’ve chosen chrome Kohler brassware for this space as I thought it was more timeless and popped more against the pink and white tiles. Because I’ve gone for the Kohler Cast iron cleo bath, I’ve chosen the composed floor standing bath tap. I’ve always wanted a floor mounted tap as I hate it when taps stick out to much- especially when bathing our toddler, he has a habit of bashing his head, so I’m future proofing with this floor mounted one.

For the shower enclosure, I did consider a wet room, but our builders advised us about wet rooms unless there on the ground floor because of leaking. Instead we are having a 1400 x 800 shower tray from Kohler and are getting a contrast black shower screen from Drench Showers. We had a black drench shower screen in our old house and I loved the contrast against the tiles. This time we’re going for a black boarder shower screen with a chrome handle to tie in with the Kohler chrome brassware.

These are the bathroom components which I’m using…

My Kohler en-suite bathroom selection

My Kohler en-suite bathroom selection

In terms of layout, you might have seen from the sketch at the top that I have decided to have the bath under the window. The shower enclosure will be on the opposite wall to the bath, in the corner and will have a built in shower shelf for our shampoo bottles.

The Brockway sink is wall mounted and will be mounted to the wall on the left where you enter the room, and the toilet will be opposite.

I didn’t want any of the sewage pipes to show on the back of the house, so our builders have made sure they’re all on the side and out of view, so this dictated where the toilet had to go.

***My tip when designing your bathroom is to always check the sewage pipe location first, as its not always an easy job to relocate it ***.

The Cleo Cast iron bath from Kohler.

The Cleo Cast iron bath from Kohler.

And that pretty much raps up the design of our ensuite bathroom over at the rat house. It’s all currently underway and should be finished over the next few weeks. Who’s excited to see it finished? I for one am super excited and cannot wait to share it with you. You can see how excited I was for the Cleo bath to arrive last week, so I cannot wait to see it all installed. I might even paint the underneath of the bath too. Can you guess what colour? I’ll give you a clue, it seems to be the common thread throughout our entire build….

TOP 10 THINGS TO BE AWARE OF WHEN BUILDING A HOUSE EXTENSION

6 months into our Renovation and the ground floor and 1st floor extensions are complete.

6 months into our Renovation and the ground floor and 1st floor extensions are complete.

Building a house extension is an exciting experience. I recently wrote a post on ‘A Guide to building work and all the extra costs that go into it’ which you can read here, but I thought i’d recap some of the key points which I feel are the most important to consider from the offset.

Here’s a checklist of things to be aware of when building a house extension.

How much can you extend a house without planning permission?

Under permitted development rights, you can extend your house to a certain extent without

planning permission, but this varies based on the type of extension. For a single storey

house extension, it can be no more than 4m in height when it is within 2m of a boundary,

with eaves no higher than 3m, and there are further guidelines for the width of the extension

depending on whether it is detached or semi-detached.

As there are so many specific requirements that need to be met depending on the type of

extension, it is best to err on the side of caution and consult an expert before beginning the

construction.

Do I need to comply with building regulations?

Before going ahead with building a house extension, you need to contact your local authority

to be sure that your planned extension complies with building regulations. These set out key

requirements to ensure that a building is safe, including in terms of fire safety and damp

proofing. Learn about how to damp proof walls using paint to maximise your chances of

approval.

Who do I need to hire to build my house extension?

You may choose to do the construction yourself, or in other cases, you might choose an

architect to design the plans for you. You can select contractors to build the extension, or you may let the architect choose their

own contractors. If you want an extra level of control over your construction, you can project

manage the construction yourself, or hire a project manager to oversee the work.

Do some research online, talk to friends about local contractors, and if you wish to take on

the project yourself, consider carefully whether you have enough time to dedicate to the

work.

How will construction work affect my home?

You should also consider the impact contractors will have on your home. As well as the

disruption to your home life that will come with builders entering your home, you will need to

ensure there is enough room for contractors to park their vehicles and store materials.

Will you feel comfortable staying in your home during the construction? You may need to

factor in costs for accommodation or have discussions with family members about possibly

staying with them whilst the work is being done to your property.

Amanda Cotton House lust - House Before extension

Do I need to take out site insurance?

It is vital to ensure that your home insurers are aware of any intended extensions to your

property. Many home insurance policies will not cover extensions, and your existing policy

may be undermined by any structures you build. You should never assume that builders will have insurance. In some cases, even if they do

have insurance, you may be required to prove you are not at fault when taking out a legal

claim against them.

Will my house extension cause conflict with my neighbours?

The Party Wall Act 1996 prevents and resolves disputes over party walls between

neighbouring buildings. If you intend to build a house extension on or close to a boundary

that you share with a neighbour, you will need to give your neighbours notice of your

intentions. If your neighbours disagree with the extension, the act provides a mechanism for

resolving disputes.

Factor in purchases for blinds, curtains and partitions if you feel concerned about lack of

privacy between the properties.

How should I plan for the costs of building a house extension?

You should factor your costs for the extension well in advance, including contingency plans,

as it is common for housing renovations to reveal wider issues with housing structure, etc. Before writing a list of planned costs for materials and construction, ensure you have

factored in all aspects of the work. You may need to reserve extra money for insurance,

plumbing, VAT charges, accommodation, amongst other things.

It’s vital not to cut back on quality, as selecting the highest quality materials secures the safety of your extension. For example, C24 Timber is the best choice for floor joists due to their high strength

How should I factor in the position of white goods?

If you intend for your extension to be a kitchen or bathroom, you will need to consider where

your plumbing or white goods will go, and if you need to have anything installed. Discuss the locations of any white goods, sinks or toilets with your designer and any building

contractors to ensure they are aware of changes that will be required. This factoring of white goods is a thing to consider if it’s a kitchen you’re extending, helping you to prepare for the cost of new appliances, including a fridge/ freezer that fits the new dimensions of your kitchen. 

Amanda Cotton - House Lust Renovation

Will I have to pay VAT when building a house extension?

Labour and materials for building a house extension will generally be subject to VAT at a

rate of 20%. You may be able to avoid the extra VAT charges on labour by using a local

builder who is not VAT registered, but you will still be required to pay VAT for any materials

Used. You may also be able to claim relief from VAT charges if your property is a listed or

unoccupied home, but you will be required to use a VAT registered builder.


How much glazing can I add to my house extension?

Building regulations dictate that the amount of glazing in an extension should be limited to

25% of the extension’s floor area. If your intended extension exceeds this amount, you can

deduct the total amount of windows and doors that have been removed due to the extension,

which should help you to fit within the guidelines.


If the amount of glazing still exceeds 25% at this stage, you will need to show that the

extension’s CO2 rate would be no higher than a compliant structure of the same size.

Now you’ve gone through the building a house extension checklist, it’s time to put your plans

into action. Take these aspects into account, and you’ll have a fantastic new extension that is fully compliant and fits your everyday needs.

OUR RENOVATION JOURNEY: OUR GARDENS PLANS- PHASE 2 WITH TREX COMPOSITE DECKING- THE DECK BUILD

A few days ago I wrote about the second phase of our garden plans and how we were planning on adding a large deck to the bottom of our north facing garden using  Trex Enhance decking.

Being north facing we want to make the most of the evening sunshine down at the bottom of the garden, and we fell in love with Trex’s composite decking boards and in particular the Trex Enhance range due to the colour.

These board are not only super durable, but also, unlike timber, they won’t need to be stained or treated and will continue to keep their colour for many years to come.

This week things have started, and I am super excited to show you how much progress has already been made in building our dream deck.

Building the Trex, Sub structure Deck

In collaboration with Trex and Steve, our certified TrexPro installer; Steve from Living Landscapes, Steve has started to build the 8.5m x 4m wide substructure and has started to lay the Trex decking.

In today’s blog post I’m going to talk you through the building of the substructure which the composite Trex decking will go onto and what it entails to build and protect the structure so that it doesn’t rot in years to come. So, who’s ready to learn how it’s done?


Step 1 – Building the Framework 

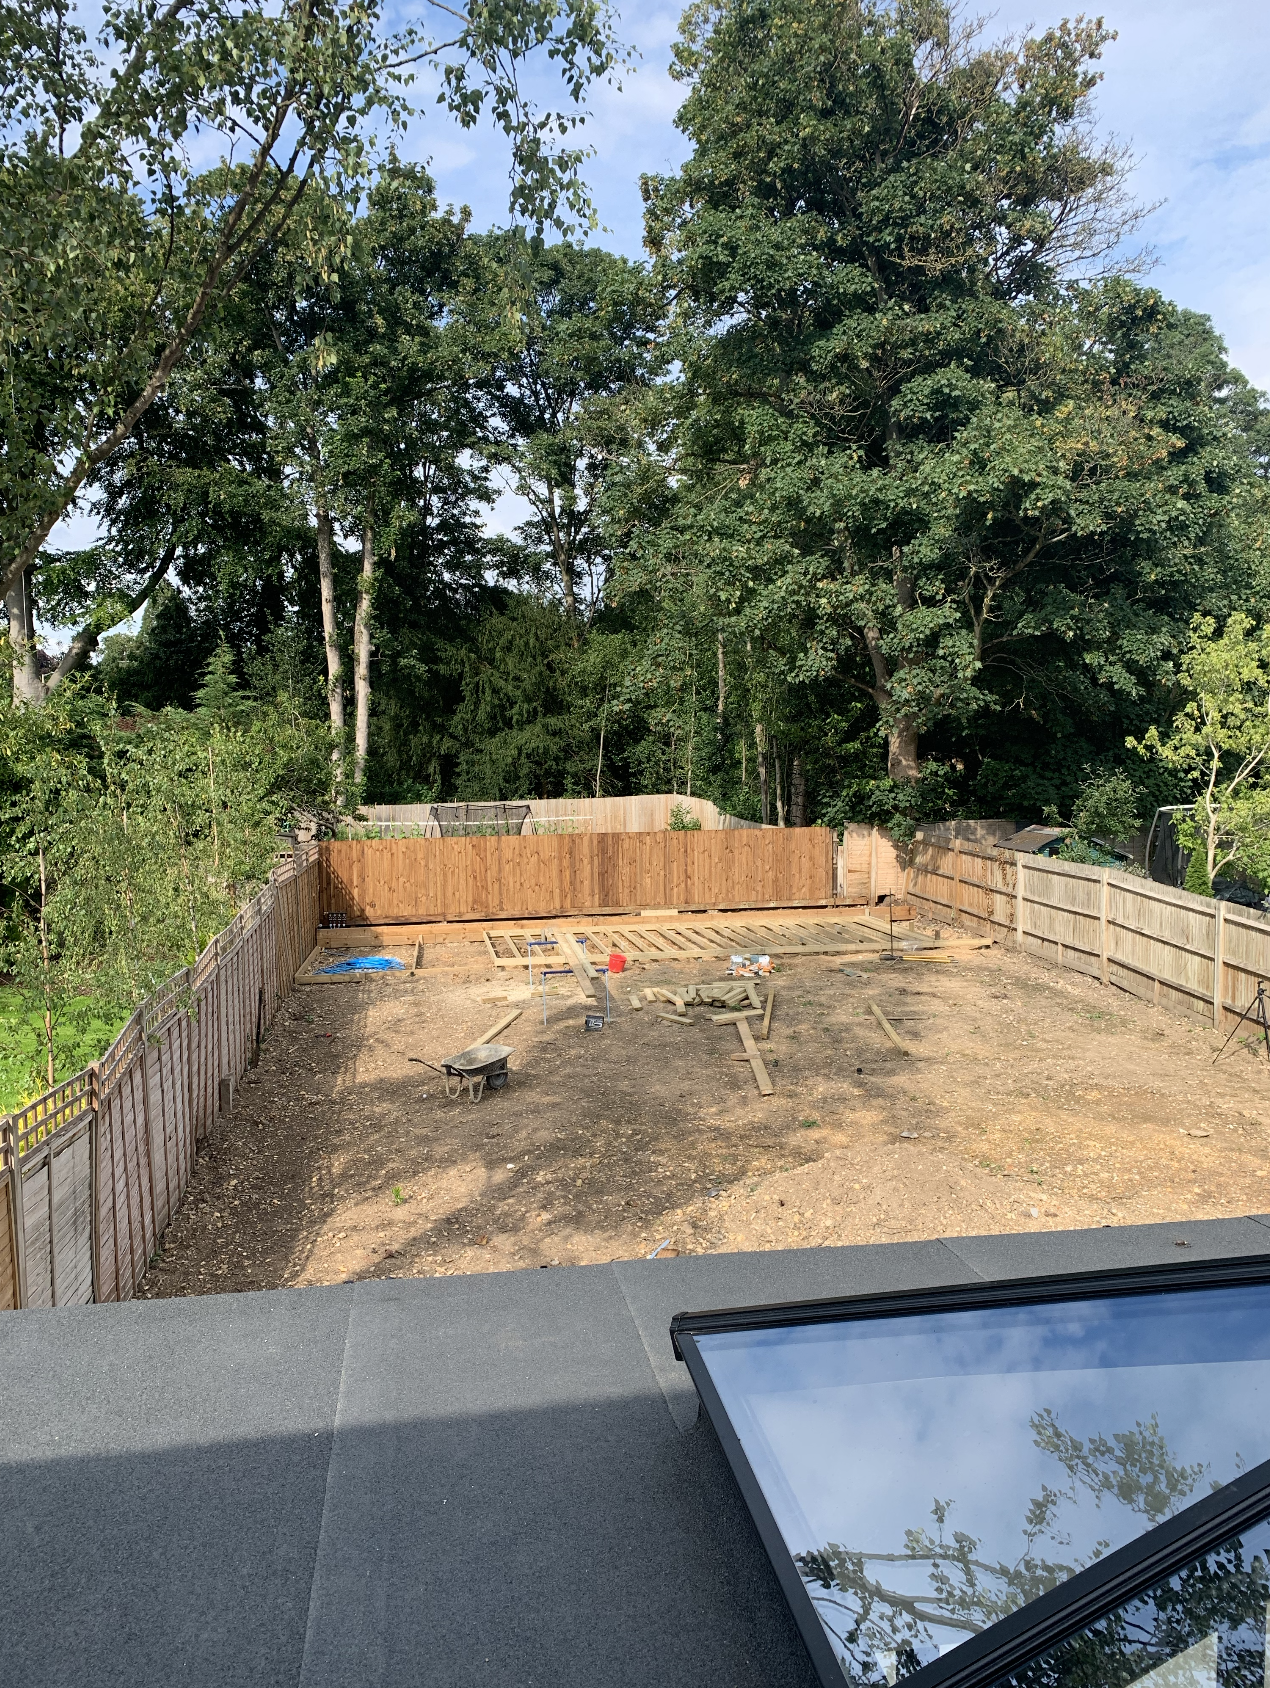
**In preparation of the build we had already levelled the garden**

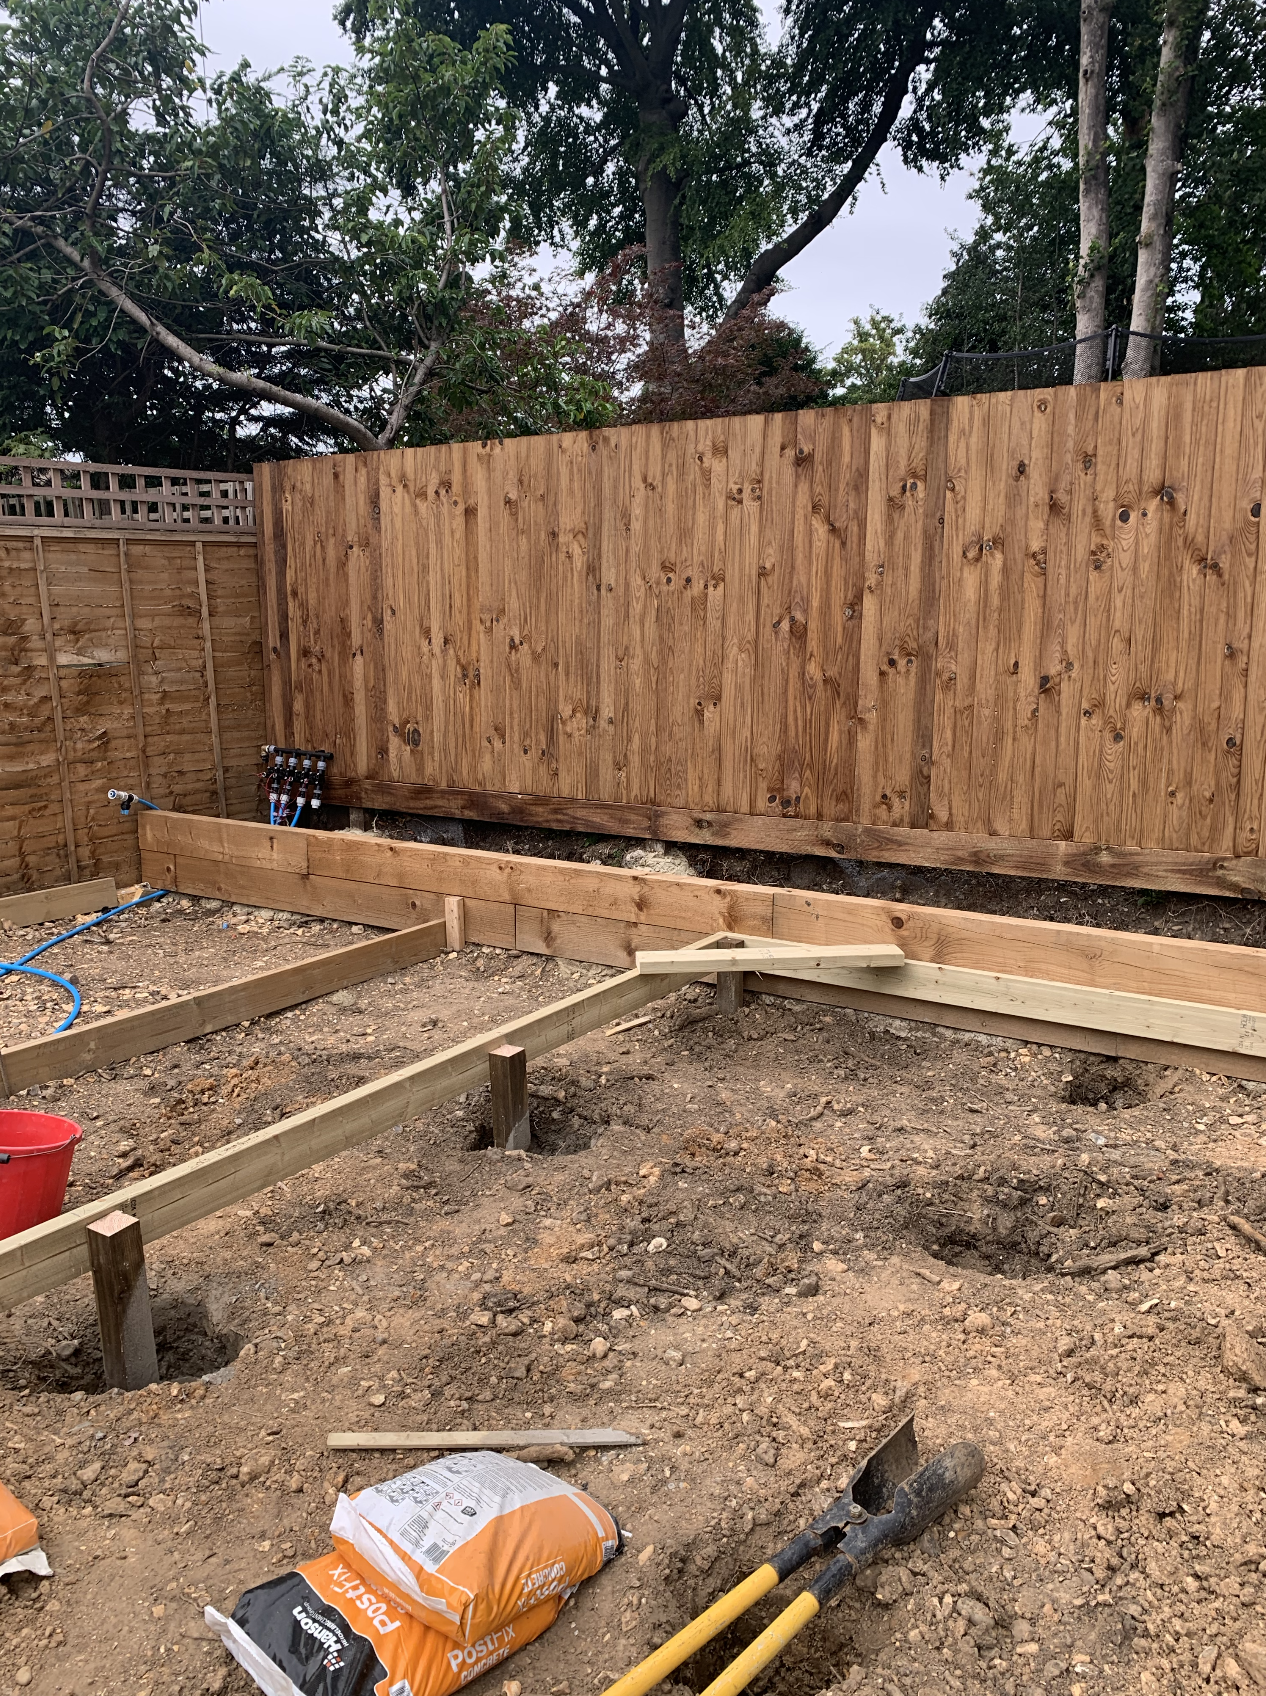
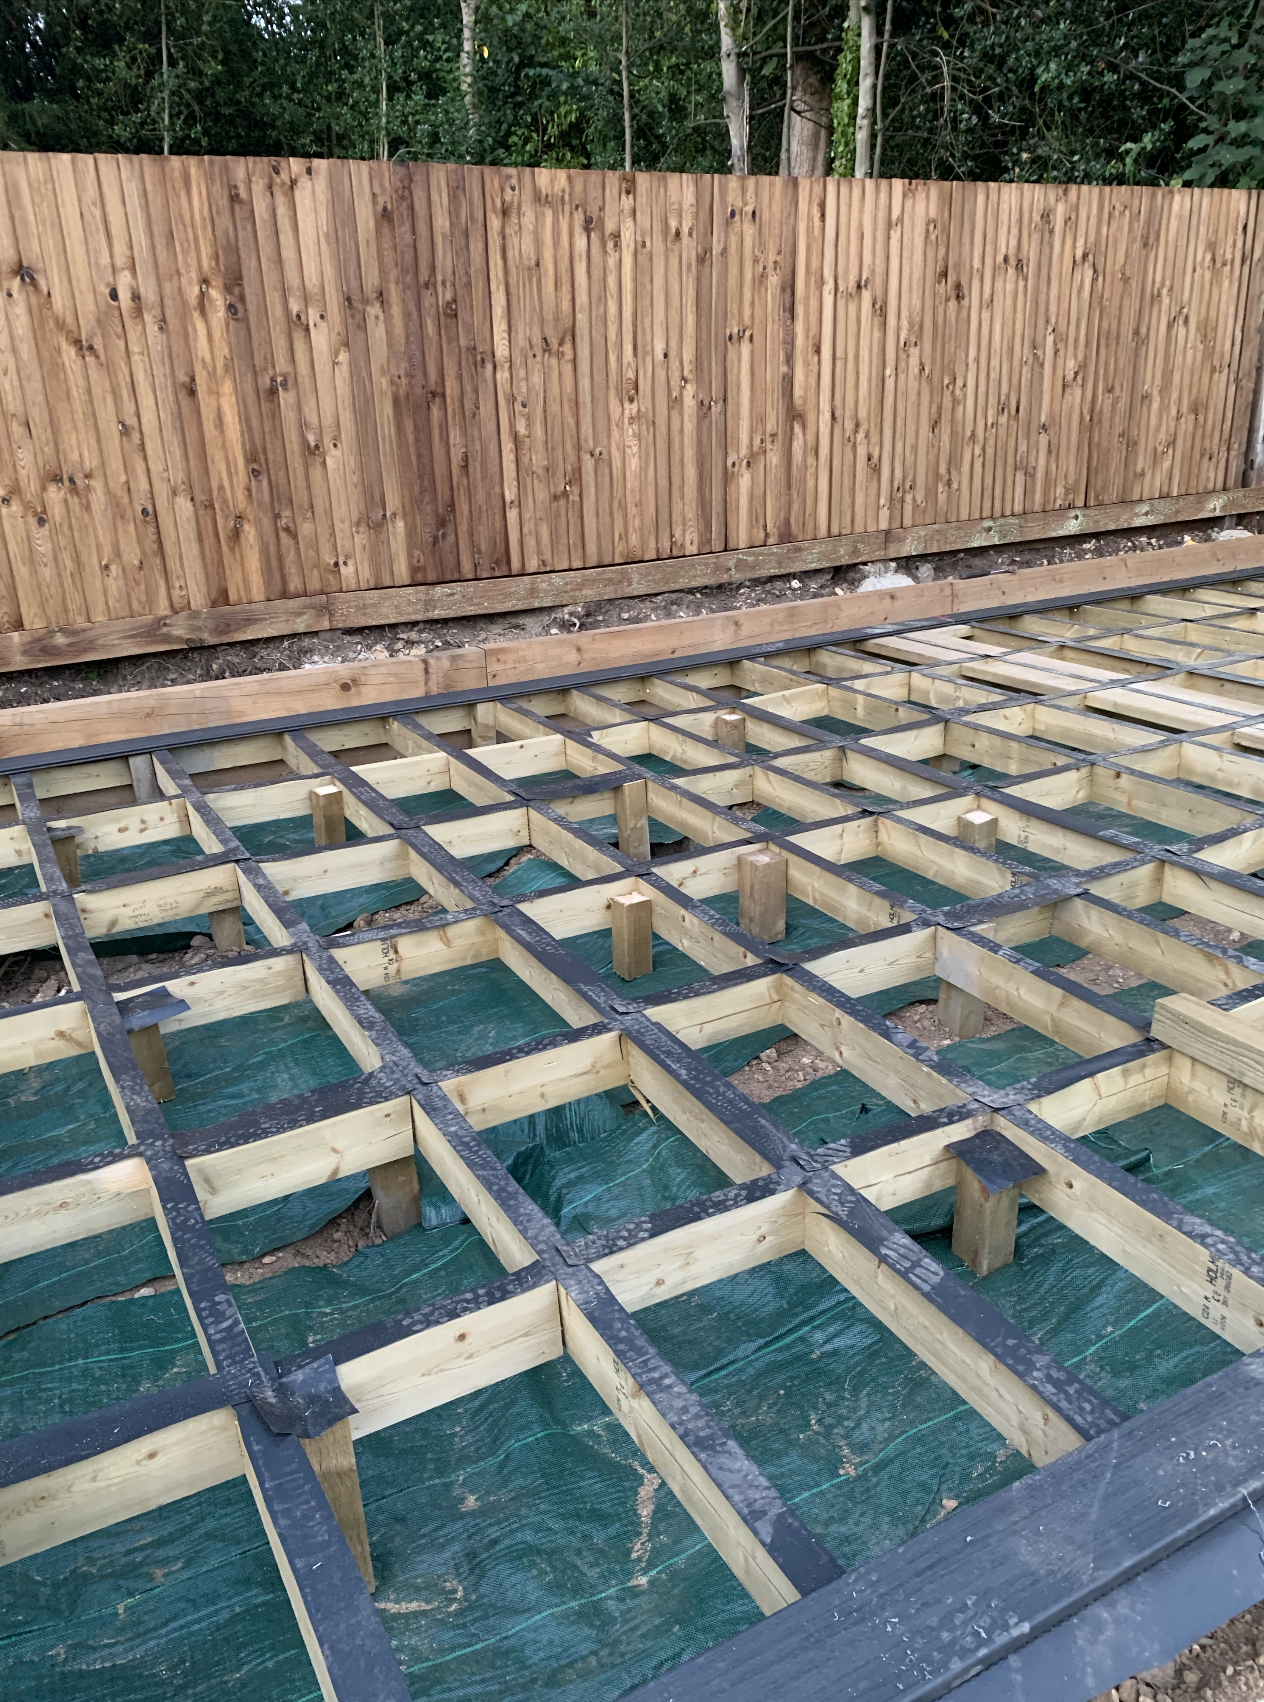
As we’ve never had any decking or any frame work where this is going, Steve from Living Landscapes set to work straight away to dig out holes in the ground which are then filled with quick-setting concrete to hold the posts in place.

Trex Decking - building a Timber Sub structure

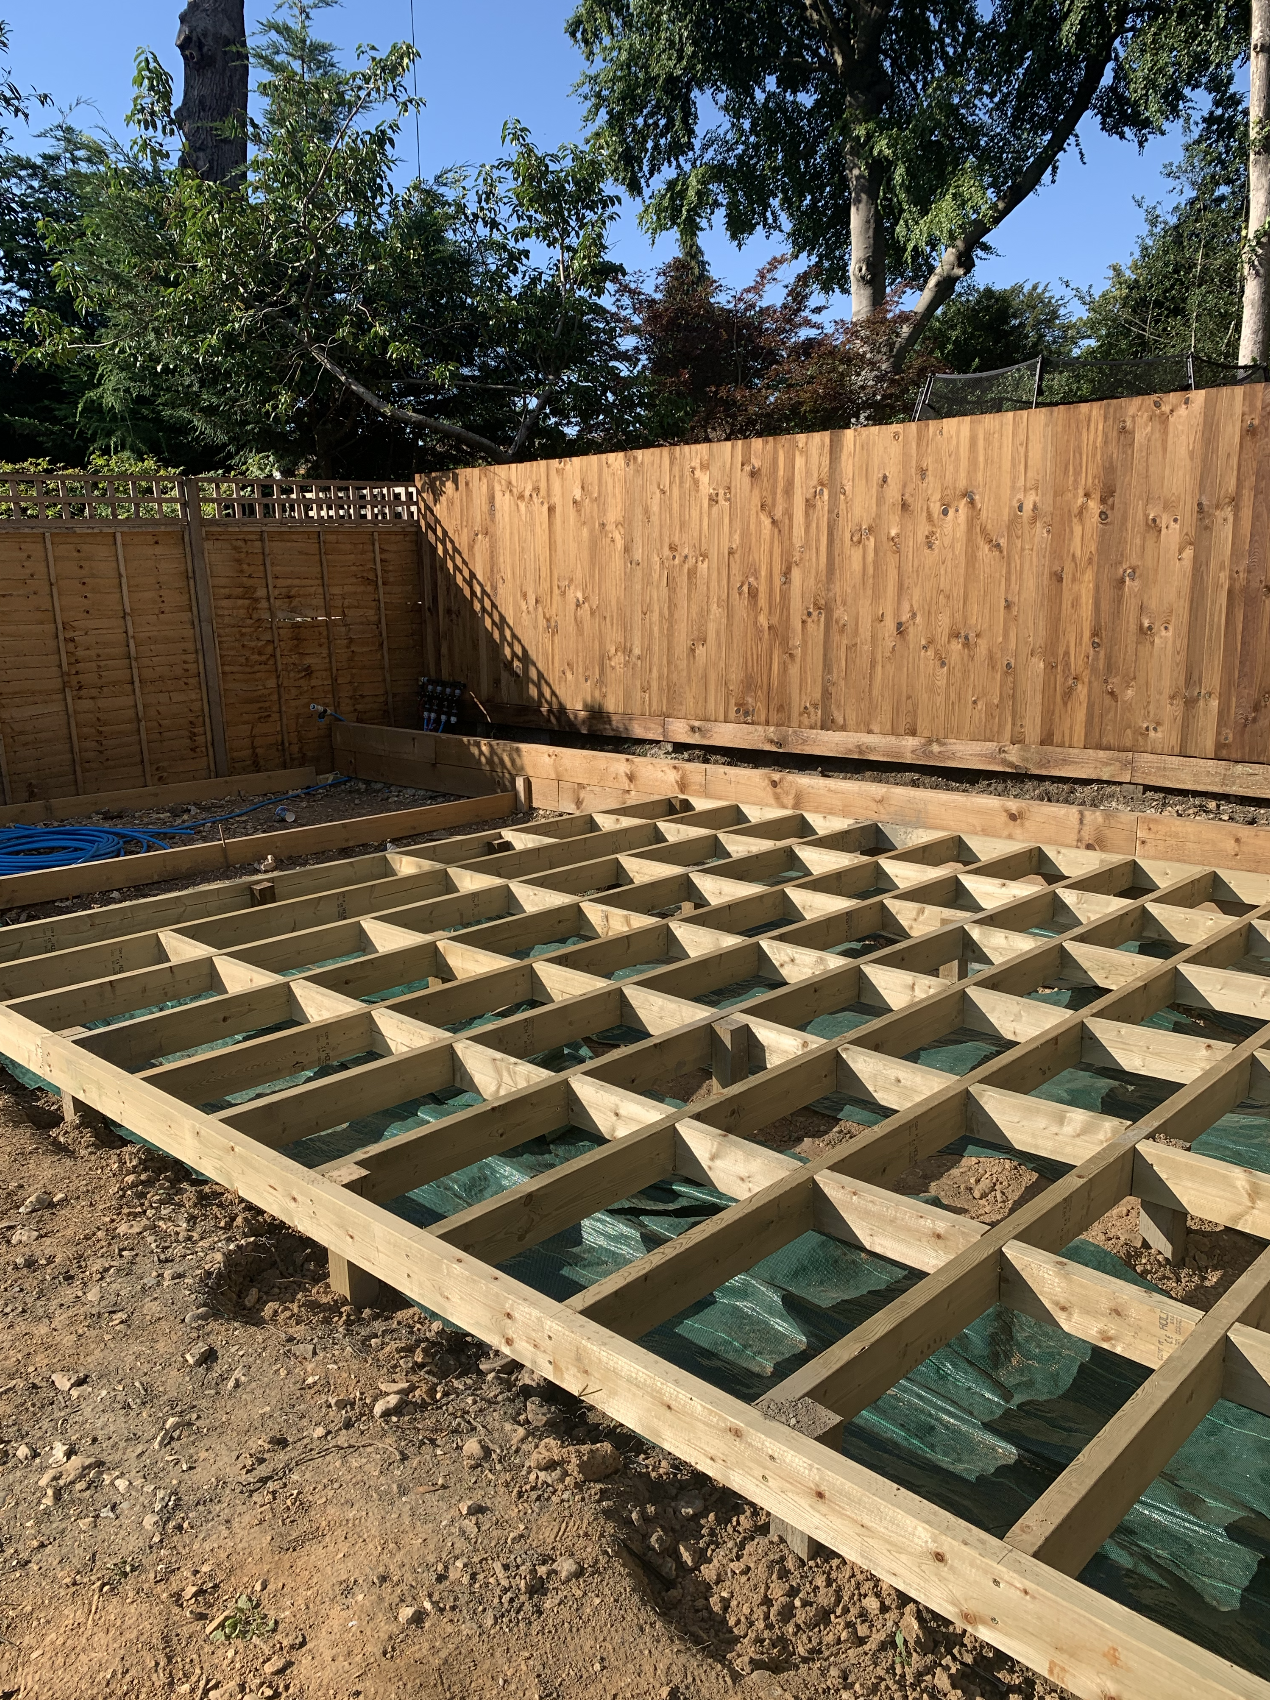
These posts will hold the substructure frame. The surrounding frame is built first, then treated timbers are laid vertical, whilst the smaller infill timbers are attached last. This creates a very pleasing grid formation from the treated timbers.

The most important thing at this stage is to ensure that the frame is structurally sound, and most important, is level.

Building the Trex Decking Timber Sub structure

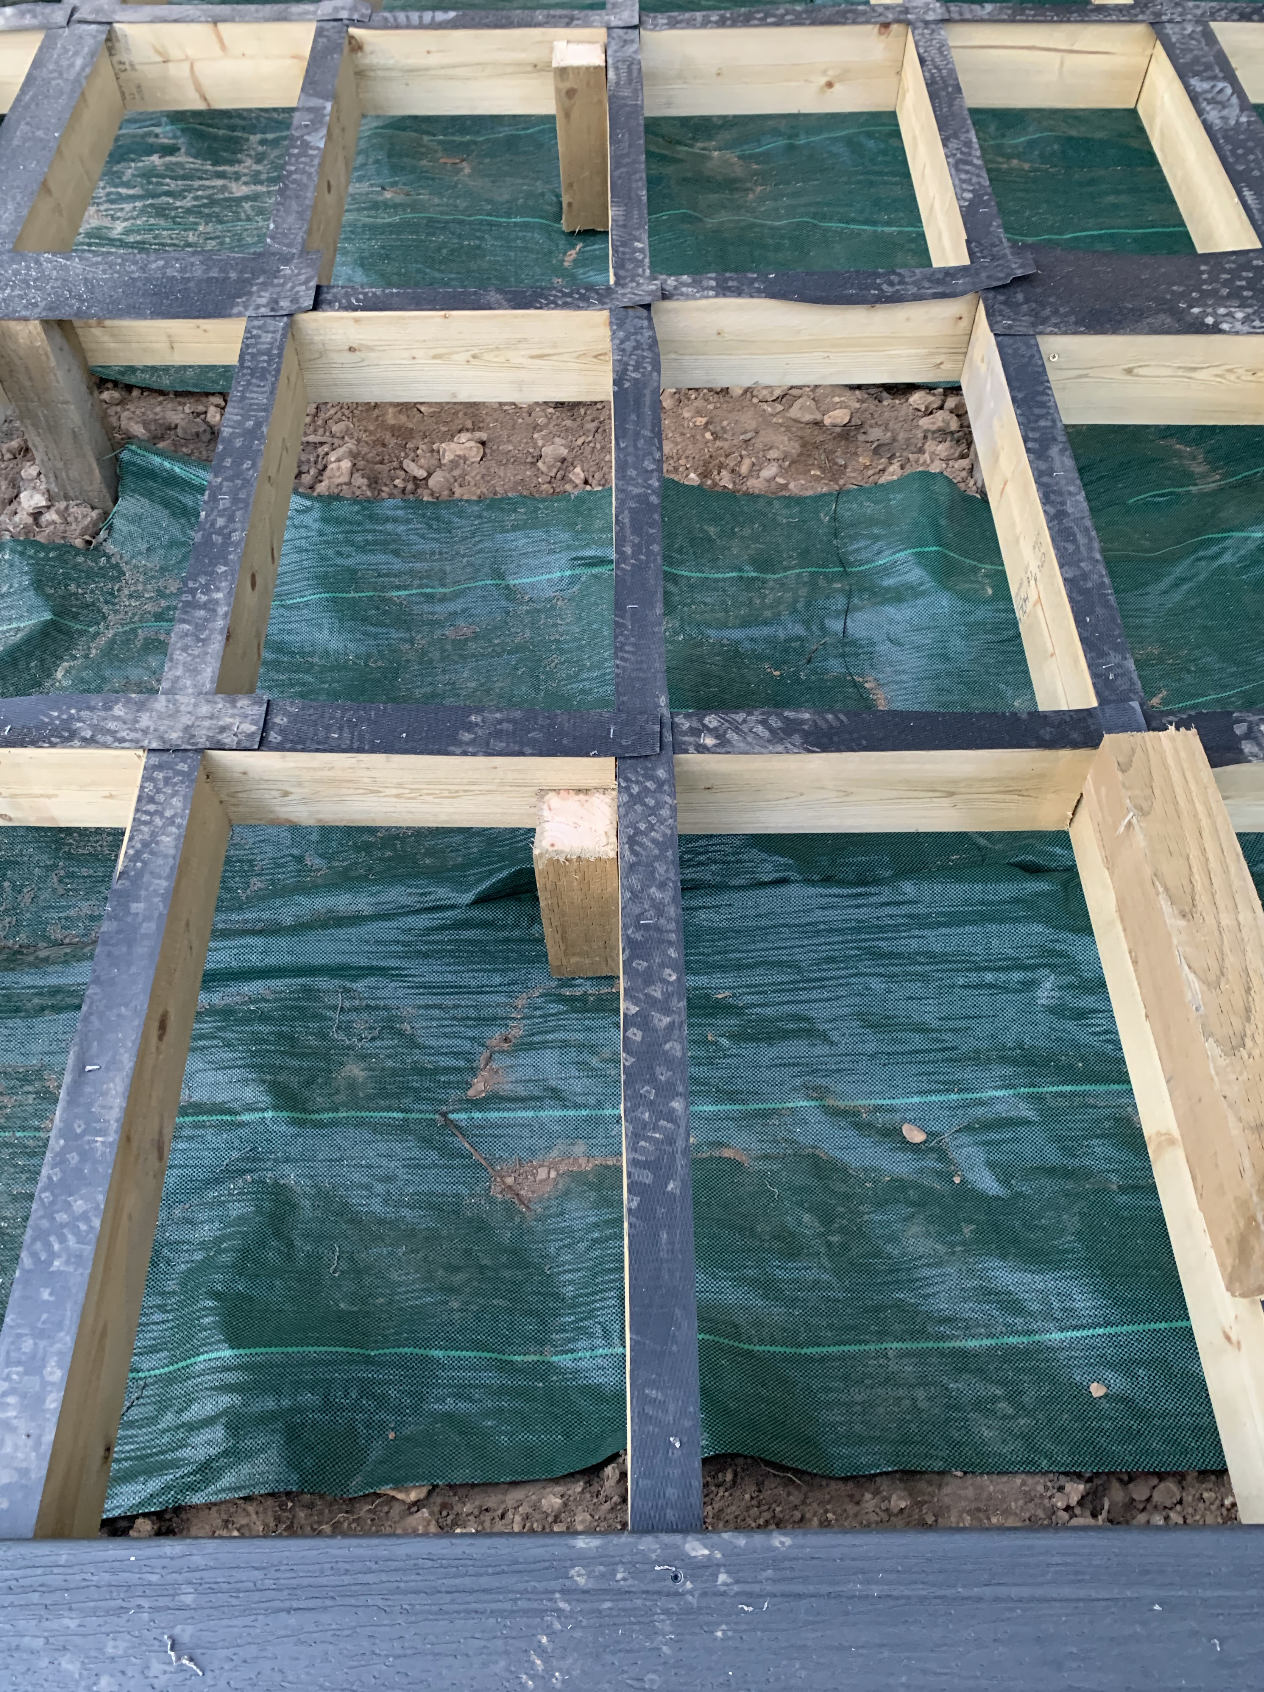
Steve ( Living Landscapes) also laid some anti weed matting underneath the substructure to prevent weeds growing through the deck.

Building the Sub-Structure Timber Frame for the Trex Decking

Building the Sub-Structure Timber Frame for the Trex Decking

 Step 2: Protecting the Substructure frame

Once the timber structure was built, Steve from Living Landscapes used Trex® Protect™ Beam and Joist Tape to protect the timber framework.

This gives an extra layer of protection to the wooden substructure,  which will have Deckfast® Fascia Screws in it from the Trex Fixing systems (this is what Steve uses to attach the Trex Enhance deck to the framework). When a screw is inserted into the timber through the tape, the tape will act as silicone, preventing any moisture or water from penetrating the timber, and preventing it from rotting.

Step 3. Laying the Trex Deck

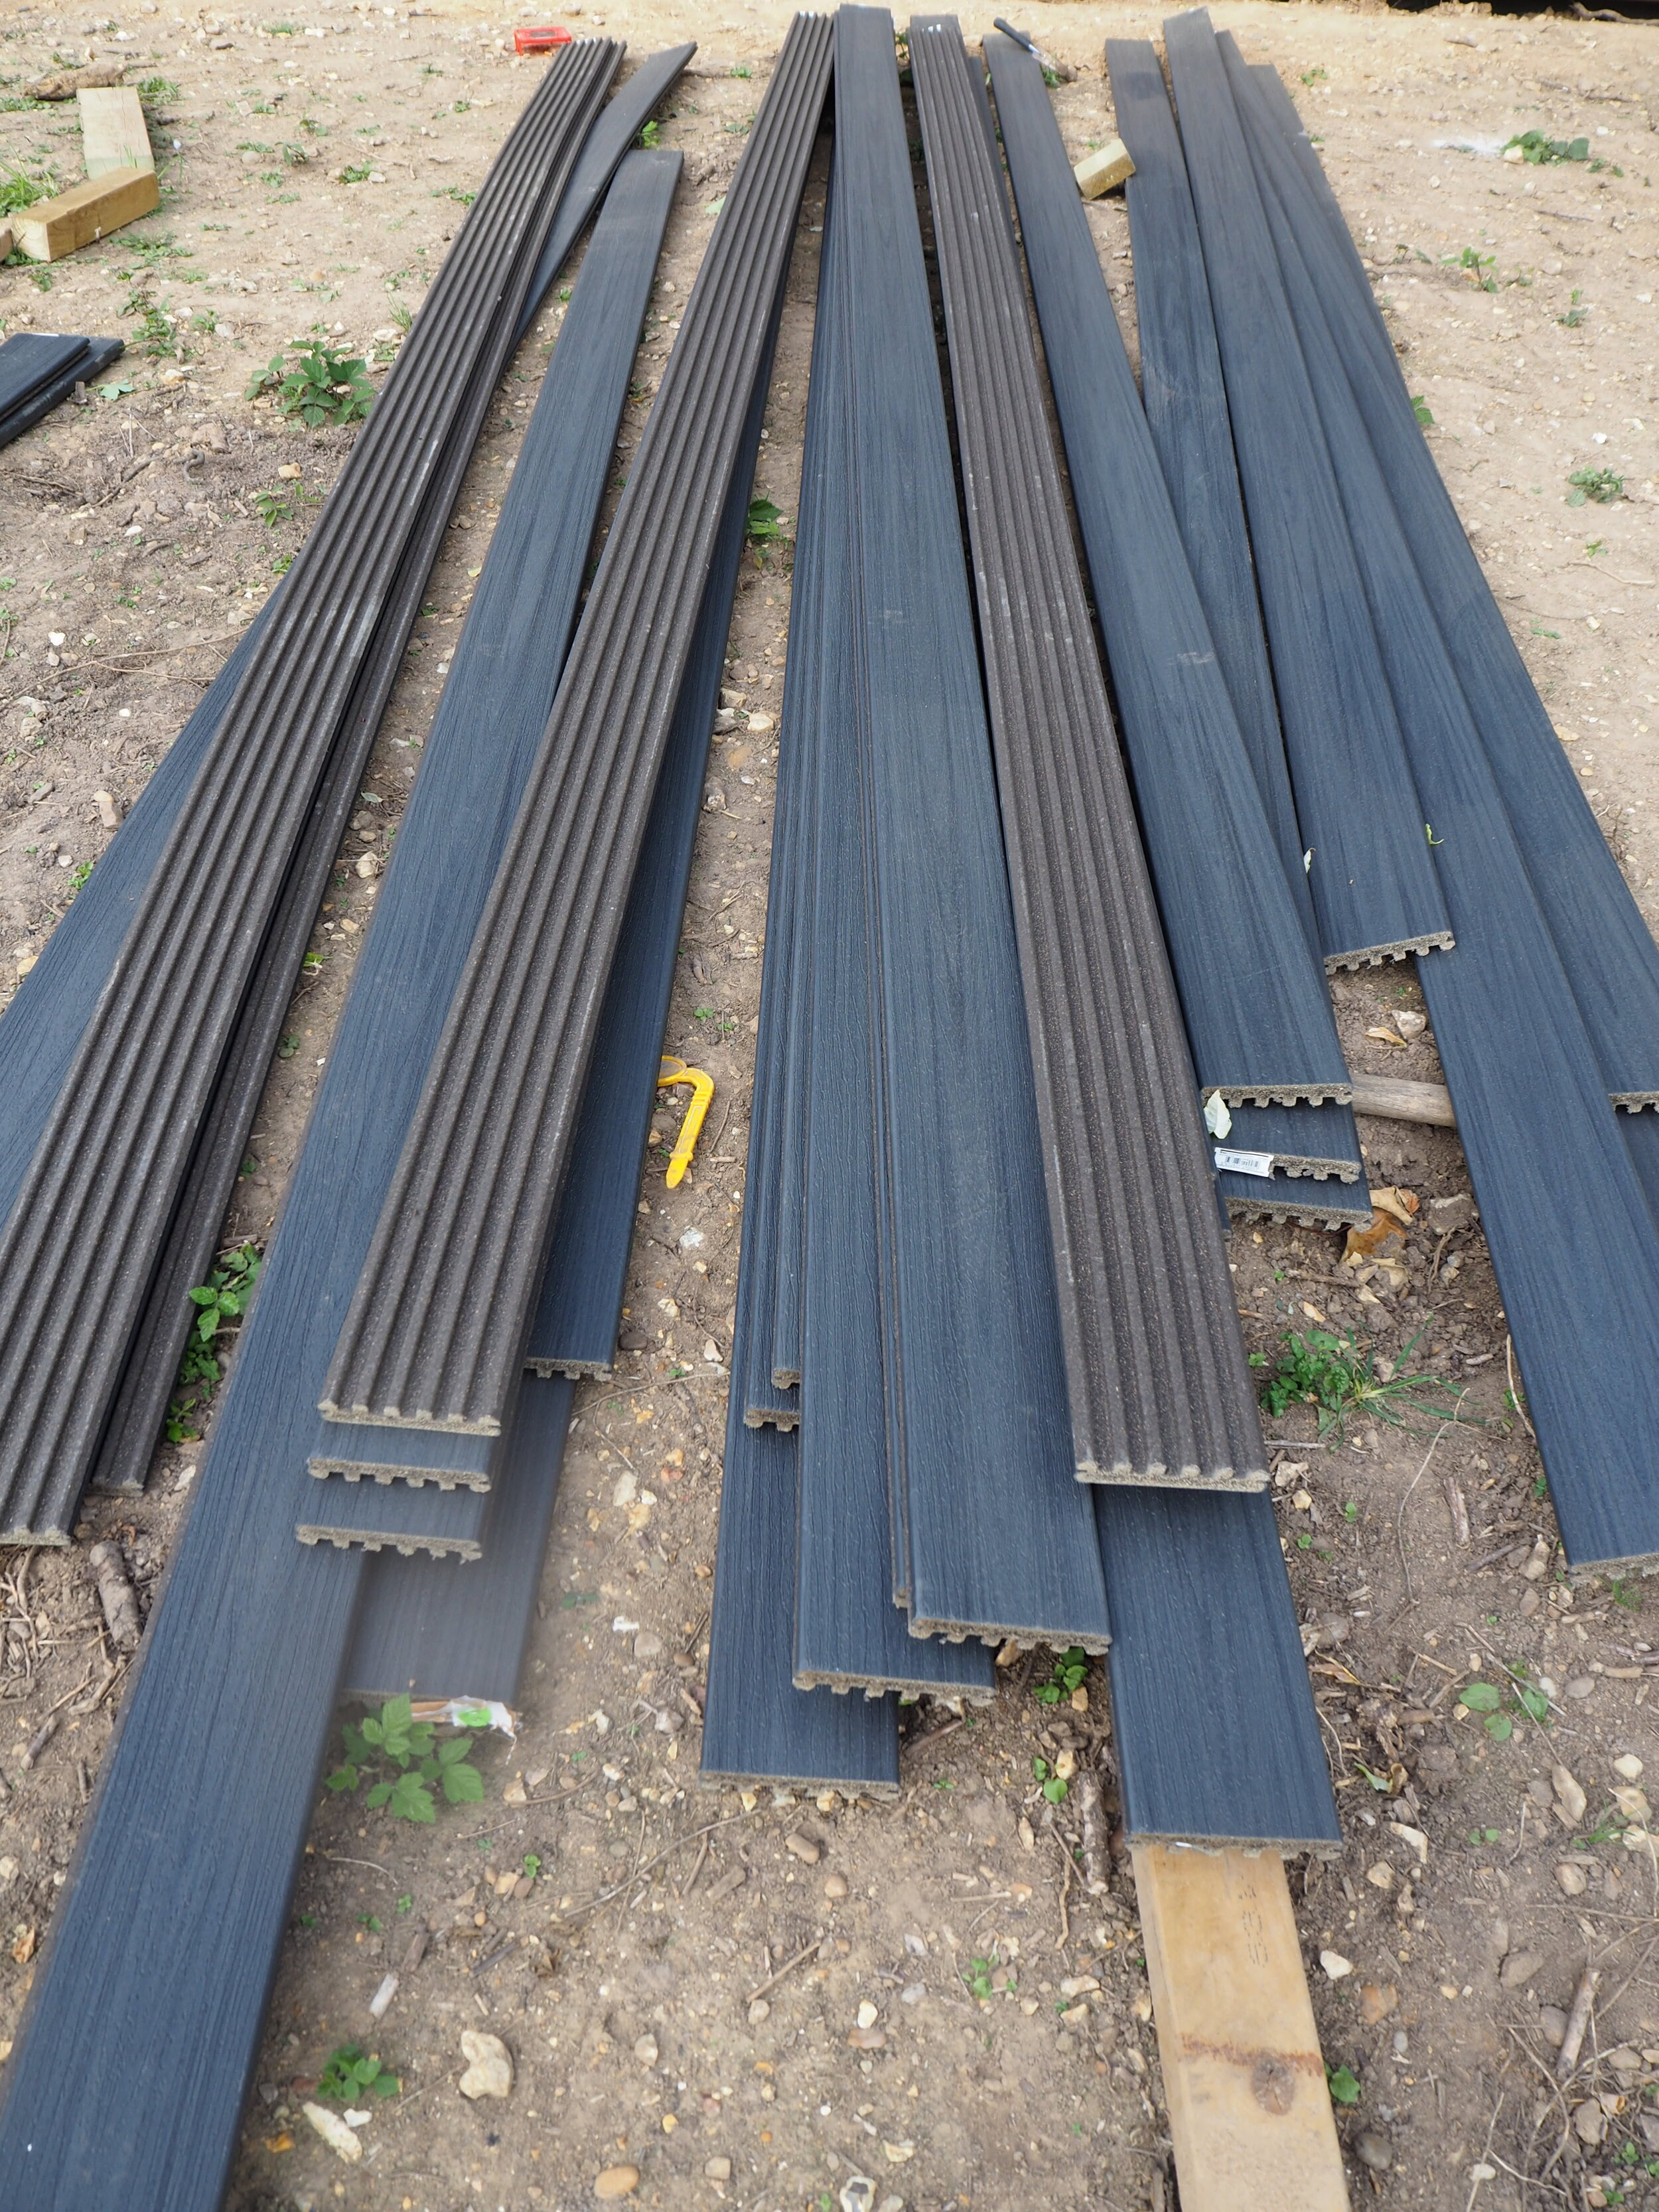
Once the framework was complete the Trex Enhance decking boards were delivered. I can’t tell you how exciting it was to see the ‘Calm Water’ Trex Enhance dark grey/blackish boards laid out in our garden ready to go down. Knowing that I’ll never have to sand or stain this deck is such a joy! Having a toddler and a full-time job means I haven’t got time to maintain the outside spaces, so having decking which is easy to care for will be a dream.

Trex Enhance Decking in Calm Water

Trex Enhance Decking in Calm Water

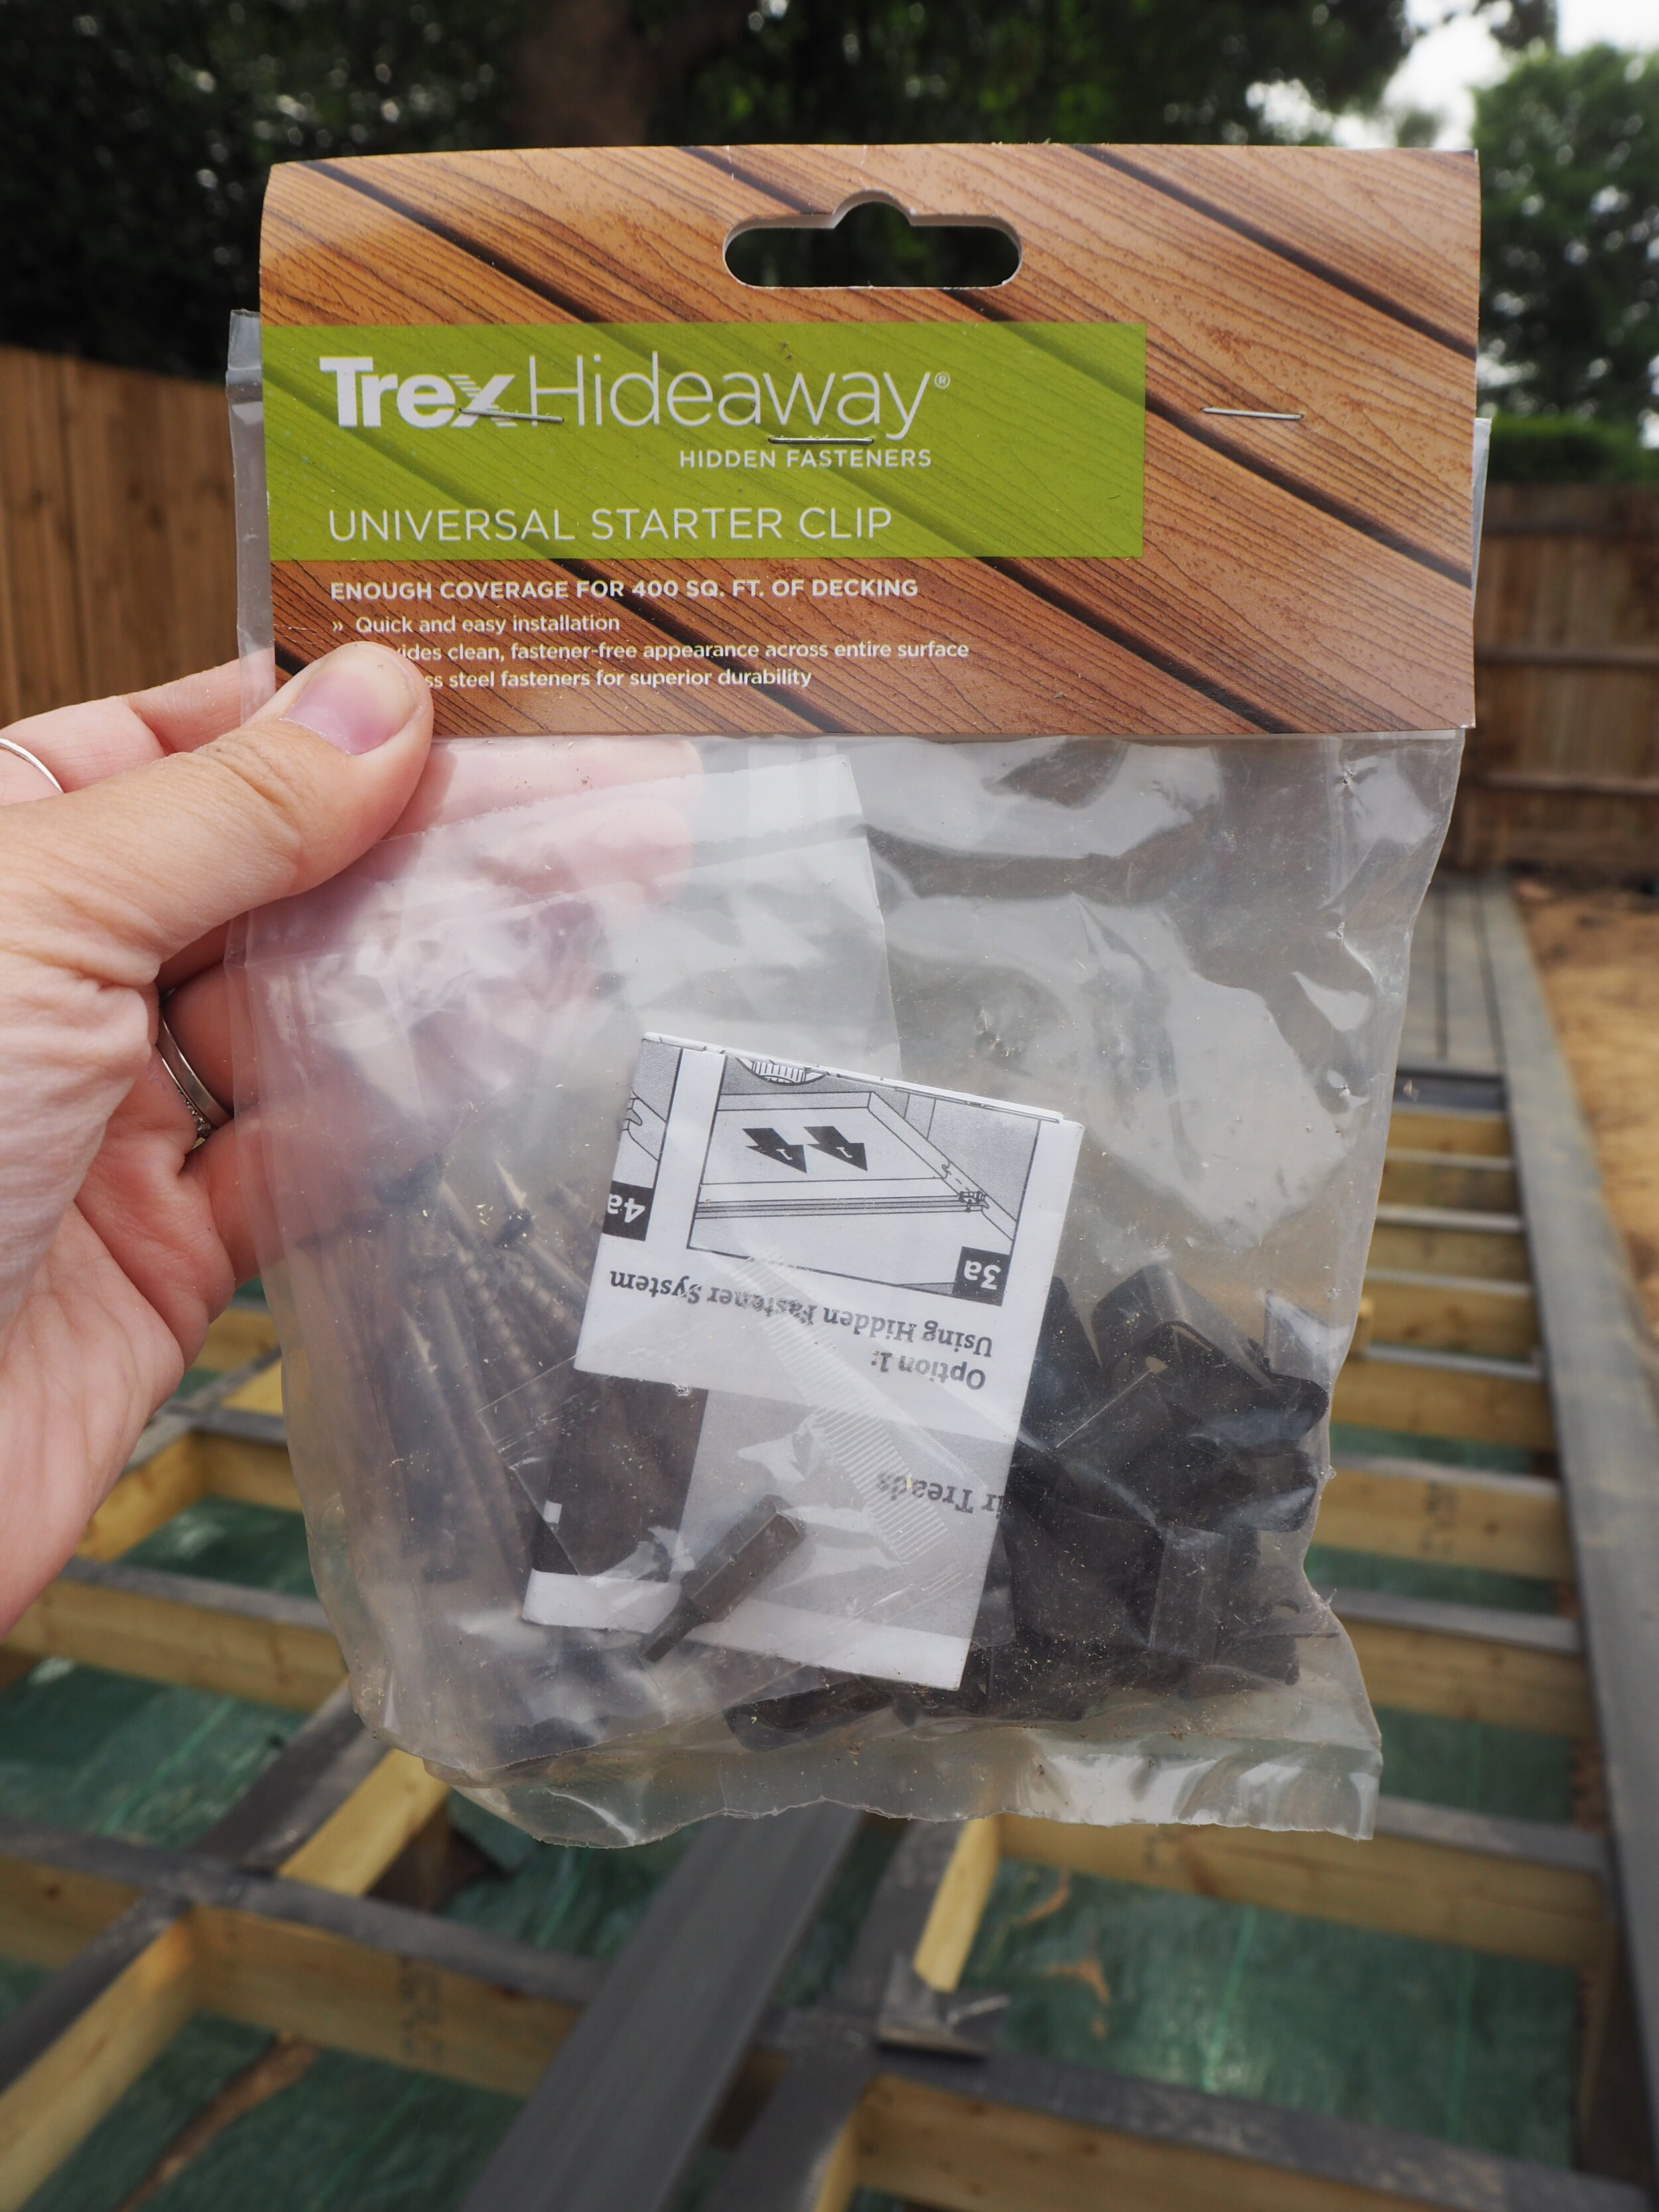
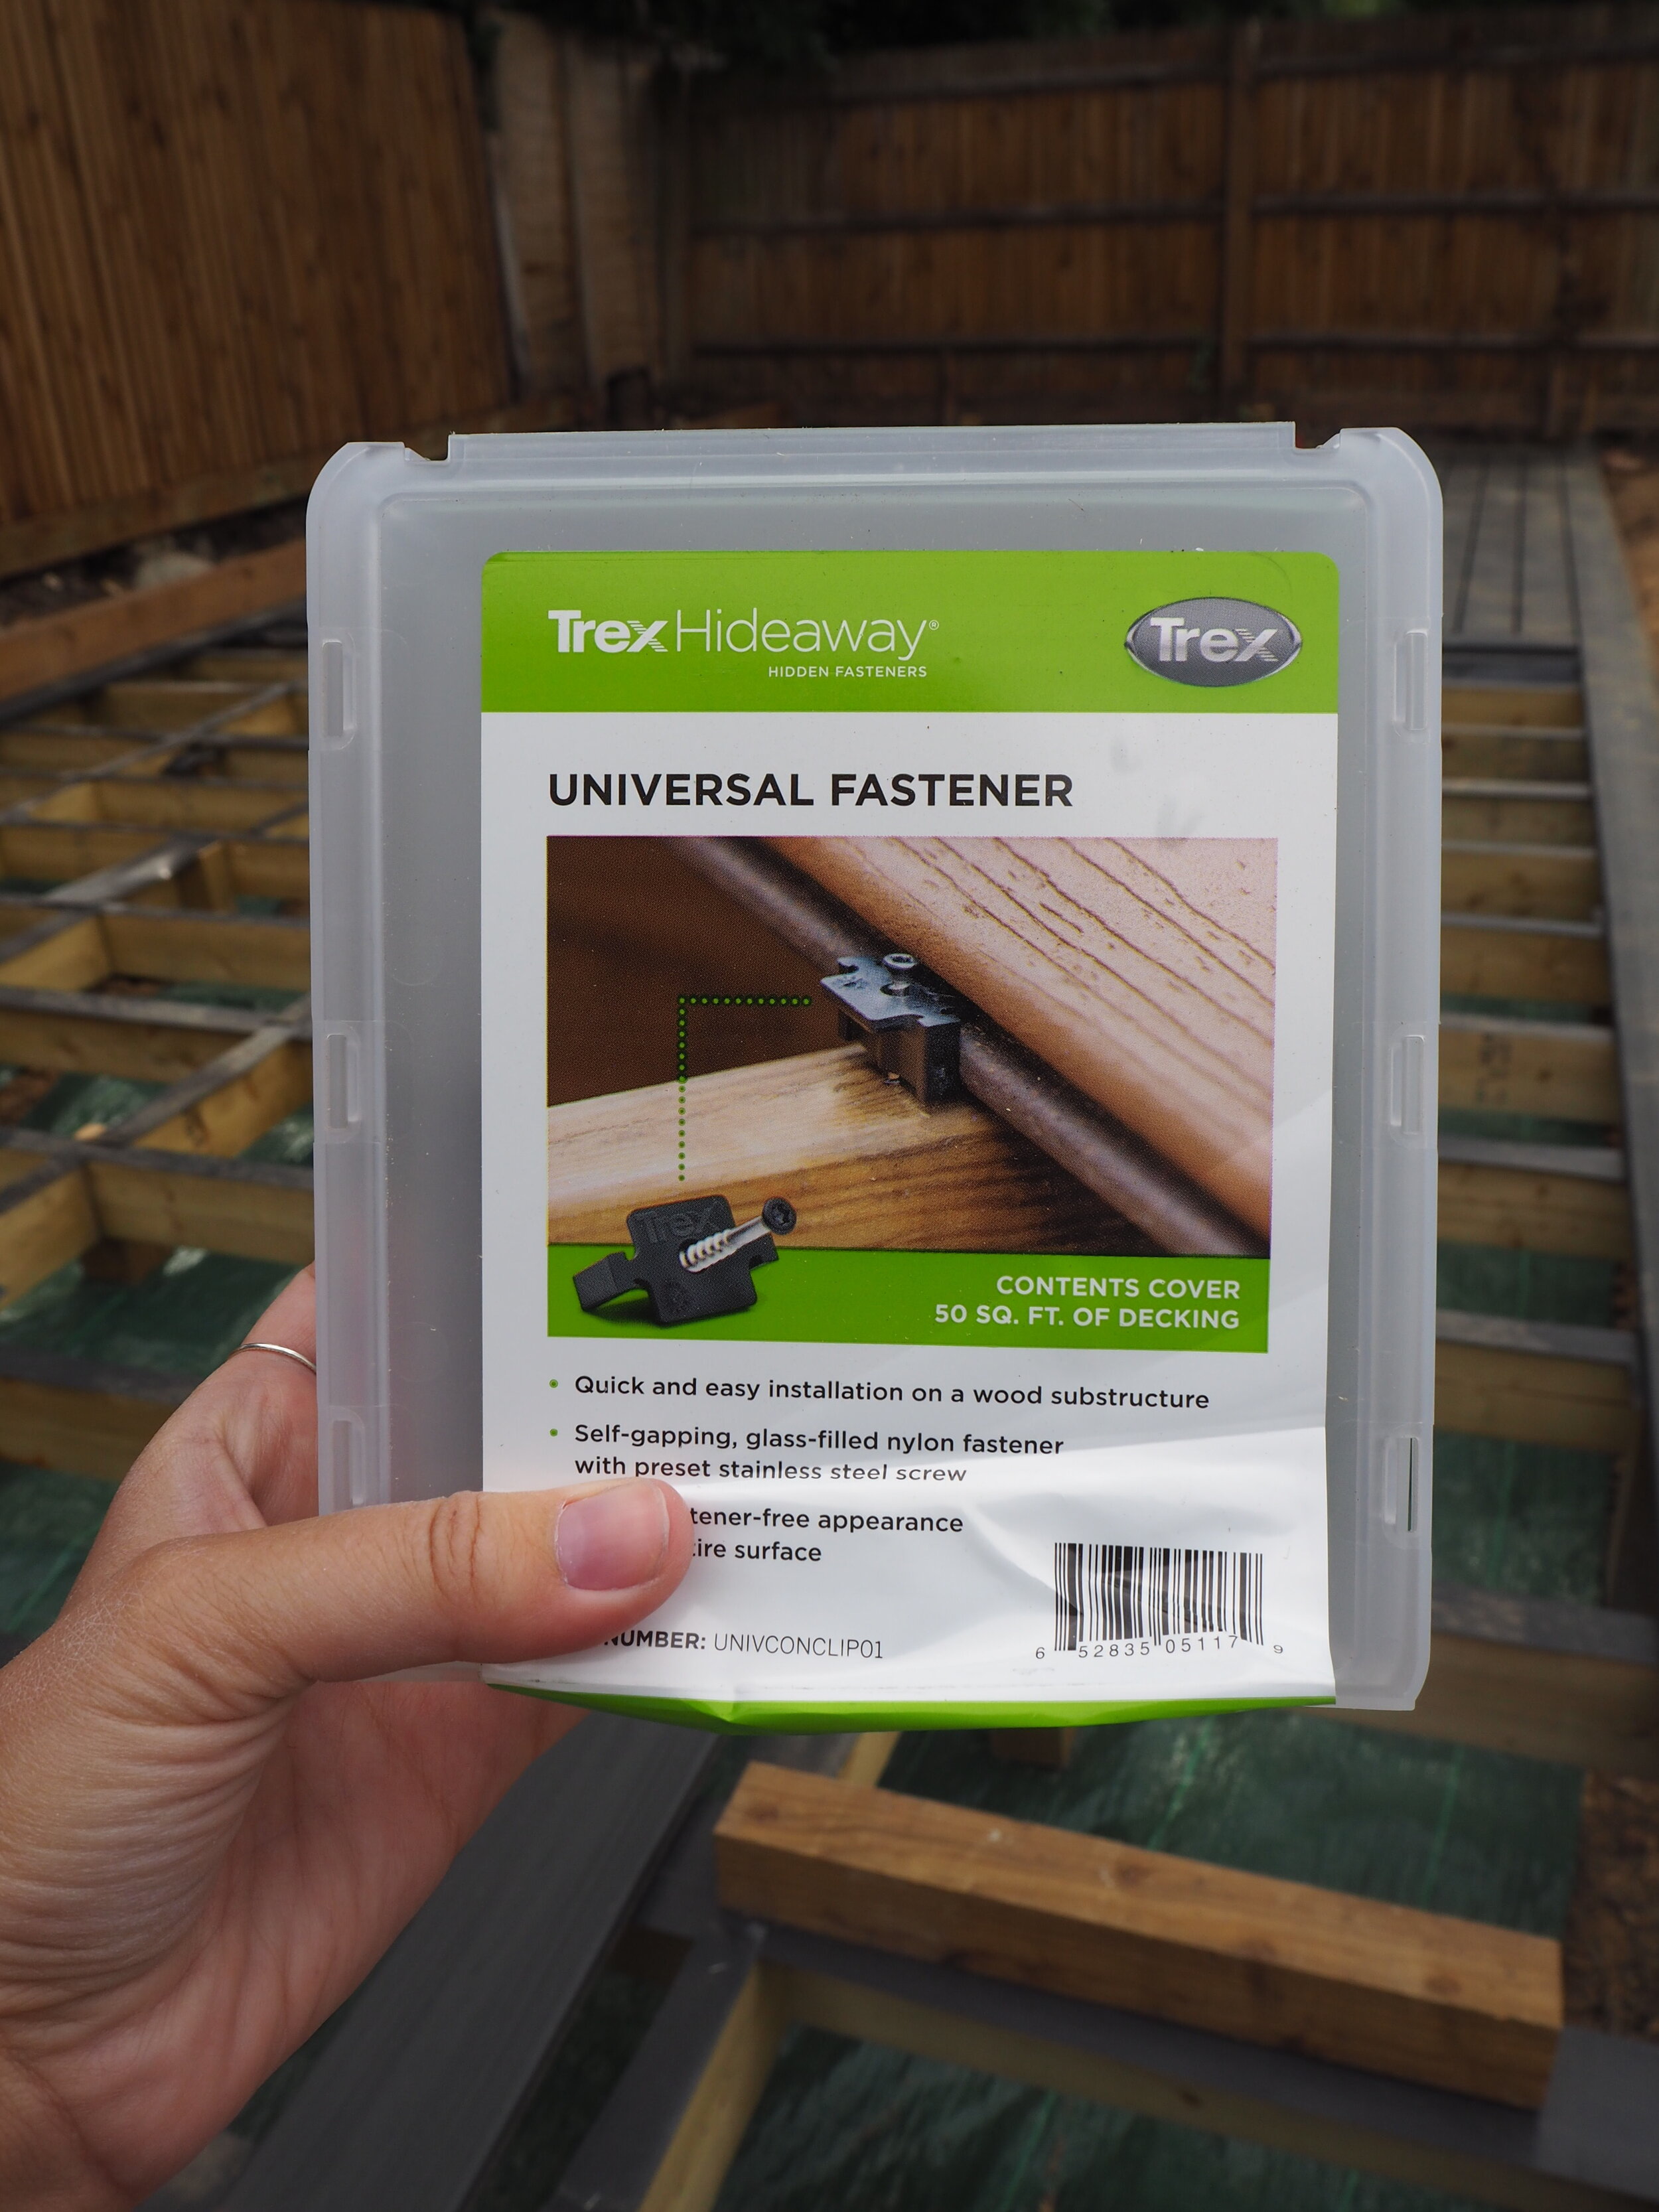
To fix the Trex Enhance decking to the timber, Steve is using the Trex Hideaway Universal Clips and the Trex Hideaway® Universal Fasteners which are part of the Trex Secret Fixing System which are used for grooved edge boards like the Enhance range.

The universal clips are simple-to-use self-gapping clips which attach two grooved boards together and achieve a screw-less finish alongside consistent spacing. Each features a pre-set stainless steel screw for increased durability. This method is only suitable for grooved boards on a timber substructure. See the photo below.

The starter clips are these black, stainless steel fixings which are used to install the perimeter deck boards. They are only required with grooved boards. Each features a stainless steel screw for increased durability.

Trex Hideaway® Secret Fixing System - for grooved edge boards.  These are the universal Clips.

Trex Hideaway® Secret Fixing System - for grooved edge boards. These are the universal Clips.

The Deckfast® Fascia Screws are colour matched screws which are designed to accommodate the expansion and contraction that can occur with fascia boards. They are installed using the pre-drilling fascia tool which is available separately – see the Fascia screws below.

Trex Decking Fascia System - Dark Grey fascia screws

It was now time for Steve (Living landscapes design) to set to work in laying the deck.

The Trex Deck halfway completed.

The Trex Deck halfway completed.

As the area is 8.5m Steve  (Living landscapes design) gave me several options for how we could lay the deck to accommodate the joins in the boards (The Trex Enhance Calm Water boards are available in 4.88 and 3.66m lengths). We decided on laying a board vertically down the middle of the deck so that the 6mm gap which needs to be left between boards joins will look more finished.

I love that even the Deckfast® Fascia Screws are colour matched so they don’t stand out.


Step 4: The finishing touches - Fascia boards and flower bed

All that is left is to finish the other side with the decking and then add the frontal fascia board and build the raised flower bed on the right which is also being made from Trex Enhance decking.

Then it will be ready for its big reveal.  Stay tuned to see the finished deck and second phase of garden makeover.


* This post is sponsored by Trex who are very kindly collaborating with me on the transformation of my garden deck space by providing all materials and labour in exchange for promotional activity. 

IMG_8730.jpeg