
OUR RENOVATION JOURNEY: OUR GARDENS PLANS- PHASE 2 WITH TREX COMPOSITE DECKING- THE DECK BUILD
/A few days ago I wrote about the second phase of our garden plans and how we were planning on adding a large deck to the bottom of our north facing garden using Trex Enhance decking.
Being north facing we want to make the most of the evening sunshine down at the bottom of the garden, and we fell in love with Trex’s composite decking boards and in particular the Trex Enhance range due to the colour.
These board are not only super durable, but also, unlike timber, they won’t need to be stained or treated and will continue to keep their colour for many years to come.
This week things have started, and I am super excited to show you how much progress has already been made in building our dream deck.
In collaboration with Trex and Steve, our certified TrexPro installer; Steve from Living Landscapes, Steve has started to build the 8.5m x 4m wide substructure and has started to lay the Trex decking.
In today’s blog post I’m going to talk you through the building of the substructure which the composite Trex decking will go onto and what it entails to build and protect the structure so that it doesn’t rot in years to come. So, who’s ready to learn how it’s done?
Step 1 – Building the Framework
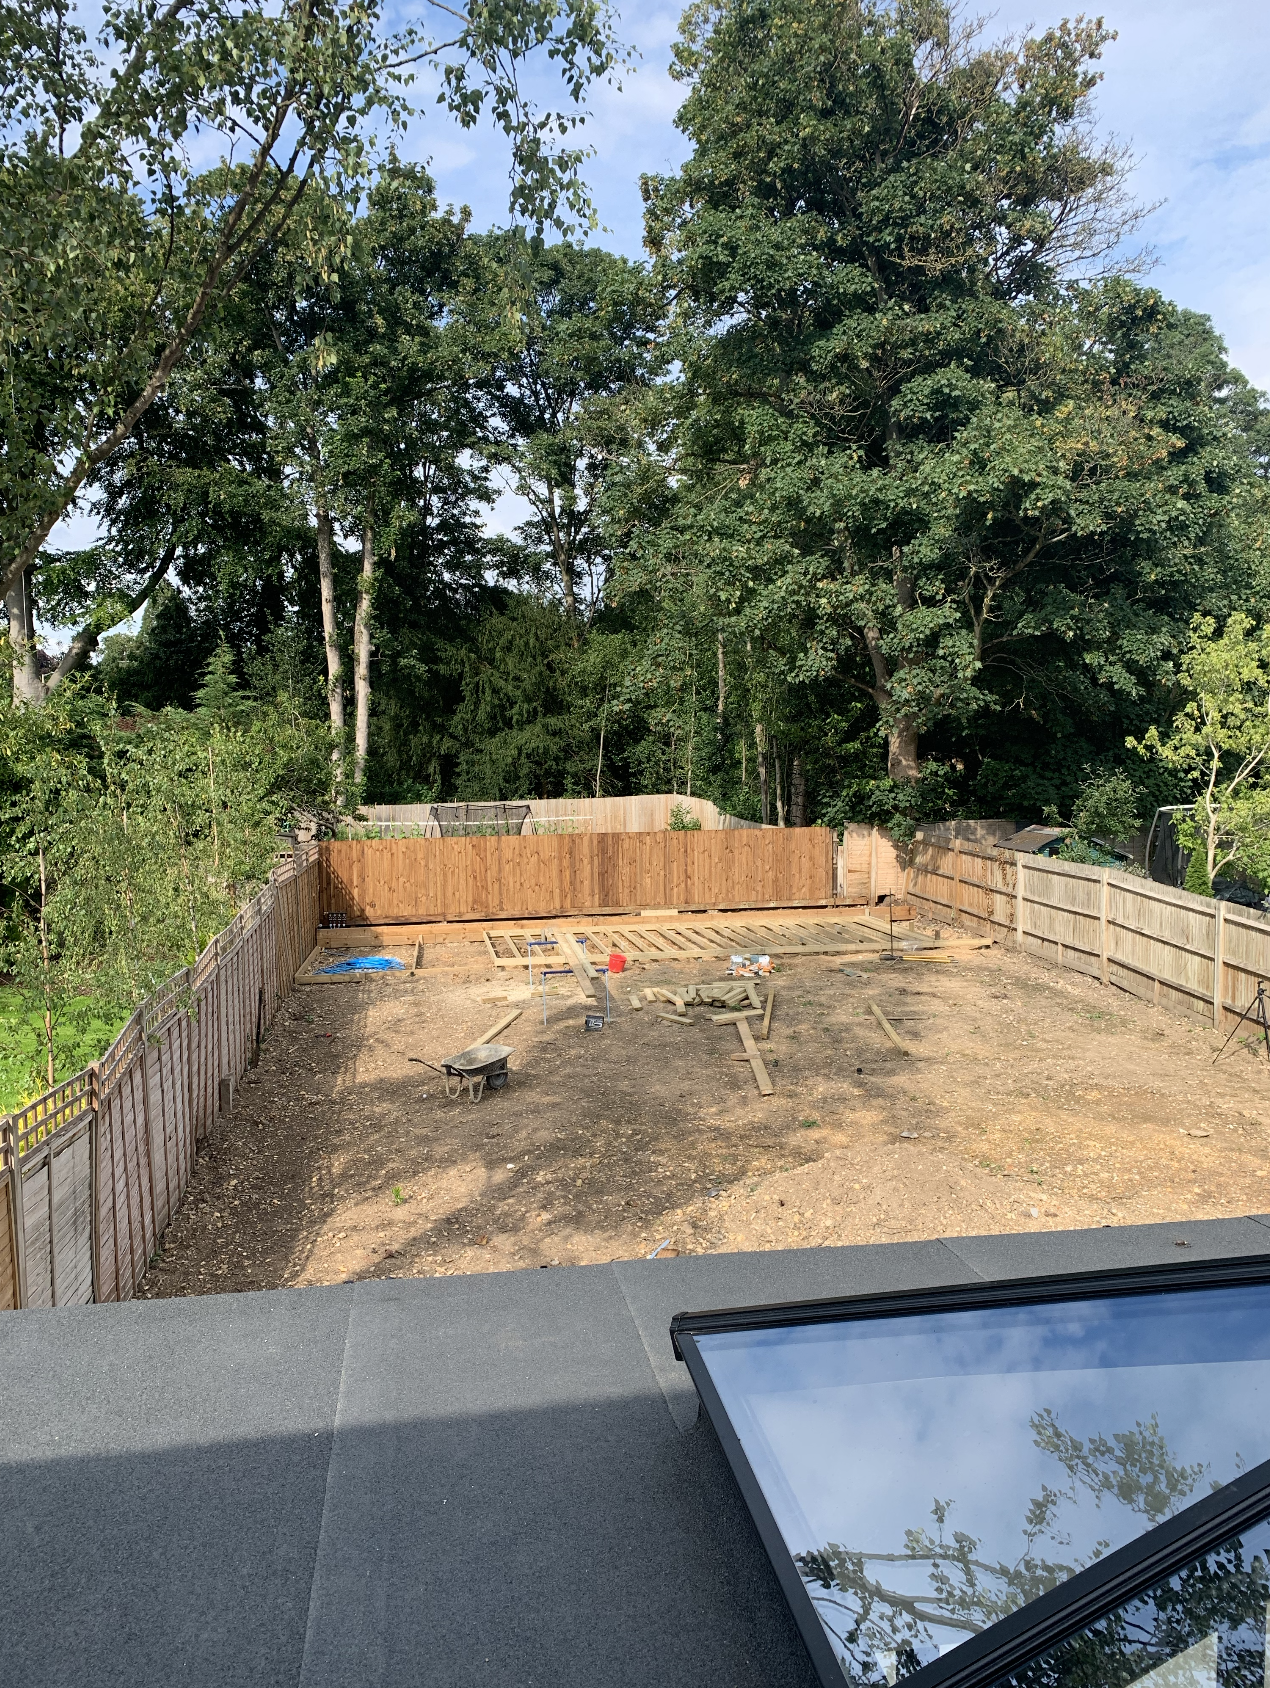
**In preparation of the build we had already levelled the garden**
As we’ve never had any decking or any frame work where this is going, Steve from Living Landscapes set to work straight away to dig out holes in the ground which are then filled with quick-setting concrete to hold the posts in place.
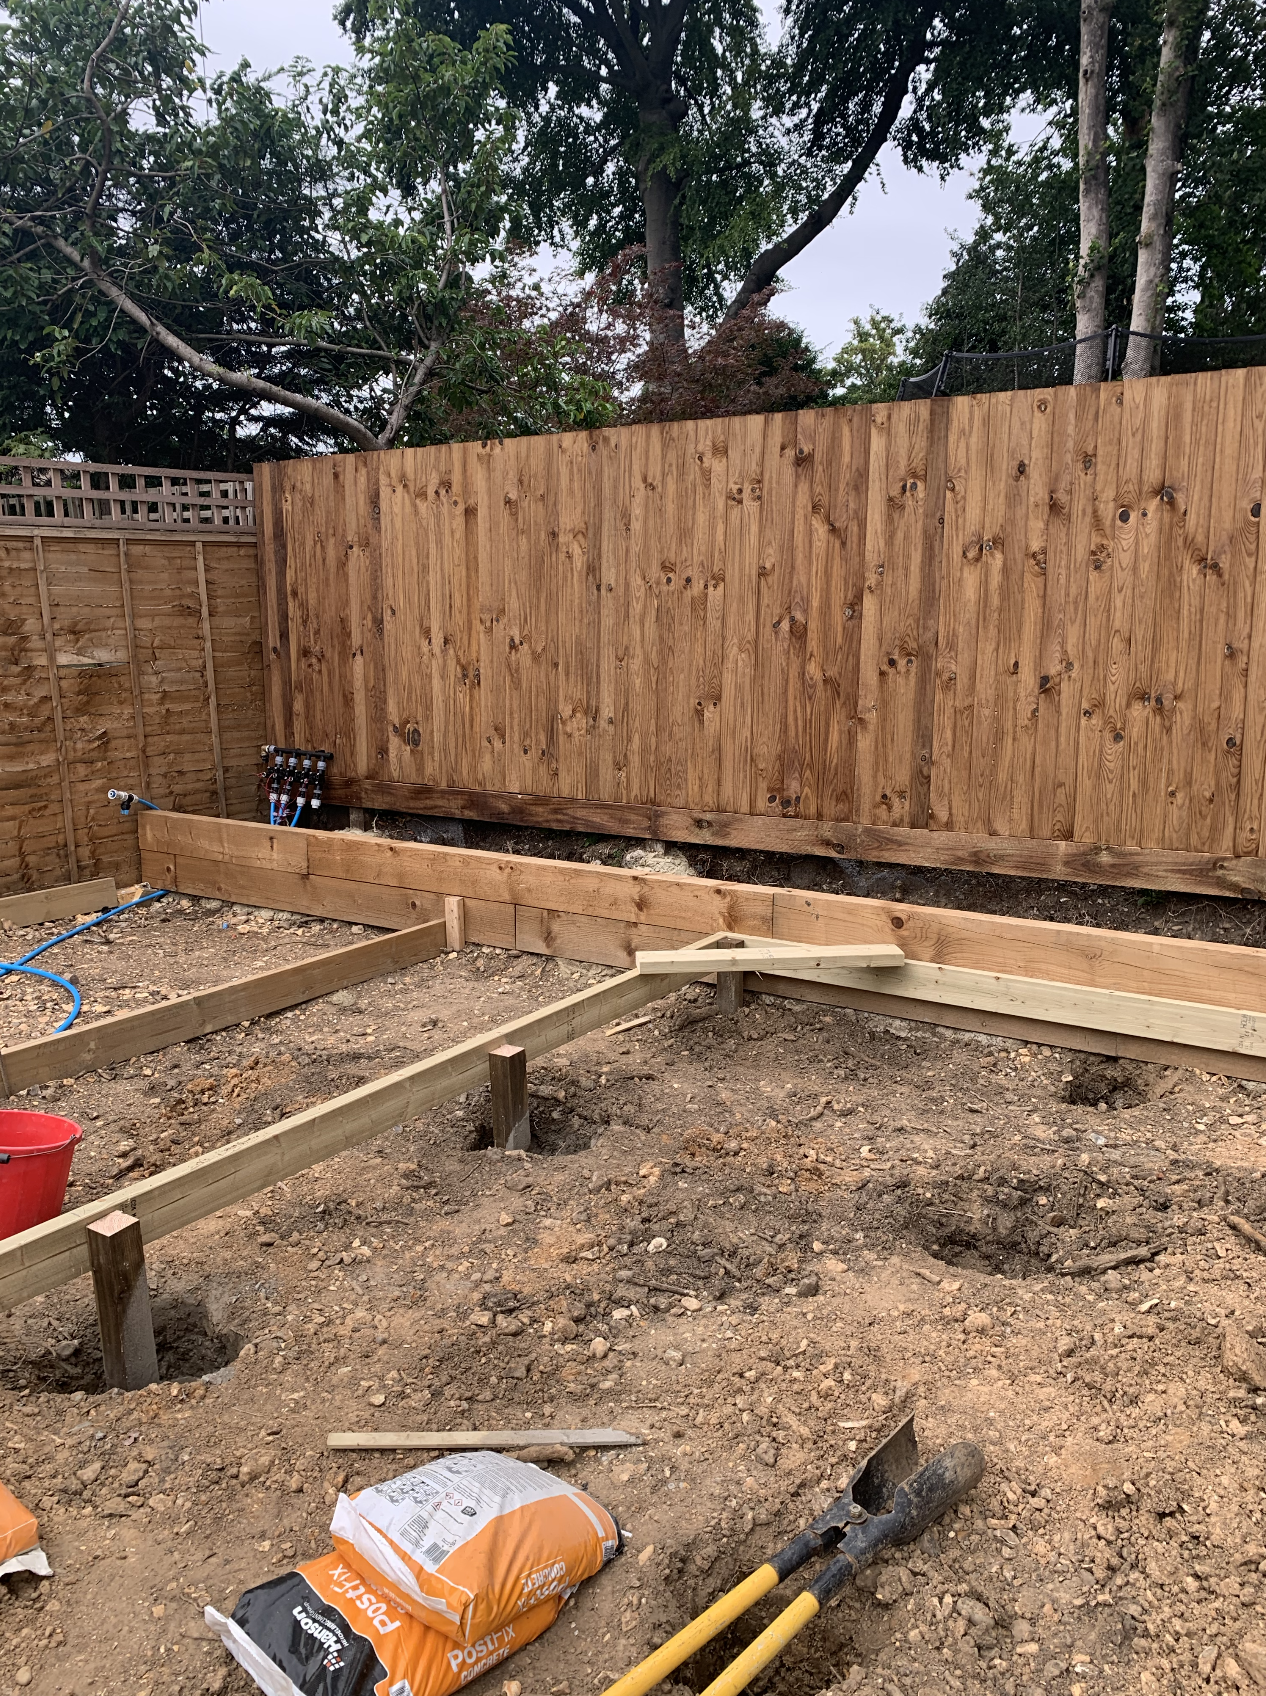
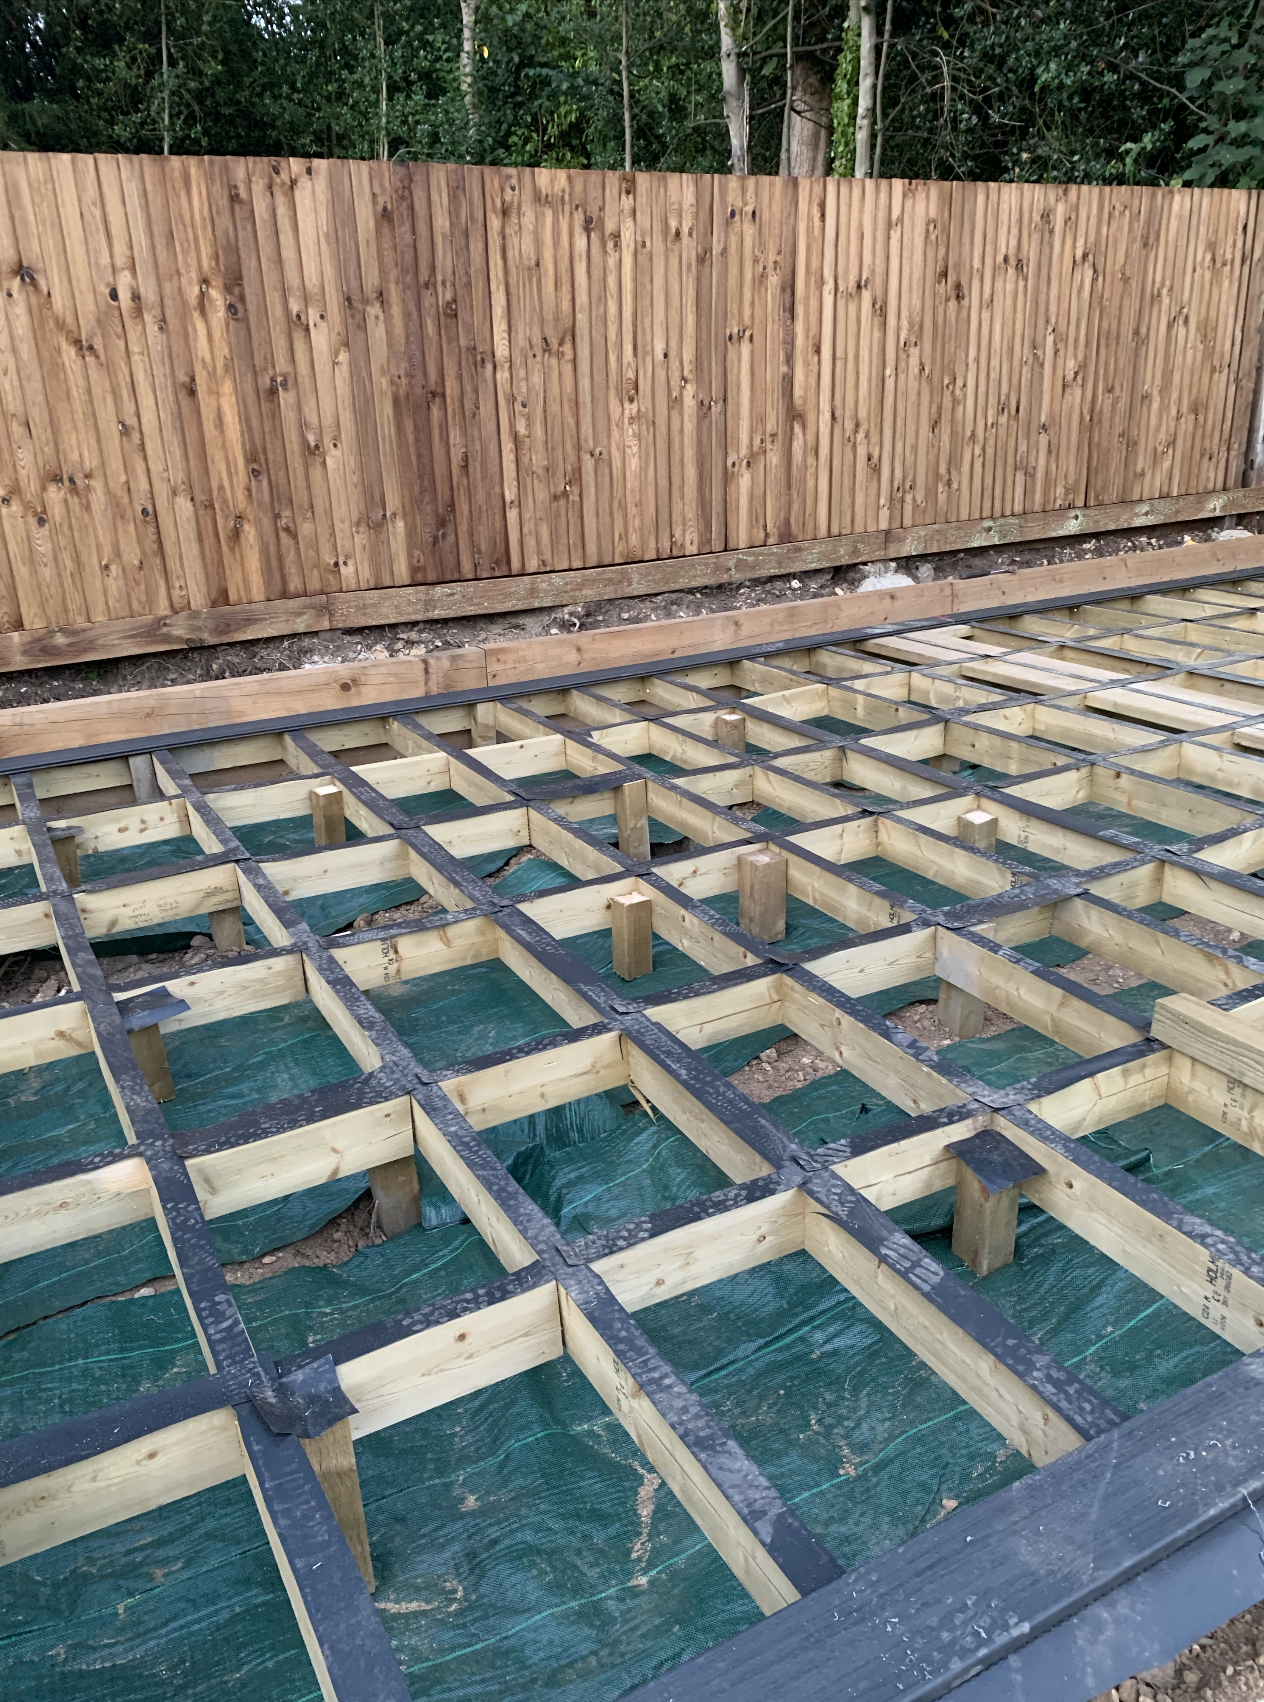
These posts will hold the substructure frame. The surrounding frame is built first, then treated timbers are laid vertical, whilst the smaller infill timbers are attached last. This creates a very pleasing grid formation from the treated timbers.
The most important thing at this stage is to ensure that the frame is structurally sound, and most important, is level.

Steve ( Living Landscapes) also laid some anti weed matting underneath the substructure to prevent weeds growing through the deck.

Building the Sub-Structure Timber Frame for the Trex Decking
Step 2: Protecting the Substructure frame
Once the timber structure was built, Steve from Living Landscapes used Trex® Protect™ Beam and Joist Tape to protect the timber framework.
This gives an extra layer of protection to the wooden substructure, which will have Deckfast® Fascia Screws in it from the Trex Fixing systems (this is what Steve uses to attach the Trex Enhance deck to the framework). When a screw is inserted into the timber through the tape, the tape will act as silicone, preventing any moisture or water from penetrating the timber, and preventing it from rotting.

Step 3. Laying the Trex Deck
Once the framework was complete the Trex Enhance decking boards were delivered. I can’t tell you how exciting it was to see the ‘Calm Water’ Trex Enhance dark grey/blackish boards laid out in our garden ready to go down. Knowing that I’ll never have to sand or stain this deck is such a joy! Having a toddler and a full-time job means I haven’t got time to maintain the outside spaces, so having decking which is easy to care for will be a dream.
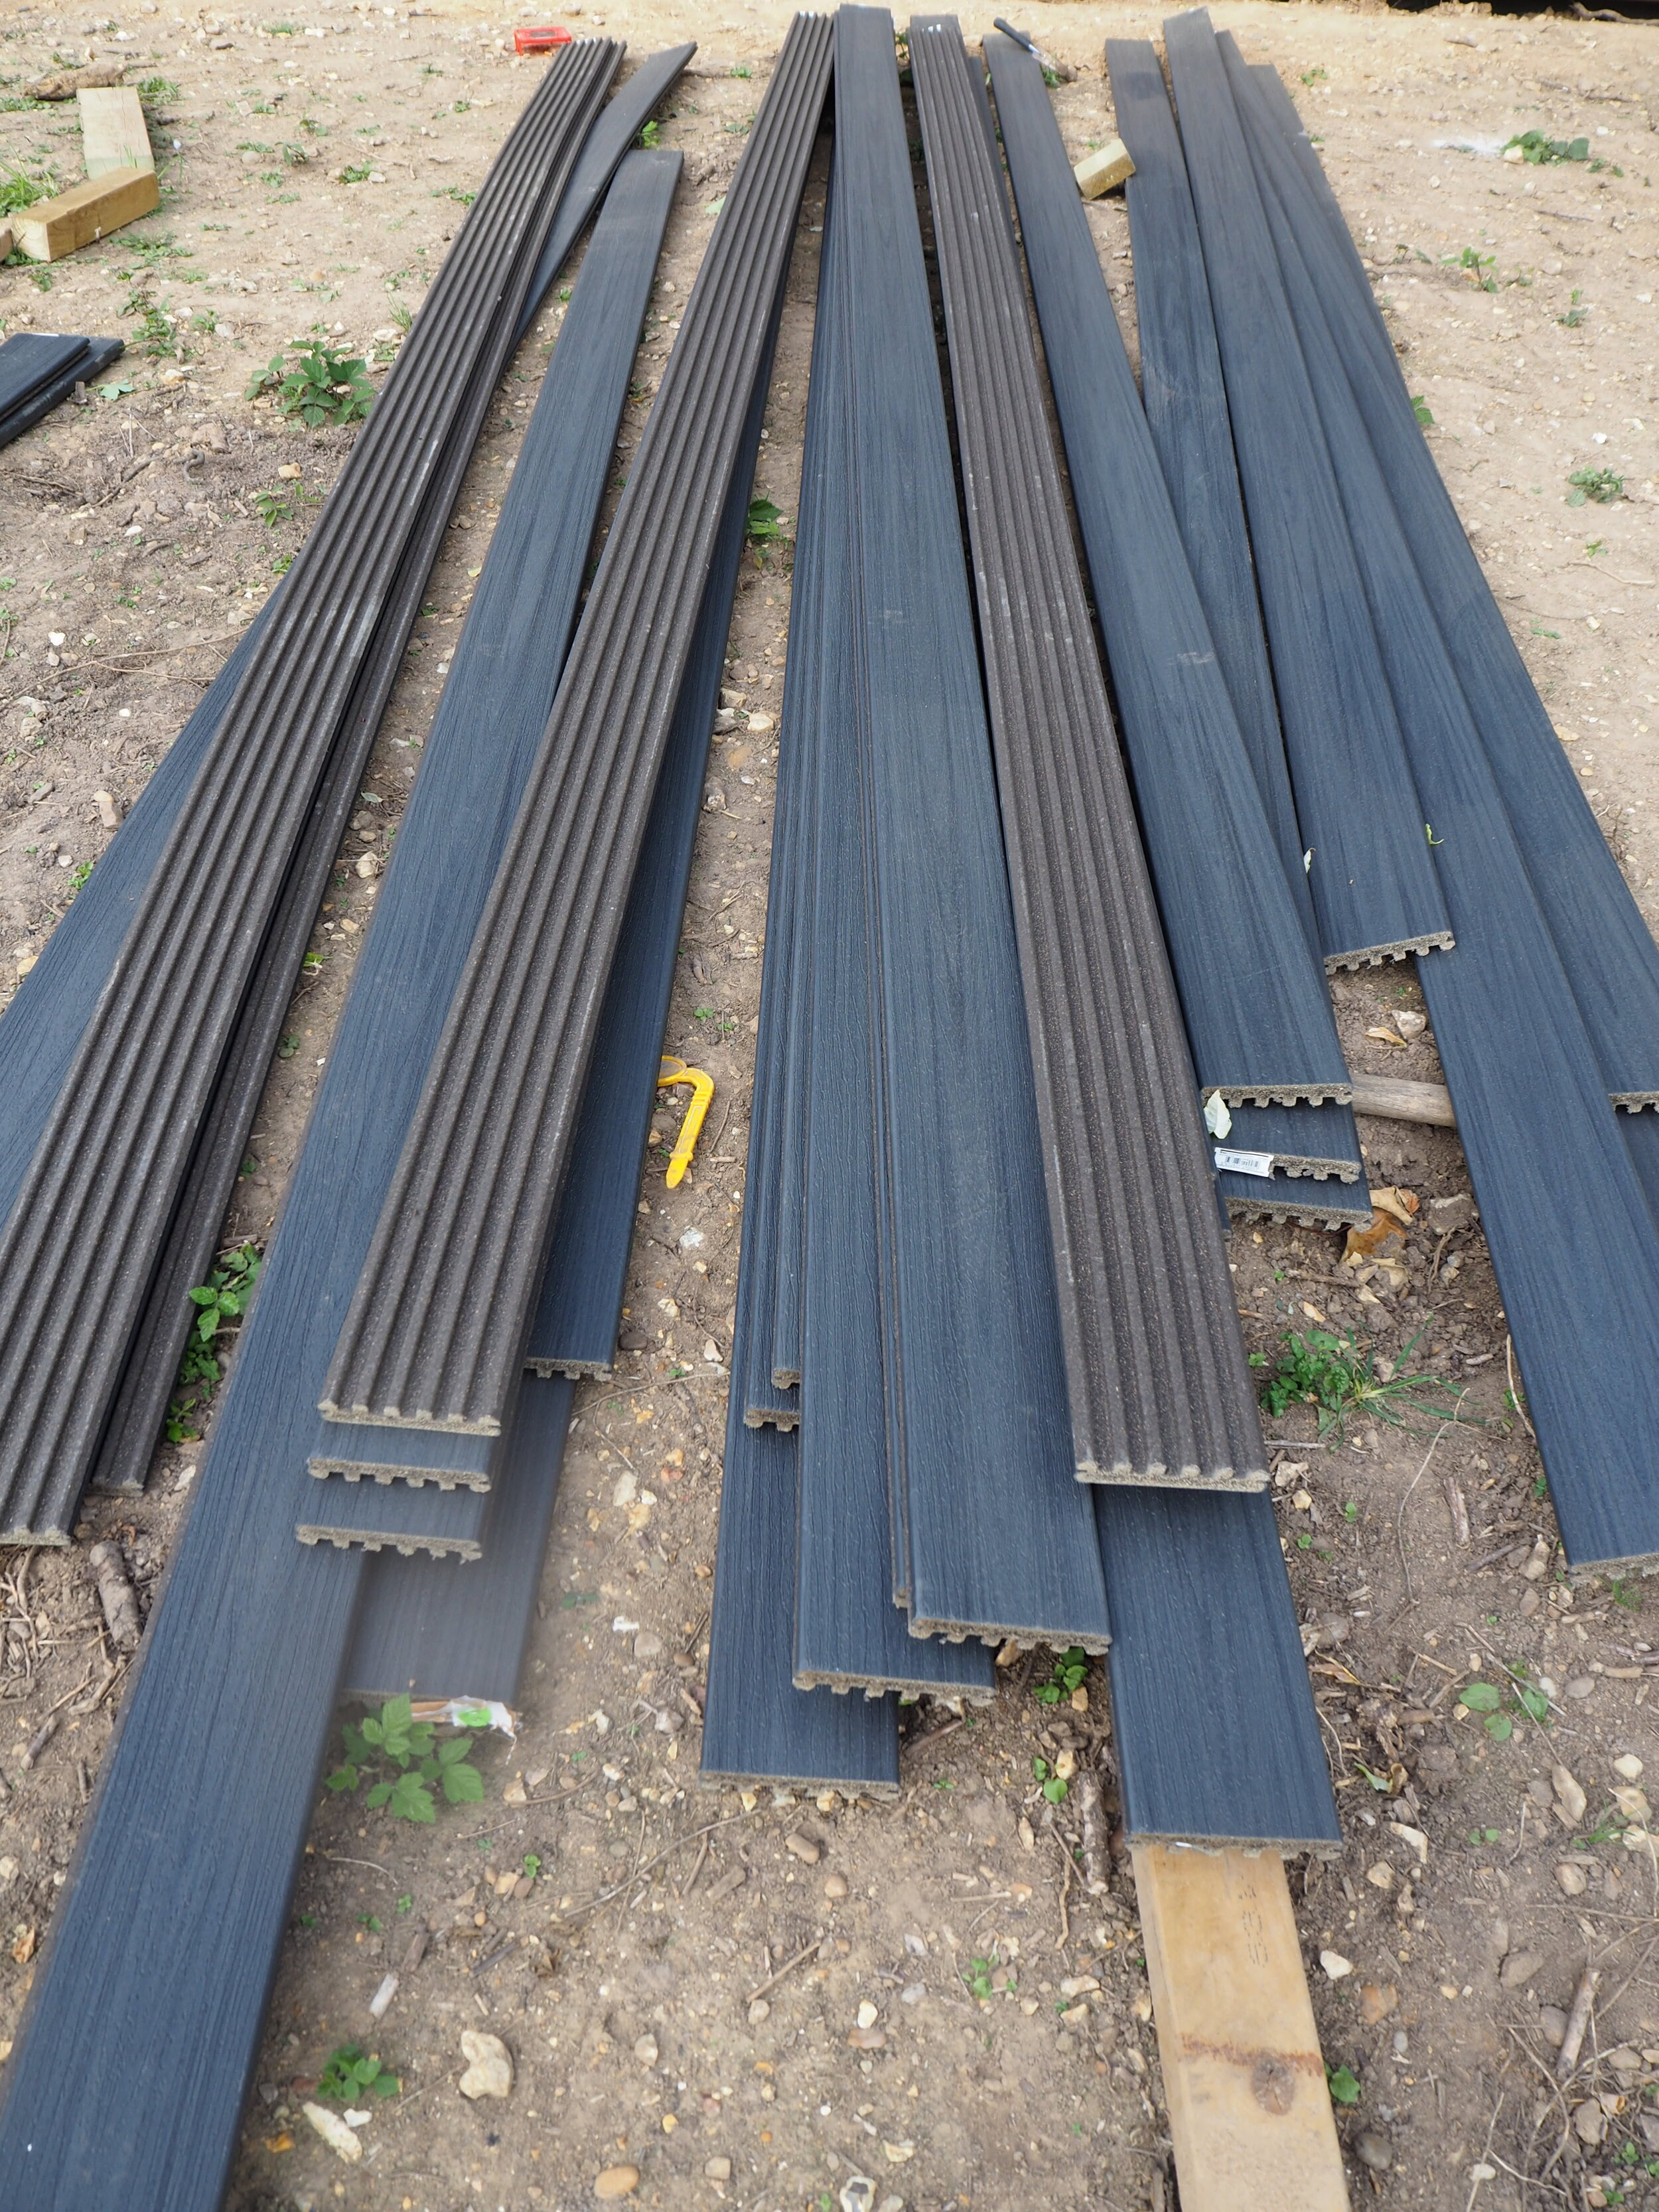
Trex Enhance Decking in Calm Water
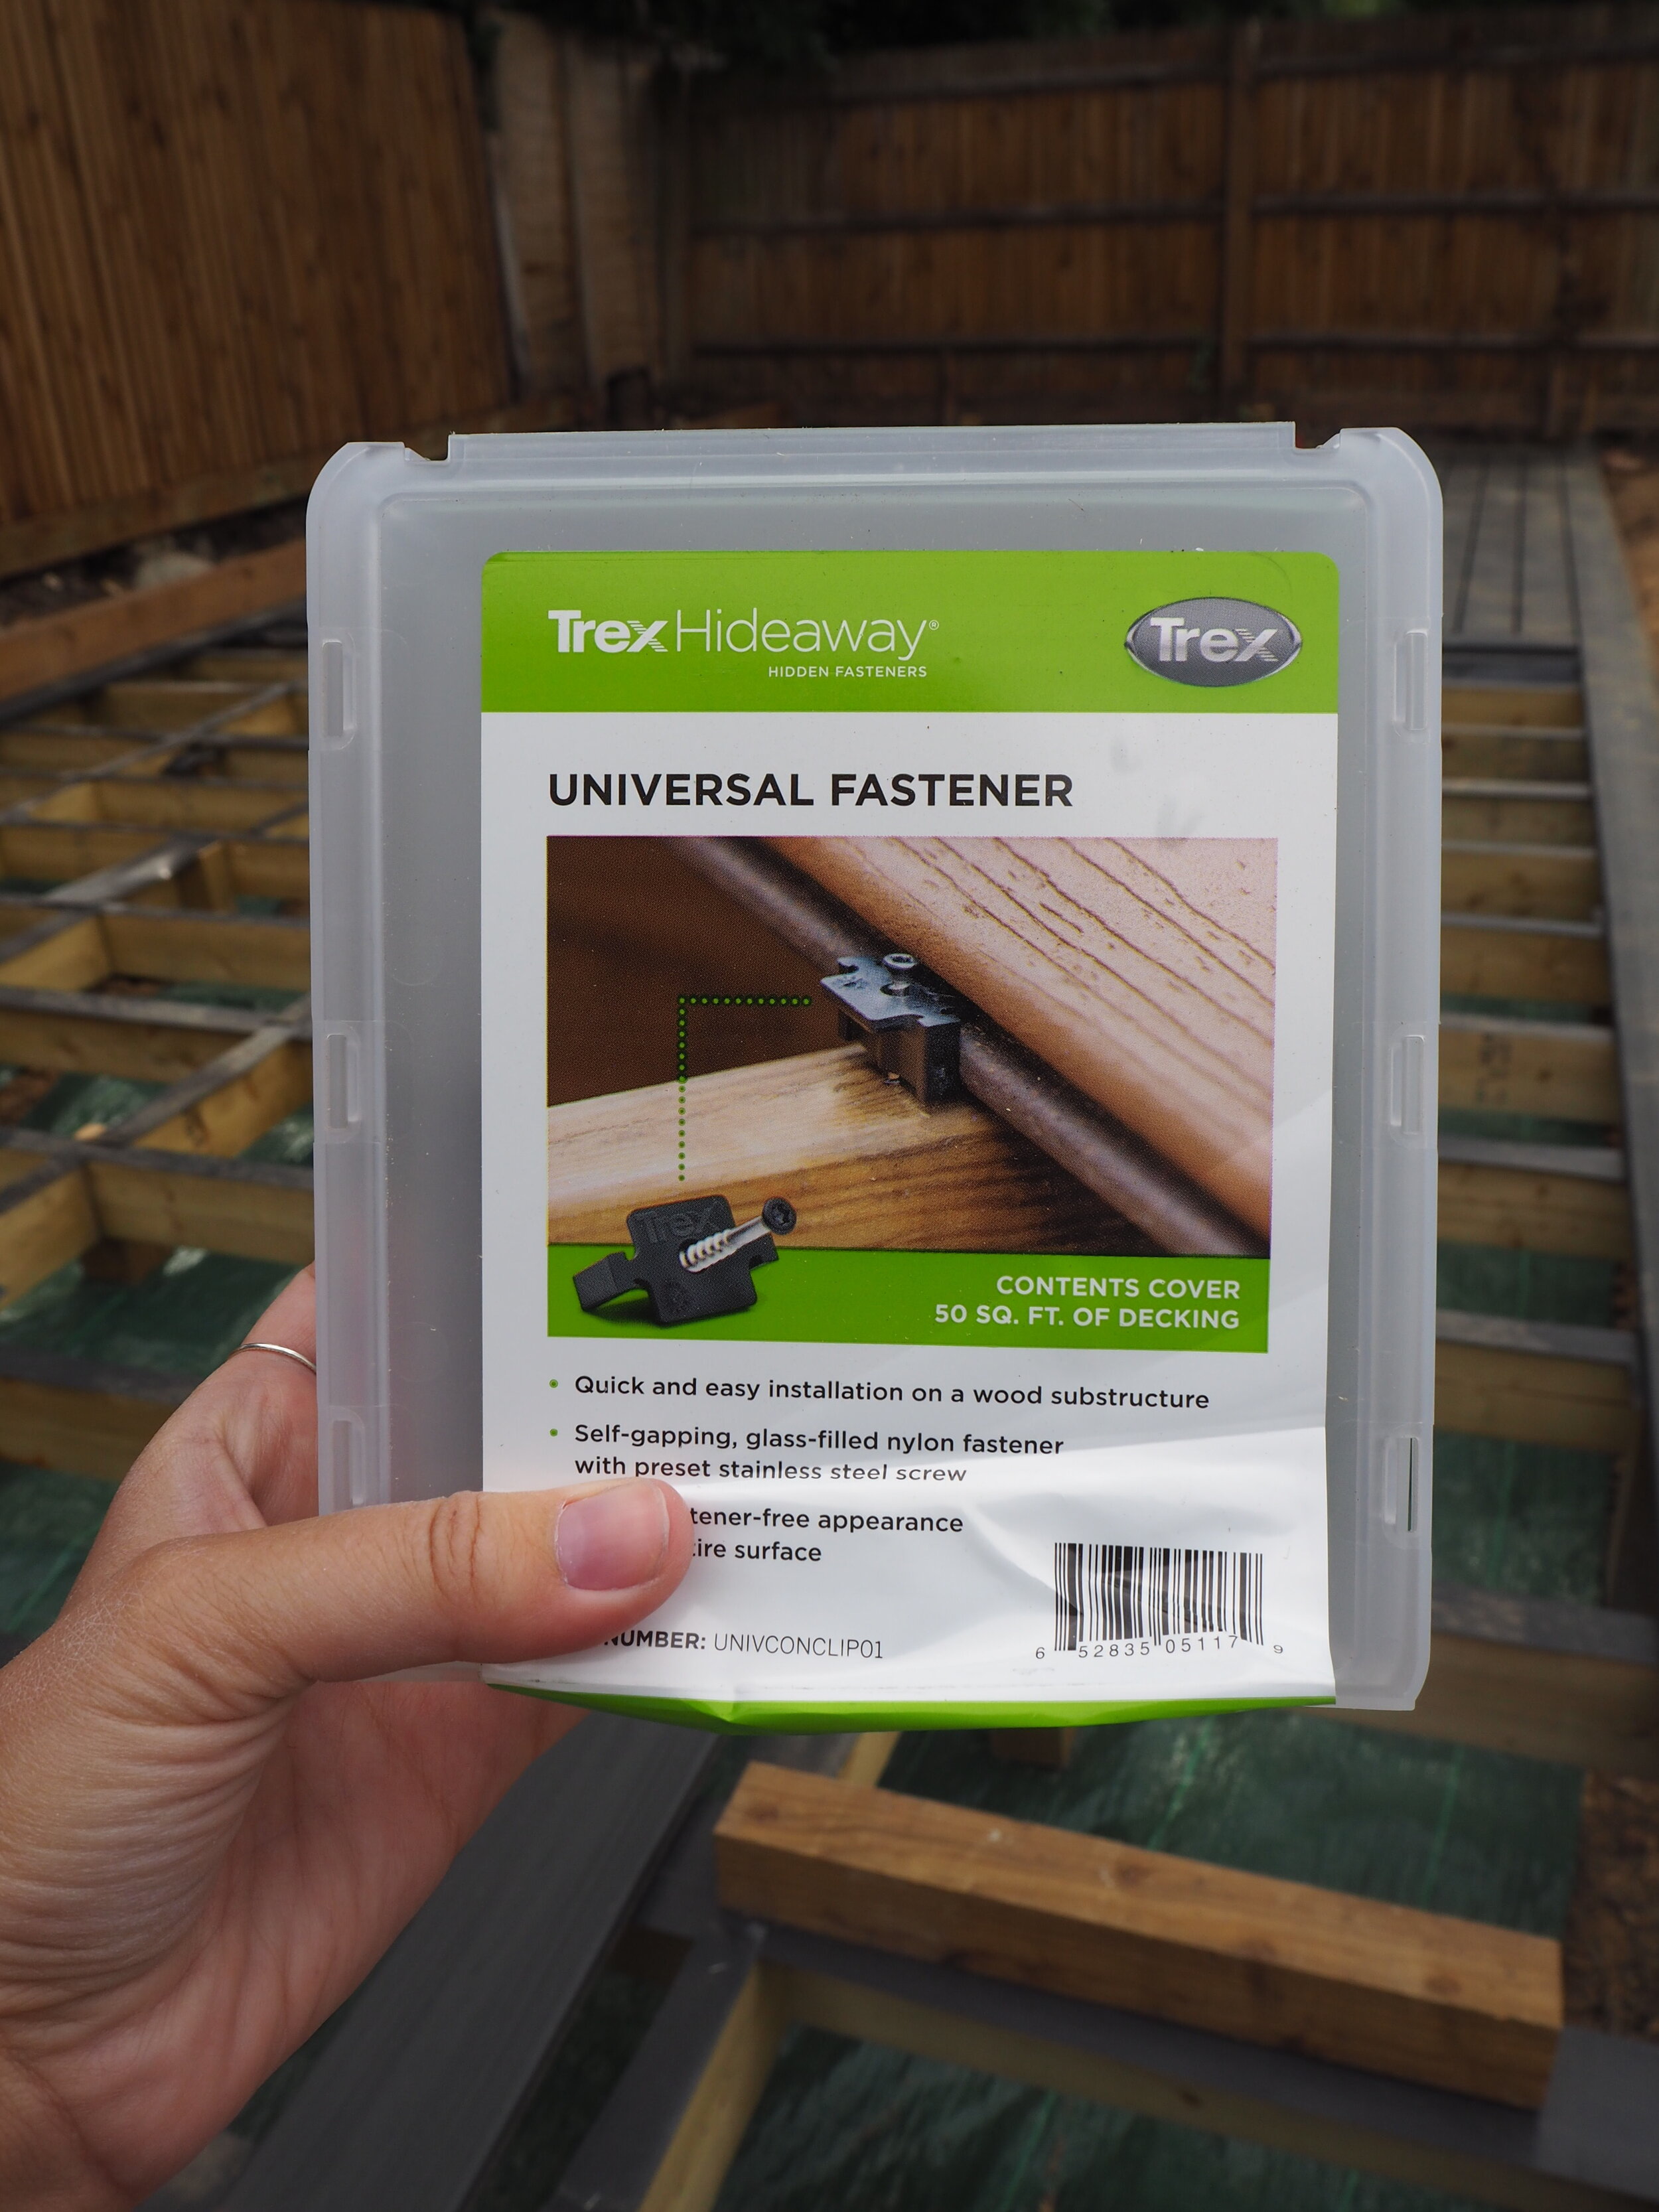
To fix the Trex Enhance decking to the timber, Steve is using the Trex Hideaway Universal Clips and the Trex Hideaway® Universal Fasteners which are part of the Trex Secret Fixing System which are used for grooved edge boards like the Enhance range.
The universal clips are simple-to-use self-gapping clips which attach two grooved boards together and achieve a screw-less finish alongside consistent spacing. Each features a pre-set stainless steel screw for increased durability. This method is only suitable for grooved boards on a timber substructure. See the photo below.
The starter clips are these black, stainless steel fixings which are used to install the perimeter deck boards. They are only required with grooved boards. Each features a stainless steel screw for increased durability.
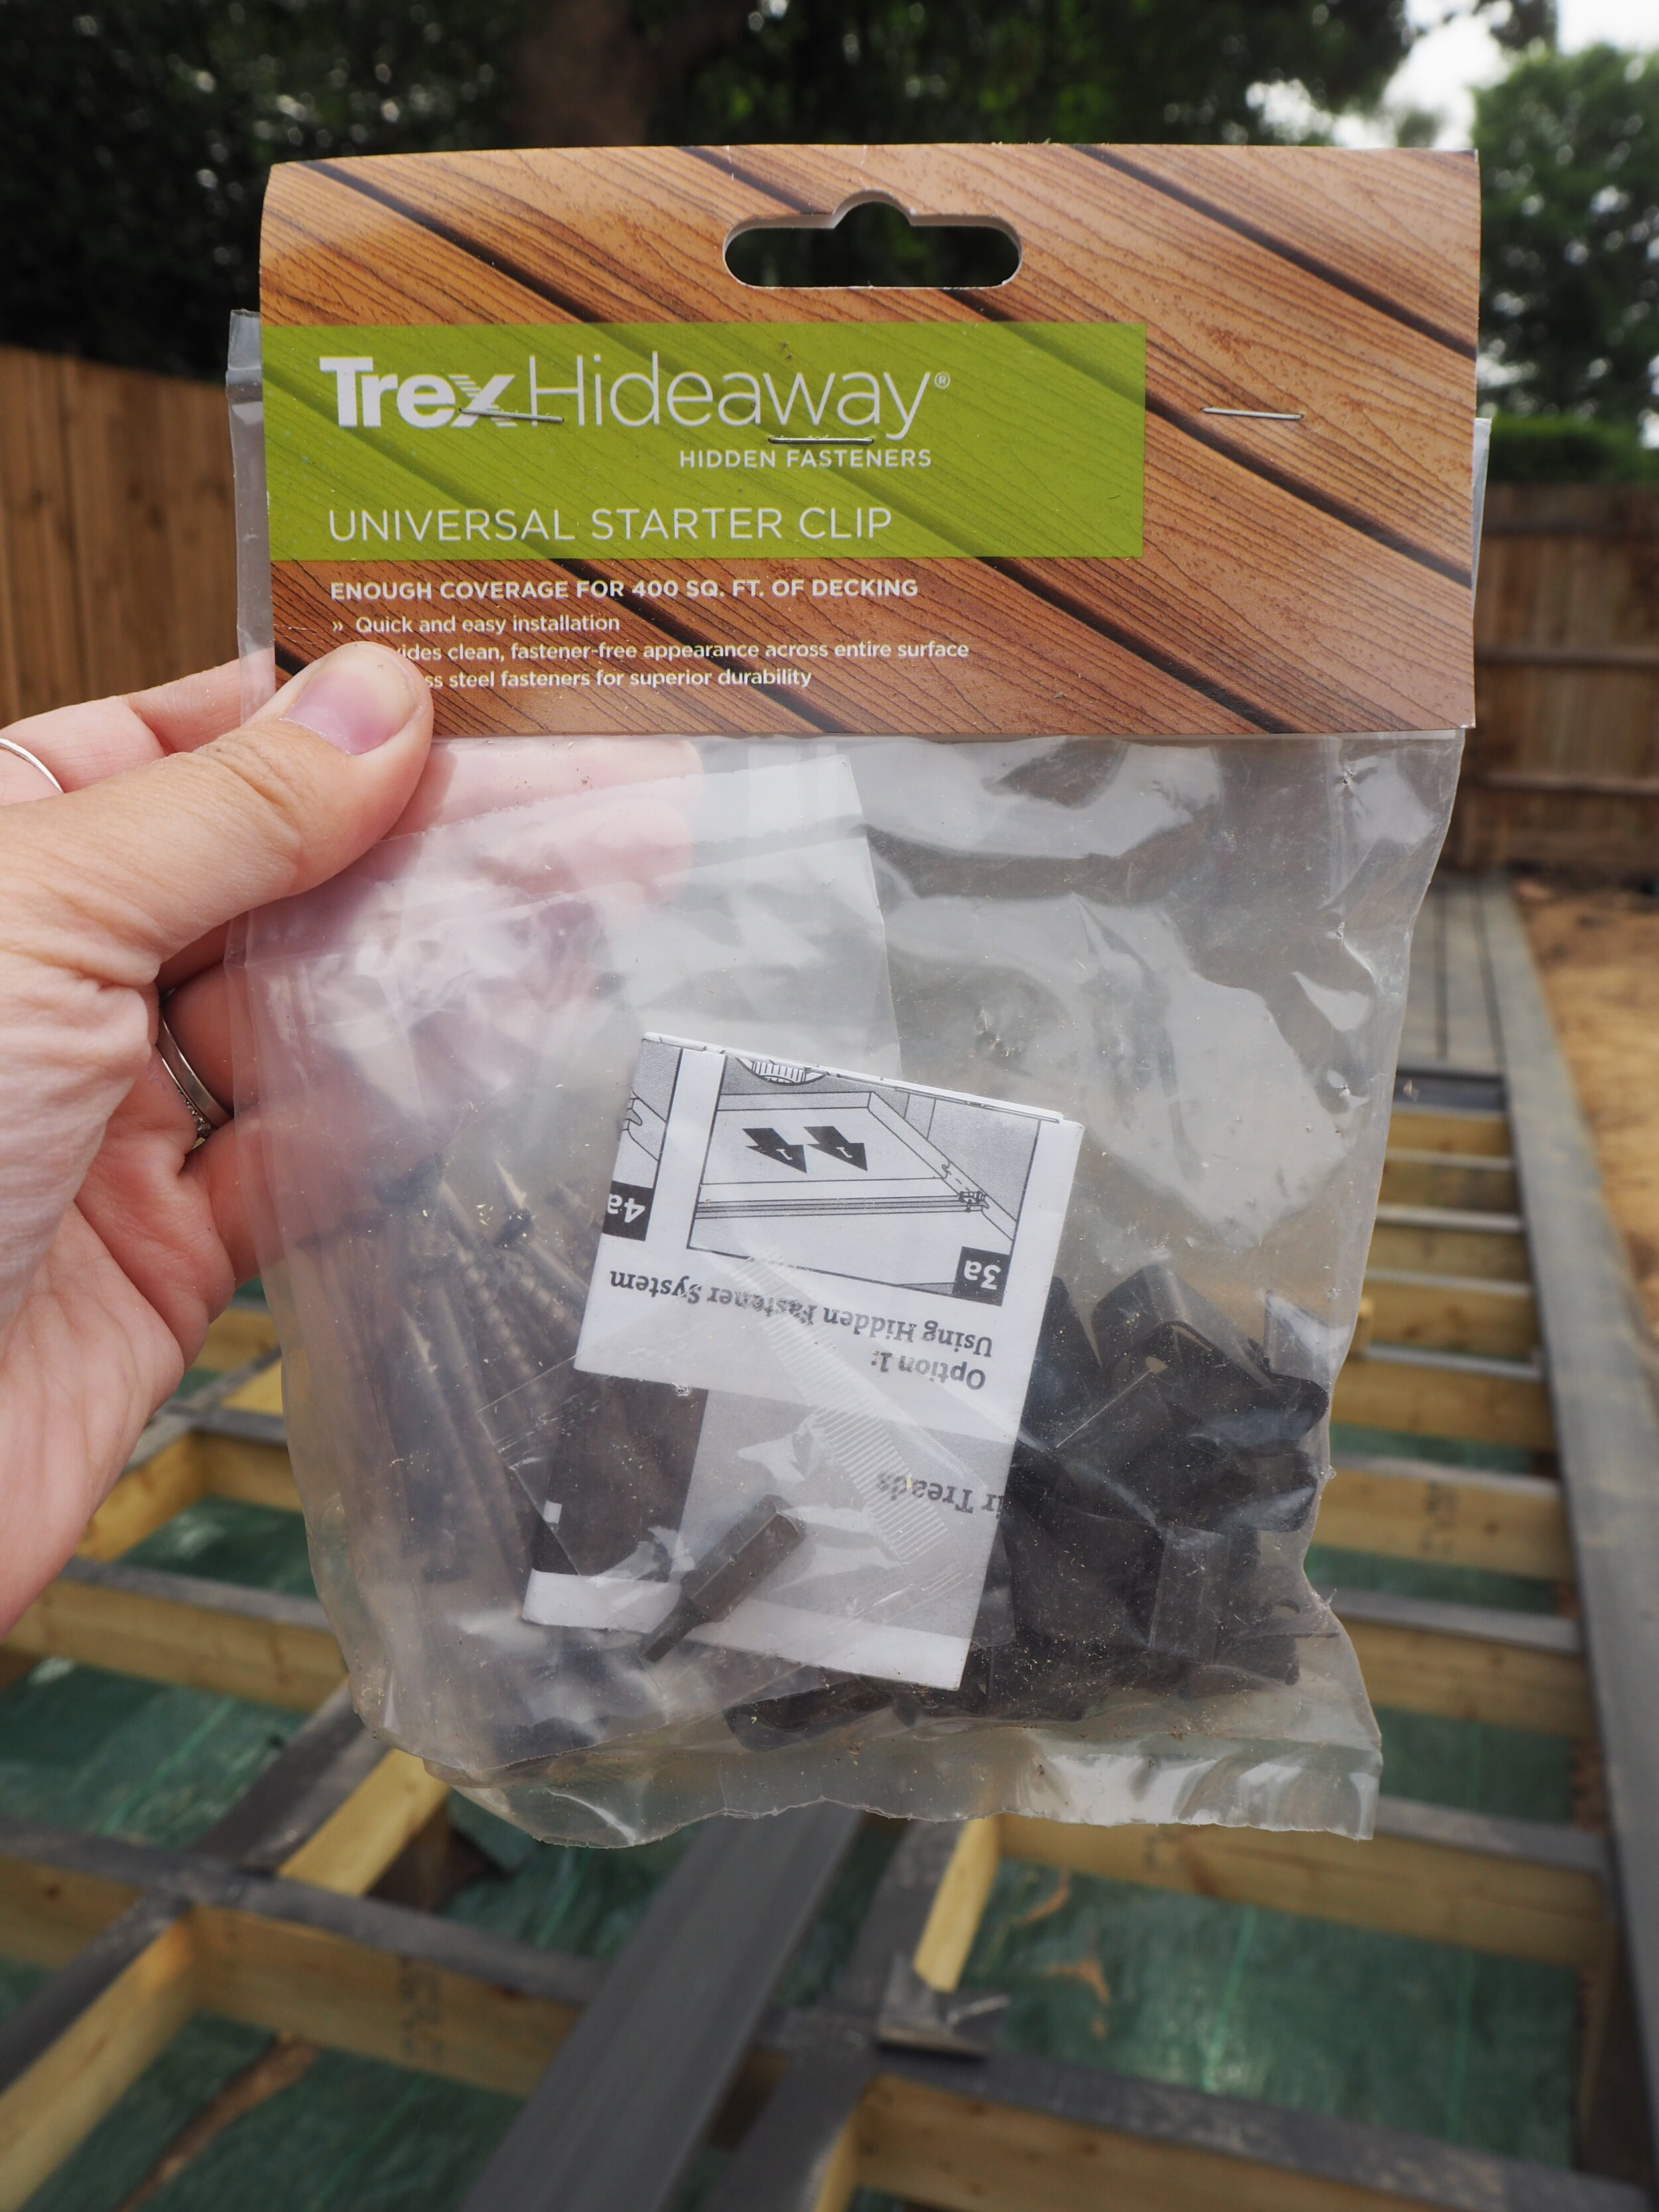

Trex Hideaway® Secret Fixing System - for grooved edge boards. These are the universal Clips.
The Deckfast® Fascia Screws are colour matched screws which are designed to accommodate the expansion and contraction that can occur with fascia boards. They are installed using the pre-drilling fascia tool which is available separately – see the Fascia screws below.

It was now time for Steve (Living landscapes design) to set to work in laying the deck.

The Trex Deck halfway completed.
As the area is 8.5m Steve (Living landscapes design) gave me several options for how we could lay the deck to accommodate the joins in the boards (The Trex Enhance Calm Water boards are available in 4.88 and 3.66m lengths). We decided on laying a board vertically down the middle of the deck so that the 6mm gap which needs to be left between boards joins will look more finished.
I love that even the Deckfast® Fascia Screws are colour matched so they don’t stand out.
Step 4: The finishing touches - Fascia boards and flower bed
All that is left is to finish the other side with the decking and then add the frontal fascia board and build the raised flower bed on the right which is also being made from Trex Enhance decking.
Then it will be ready for its big reveal. Stay tuned to see the finished deck and second phase of garden makeover.
* This post is sponsored by Trex who are very kindly collaborating with me on the transformation of my garden deck space by providing all materials and labour in exchange for promotional activity.
