DIY PLANTER MAKEOVER WITH WAYFAIR HOME EXPERTS

DIY PLANTER MAKEOVER WITH WAYFAIR HOME EXPERTS

When Wayfair asked if I wanted to be part of their latest home expert challenge I jumped at the chance.  Celebrating the start of spring and all things greenery,  this month's challenge is all about plant pots, and creating your dream planter of choice by giving one a bit of a makeover. As you might know already I blooming love a house plant so I couldn't wait to create my own pot for one, in my home style. 

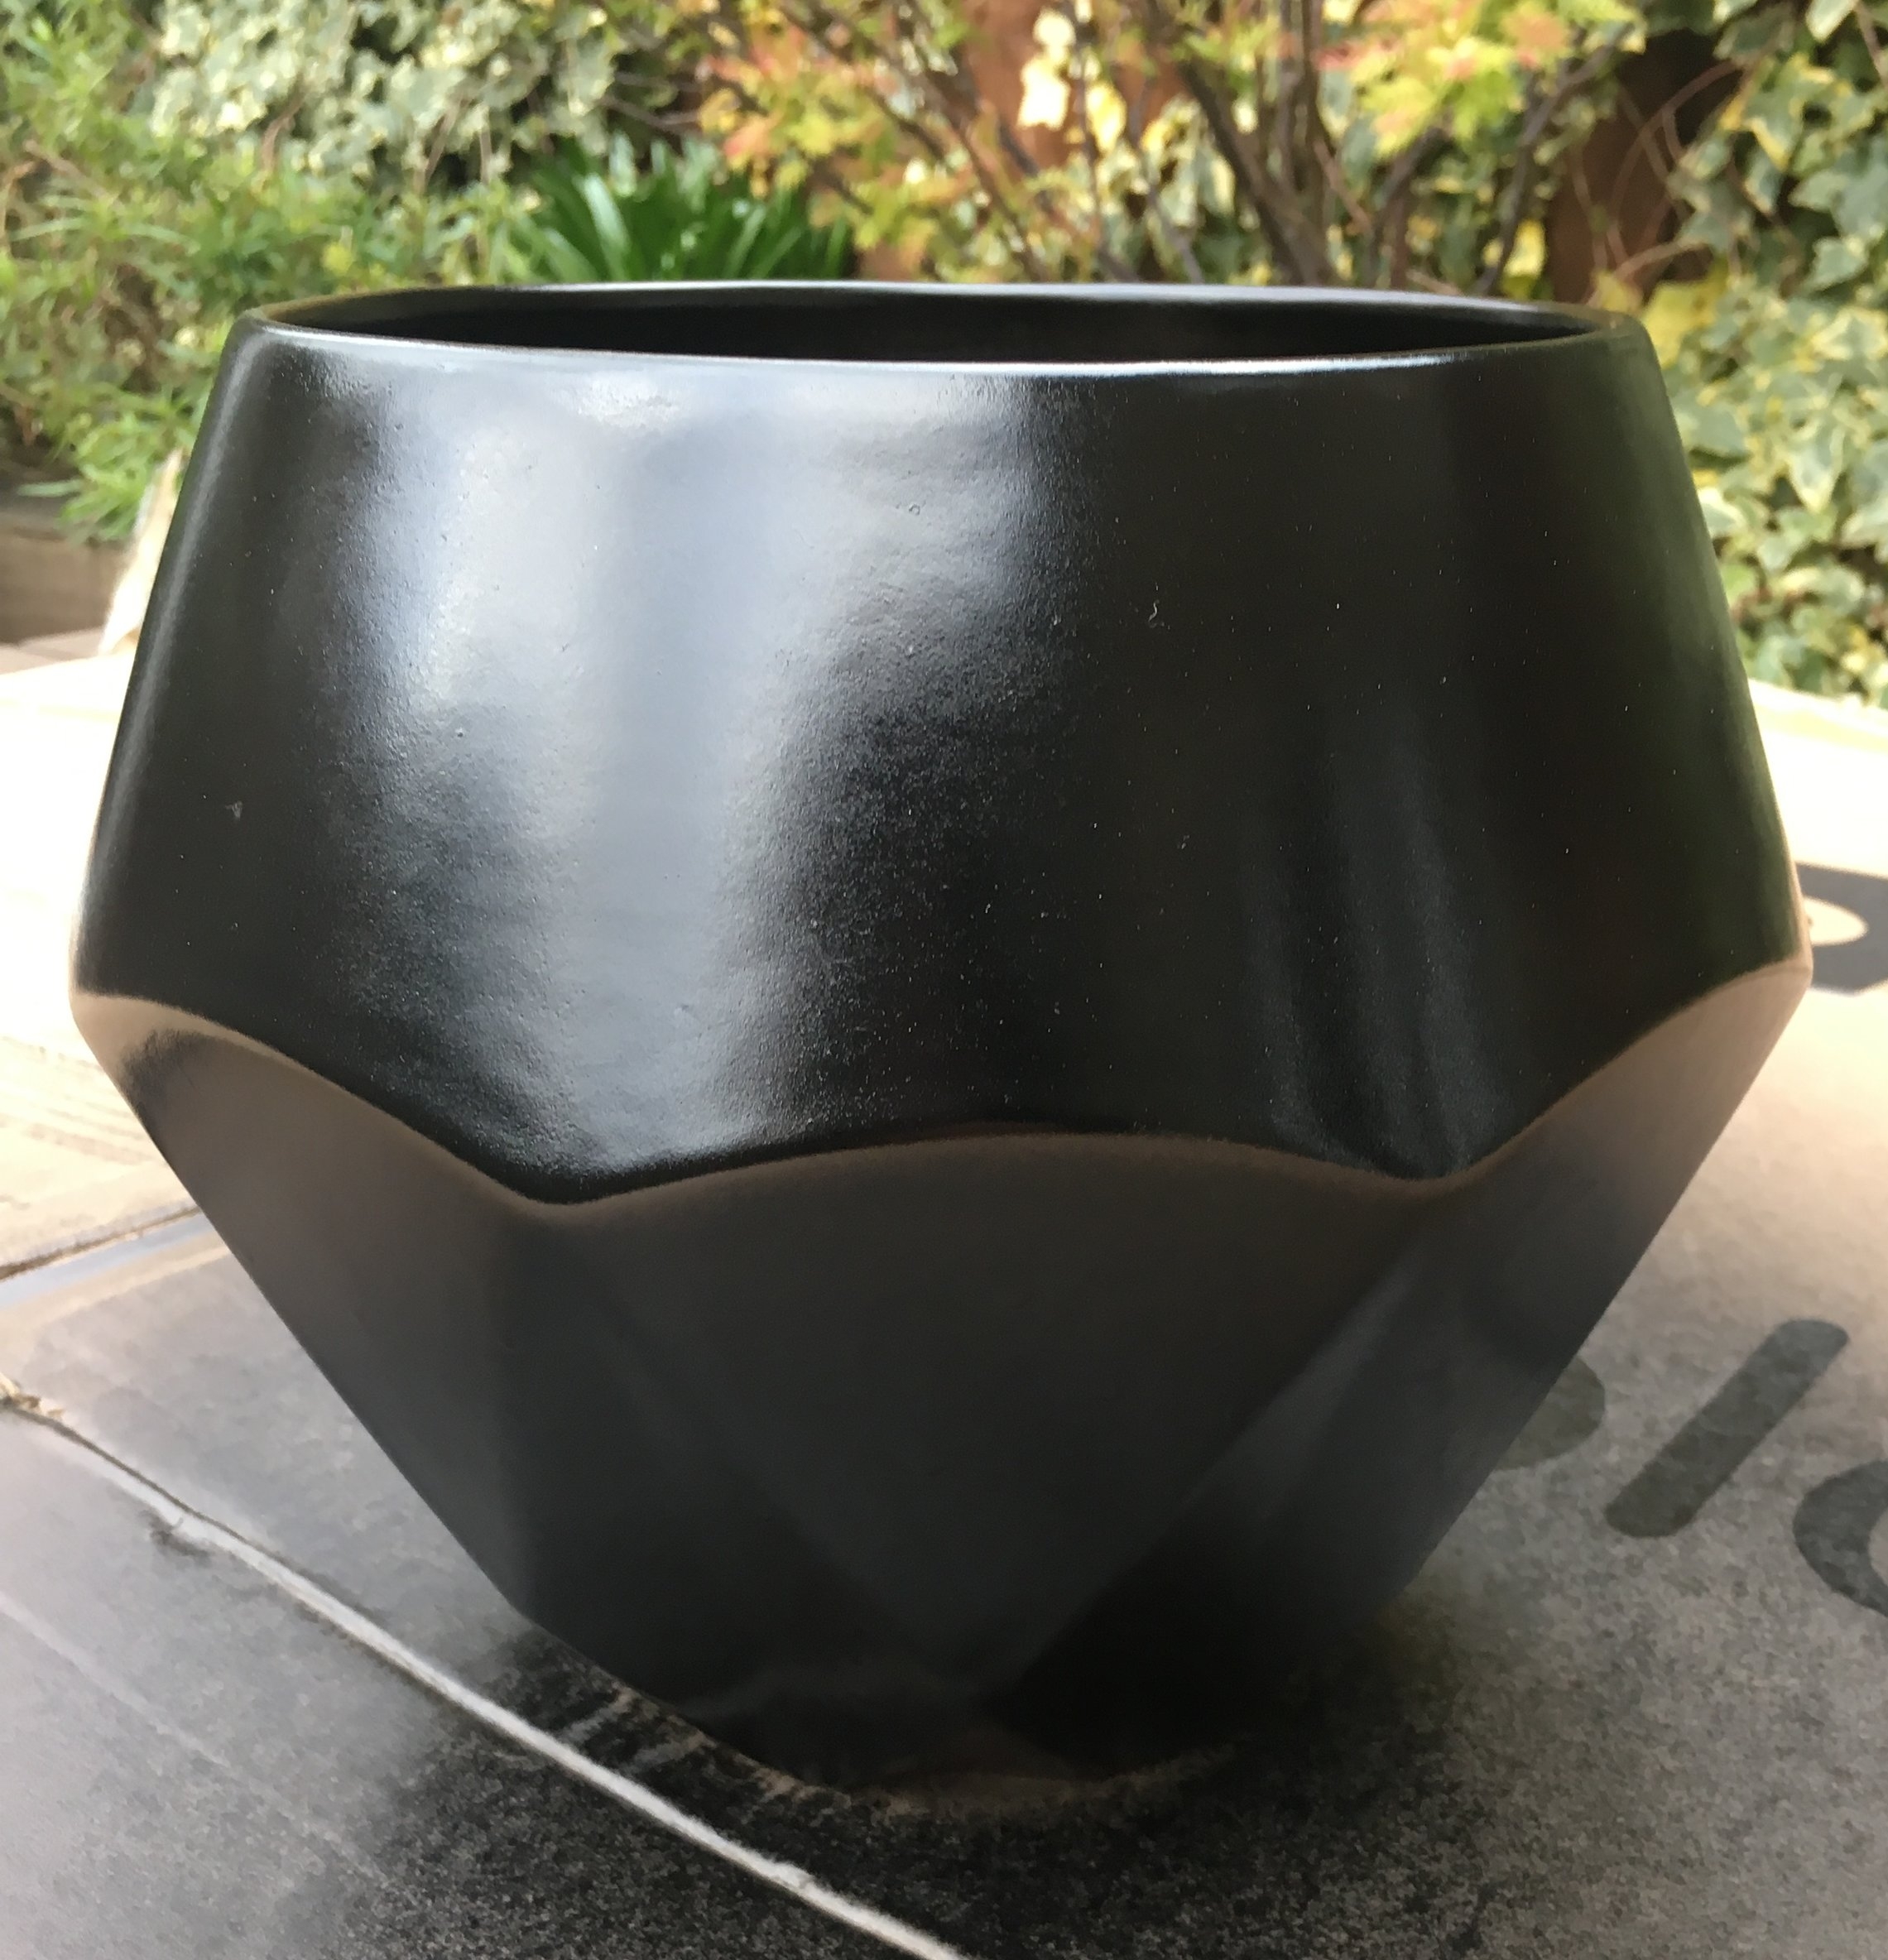
I decided immediately that I wanted it to be dark and have touches of metallic so first I chose the Gem Round planter by Sfeer Voor Jou (£27.99) from Wayfair's huge planter range for its gorgeous hexagonal shape. 

And then this is exactly what I did, encase you want to do it too.....

1. To begin, clean your pot encase it has any dirt or grease. Mine was brand new so it didn't need a clean, but I'd recommend doing this if you were pimping up an old planter. 

Gem Round Plant Pot by Sfeer Voor Jou

2. I then sprayed the entire pot black (inside and out). It's important to do this in a ventilated area, so I did it in my garden with a bit of cardboard to protect the table. You can see the difference below from wet to dry and how lovely the matt finish is! 

3. I then used gold foil leaf along with some Mixton relief (a special glue) to start layering up the glue and the gold leaf gradually, spreading the glue in different directions with a small paint brush. **Top Tip** make sure the glue is almost dry and tacky before applying the gold leaf, otherwise it won't stick, and worst case can take off the black paint underneath. 

After I'd finished layering up the gold foil, I primed the vase with a PVA glue to give the foil a protective shield, but you can also use a clear varnish if you have any around the house.  You can layer as much or as little of the gold foil as you like. **Top Tip** be messy with the glue (Mixiton relief) so you achieve a more random look. 

DIY Metallic planter

This DIY plant pot might not be to everyone's taste, but with the right colour combinations you can make something look more unique and more you.  Go on, give it a go. 

To achieve a similar look all you need is...

DIY KIT - WAYFAIR BLOGGER CHALLENGE
  • 1 x plant pot

  • 1 x small paint brush to spread the glue

  • 1 x Can of acrylic spray paint in black (or any colour of your choice)

  • 1 pack of metallic gold foil

  • 1 tube Mixton relief (glue for the gold foil)

  • PVA glue or clear varnish to seal the foil.


DIY PLANTER MAKEOVER WITH WAYFAIR HOME EXPERTS

This post was sponsored by Wayfair. I wouldn't post anything I didn't agree with or personally like. 

DIY UPHOLSTERED FOOTSTOOL

DIY Upholstered footstool
IMG_4733.jpg

Are you are thinking of buying a foot stool to fill a space in your lounge? Or perhaps you’d like an ottoman for your bedroom? Before you take the plunge and spend a few hundred quid, maybe consider covering your own.

Not only will it be better for the environment, but also much more cost effective and could save you hundreds, not to mention the self-satisfaction it brings you. Ok..so what I REALLY mean is total smugness!!

So where to start, well ebay is a good place, so are car boot sales, gumtree or even vintage flea markets. I bought my one below from Kempton antiques market for £20.

Find a shape and a price you like and remember that anything is possible so don’t be put off by the print or fabric. As long as the legs are sturdy and the frame isn’t riddled with wood worm you can cover anything.

Once you have a frame then all you need is the fabric. Velvet is a favourite of mine and is still up trending and you’ll find plenty of online merchants willing to give you a deal. If you do go for a velvet maybe choose a cotton one. They're more mat, clean and more in keeping to what you would find in the shops if you were to buy your own velvet stool. Alternatively jacquards, and heavy canvas fabrics are also good, just make sure they are hardwearing and don't contain any stretch. 

What you'll need;

A foot stool to cover

Nail gun and spare nails

pair of scissors

Hammer

Screwdriver 

(and an extra pair of hands can come in handy if your new to this).

DIY Upholstered footstool

1. First buy an old footstool that's in need of a makeover. (As I mentioned before, I bought mine from Kempton market for £20). 

DIY UPHOLSTERED FOOTSTOOL

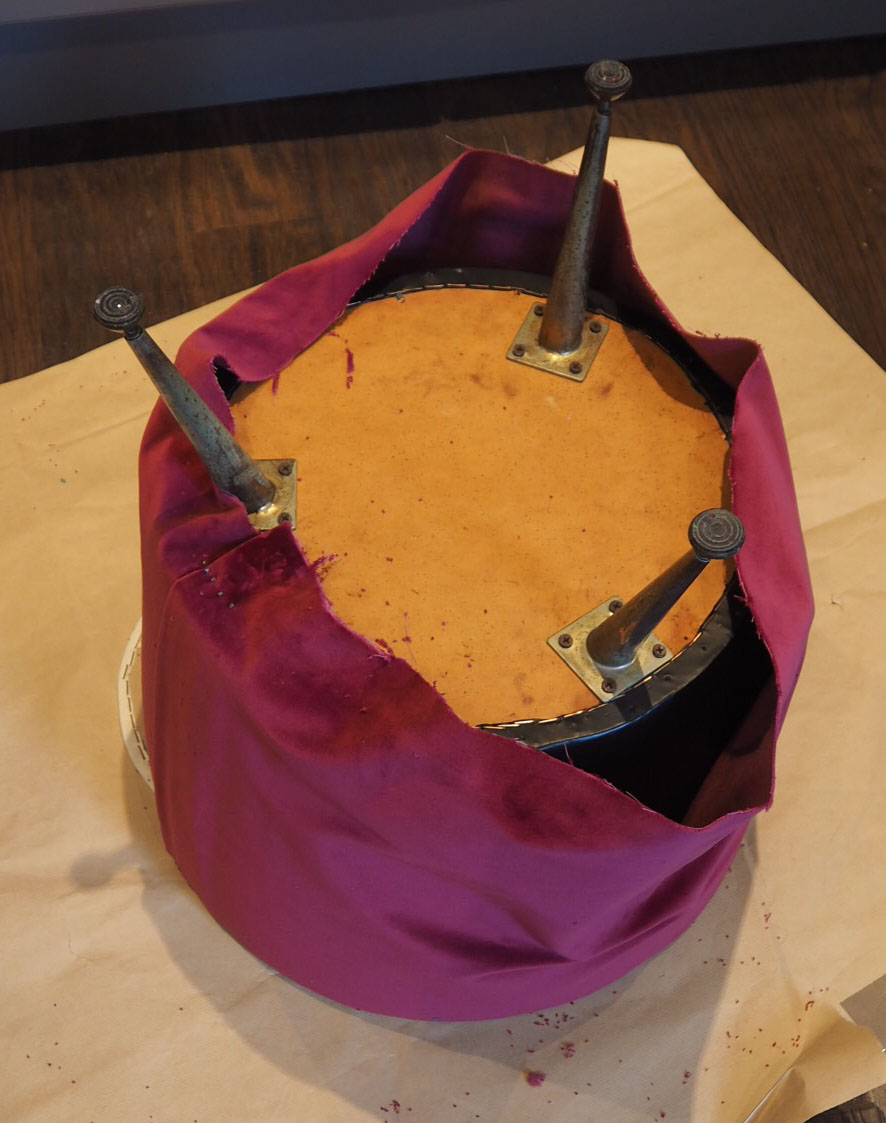
2. Strip it back. If you find its actually not antique (like me) and it's made of PU,  then keep this as its a smooth base to cover over. Yep mine looked lovely and french but it was probably just from DFS... Good job I only paid £20 for it! 

DIY UPHOLSTERED FOOTSTOOL

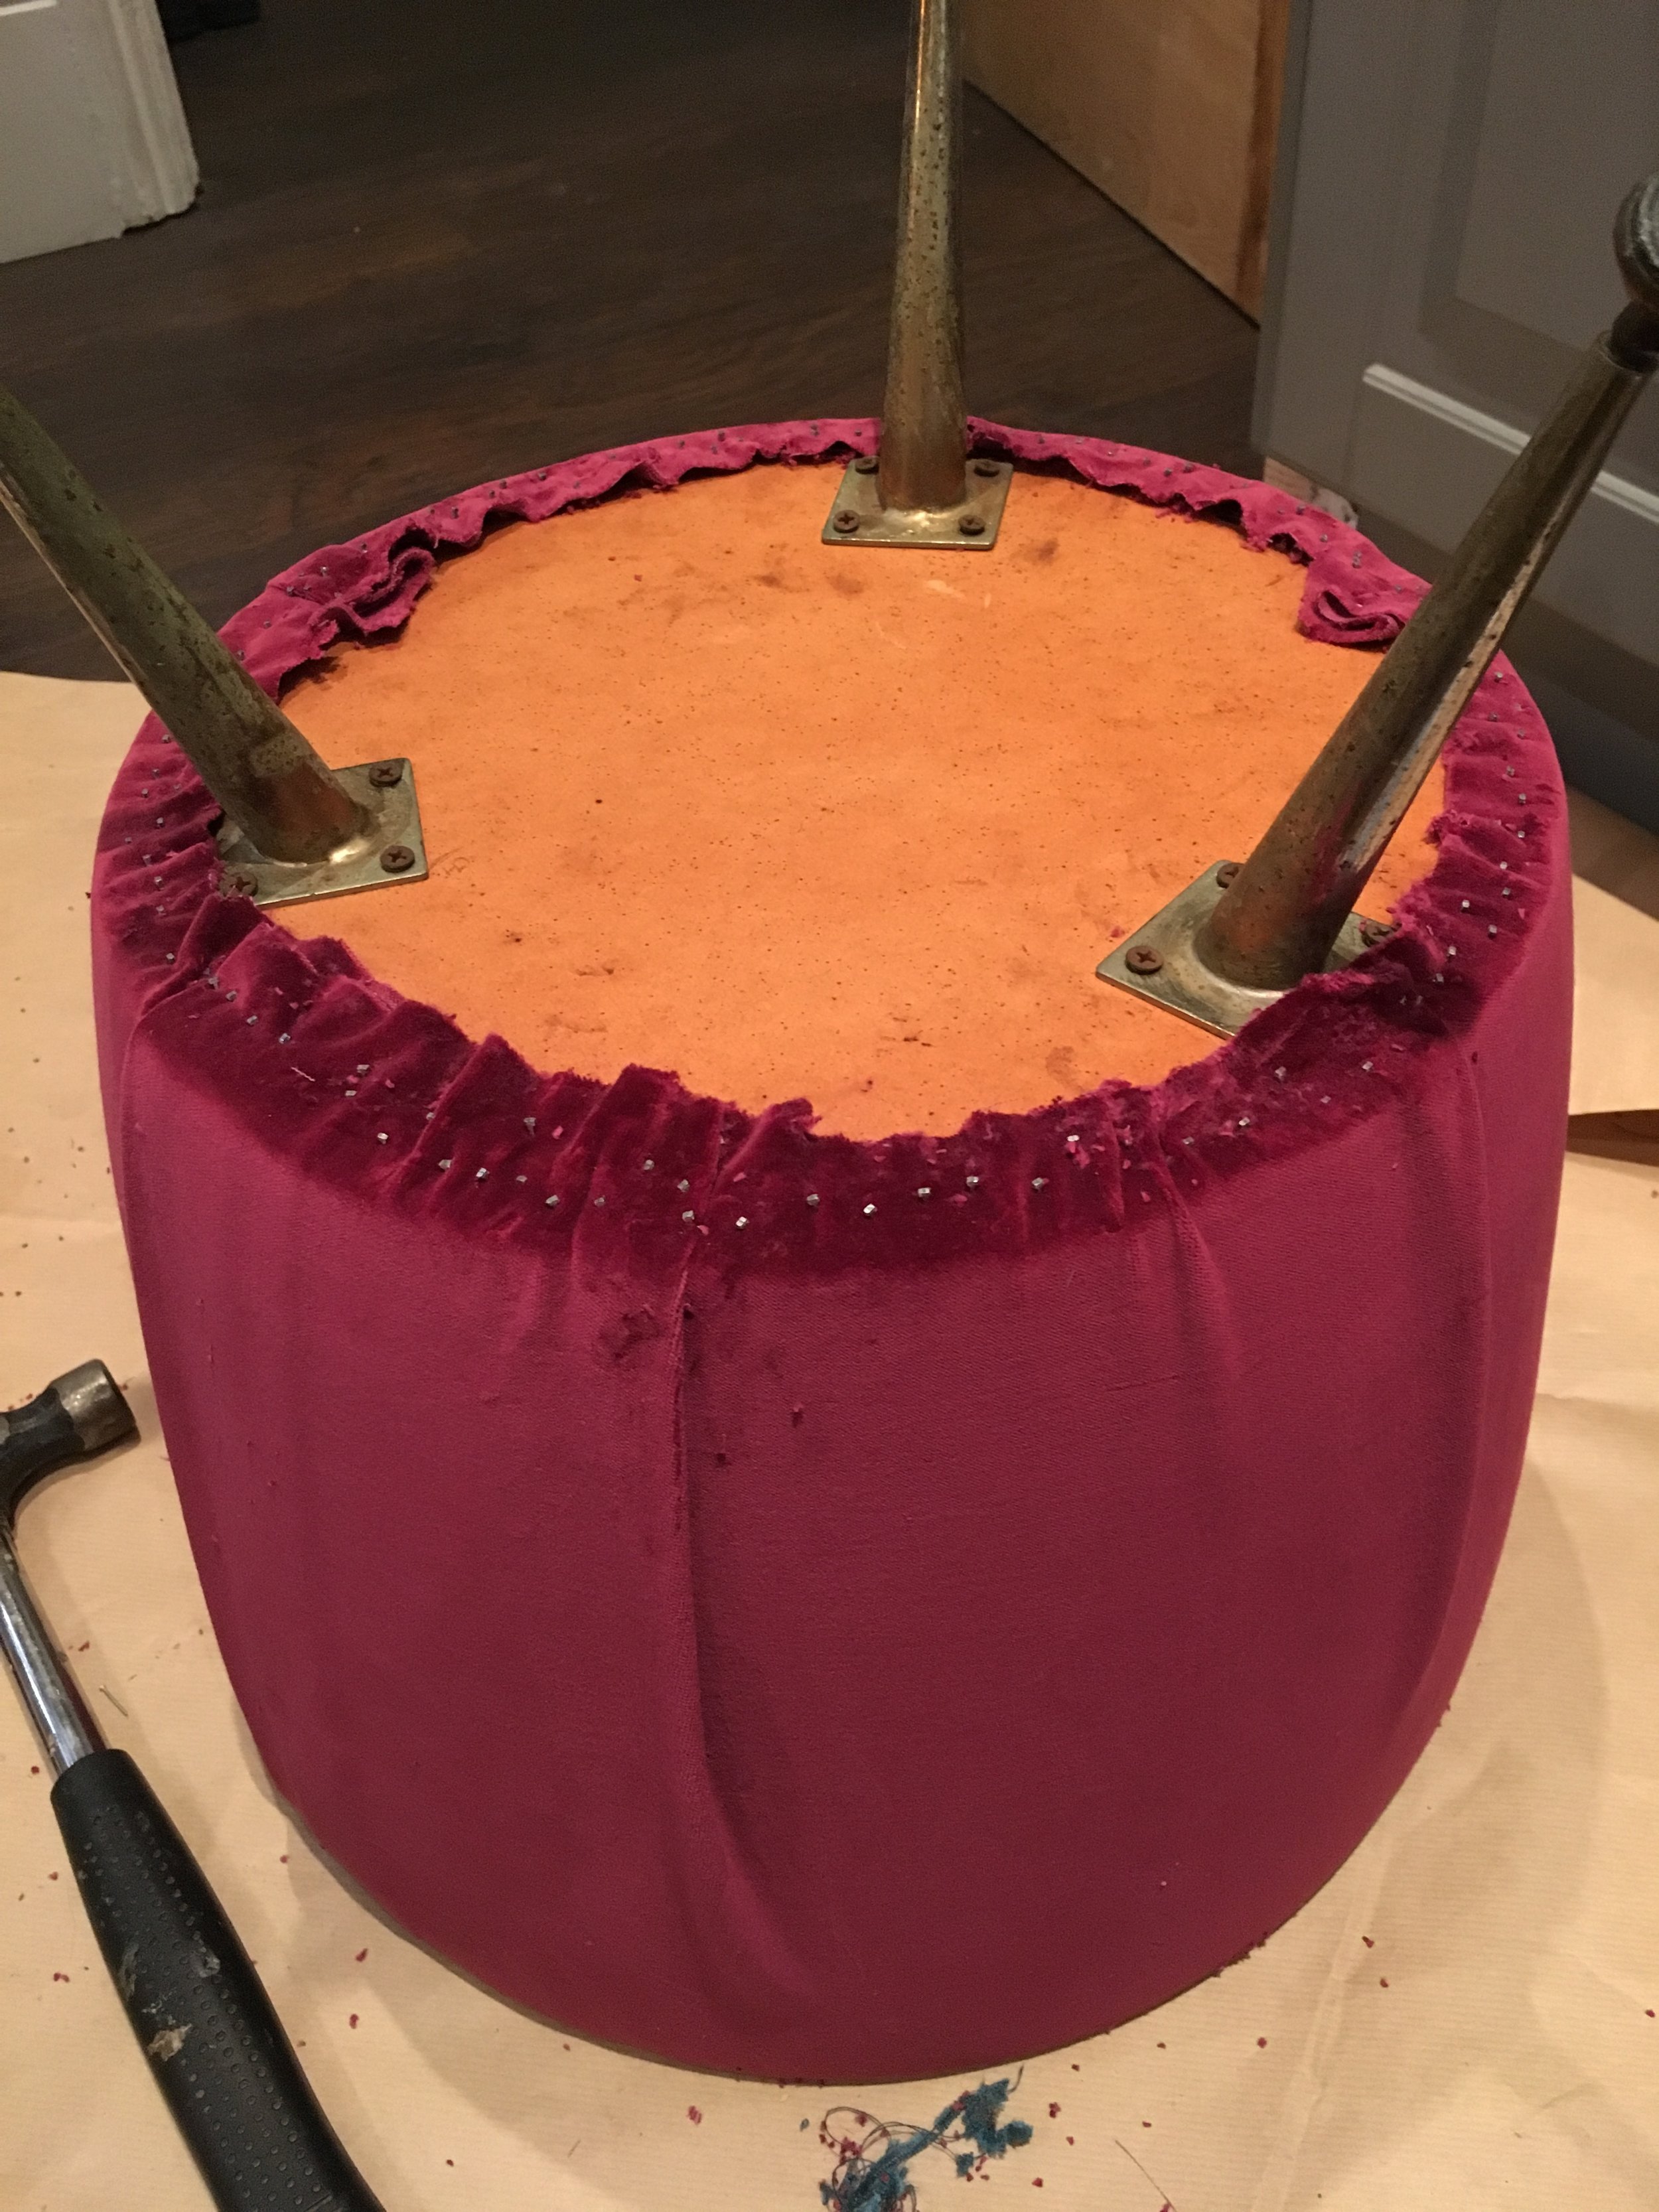
3. Start with the base. Measure and cut a piece of fabric that fits around the base. If you're using velvet decide if you want the fabric pile up or pile down. Pile up will make the colour look brighter. 

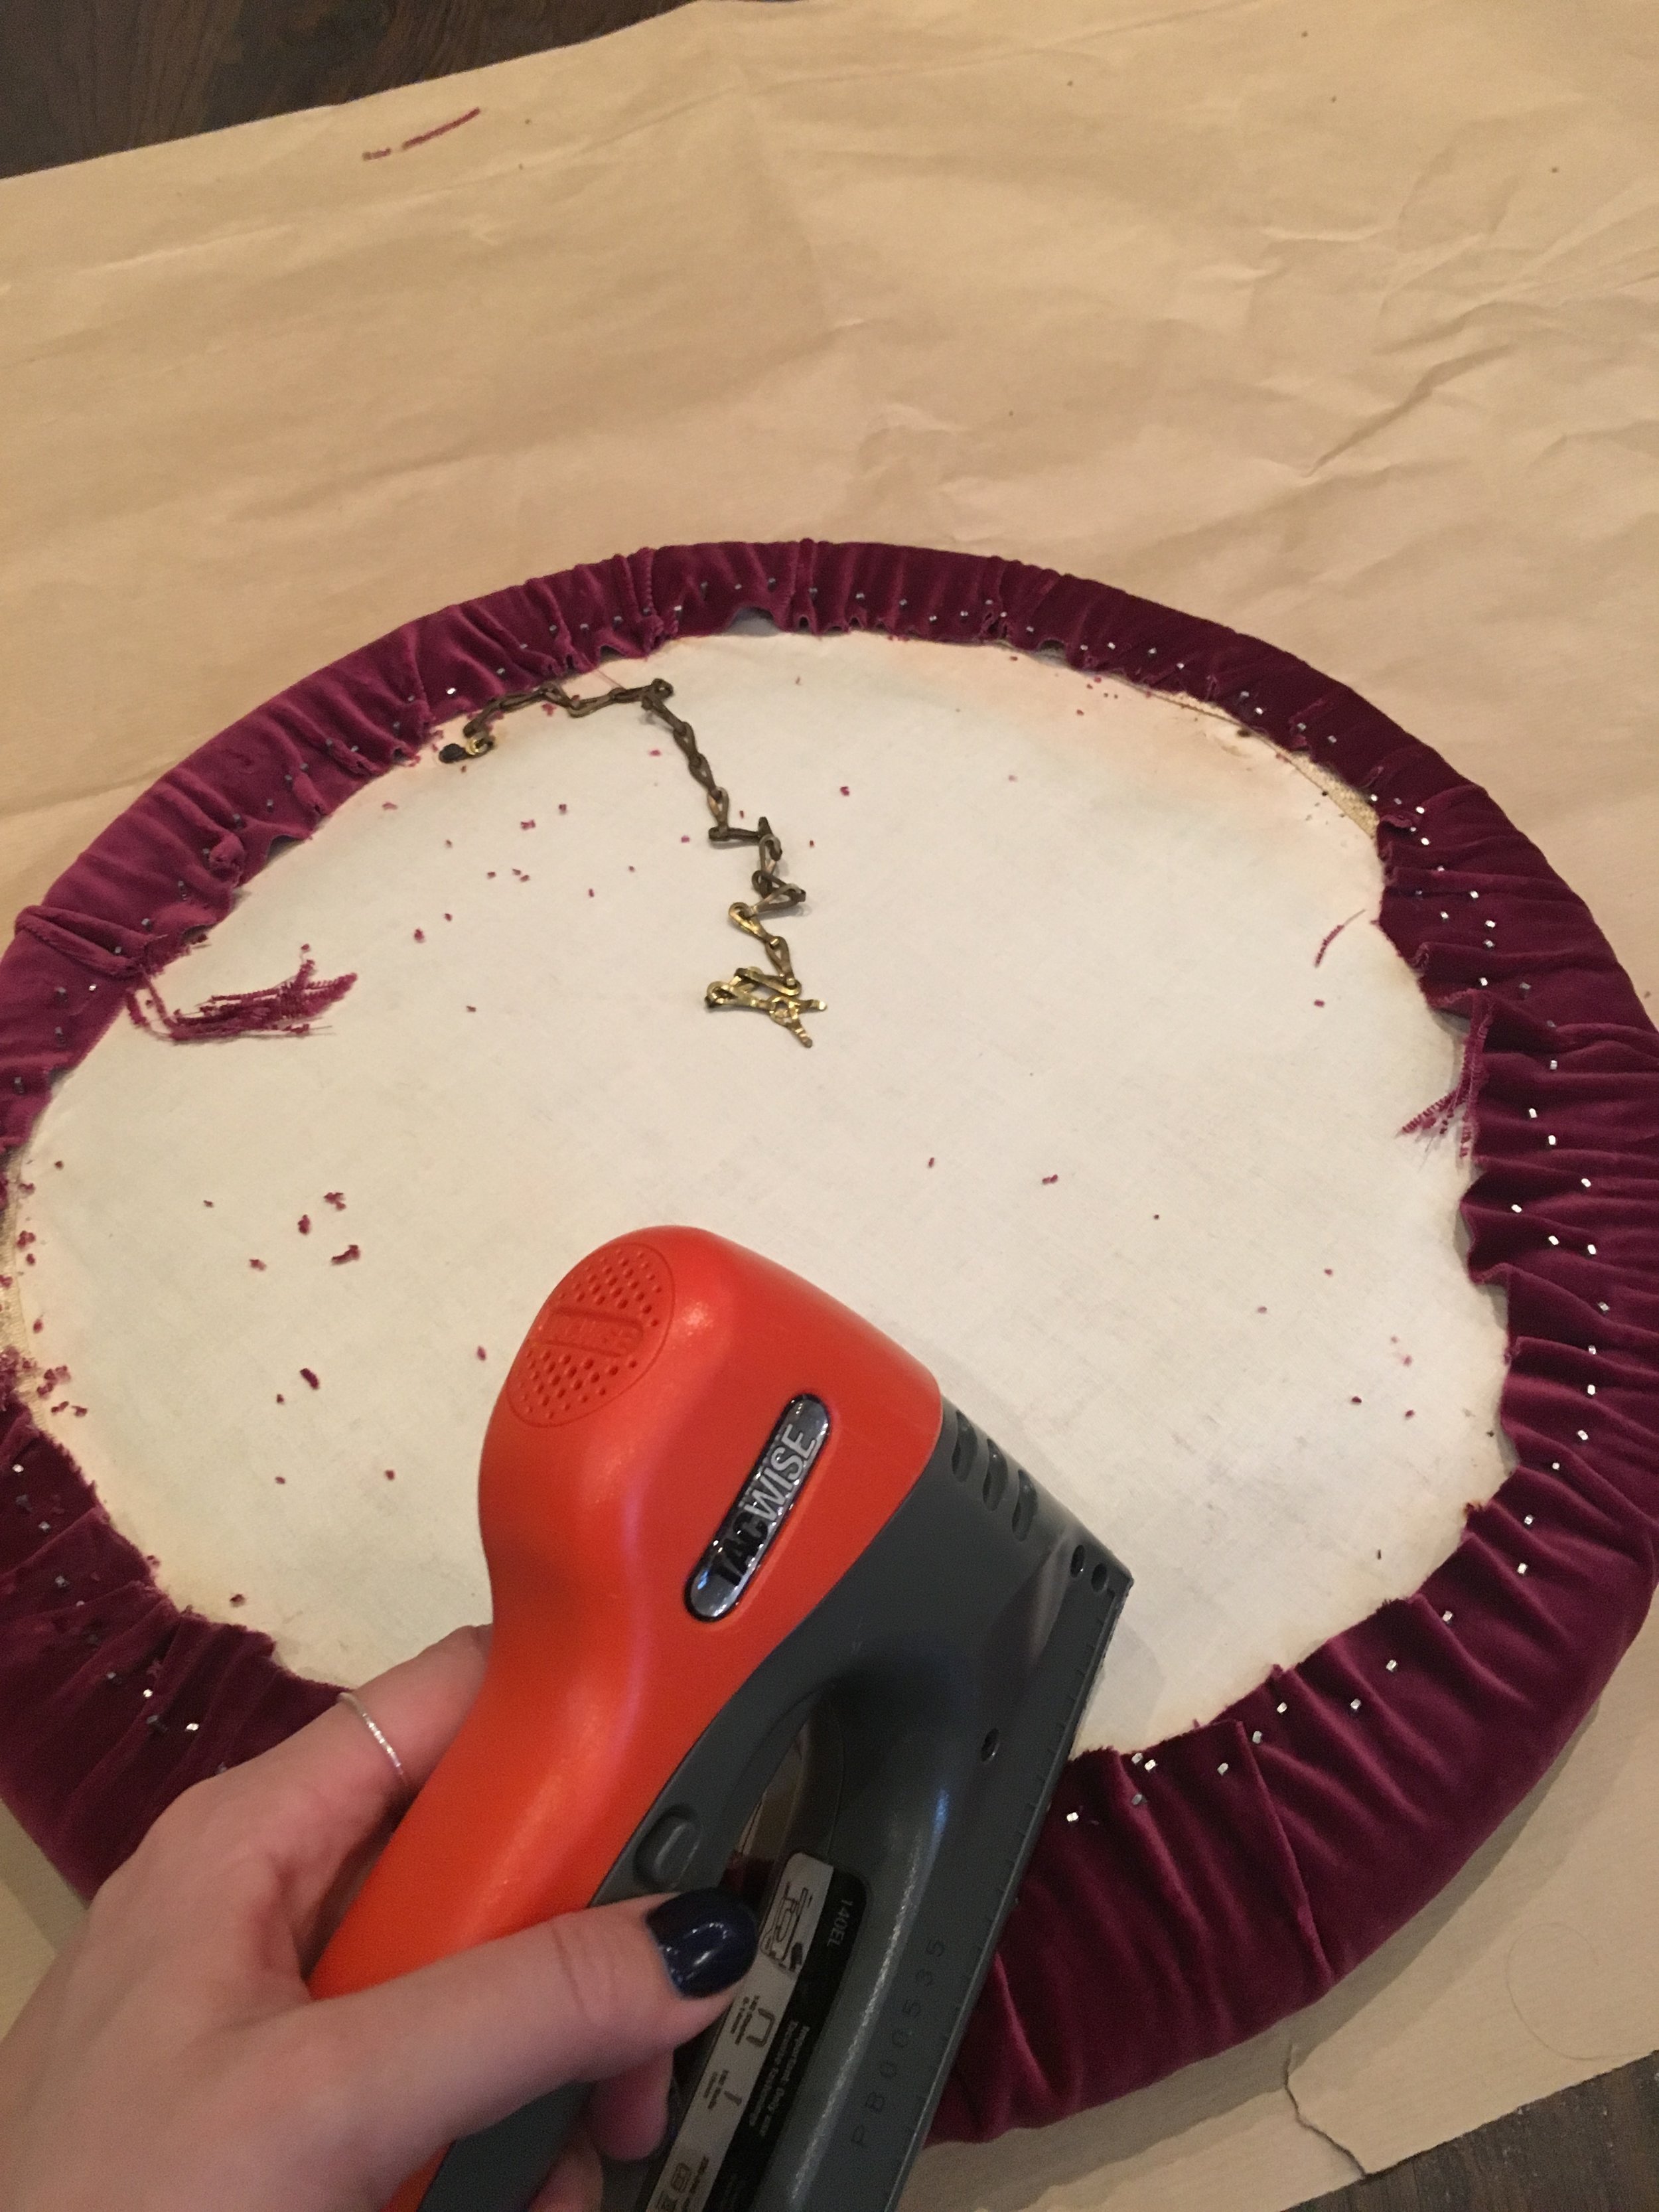
Then using the nail gun, nail the fabric inside. For the ends, fold the edges in for a smooth, clean look. 

At the base fold the fabric in to create pleats. Then pull teh fabric tight and staple. Use the hammer to knock in any nails which haven't gone in fully. 

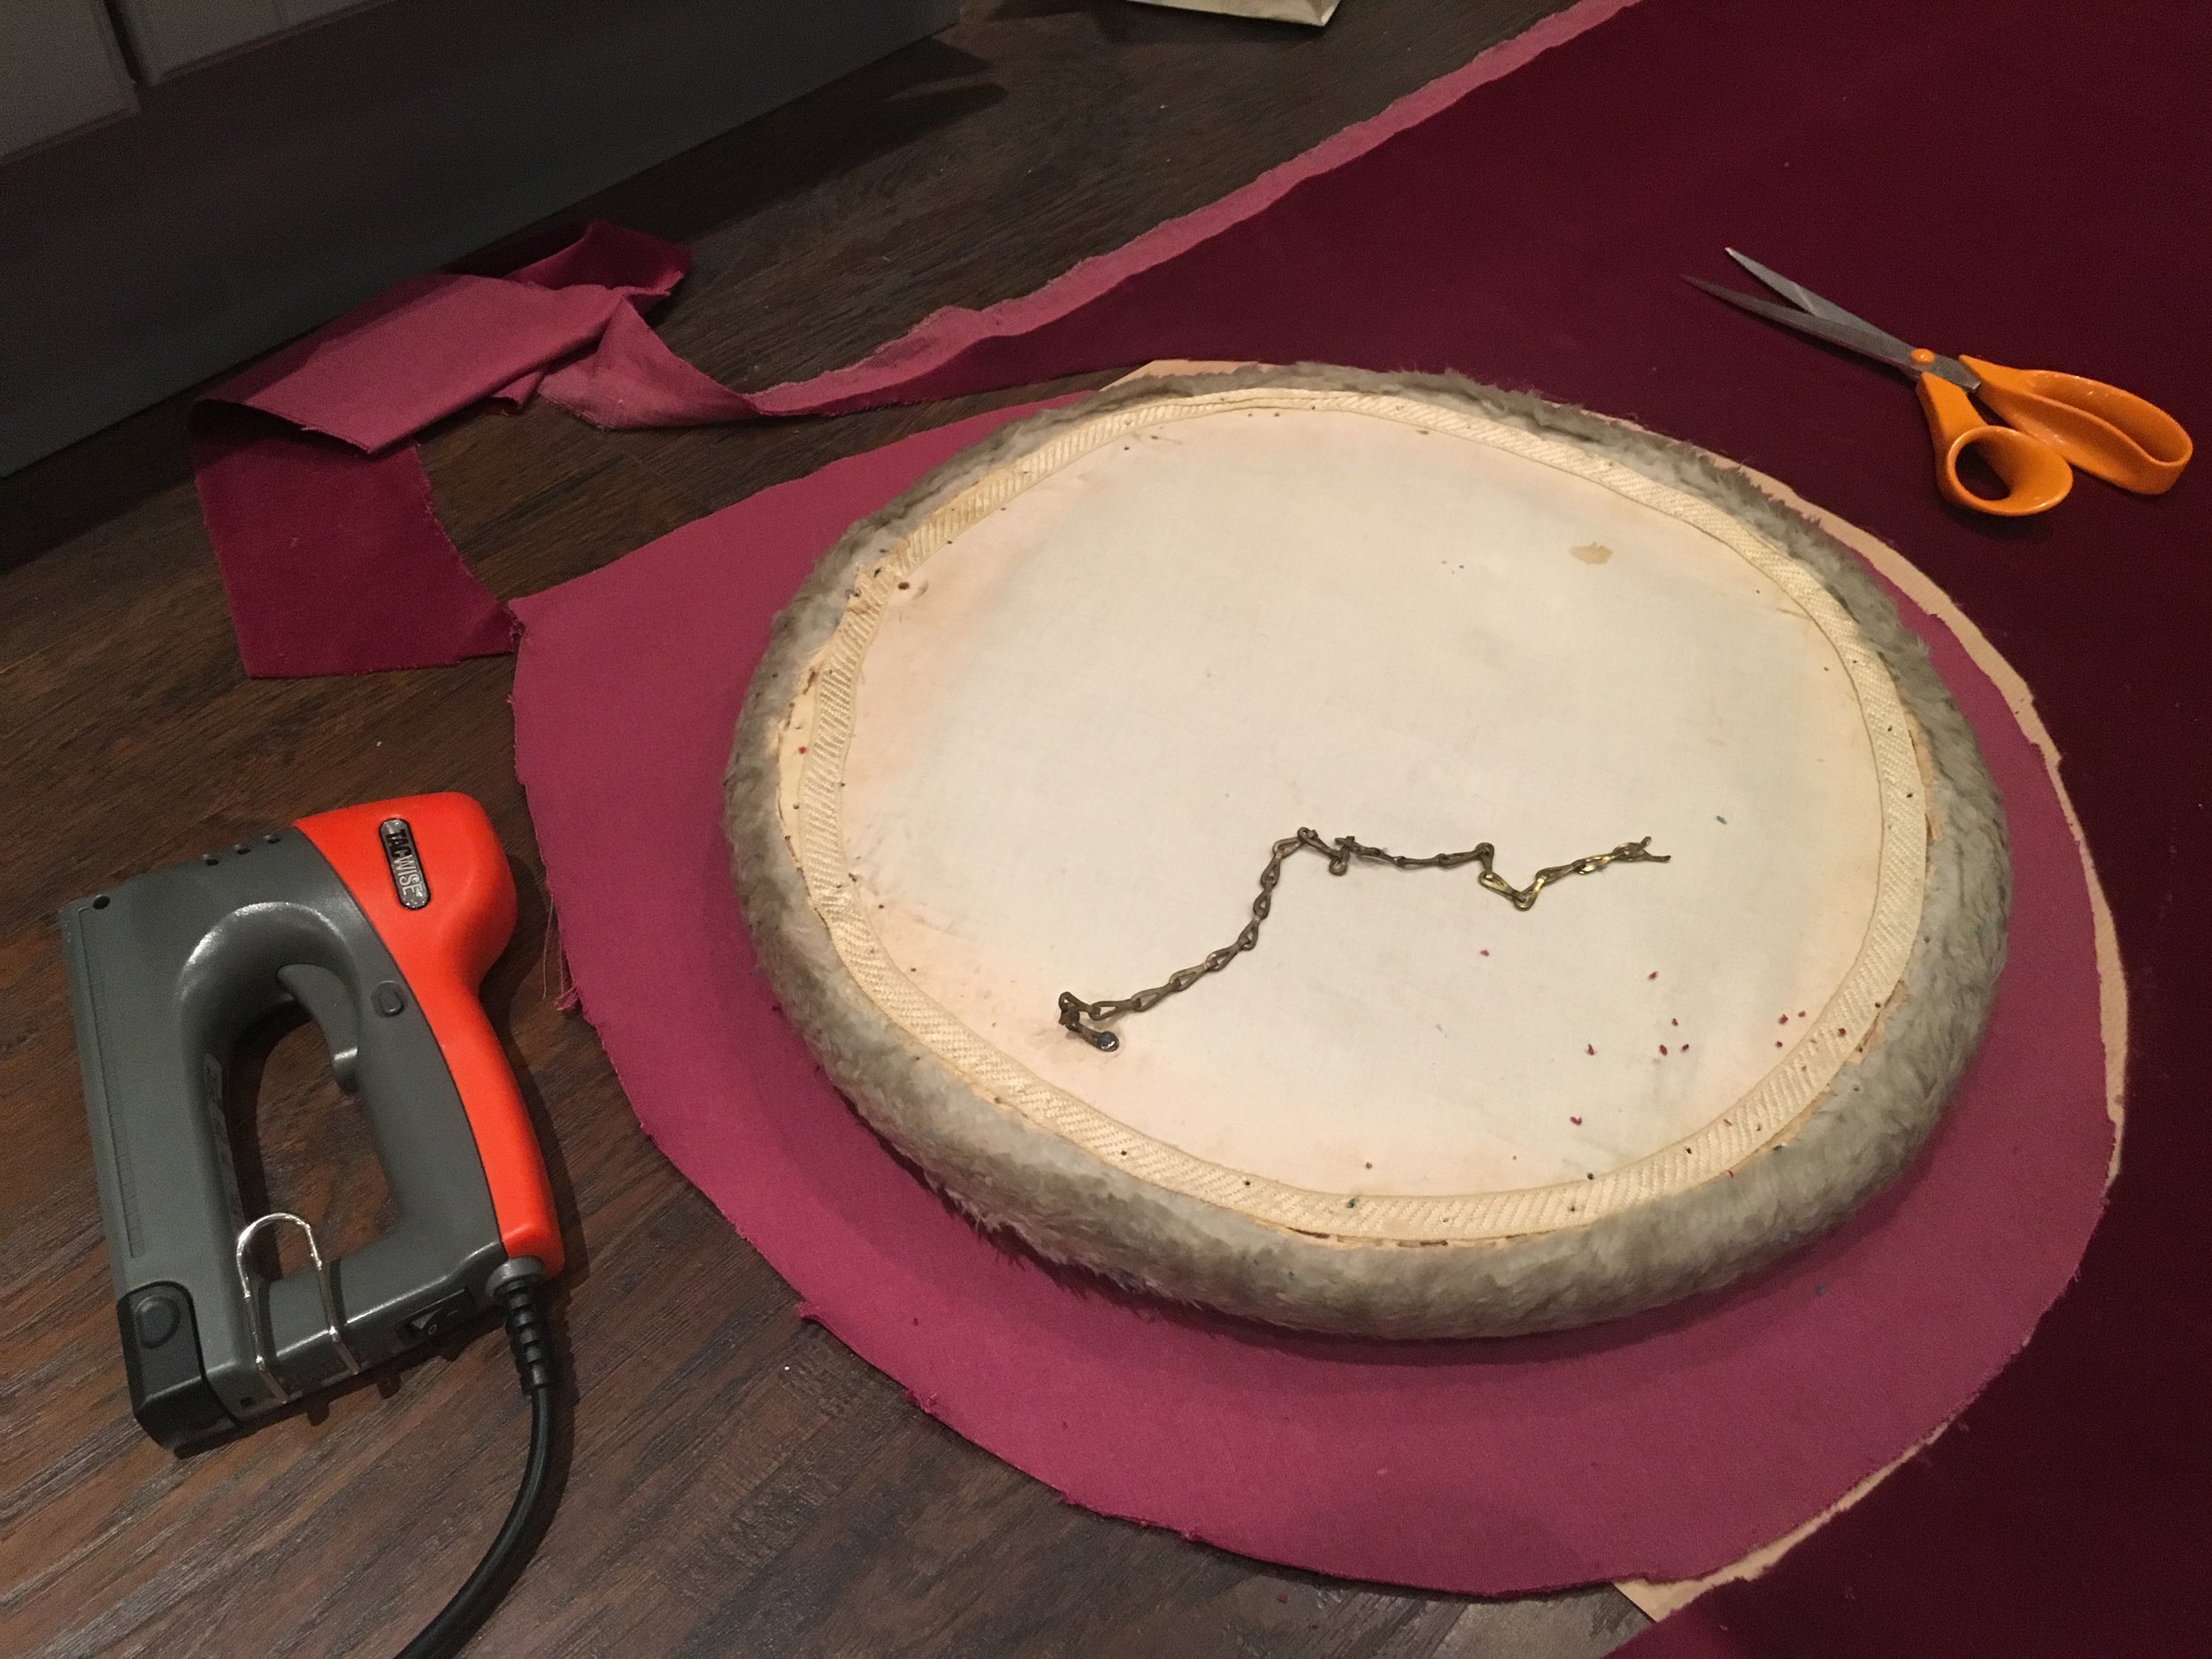
4. Then for the top, unscrew it from the base and lay it on top of the fabric and cut around, allowing an extra 5cm seam allowance to pull it over. Then pull tight and use the nail gun to secure. Hammer down any nails that are sticking out. 

And thats it. One finished footstool. The nails are inside and underneath so you can't see them. 

If you want, you could line the base to hide the nails. I did this with an ottoman that I covered, but depending on what your using it for, you don't need too. 

DIY UPHOLSTERED FOOTSTOOL

THE HOUSE OF HACKNEY HACK- DIY TASSEL LAMPSHADE

 THE HOUSE OF HACKNEY HACK- DIY TASSEL LAMPSHADE

Today’s blog post is all about how you can re-create your own designer lampshade for a fraction of the price; let’s call it the House of hackney Hack! Even though it’s bound to get on House of hackney’s wick. Hackney… wick.. get it  (sorry, but I couldn’t help myself… taxi for Cotton). But as Oscar Wilde once said ‘Imitation is the sincerest form of flattery’, and if you learn anything from this post, it should be the knowledge that lamp covering isn’t that difficult and if I can do it, you certainly can.  So, let’s get started.

Read More

{INTERIOR DECOR} DINING TABLE RE VAMP

{INTERIOR DECOR} DINING TABLE RE VAMP

Sometimes all it takes is a little know how, arm grease and a good old DIY store to help pimp your dining table. I was hosting a dinner party when we accidentally scorched the table, leaving it with a lovely white mark, right in the centre.  I've googled tutorials on getting white heat marks out yourself with an iron and a damp cloth, but after years of ignoring all the scratches, dents and marks I thought it was time to take action. Spend less than £70 to re vamp, or get a new table. It didnt take long to decide which option to go with...

Read More