
{INTERIOR DECOR} DIY UPHOLSTERY
/I’ve been a little quiet on the blogging front for the last couple of weeks, but today I can finally share what I’ve been up to. I’ve been busy undertaking my first (self-taught) upholstery project.
A couple of months ago I purchased an old brown ottoman from a charity shop for a bargain £15, and as much as I love brown cord – I mean who doesn’t?, my obsession with Blush pink took over and I decided I could finally get that coveted pink velvet item into my house without breaking the bank.
After watching a 10 minute YouTube video on upholstery- (god I love YouTube!) I ordered a nail gun from Screwfix which by the way was the best £25 I’ve ever spent. Cotton velvet from Fabricaz, wadding from hobby craft and upholstery foam and lining from good old ebay.
For the record I know I made a couple of mistakes ,I definitely pulled the top a bit too tight, the base may not be tight enough and the top is a little wonky, BUT I’m pretty proud of my pretty little pink ottoman, so here’s how I did it…
The finished Ottoman
The Original Vintage Ottoman- Purchased for £15.00
First of all the easy bit, I stripped it back to its shell, detaching the top from the base, making sure I kept the original foam on top for later. TIP- Take photos of whole the original hinges are fixed. You'd be amazed how handy these will be later when re attaching!
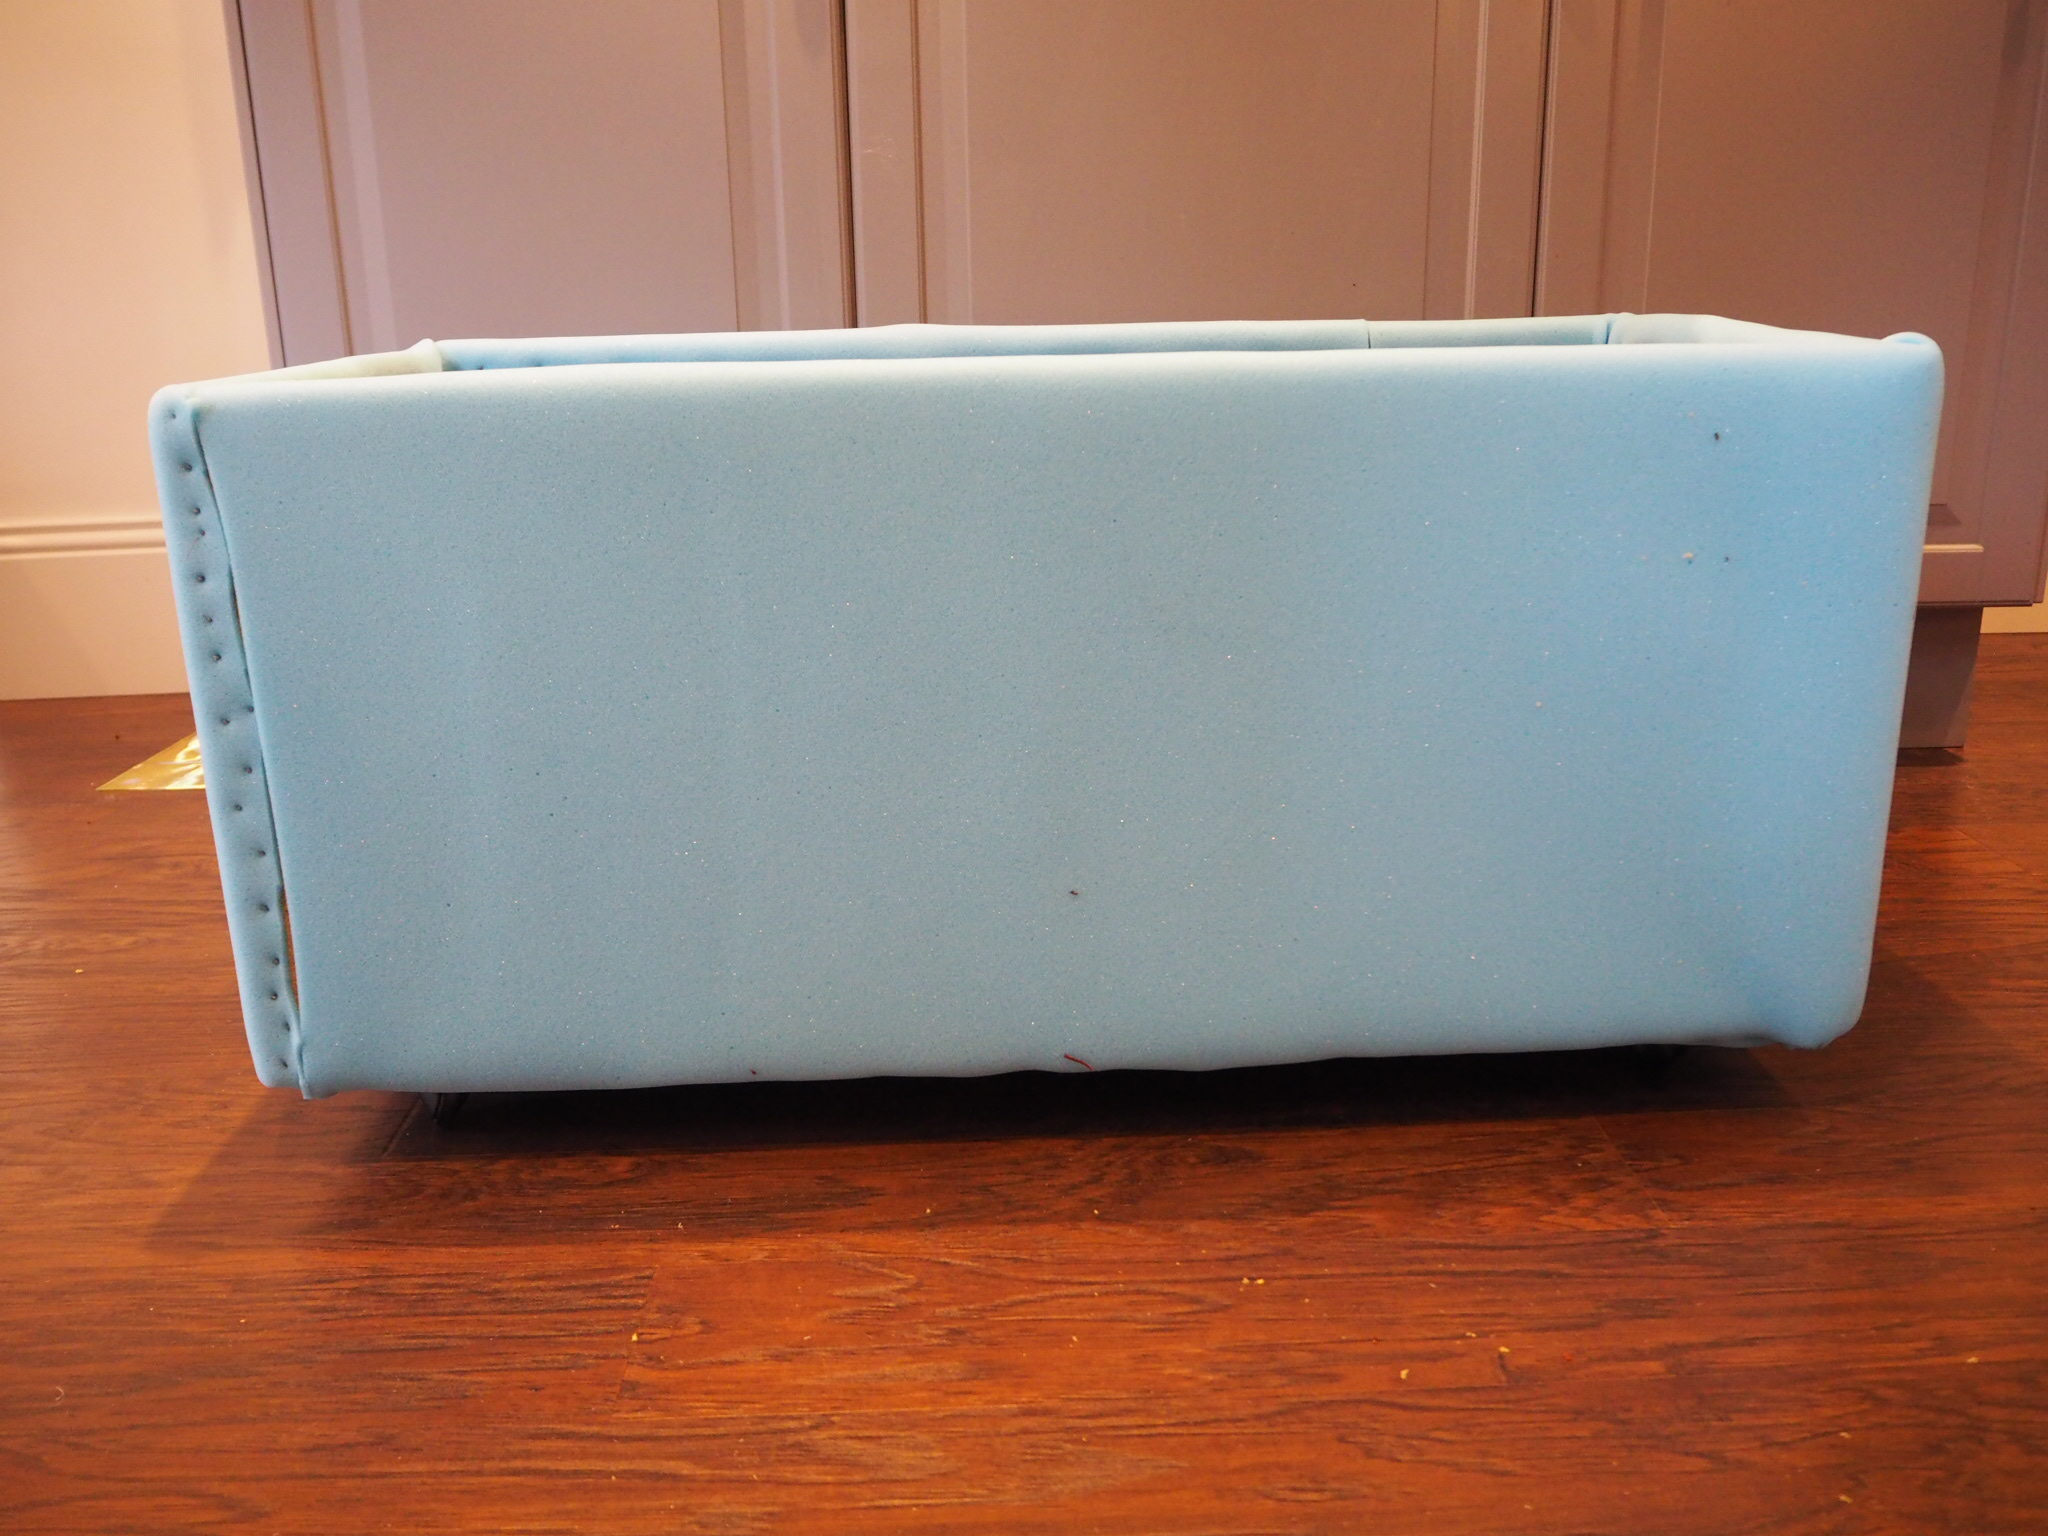
I used high density foam purchased from eBay to cover the sides of the base. The foam was ¼ inch thick which was nailed to the underside and inside of the base. The nails were later covered by the lining so don't be afraid to use as many nails as you need! This is where the nail gun came in extremely handy. I recommend purchasing one if you want to give this sort of thing a go. My gun gave me two options- staples & Nails. After trying both, the nails were more productive at getting through the foam to the original MDF base.
I then measured the base and cut the pink velvet to fit with 1cm seam allowance on the sides and 5cm extra seam allowance for the top and bottom (10cm in total) – to wrap under the base and over the top and nail inside.
One thing you need to be aware of is that velvet has a pile, so make sure you stitch all your sides together with the same facing pile. I cut mine SMOOTH DOWN. There is no wrong or right way to cut velvet, but just hang the velvet over the ottoman first before attaching it to see which shade you prefer as the pile can change the look quite considerably.


I then measured the base and cut pink velvet to fit with a 1cm seam allowance on the sides and a 5cm extra seam allowance for the top and bottom (10cm in total) – to wrap under the base and over the top to nail inside.
One thing you need to be aware of is that velvet has a pile, so make sure you stitch all your sides together with the same facing pile. I cut mine SMOOTH DOWN. There is no wrong or right way to cut velvet. TIP: Hang the velvet over the ottoman first before attaching, to see which shade you prefer as the pile can change the look quite considerably.
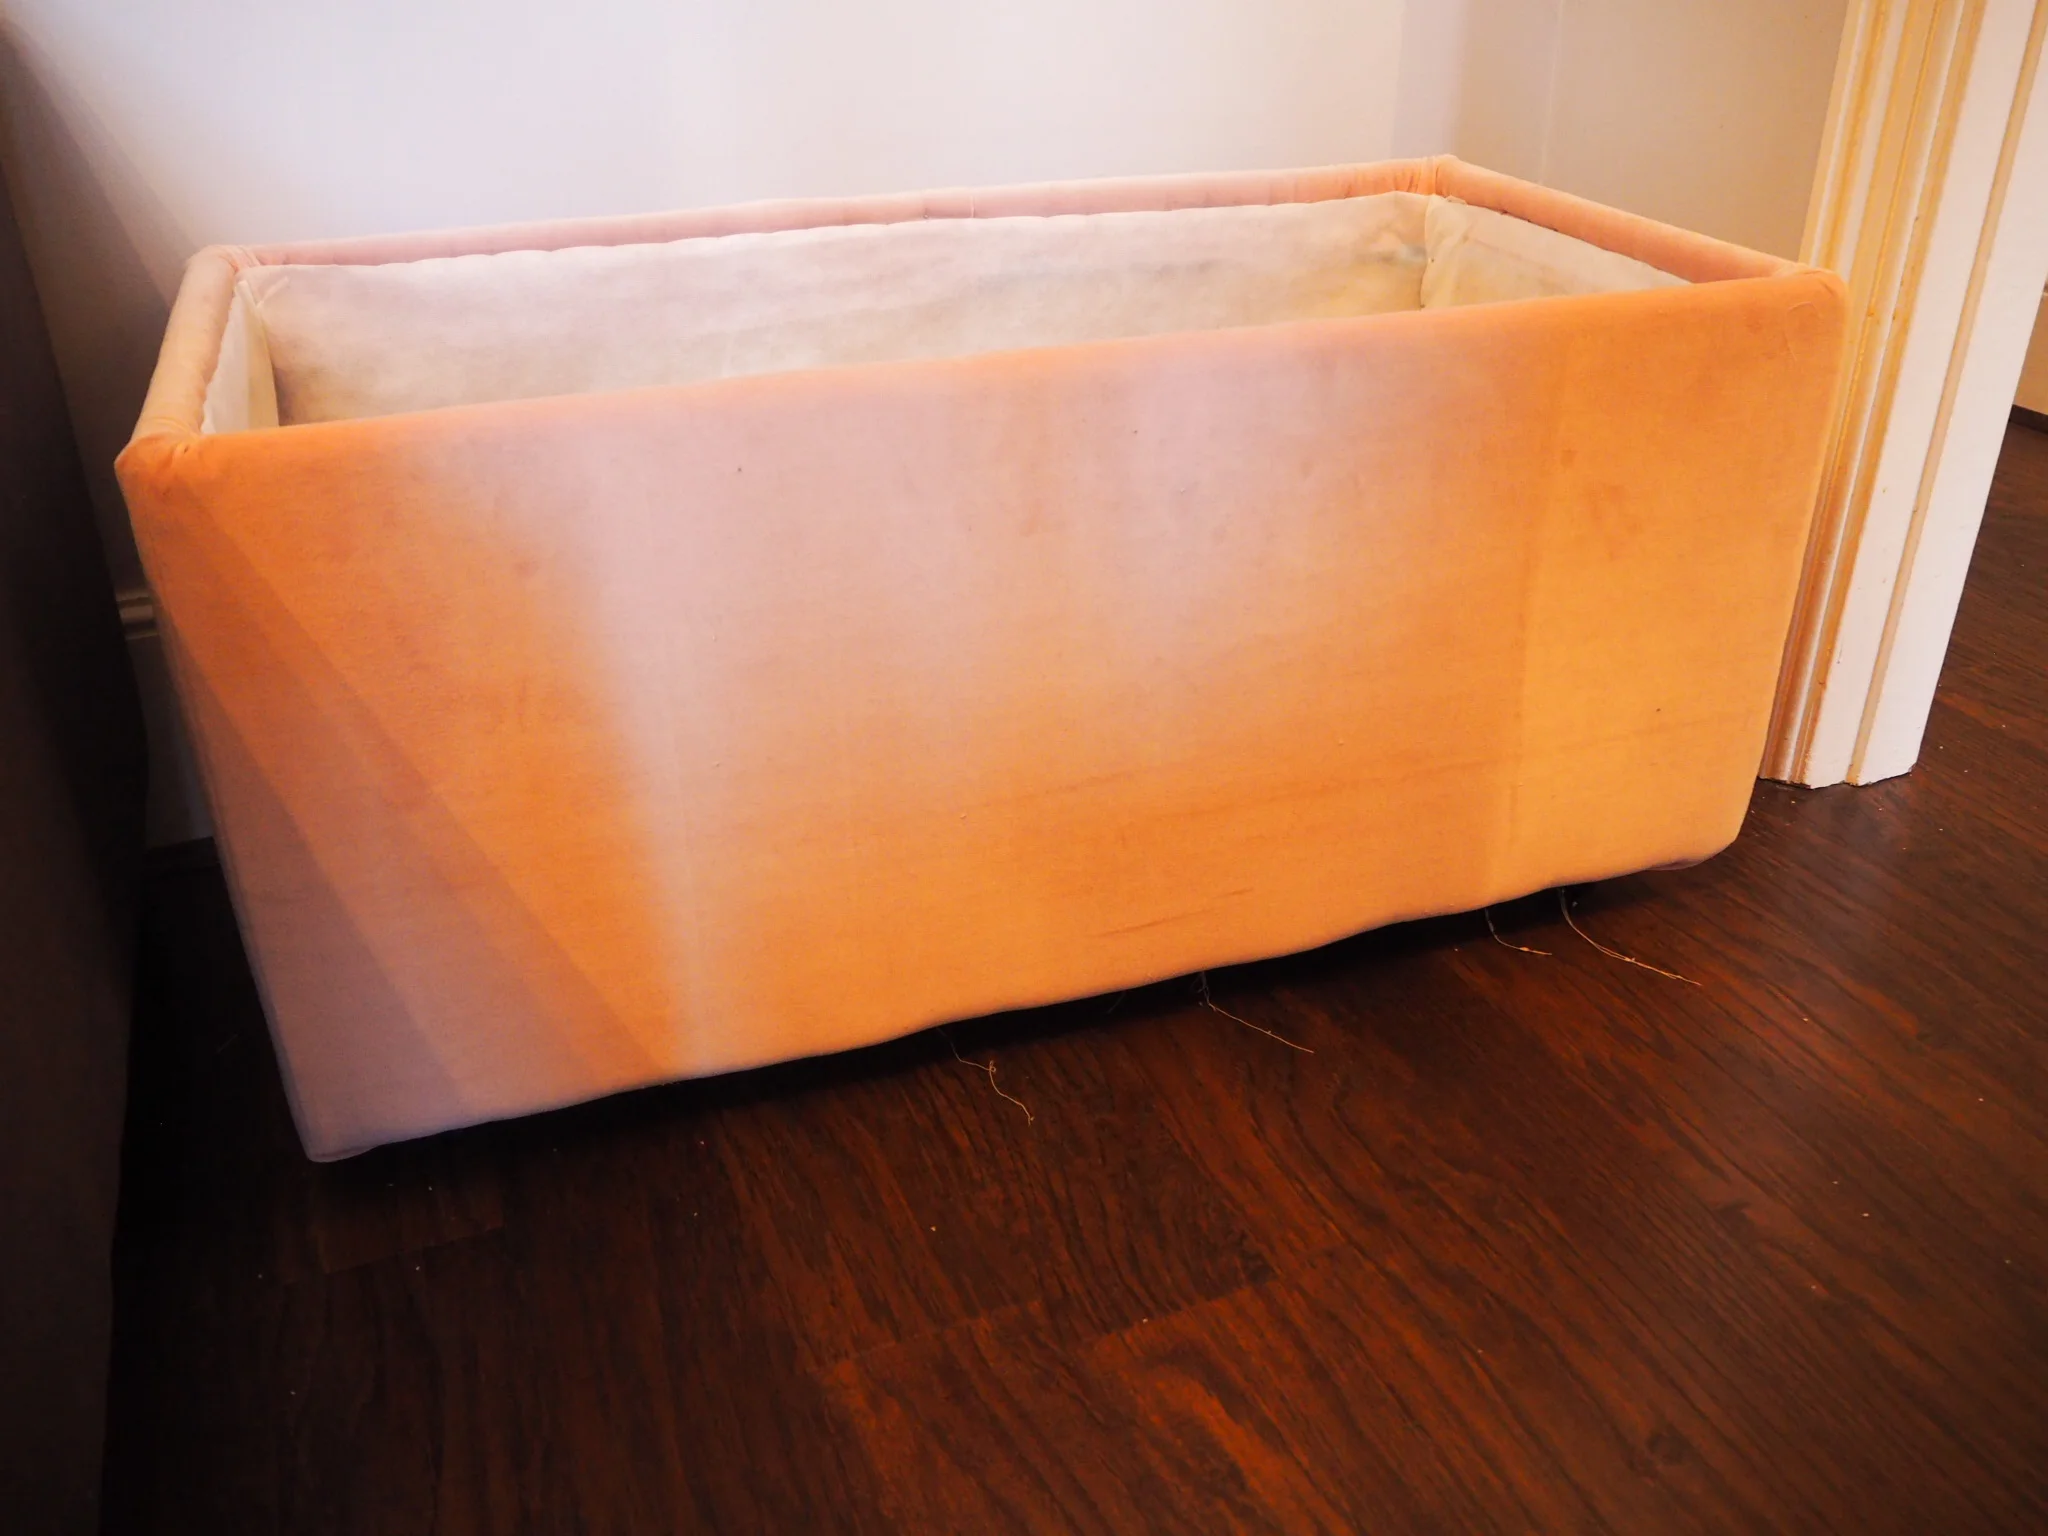
I stitched the sides of the fabric together to create the sharp corner edges and then nailed the base side on. I then stretched the fabric over the top and nailed this down trying to keep it as tight as possible. To finish the back I created an envelope fold to keep it neat. TIP: Start at the front and work your way round the sides!
Once finished I measured the ottoman and cut Dipryl white lining to fit the four sides inside. I then nailed the lining on from the top and folded the lining over to create a clean finish. One all the sides were in, I used the nail gun to hold down the lining in the corners. The base is now complete, and onto the hardest part- the button top.

To create the top, I first covered shank buttons in the same velvet as the base, making sure they were the same size as the original buttons. You can buy a button covering tool from hobby craft.
I then laid 1 inch thick wadding cut to size over the original foam top, keeping the original foam underneath. I cut enough wadding so there was a 2 inch over hang around the outside edge. I then cut a piece of velvet to match, making sure the weft and warp was at a right angle to each other (This is vital, otherwise the buttons will pull at strange angles). Then using the pre-existing wholes, I threaded an upholstery needle with a long peice of button thread (I bought a pack of upholstery needles from John Lewis) and went up from the base and the many layers, attaching the button and coming back down through the fabric, wadding and foam through the same whole to the under base. I cut small pieces of velvet which I placed at the whole on the base to stop the threads moving. Here I made a knotted loop with one of the threads and then placed the other thread through the loop. I then held both threads and pulled them to create a knot. Tip- When working with buttons, start at the centre and work outwards.
Once the buttons were finished I pulled the velvet around the sides and nailed this to the under MDF base. Tip- Don’t pull the velvet too tight on top! You can lose the shape in the corners if it’s too tight which I found out the hard way.


For the top lining, I cut white dipryl to fit with a 1cm seam allowance which I folded under at the edges and hand stitched this on top of the velvet hiding the nails.
Then this just left re attaching the hinges to complete the Ottoman.


Voila! One blush pink velvet ottoman. Oh and I had enough velvet left so I made a scatter cushion for the bed! The perks of over ordering! Let me know what you think?


