OUR RENO JOURNEY: HOW WE'RE USING OUR TREX DECK

AD/ PR GIFT - * This post is sponsored by Trex who are very kindly collaborating with me on the transformation of my garden deck space by providing all materials and labour in exchange for promotional activity.

TREX ENHANCE DECKING IN CALM WATER

TREX ENHANCE DECKING IN CALM WATER

It’s only been almost a year since our gorgeous Trex decking was installed and a lot has changed since then.

We now have grass, more painted fences and some actual plants to dress our deck, not to mention a timber pergola over the top.

It feels like we’ve been waiting an eternity for this moment, but in fact it’s only been 372 days.. ha! It was exactly one year ago that this Trex deck started to be built and this kicked off the beginning of our garden renovation. You can see more of the beginning stage of the deck being built here.

TREX ENHANCE DECKING IN CALM WATER

TREX ENHANCE DECKING IN CALM WATER

There’s still a lot to do in terms of building a garden office, and laying a patio, not to mention the one row of fences which we still need to replace which are cleverly out of shot, but it’s getting there and when we look back a year ago its changed so much.

I still can’t believe it is ours if I’m honest, I’m having a real pinch me moment whilst sitting on our Trex deck , whilst looking back at the house.

One thing I’m super proud of is not just the house, but the fact that we actually got the garden sorted before moving in.

This decking has given us a calm space to come, sit and relax - albeit it keeps raining and we’re yet to have much of a summer but it still feels wonderful to be out here and know that it’s ours. It’s also created a safe space for our little boy to come outside and play and for us to watch him. Having the trees at the back, it feels lovely to feel like we’re surrounded by nature, and the Trex Deck blends in perfectly back here.

TREX ENHANCE DECKING IN CALM WATER

TREX ENHANCE DECKING IN CALM WATER

Let’s recap on what and who we used to do achieve it all…

Back in the summer of 2020 we reached out to Steve from Living Landscapes Design to come build us a Trex deck at the end of our garden.

First Steve created a timber substructure base which he applied Trex® Protect™ Beam and Joist Tape . The butyl tape protects the wooden substructure from moisture that can cause rot and loosen the screws – extending the life of our deck.

TREX ENHANCE DECKING IN CALM WATER

TREX ENHANCE DECKING IN CALM WATER

Because of the size of the deck, Steve laid it in a half sections, with boards going horizontal, with a central board laid in portrait to finish the cut edges.

You can read all about the fitting of the deck here in a previous blog post.

Because the fences are painted black, I absolutely love how the ‘Calm Water’ decking blends with our dark fences, and pops against the green grass and couldn’t be happier with how its all turned out!

Bring on the next phase of bbq’s and having people round to enjoy it, as life just seems to be opening up a little.

TREX ENHANCE DECKING IN CALM WATER

TREX ENHANCE DECKING IN CALM WATER

We chose the Trex colour ‘Calm Water’ from the Trex Enhance Naturals collection as it’s a beautiful grey textured composite decking which looks dark, sleek and modern and requires very little maintenance. Arbor deck stocks it here.

We absolutely love our composite deck and it’s super easy to clean and maintain. And the best thing about it, is it doesn’t require painting or staining year in. Just a quick wash and a bit of soap and water each year will bring the deck back up to its beautiful grey shade.

Have you considered a composite deck? I’d go for composite each time, now that we’ve had it.

OUR RENOVATION JOURNEY : THE GARDEN PLANS - PHASE 1

Taking on a home renovation is one thing but being ambitious enough to start a garden overhaul alongside it is another. Throw in a lockdown and a global pandemic and some might think I’ve completely lost my mind.

But the truth is, and if you know me then you’ll know this already, I’m pretty stubborn and even though our last house took years to get it how we wanted it, we didn’t have a two-year-old toddler in tow back then. Everything’s now ramped up to make our home as safe and secure as possible before we move in, because it won’t be long until we move in and have a little person wanting to use the outside space. Plus, with the emphasis on staying at home more, we want to be able to use our garden how we intend to from the offset.


I recently wrote a blog post about building work and all the extra costs which no one ever talks about and keeping money back for the garden was high on my list. It’s ironic really, as even though I know this, I haven’t taken my own advice and our garden budget is dwindling and I’m starting to spend the garden budget on tiles and taps, which for me are essential right now. Building work is tough as it is, extra costs can creep up and the garden is often neglected even though it’s never been so important now we’re in lockdown.

This is why I’m keen to crack on with it regardless, even if we do it in phases.


When we bought the house, the garden had been hugely neglected. This is no exaggeration; it was an actual jungle. Huge trees, brambles and no sign of a fence either side or at the back. We only ever walked through it once we had completed on the house which was probably pretty stupid as we didn’t even know how big the plot actually was. (You can view the jungle garden here on You Tube as my friend flew his Drone over it).


We had the trees chopped down straight away (luckily no TPO’s on our plot), mainly because they were dangerously big, too close to the house and one was split with a high risk of falling down. We then had the rest of the garden cut back and cleared.

It was great and it enabled us to start our building work once we got our planning permission. However, all the tree stumps remained and even worse, the tree roots were unseen underground, which left the garden pretty wonky and uneven.

Screenshot 2020-05-23 at 22.38.01.png
1588660330236489 2.JPG


But we have BIG plans….


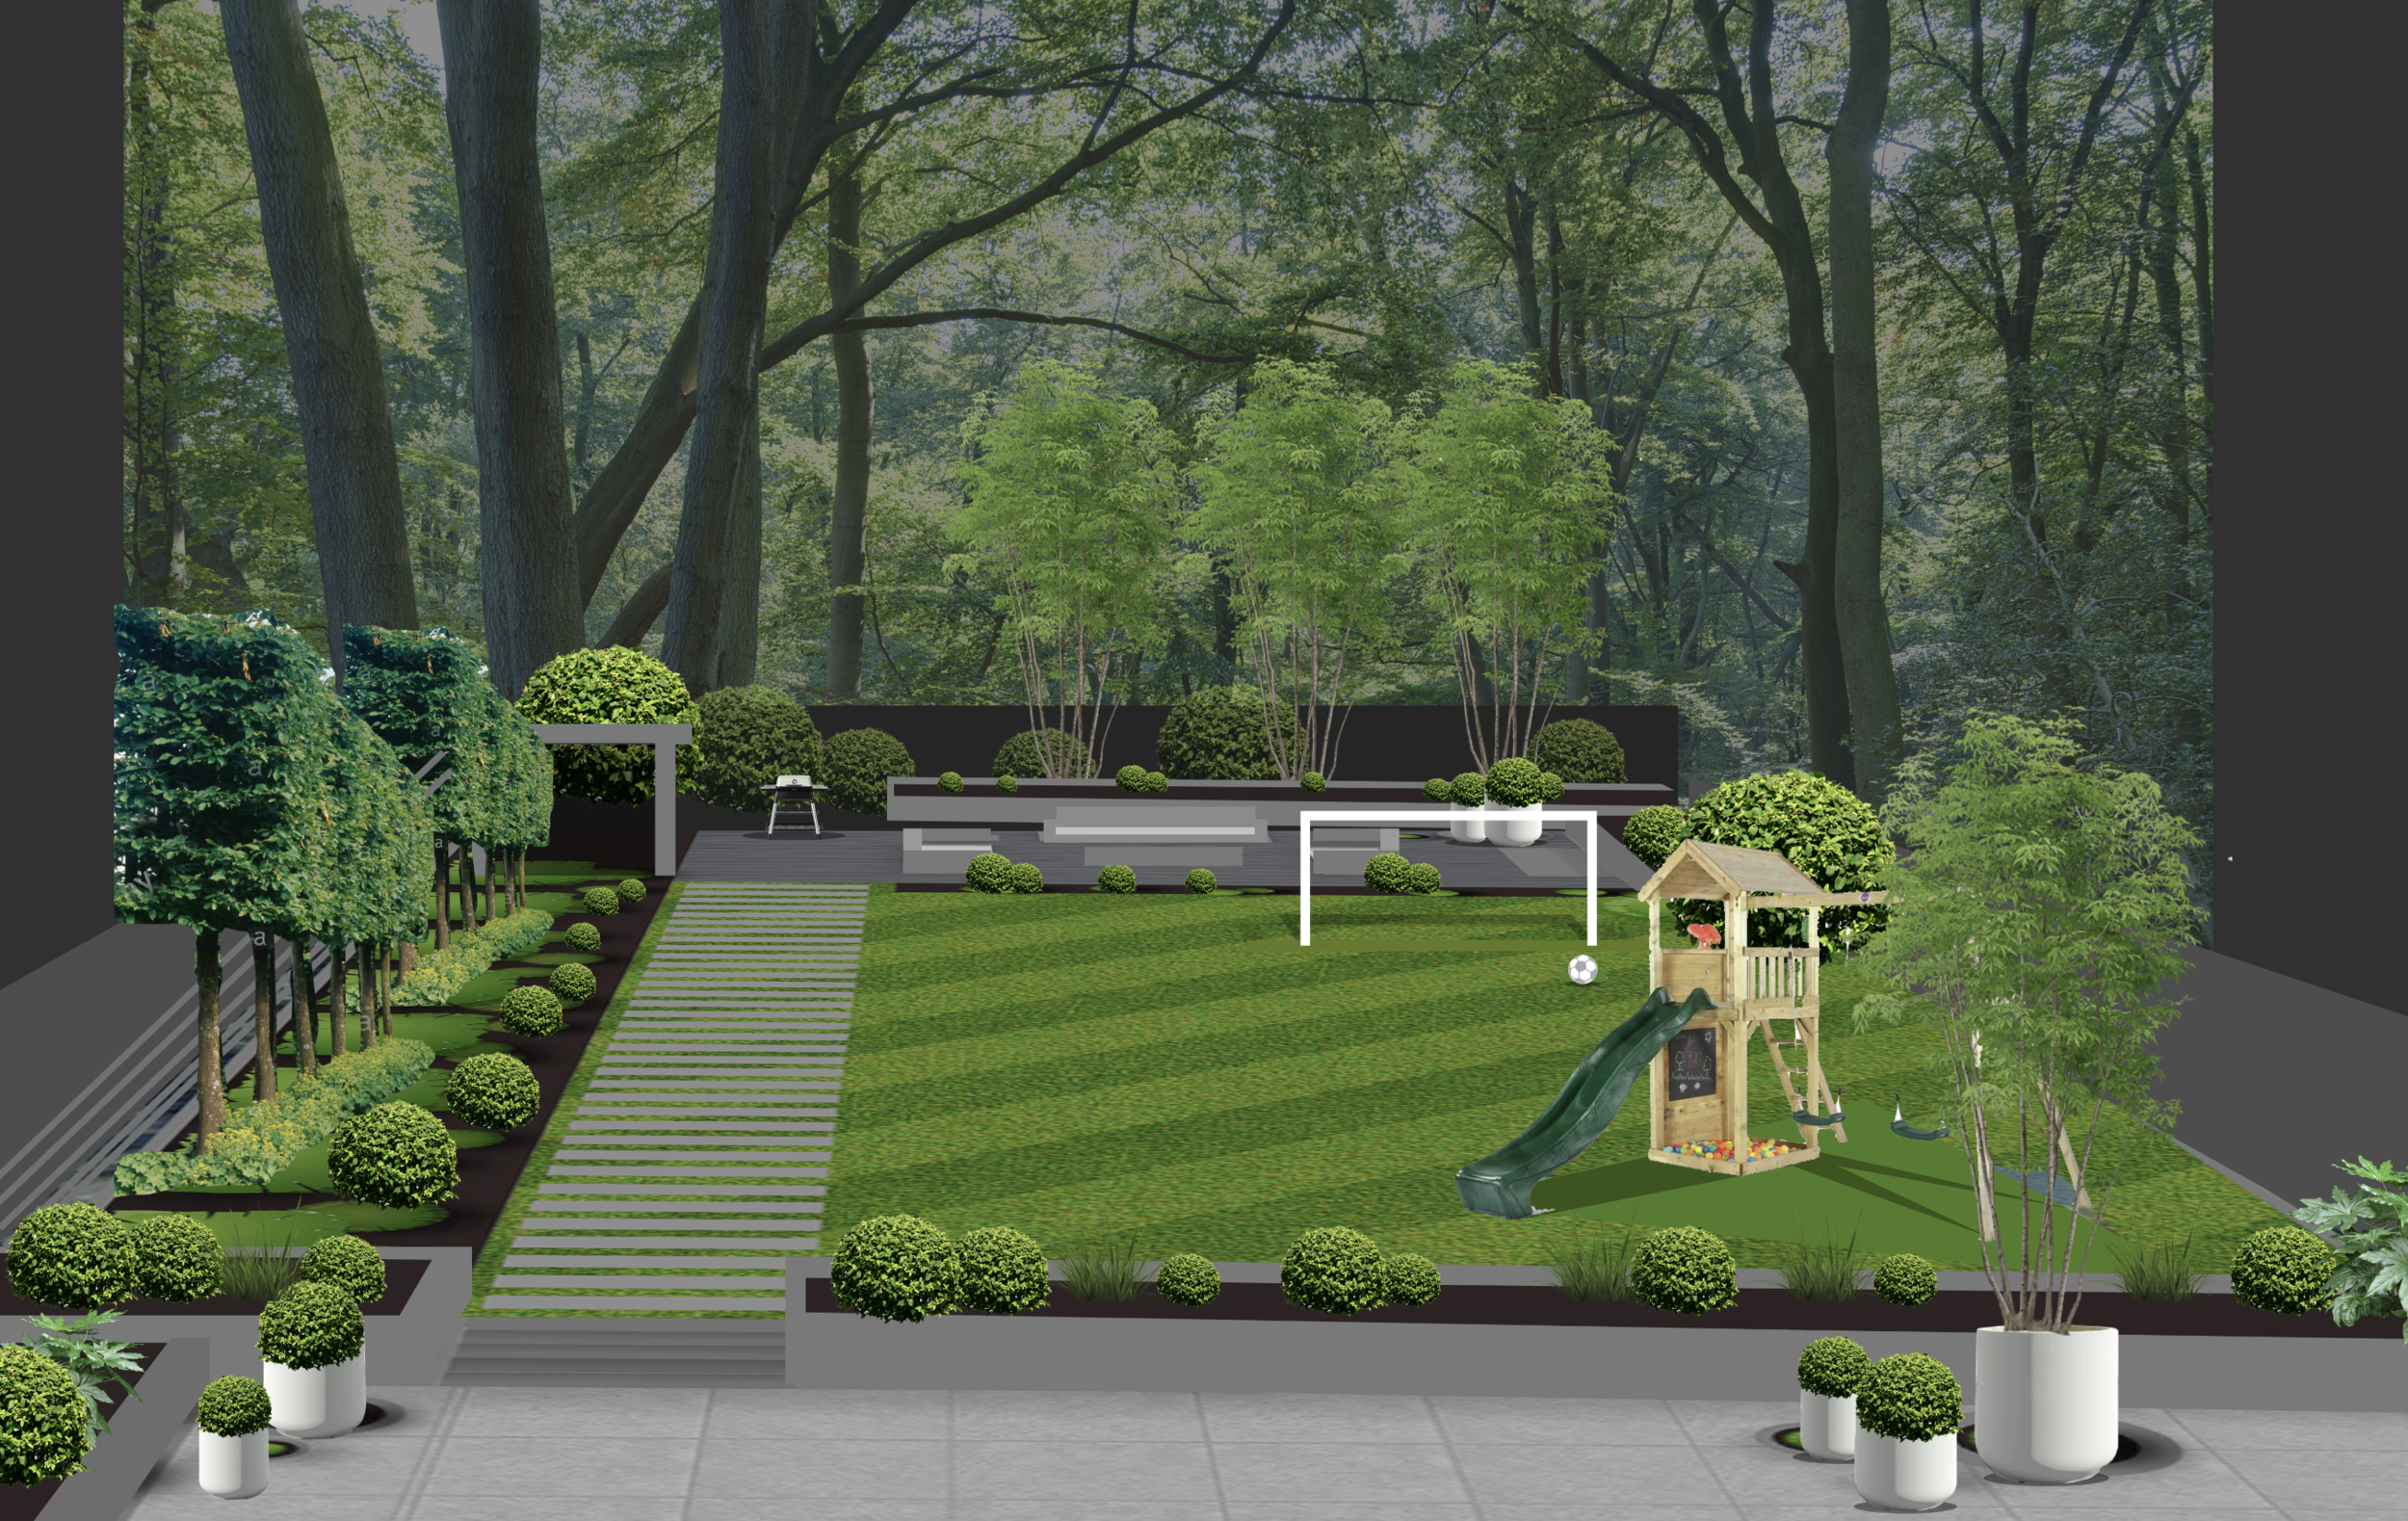
House Lust garden design

Our plans involve laying a large 4m deep patio across the back of the house and a 4m deep decking area at the back of the garden (it’s north facing, so this way we can enjoy some sun all day long). As the garden isn’t even, we need the tree roots removed, and the garden levelled as much as possible.

We need to build a retaining wall next to the patio to compensate for the slope of the garden, add drainage near the house for the patio, add concrete bases for the patio and the shed/ studio, lay paving slabs and then lay a luscious lawn. Down the line we would eventually like to add a studio/shed as I mentioned, down the bottom of the garden which will need electricity -so we’re adding the pipe for this now to future proof ourselves.

As well as all that, we’d also like to replace a fence down the left side, plant new trees and plants and cut boarders in and have some rendered flower beds for more plants.

House Lust garden design.

With all that in mind we have decided to do the garden in phases so we can manage our budget appropriately.

I always recommend getting at least three quotes per job so you can compare prices, and we did just that and decided to use a landscape gardener from Hoppy.co.uk to do the job.

Because we’re in a lockdown and in the middle of a global pandemic it did make getting quotes harder but because the garden is separate to the house build which is on-going, the landscaper and his team of labourers were able to work in isolation to the other builders.


So, this is phase 1 of our garden plans… (Time to do- approx. 5 days)


Days 1 -3   

The team of landscapers arrived, armed with diggers and dumpers ready to tackle the mother of all tree stumps at the back of the garden.

This was something they underestimated in terms of size, as it was a real beast of a stump and it ended up taking almost three days to grind down, dig around and then fully remove.


They removed many other tree stumps too, one which was even under our fence, and one quite close to the house, but these came out relatively easier in comparison using the digger, and they also cleared all the old debris – broken glass and timber which had been left by the previous owner.

Screenshot 2020-05-23 at 22.52.48.png
ee066b1d-ac6d-4747-b67d-c393b673d363.JPG

Day 4  

They dug the hole for our soak away drain which was needed for our rainwater to be connected up for our house.


Then they laid a pipe for electricity from the house to the back of the garden– future proofing us if we want electricity at the other end of the garden for a studio later down the line.


Day 5

They levelled the garden into two levels, one near the house, ready for a concrete base to go in on phase two, and eventually to have patio slabs laid and the second level for the lawn and decking area. This involved levelling an old mound at the back of the garden.


They also removed all the tree stumps, excess soil and debris which was in the garden.

Thank you Hoppy.co.uk lads for working so hard.


We are delighted with the work and now it’s just got us itching to start phase two of the garden where we can start making it look pretty with concrete bases, slabs and retaining walls. But Rome wasn’t built in a day, and I am not Beyoncé, so for now this will have to wait.


House Lust Garden - phase 1 complete
Rat House garden

This post was sponsored by Hoppy. All opinions and views are 100% my own.