
{INTERIOR DECOR} BEDROOM MAKEOVER- CREATING PANELLED WALLS
/After
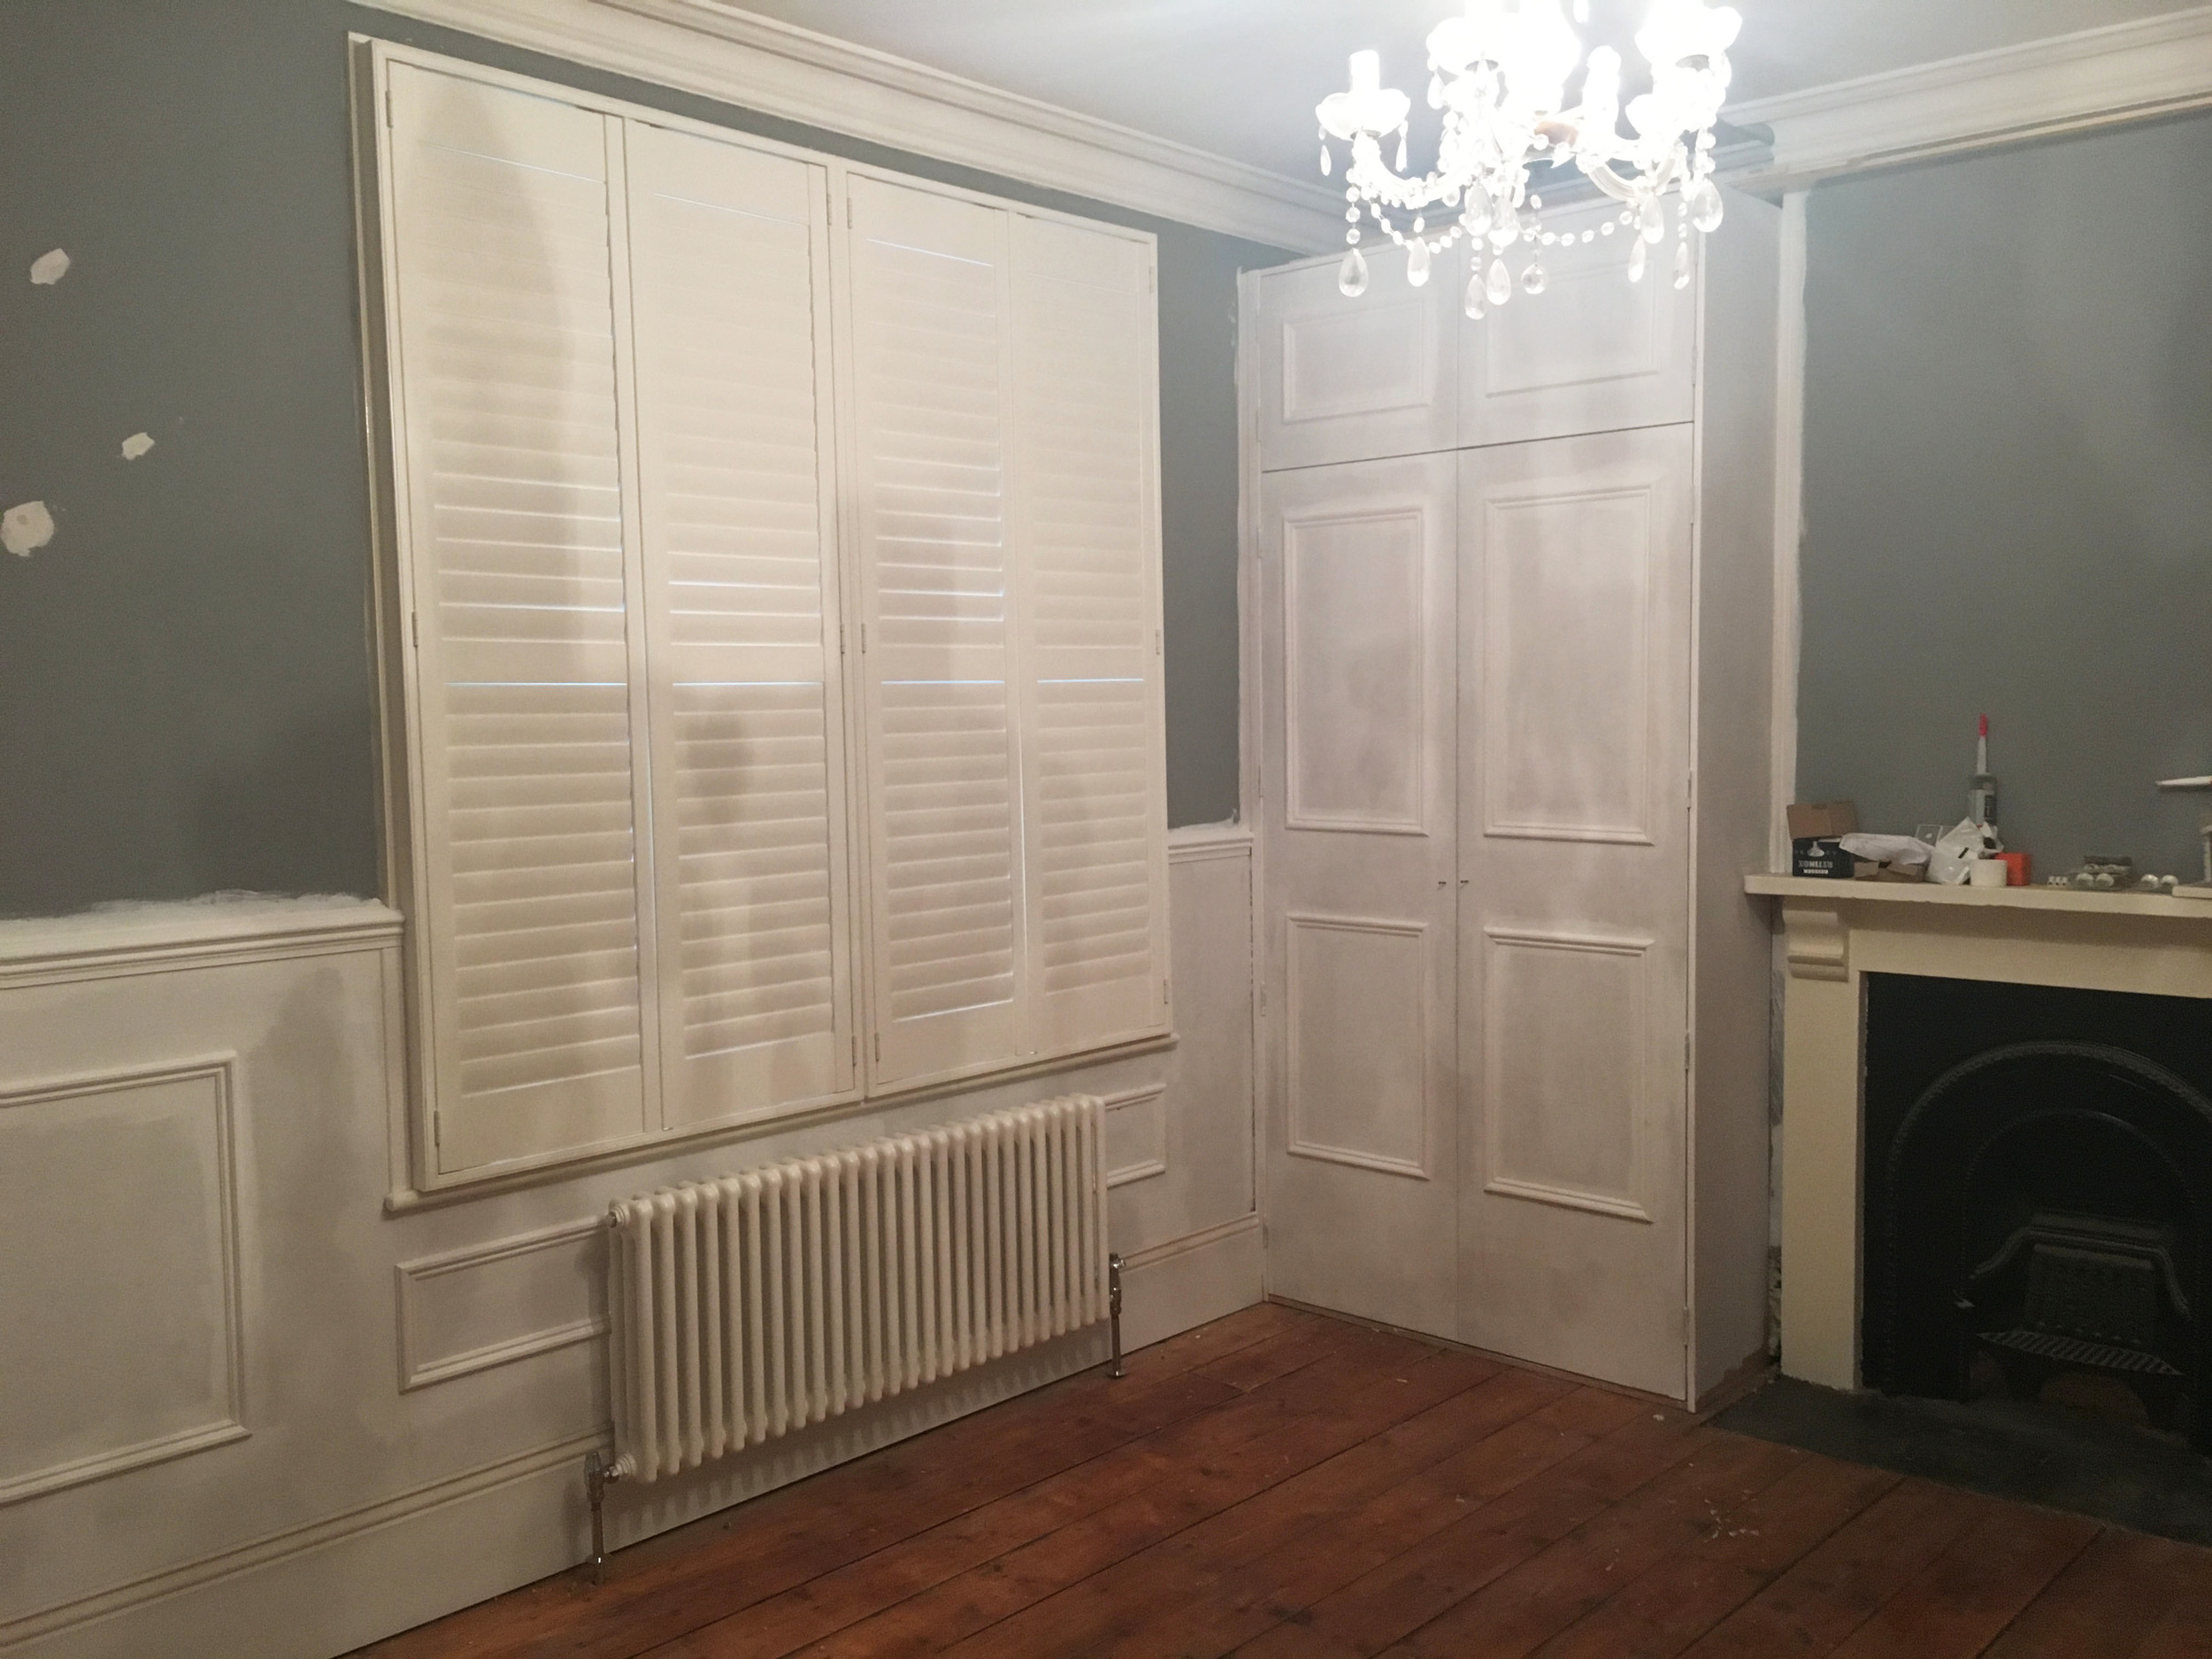
A very blurry before shot
For my first real homes entry I'd like to share a recent renovation project from our own home. So this is our story....
Background
My husband and I bought our house in 2011. A generous, two bedroom Victorian house in leafy Hertfordshire. Before we moved in the property was rented out and had been stripped of all the original character and charm but we fell in love with the space (and the price!) and knew it had potential.
I'm a fashion designer and my husband works in the railway industry, so between us we're pretty useless when it comes to DIY.
We had already decorated this bedroom once before when we moved in to make it more habitable while we tackled the rest of the house. So you might be looking at these pictures and thinking 'hang on a second there’s nothing wrong with that bedroom' and to some extent you would be right. There was nothing wrong with it, however if there’s anything I've learned it is that cream carpets and black cats don't work well together so the carpet had to go (because the Cat couldn't). Besides from that I'm completely interiors obsessed so I'm always looking for the next project, so here it is.
Wainscoting/ Panelled Walls
After watching the Danish girl I had a moment where I felt utterly inspired to live in a Dutch Georgian townhouse with panelled walls. I swiftly came back down to earth and thought about adding a bit of Georgian grandeur to our Victorian home. So that’s exactly what we did...
Firstly we stripped the carpet and ripped out the original skirting boards. I've learnt not to get sentimental over things like skirting boards and to just replace with fresh new ones which look exactly the same, we got ours from skirtingboards.com.
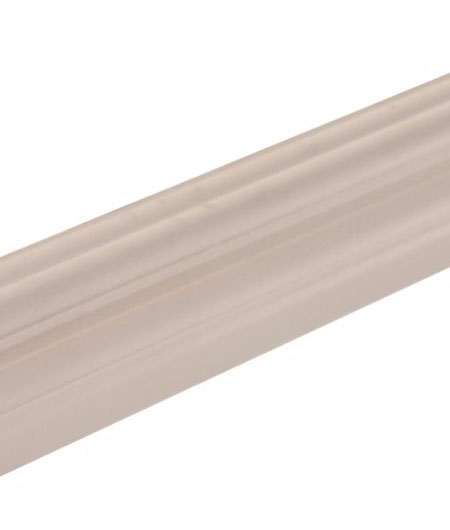
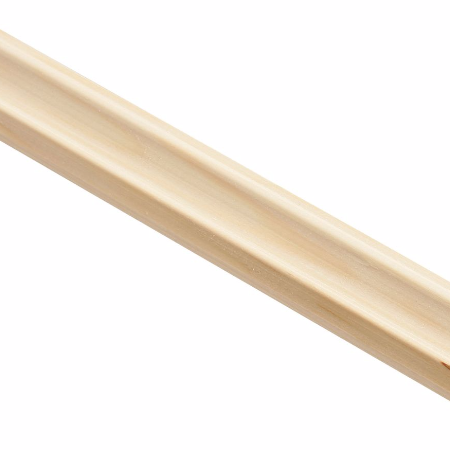
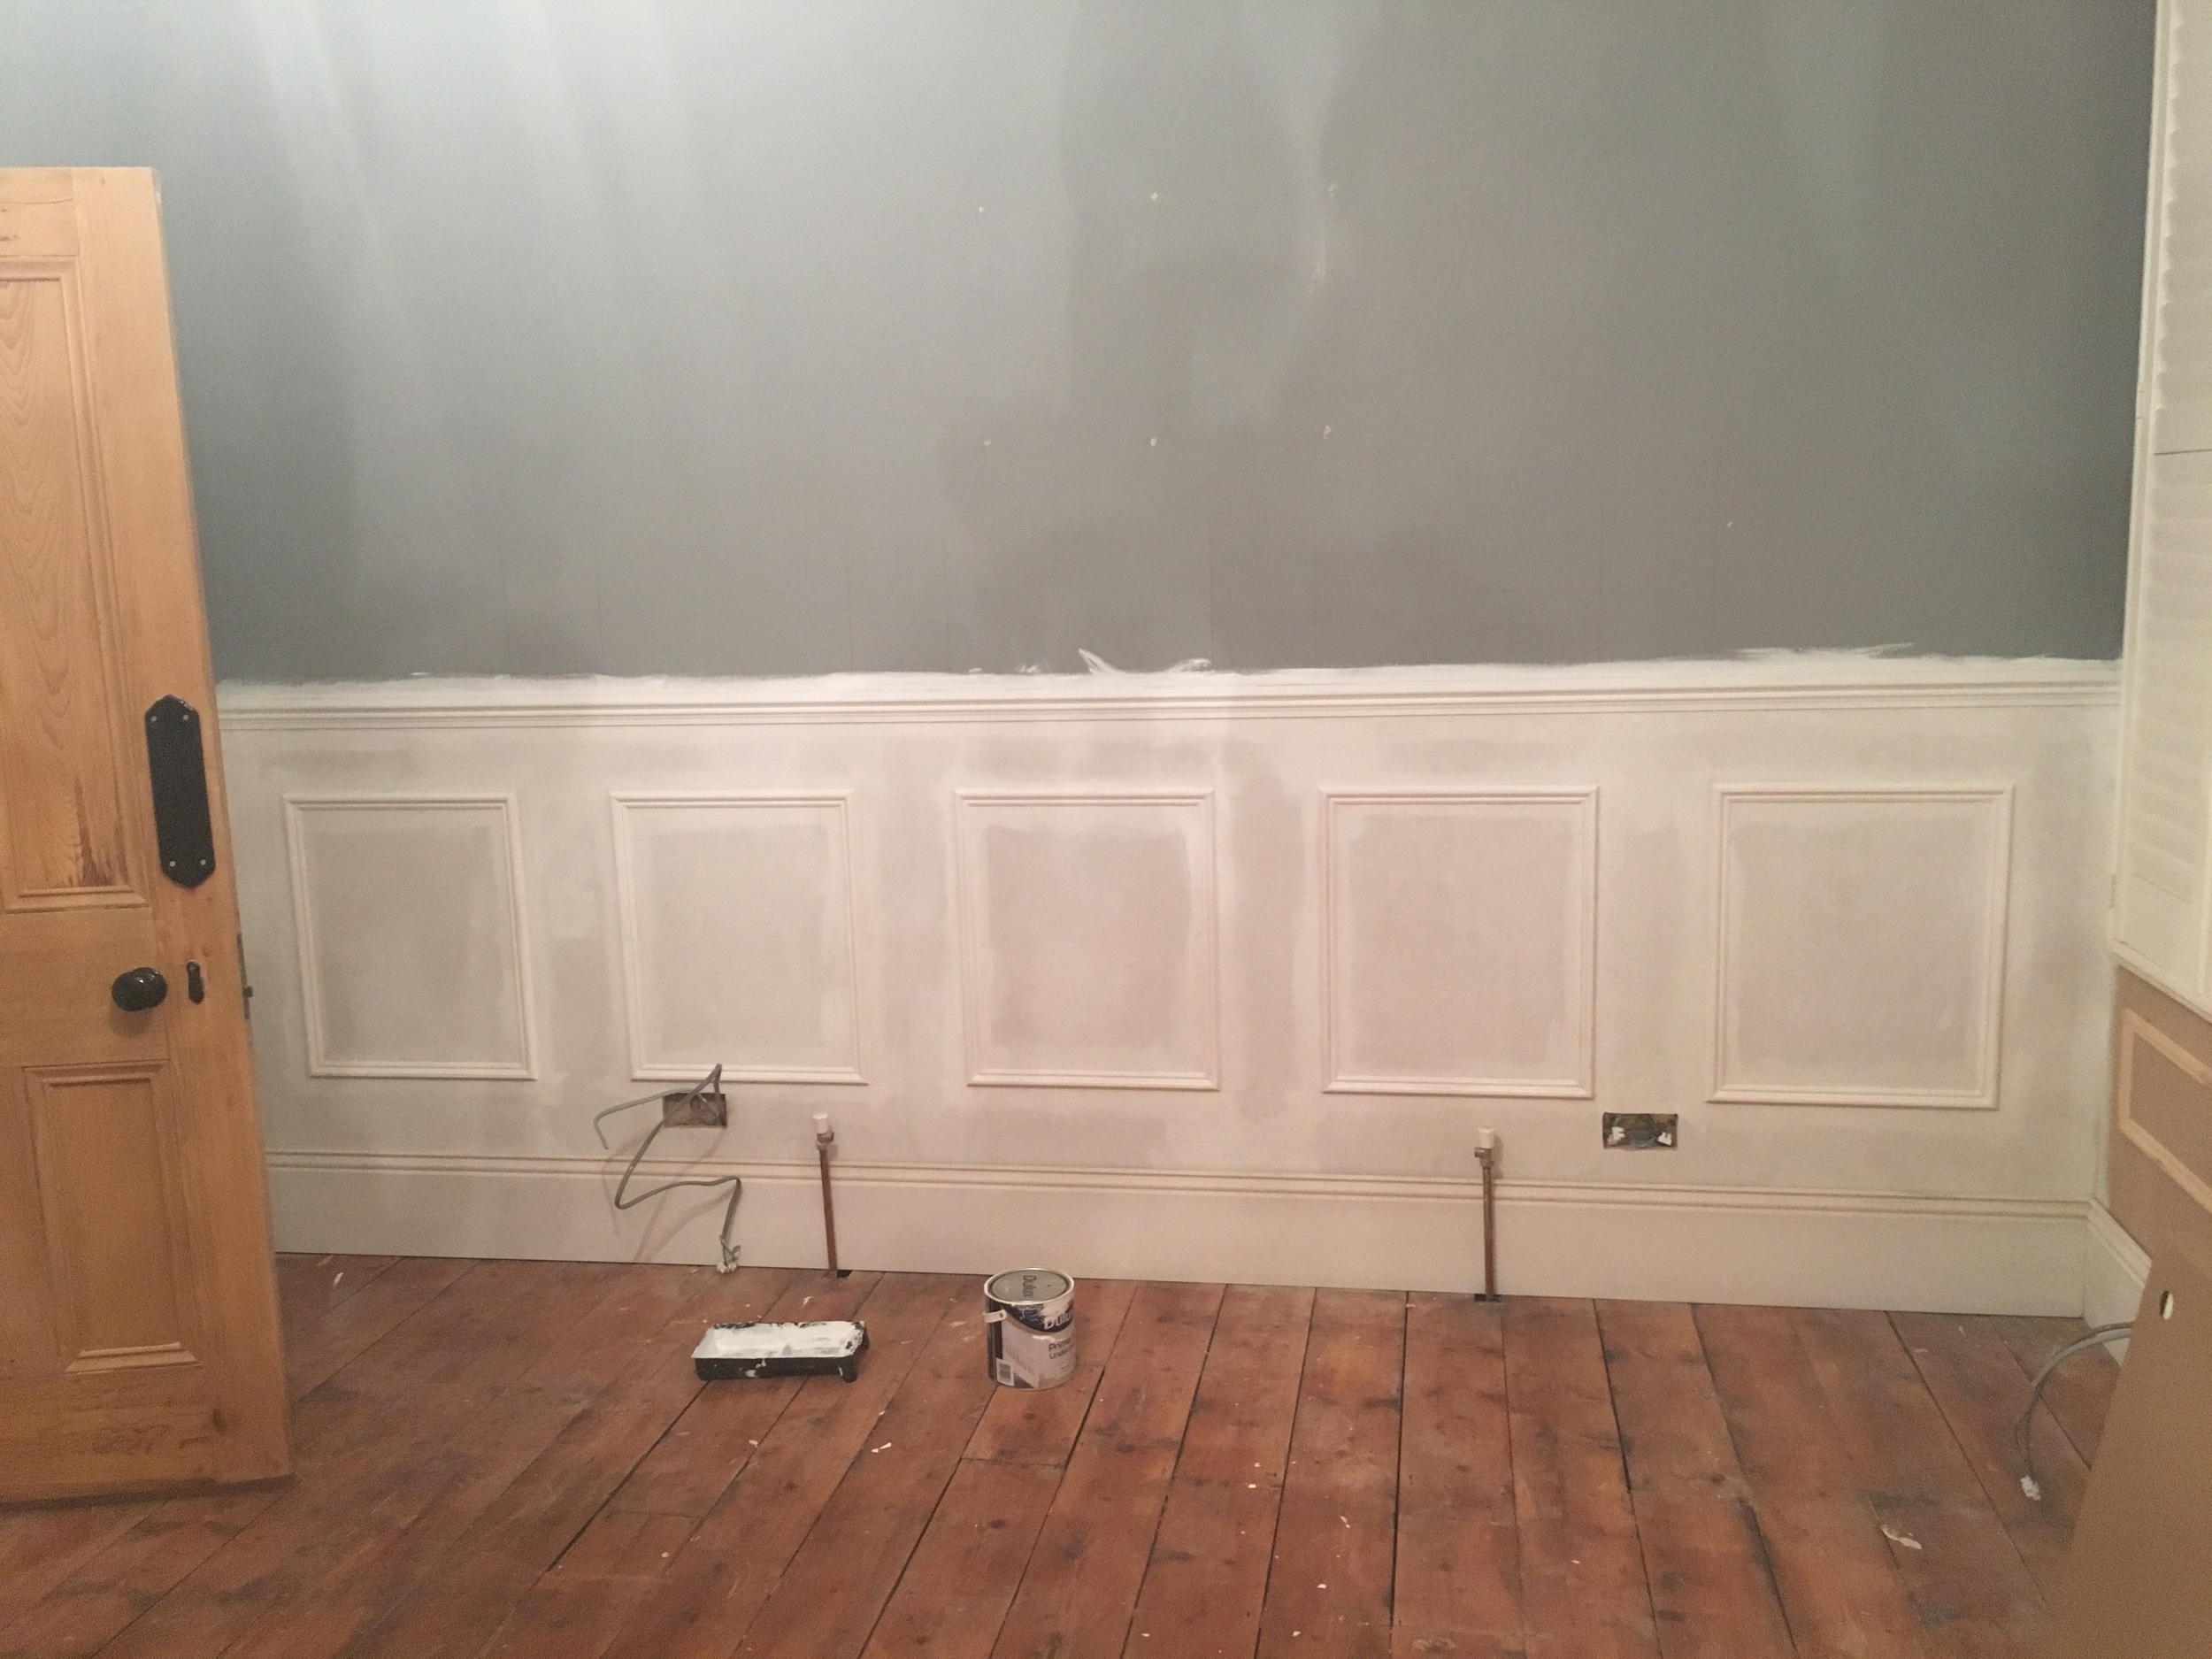
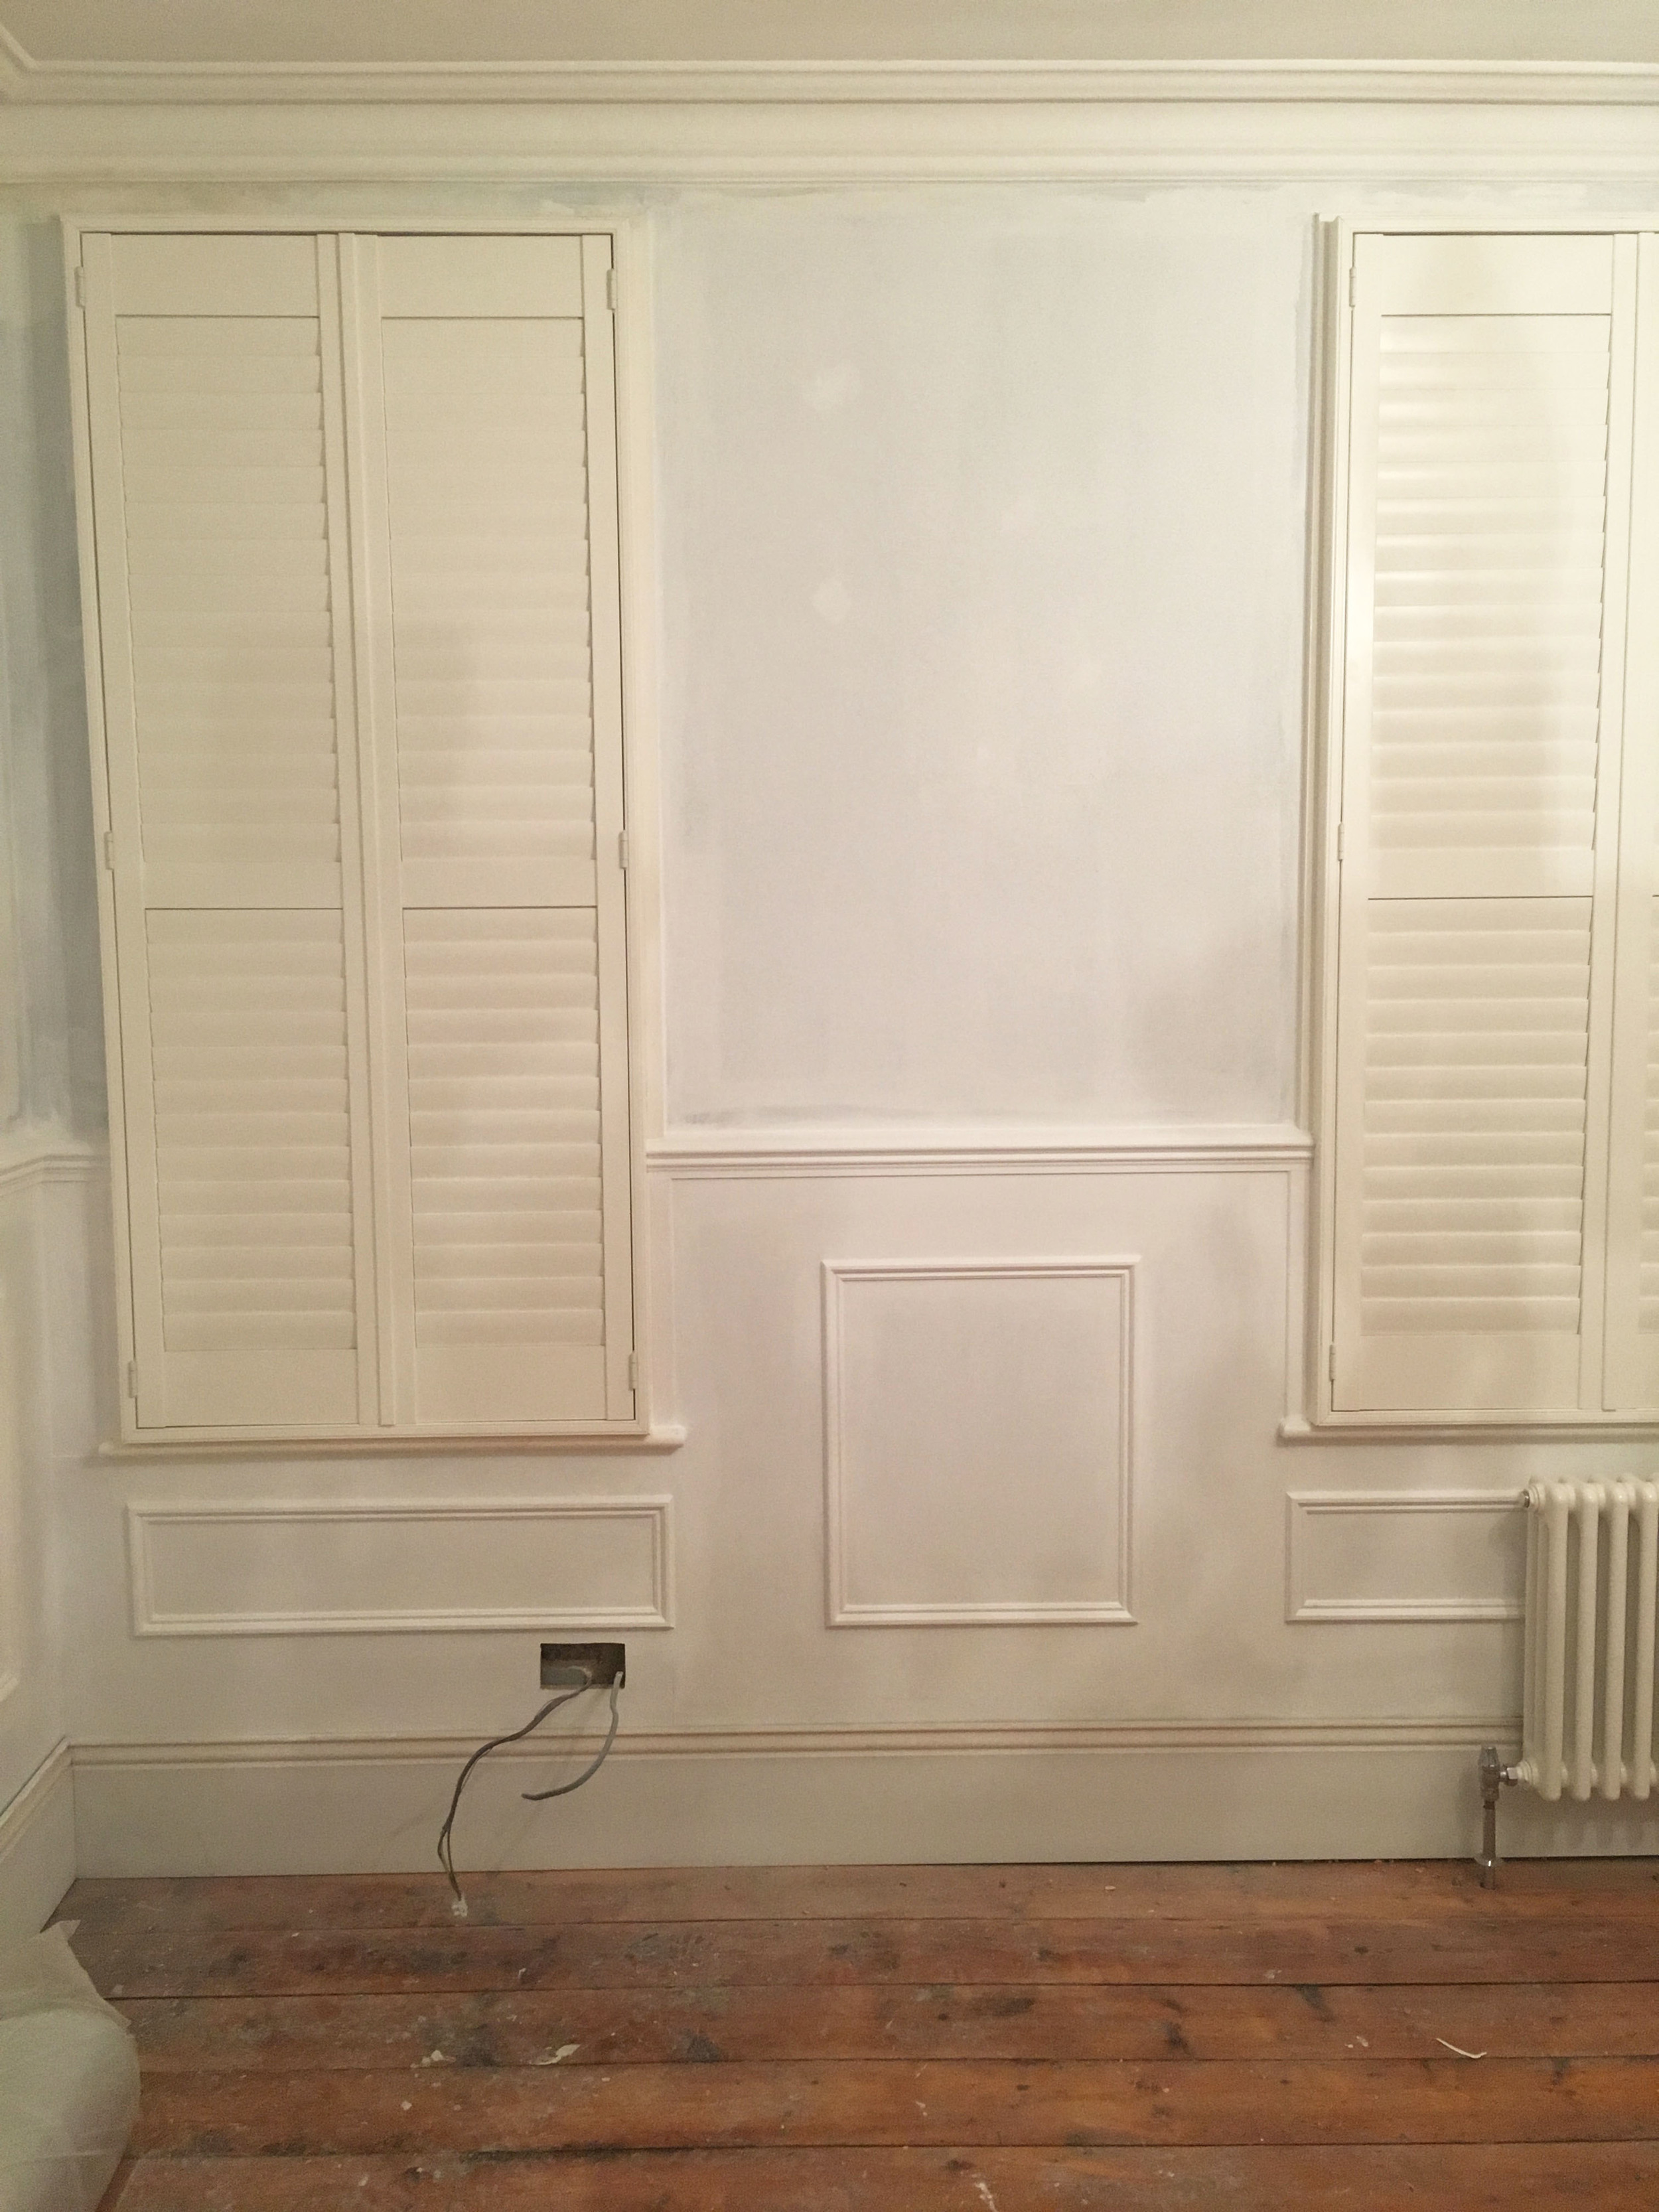
The wainscoting (aka the mock panelling) was created by attaching MDF board to the lower section of the wall. The dado rail was then glued and nailed straight onto the MDF, creating a flat edge with the wall. We placed MDF mouldings from B&Q on top of the dado rail to create the curved edge on top. (See picture below)
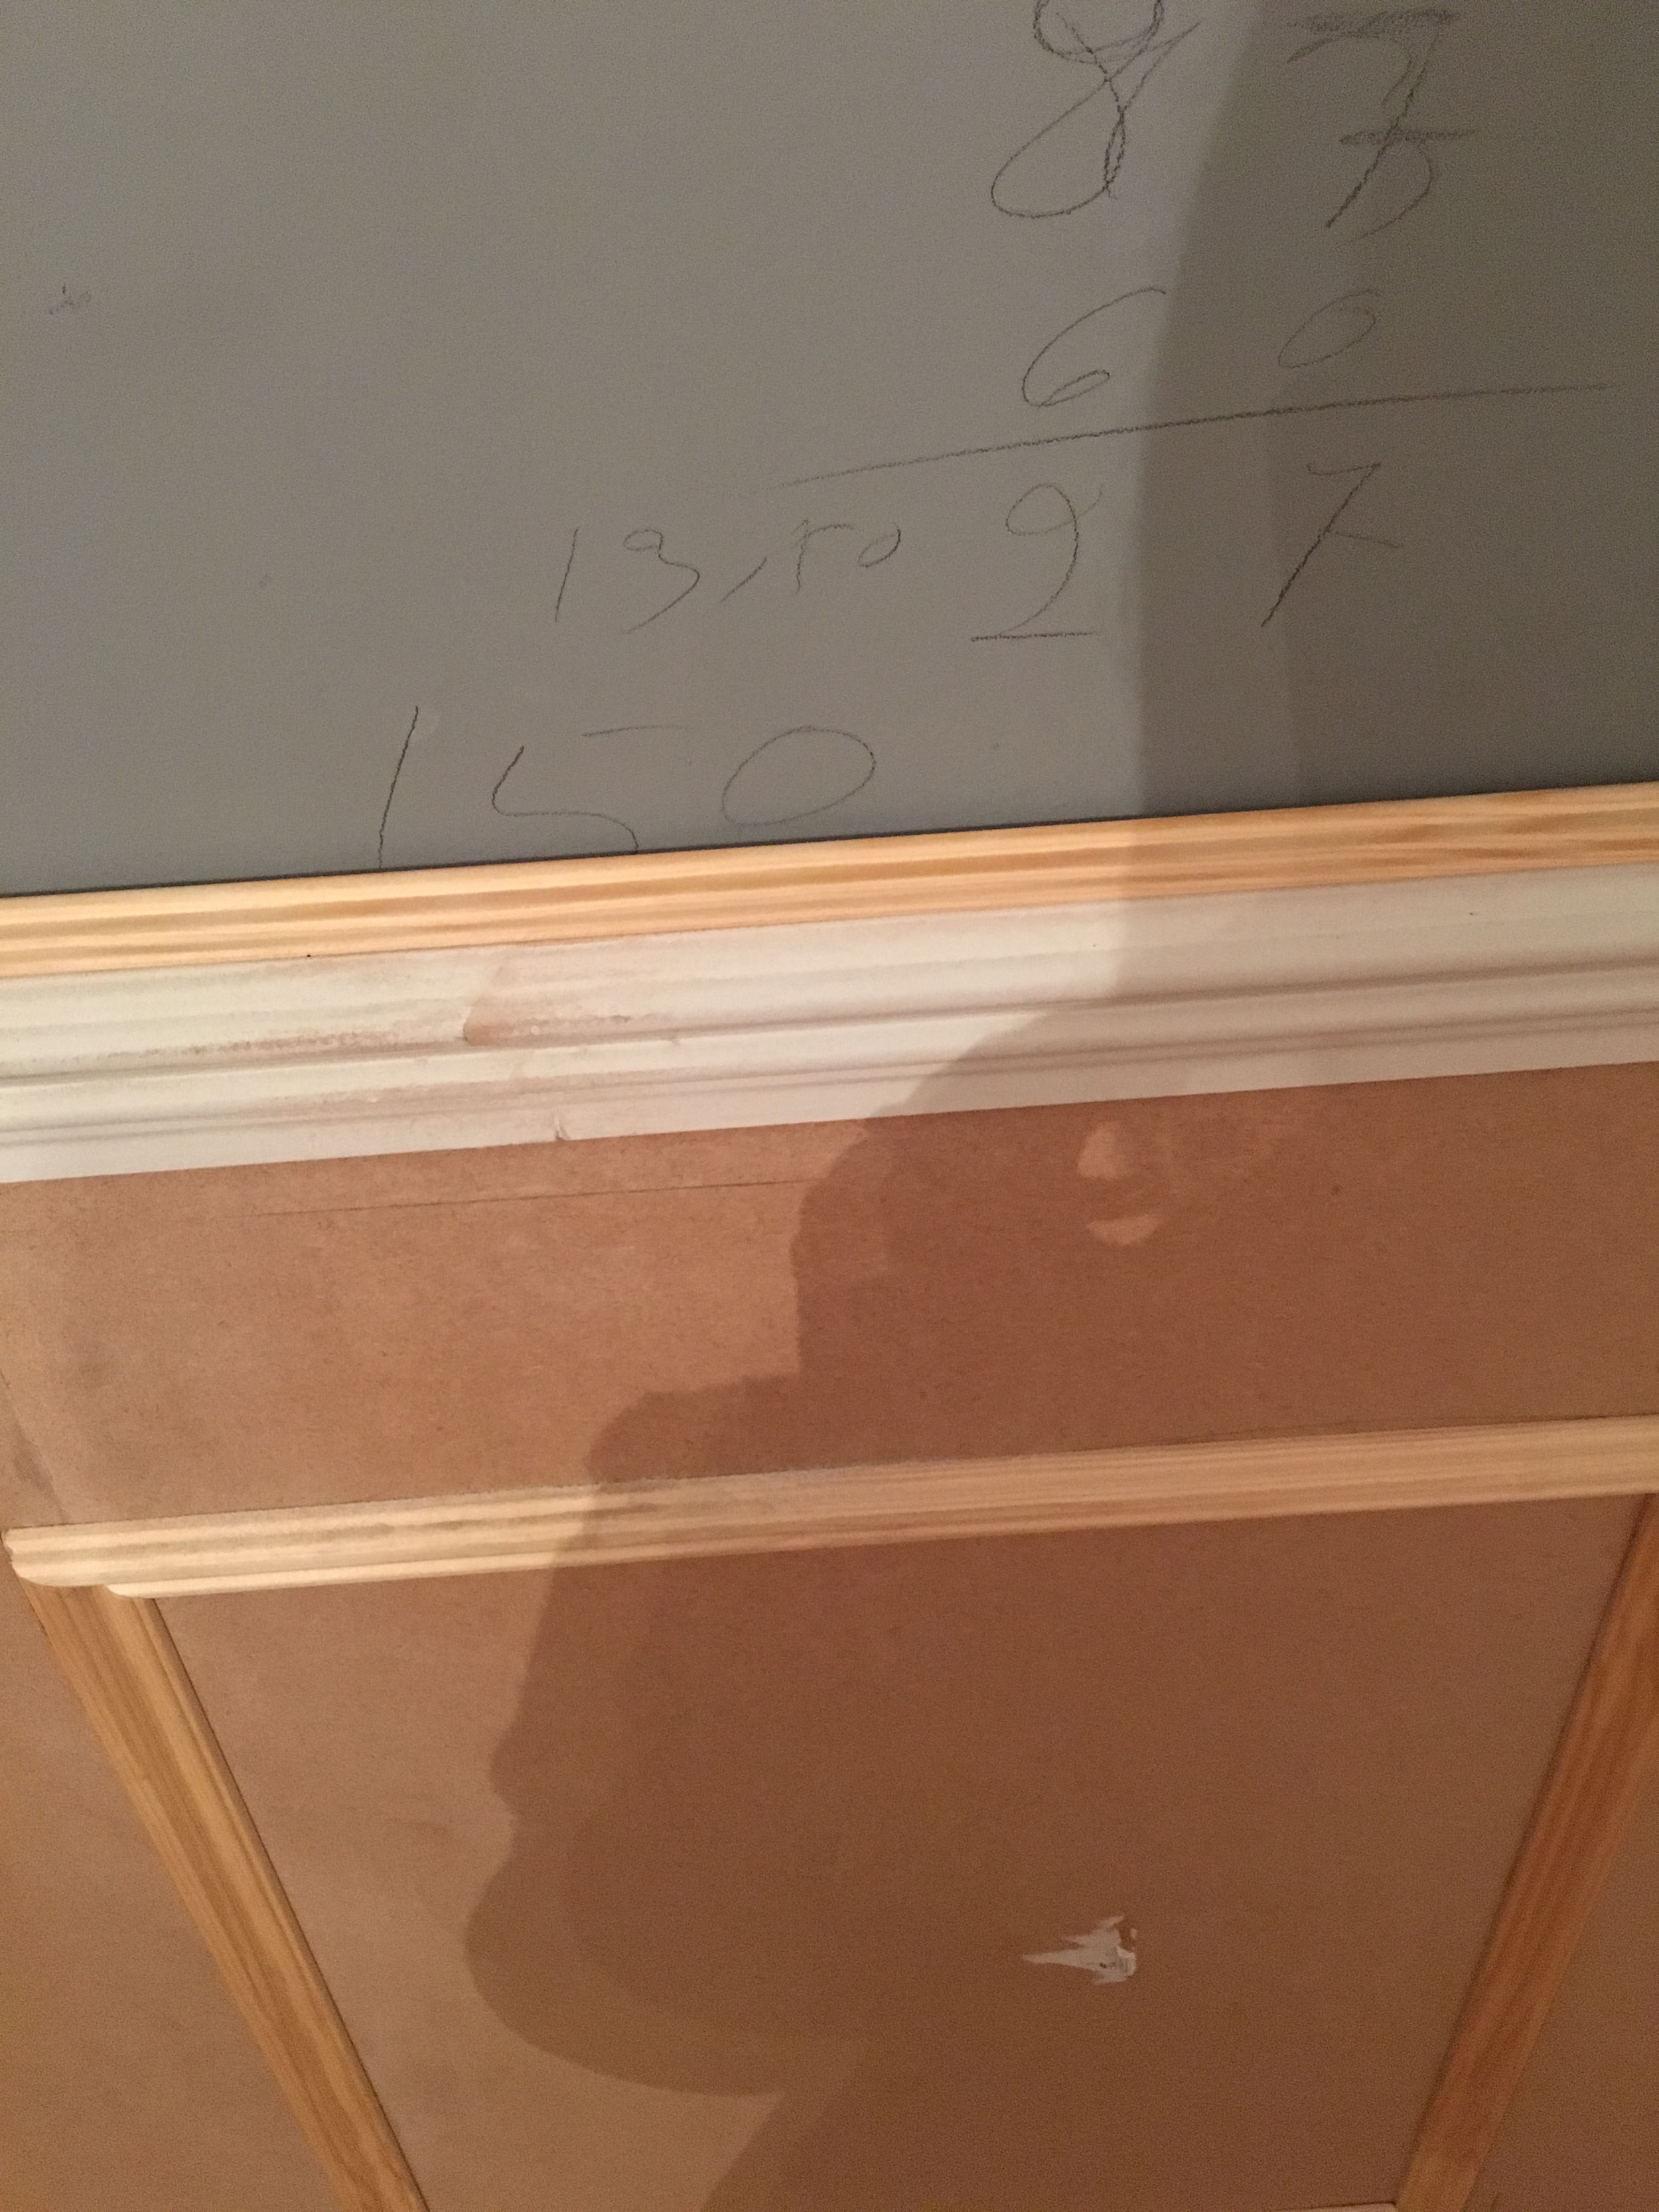
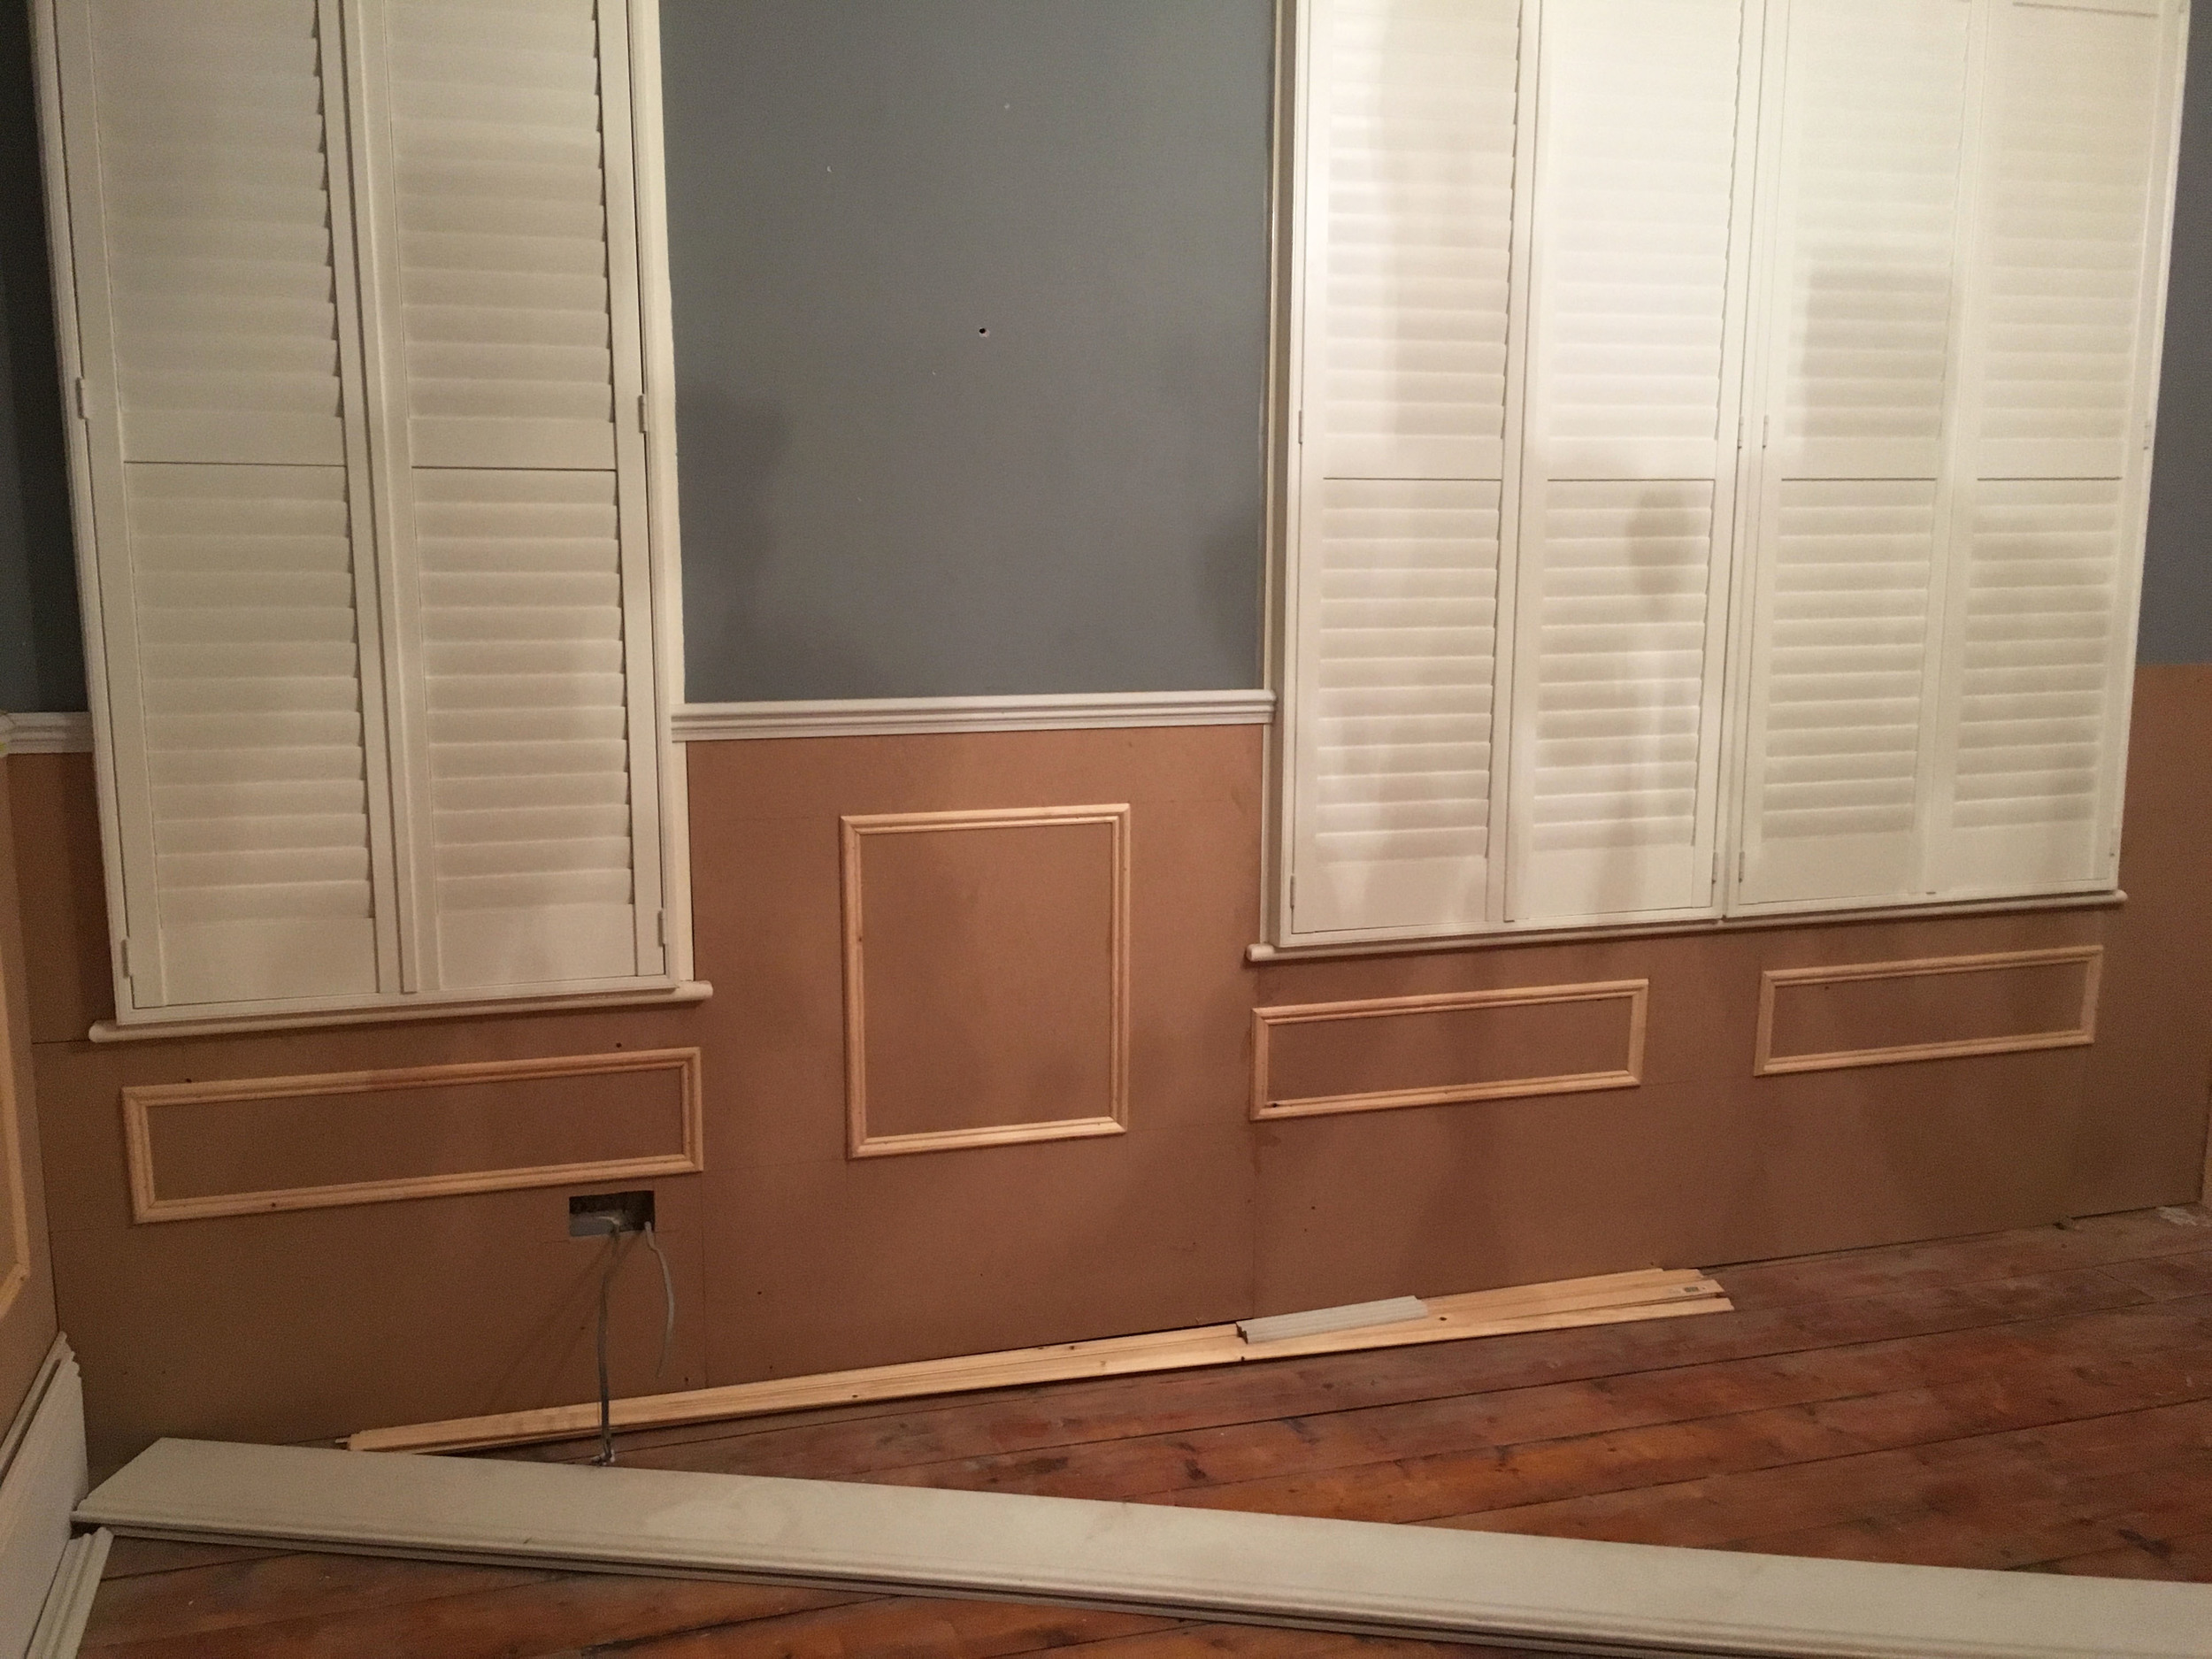
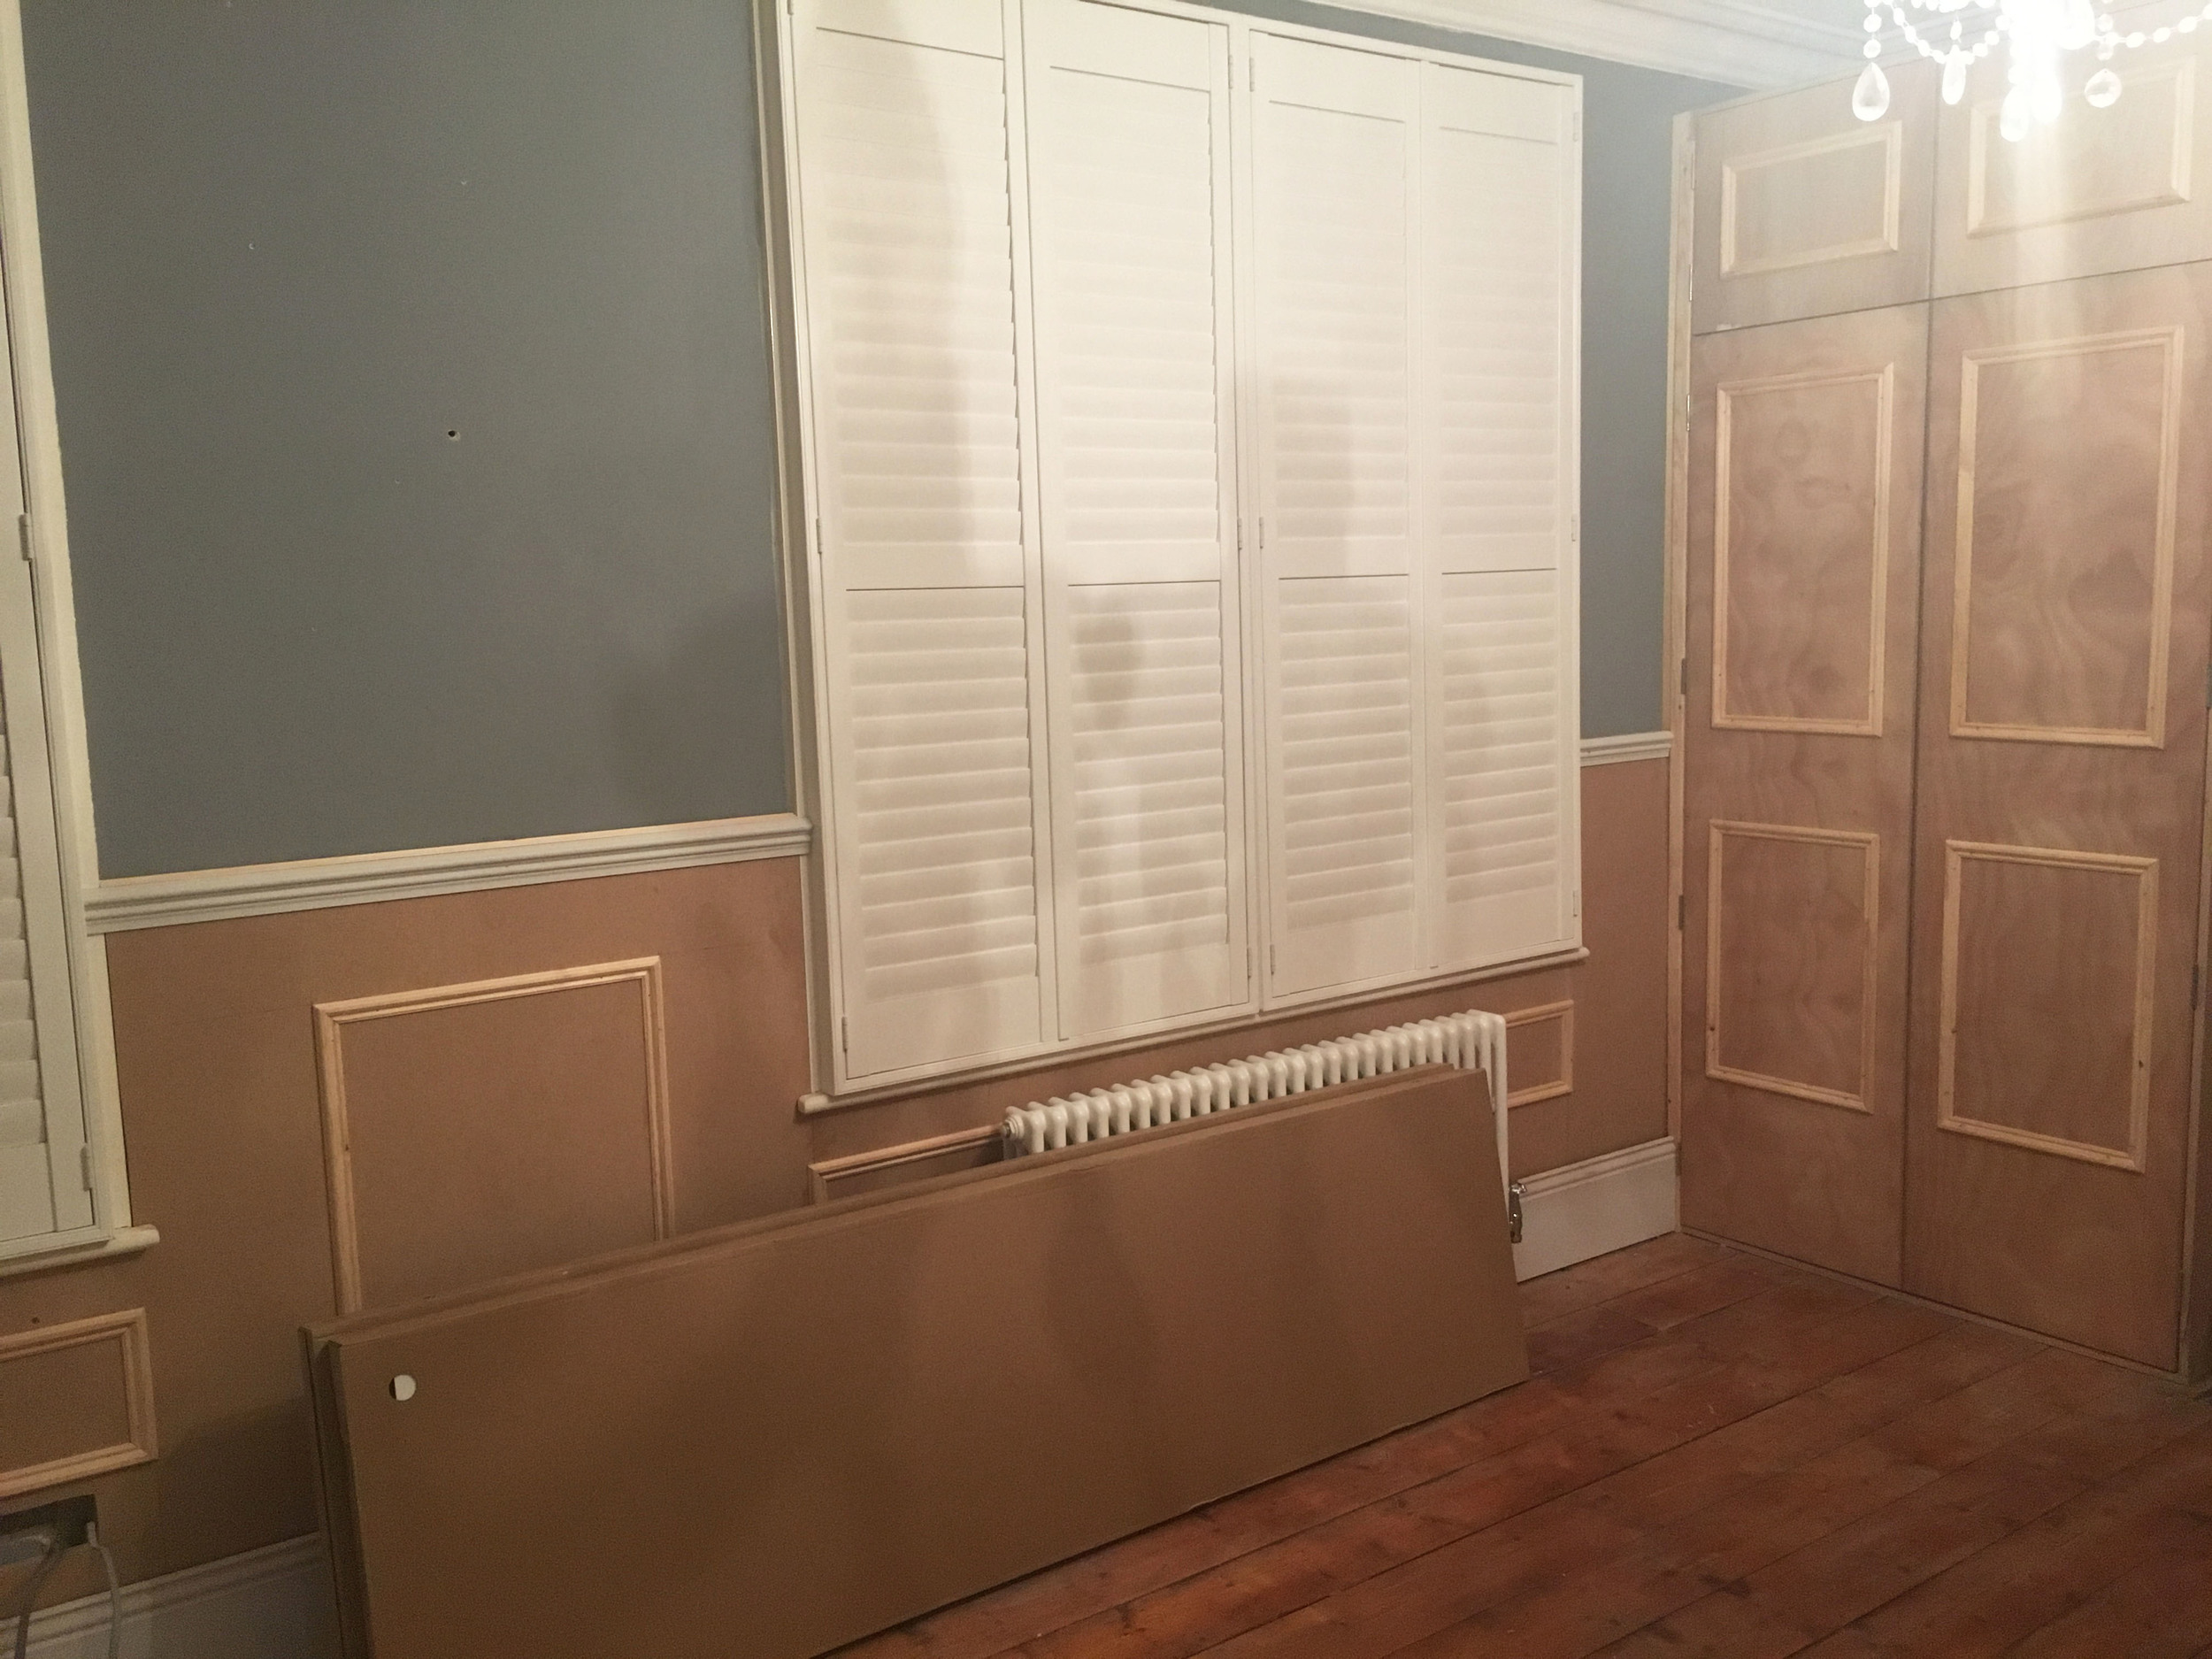
The same mouldings from B&Q were also used to create the mock panels which were mitred cut and glued straight onto the large MDF panel in a square.
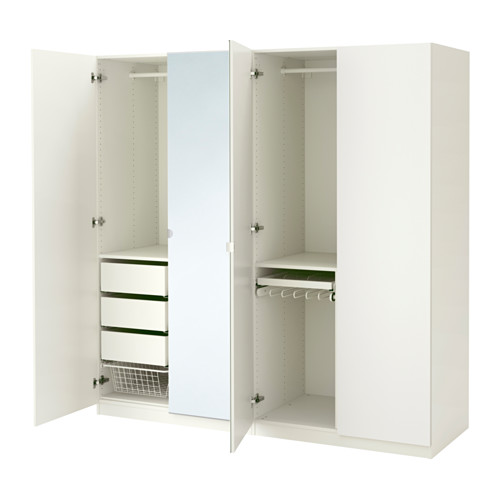
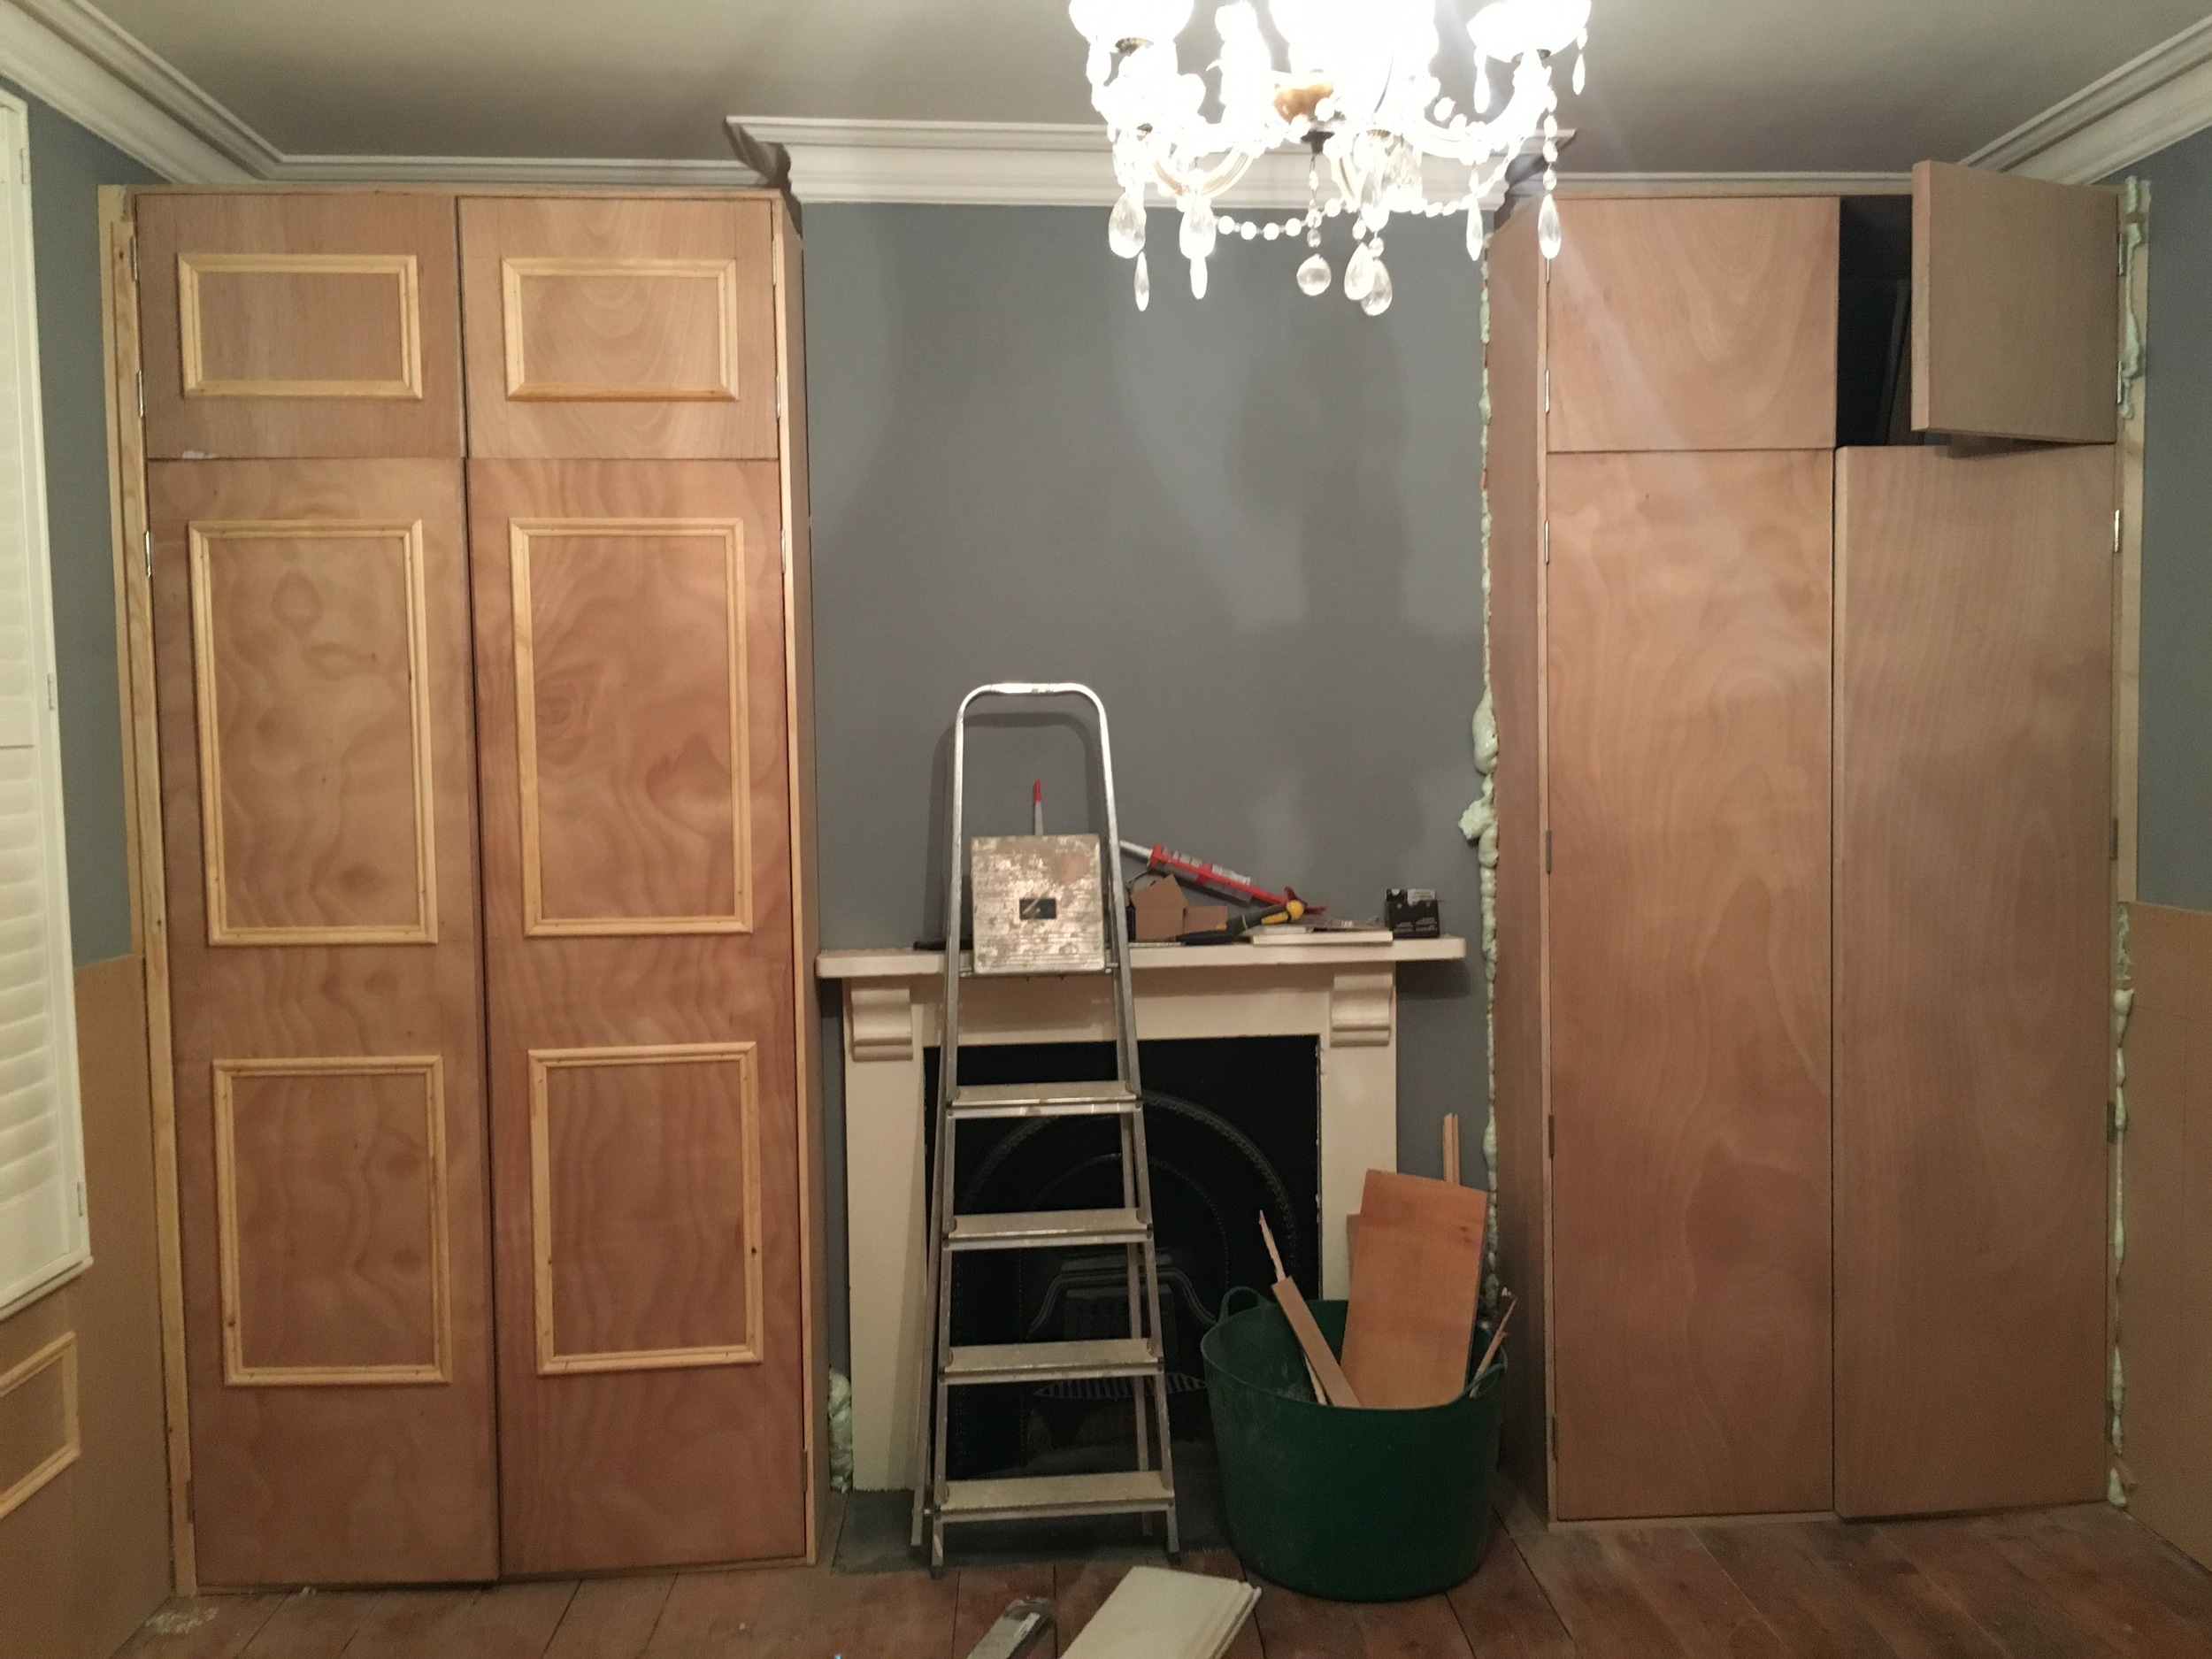
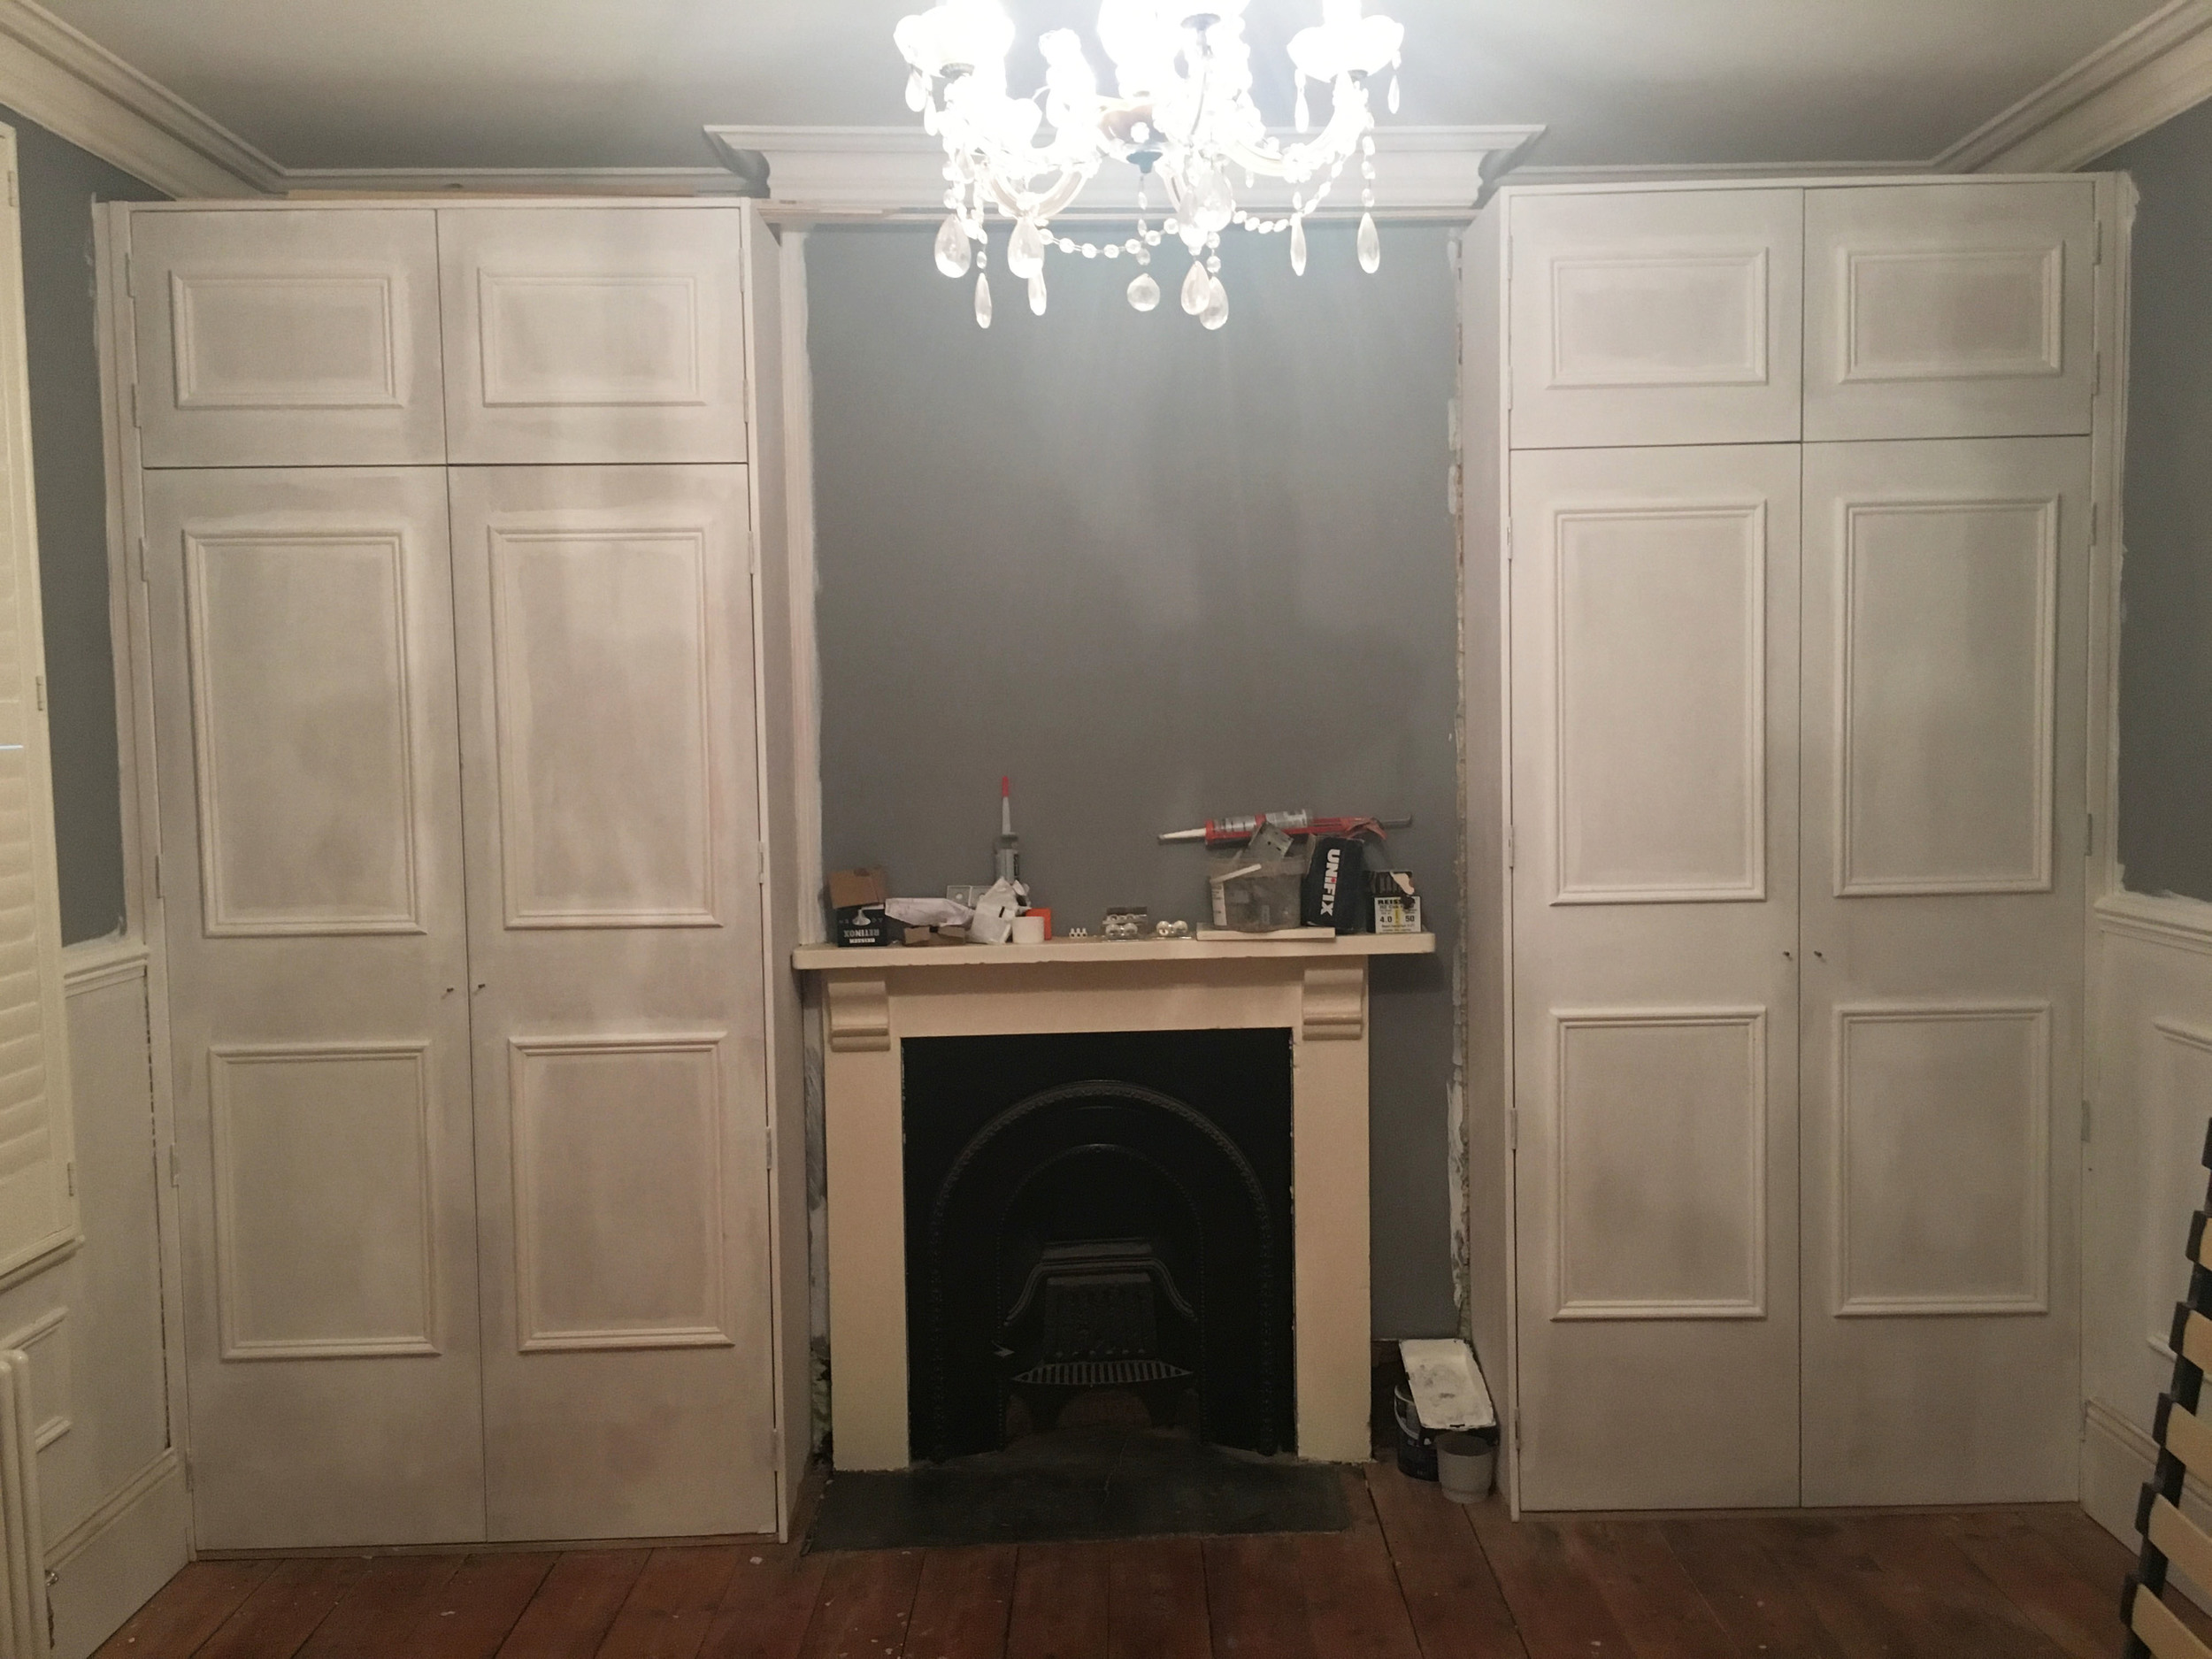
We used large MDF panels to build the wardrobe frames in the alcoves. The wardrobe doors were bought from Howdens and we used the same MDF moulding as on the walls, replicating the effect on the wardrobe doors.
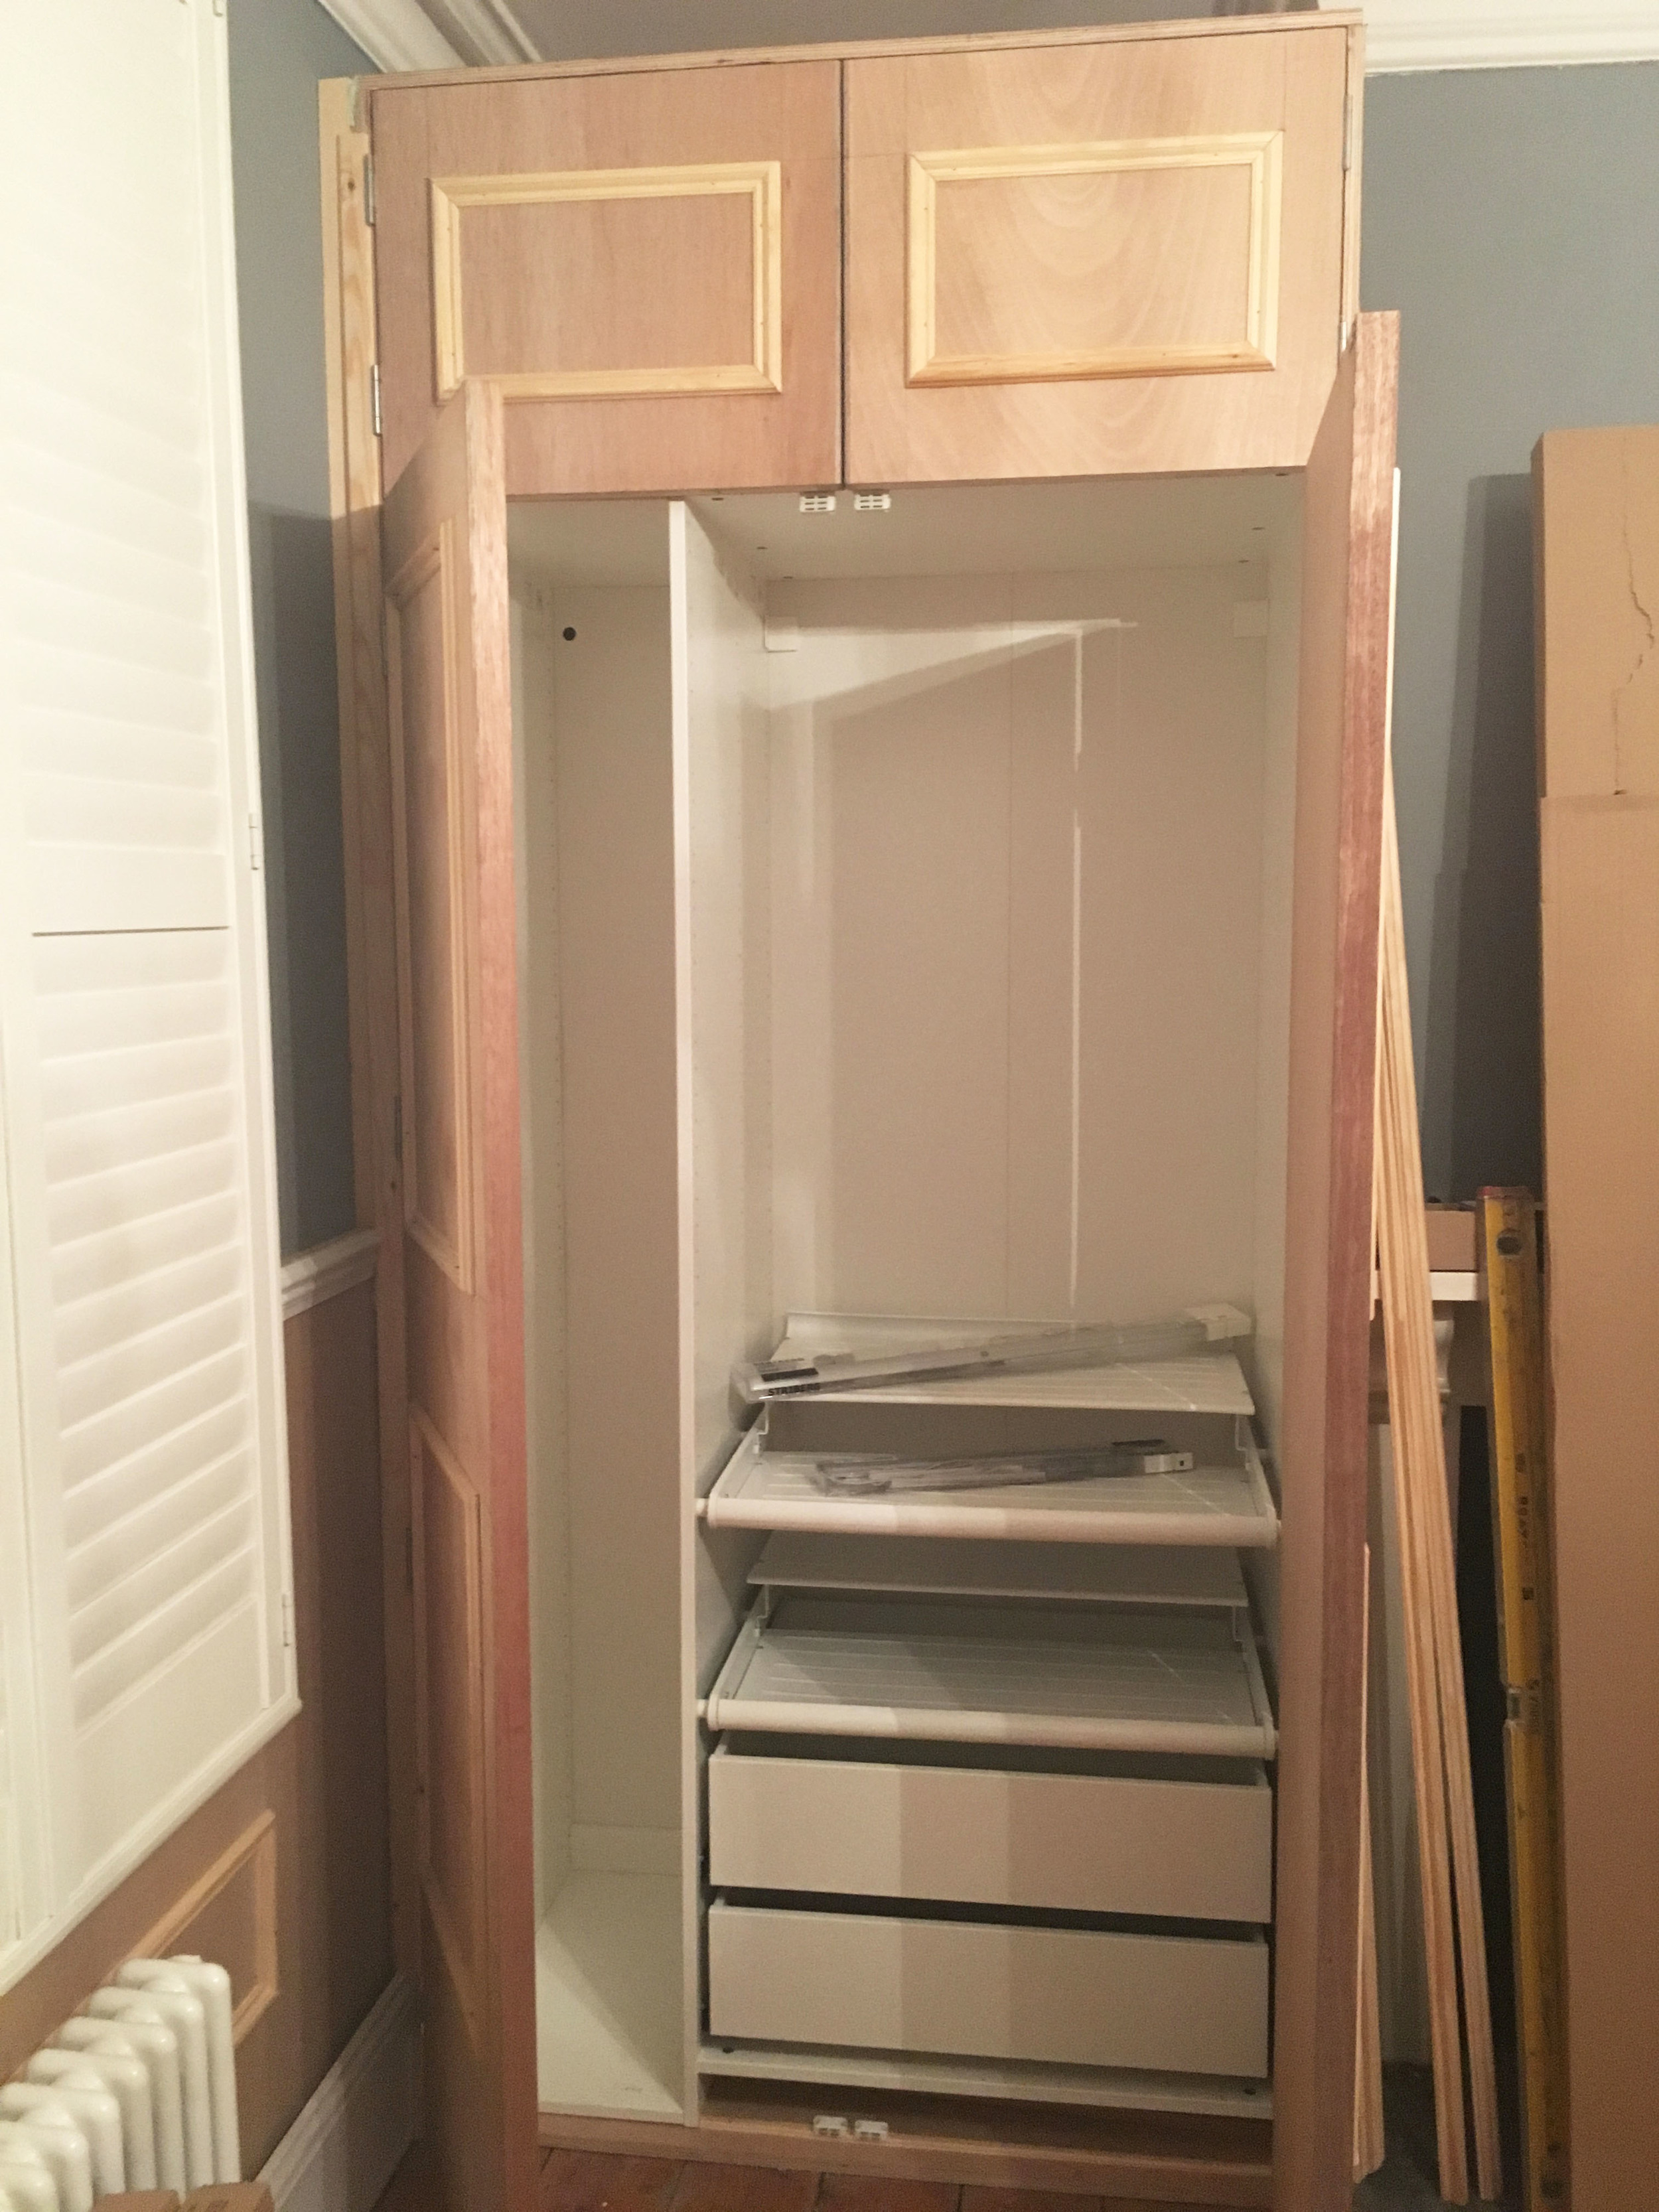
The wardrobe internals are Ikea's PAX fittings. We chose these as Ikea do a fun range of pull out drawers and shoe racks and are easy to fit once you buy their frames (these were fitted inside the MDF frames).
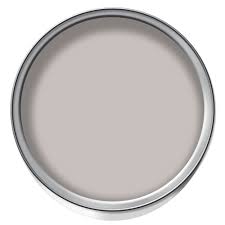
Once the panelling was fitted we primed all the woodwork in a Dulux undercoat primer and then applied Dulux matt finish in white. For the unpanelled part of the wall we used a Dulux white primer and applied two coats of Dulux perfectly Taupe to complete the look.
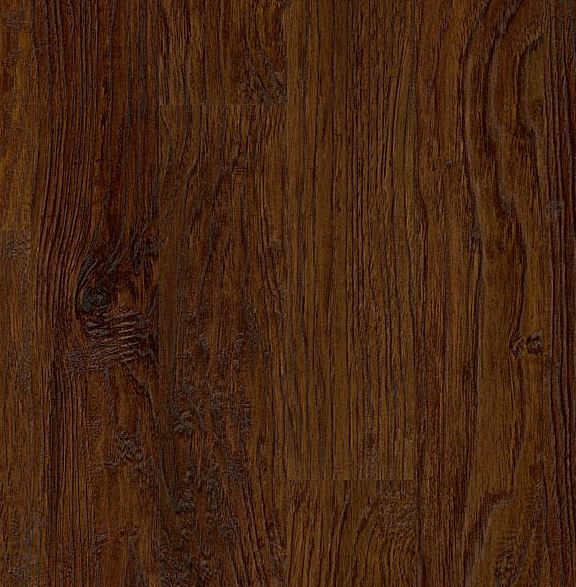
The Ceiling was painted in Dulux white emulsion and the new flooring was laid. The flooring is Coffee Bean hickory from the Rustic Quick-Step range.
Once the floor was laid, the skirting boards were attached to the MDF wall panels to sit on top of the flooring for a clean finish.
The fireplace was an original feature which we wanted to keep, however it never had a hearth, so we created one ourselves using small black and white tiles from Decor tiles which we grouted in grey.
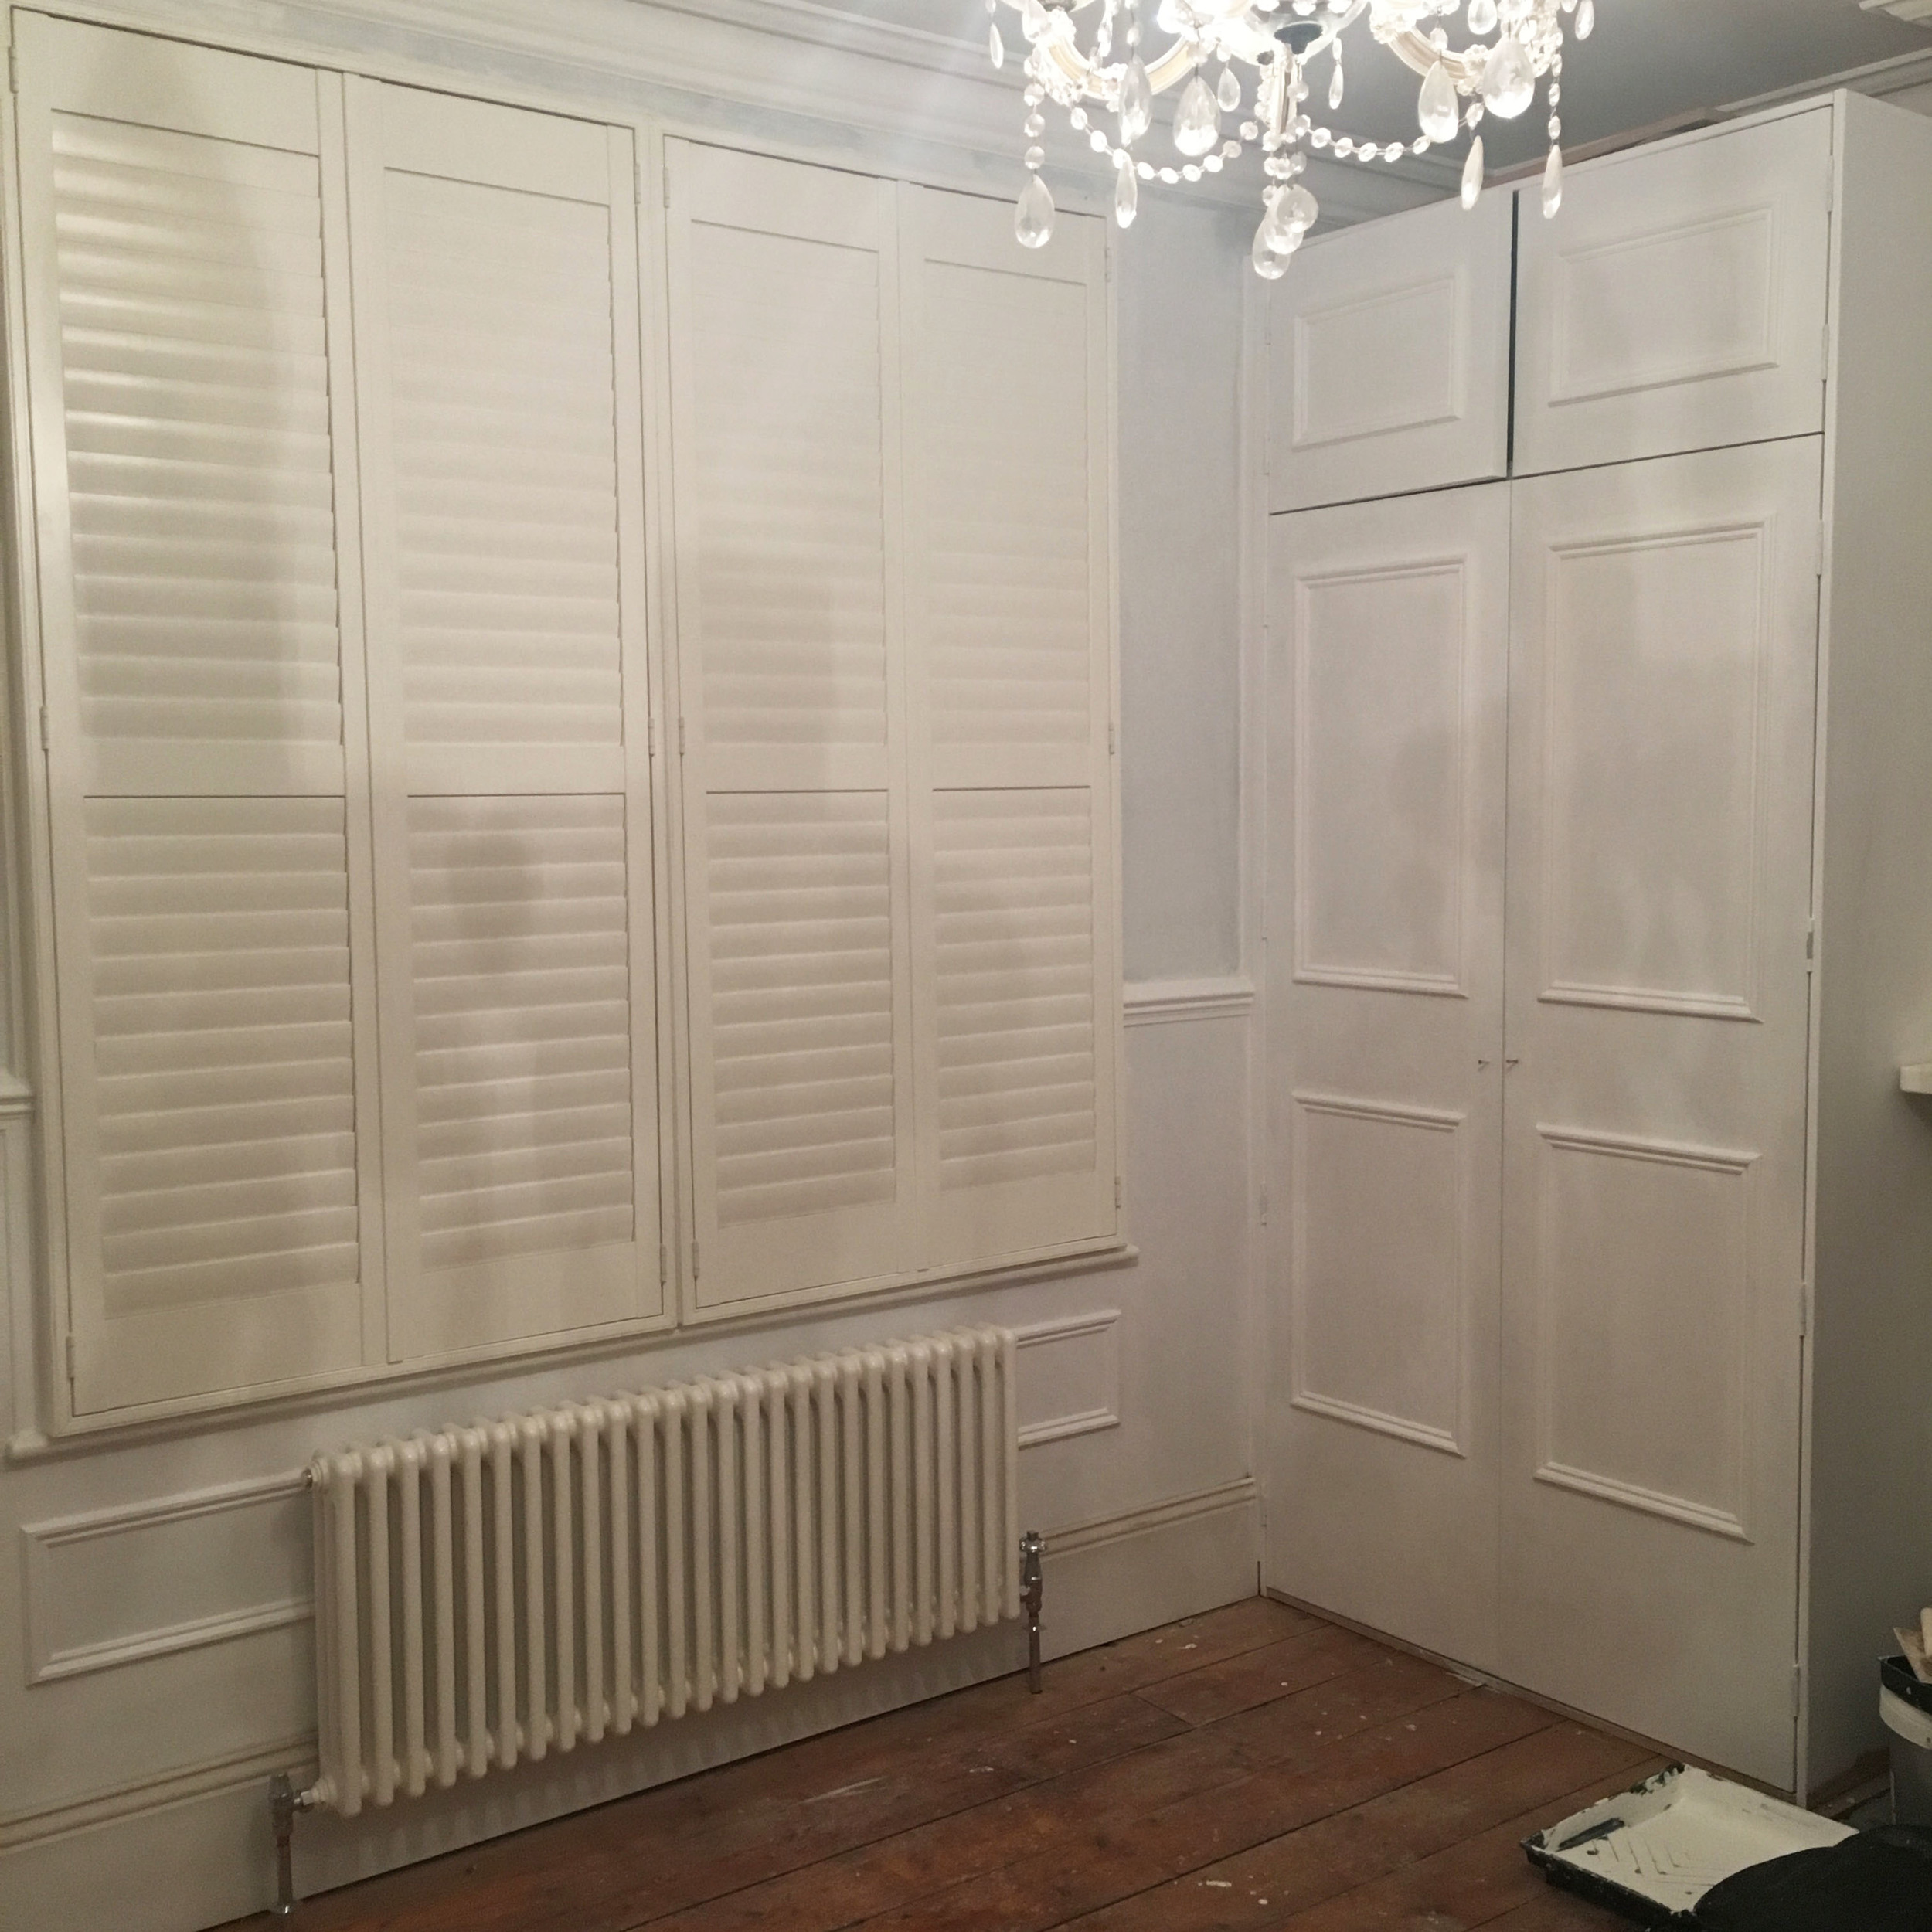
Below is the finished result, which we're pretty happy with. Right, I'm off to buy a nice big rug to fill that space! Watch out, that might be featured in my next post....
xx
The finished result
GET THE LOOK