KITCHEN ESSENTIALS : CHOOSING THE RIGHT WORKTOPS
/AD/ PR GIFT This blog post is 100% my own thoughts and opinions. I have worked with Caesarstone on our kitchen renovation in exchange for gifted worktops.
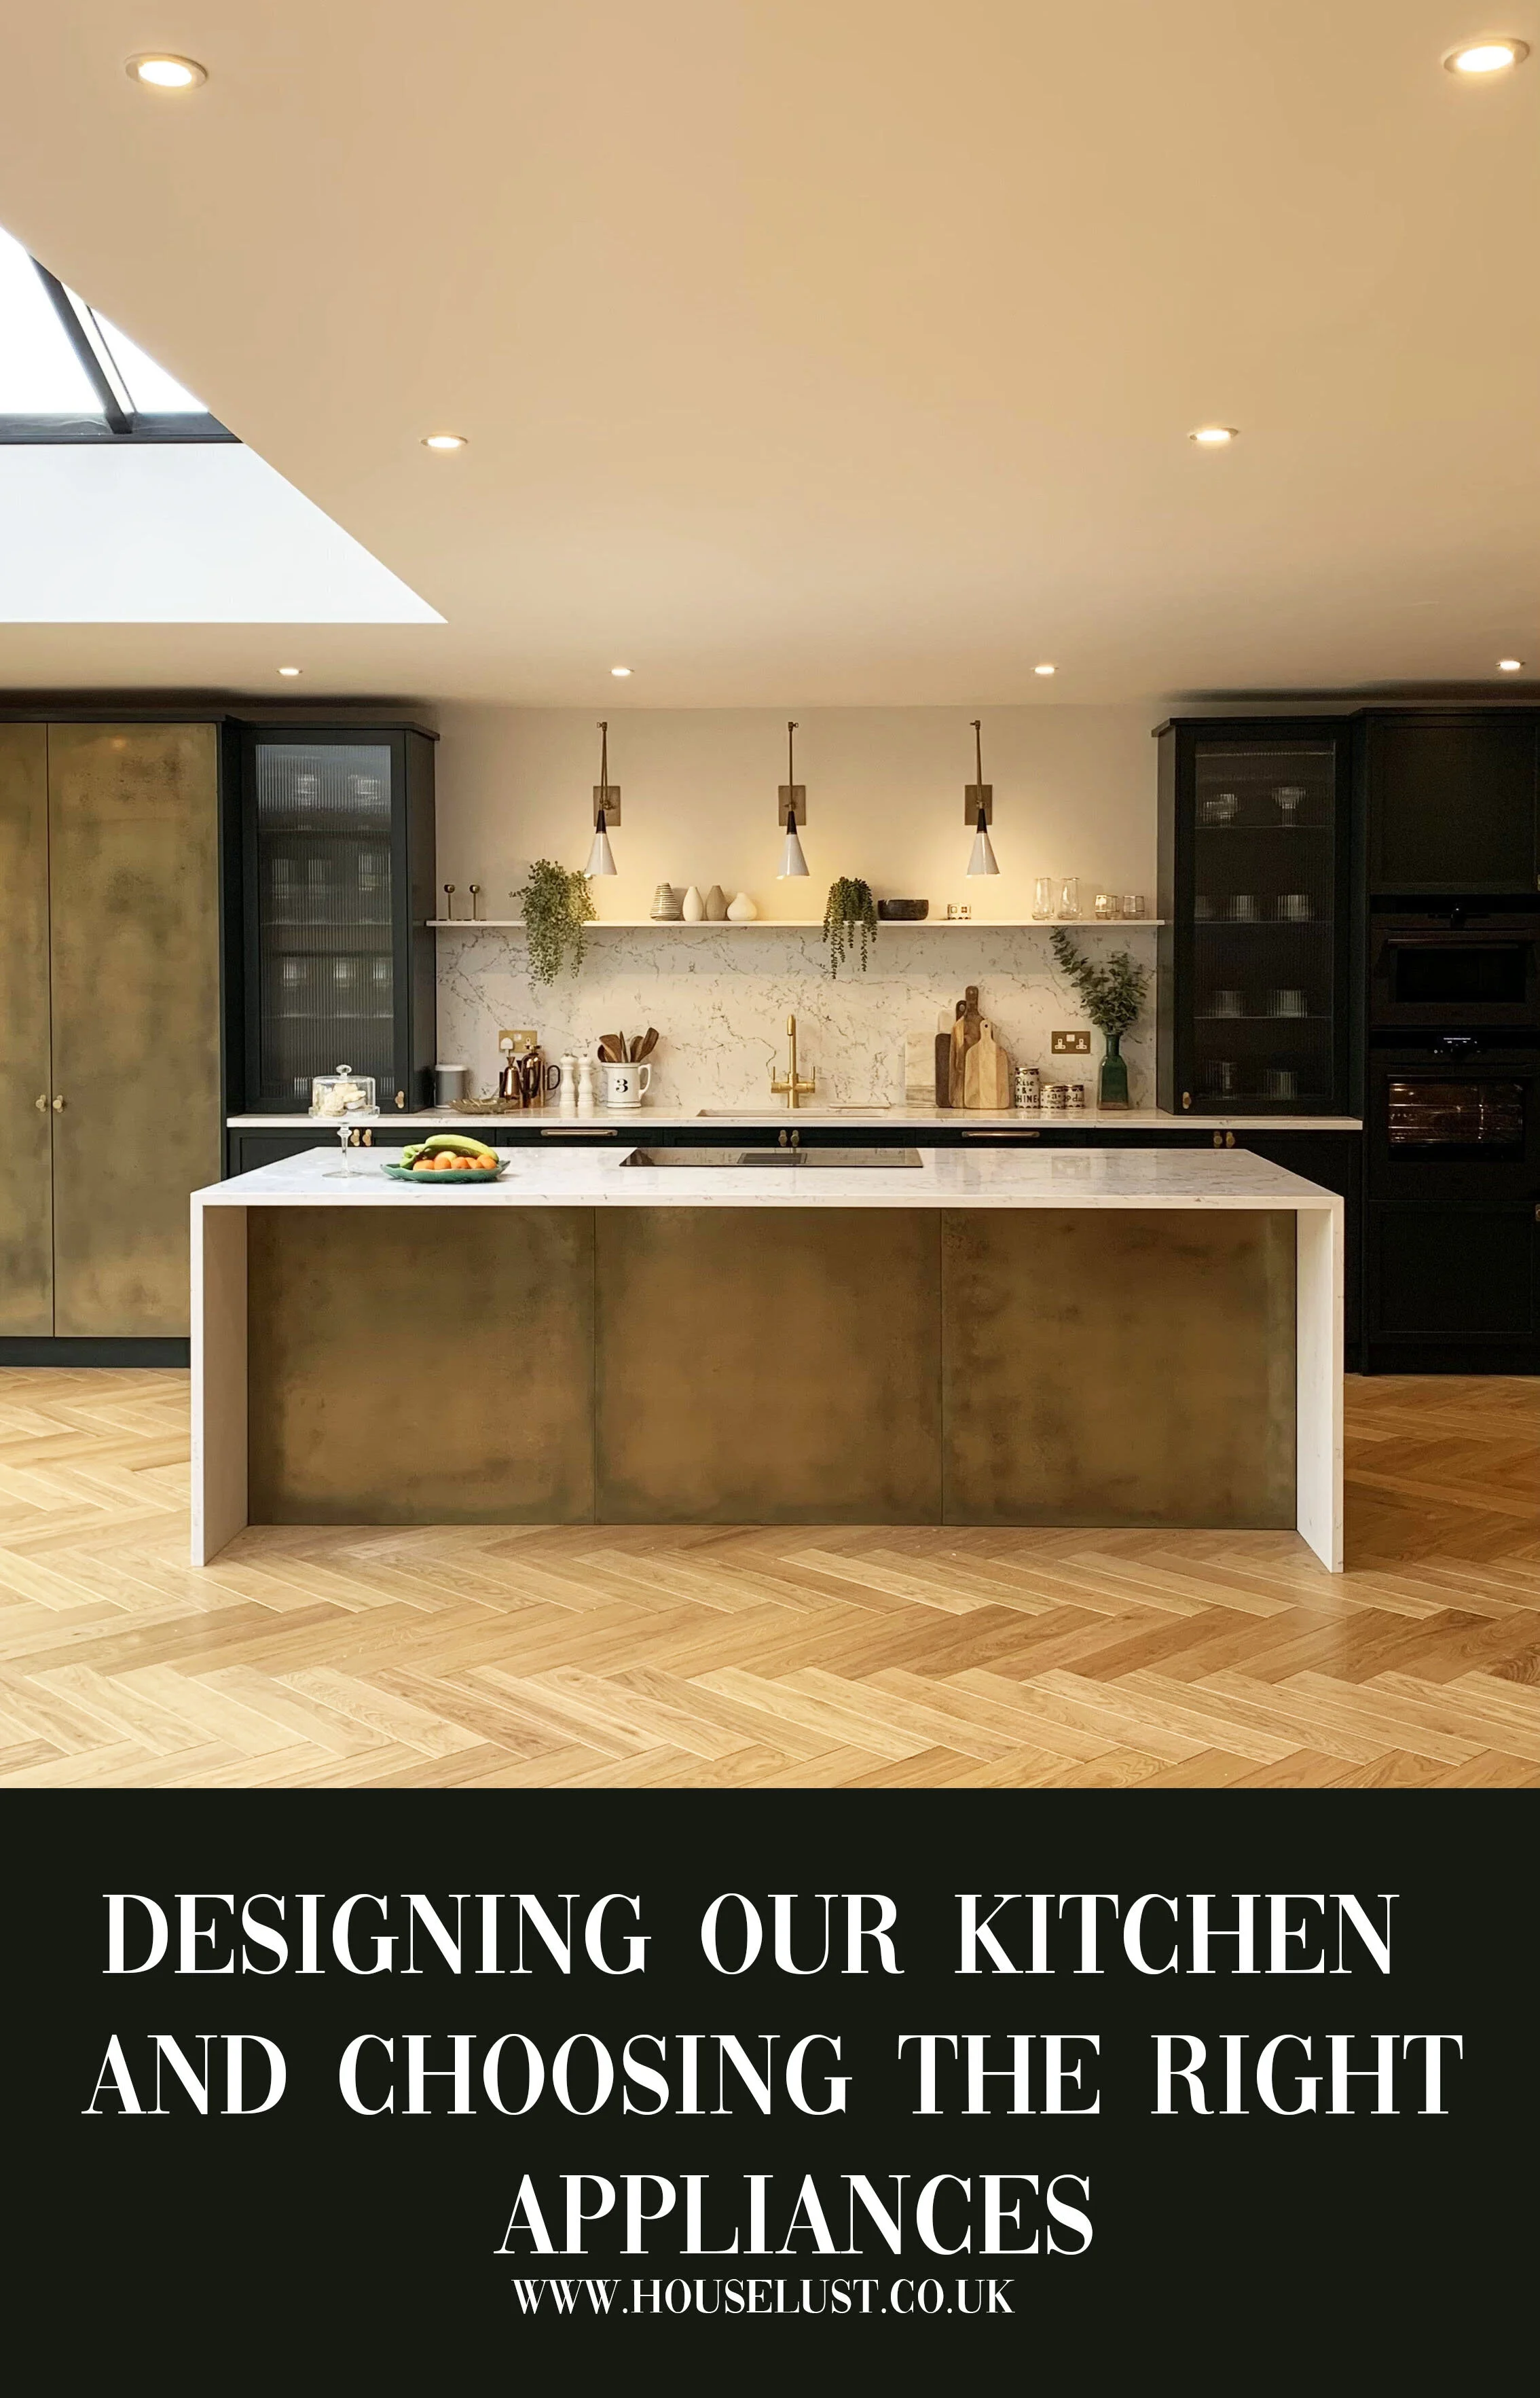
A worktop can make or break a good kitchen design, which is why it’s so important to do the research and make the right decision when it comes to your your worktops.
I’m a huge advocate for stone- particularly engineered quartz, especially when it comes to stone vs Wooden tops, and here I’ll tell you why.
Wooden worktops are great if you want that rustic look, but they’re high maintenance needing to be sanded and re oiled every year or so, to keep them looking fresh. They can scorch easily when it comes to hot pans or baking trays and water can eat away at the wood around heavily traffic areas such as the sink and tap. I’m all about low maintenance and I don’t want to have to treat the worktops year on year.
Caesarstone White Attica, engineered quartz worktops.
Marble Vs Quartz
I love marble, but the problem with marble is its much more expensive than quartz, and actually doesn’t work great in a kitchen as the stone is porous and will absorb moisture whilst cooking and cleaning. It also requires regular sealing as Marble is primarily made up of calcite, which means it is not very durable. It reacts badly to acids and alkaline (so anything from lemon juice to vinegar) which can cause ‘etching’, whilst a sudden impact, like a cast iron pan getting dropped, can cause stun marks that can’t be removed.
Quartz is much more durable and won’t etch, plus its also significantly cheaper than marble, making it the ideal choice for kitchen worktops. Plus the brilliant thing about engineered quartz is that it comes in a range of marble like designs which look just like marble.
A marble effect quartz worktop is renowned as one of nature's strongest, most enduring minerals and has been engineered into a surface material that can provide outstanding durability and low maintenance.
In our old kitchen, money was a lot tighter as we were first time buyers, so we opted for Ikea units and spent the money on the quartz worktops and I have to admit that on the day we sold the house, the kitchen still looked as it did 6 years prior to when it first went in, and I think that had a lot to do with the worktops.
This time round I knew I wanted a marble looking engineered quartz worktop to give me that marble look, but a much affordable price.
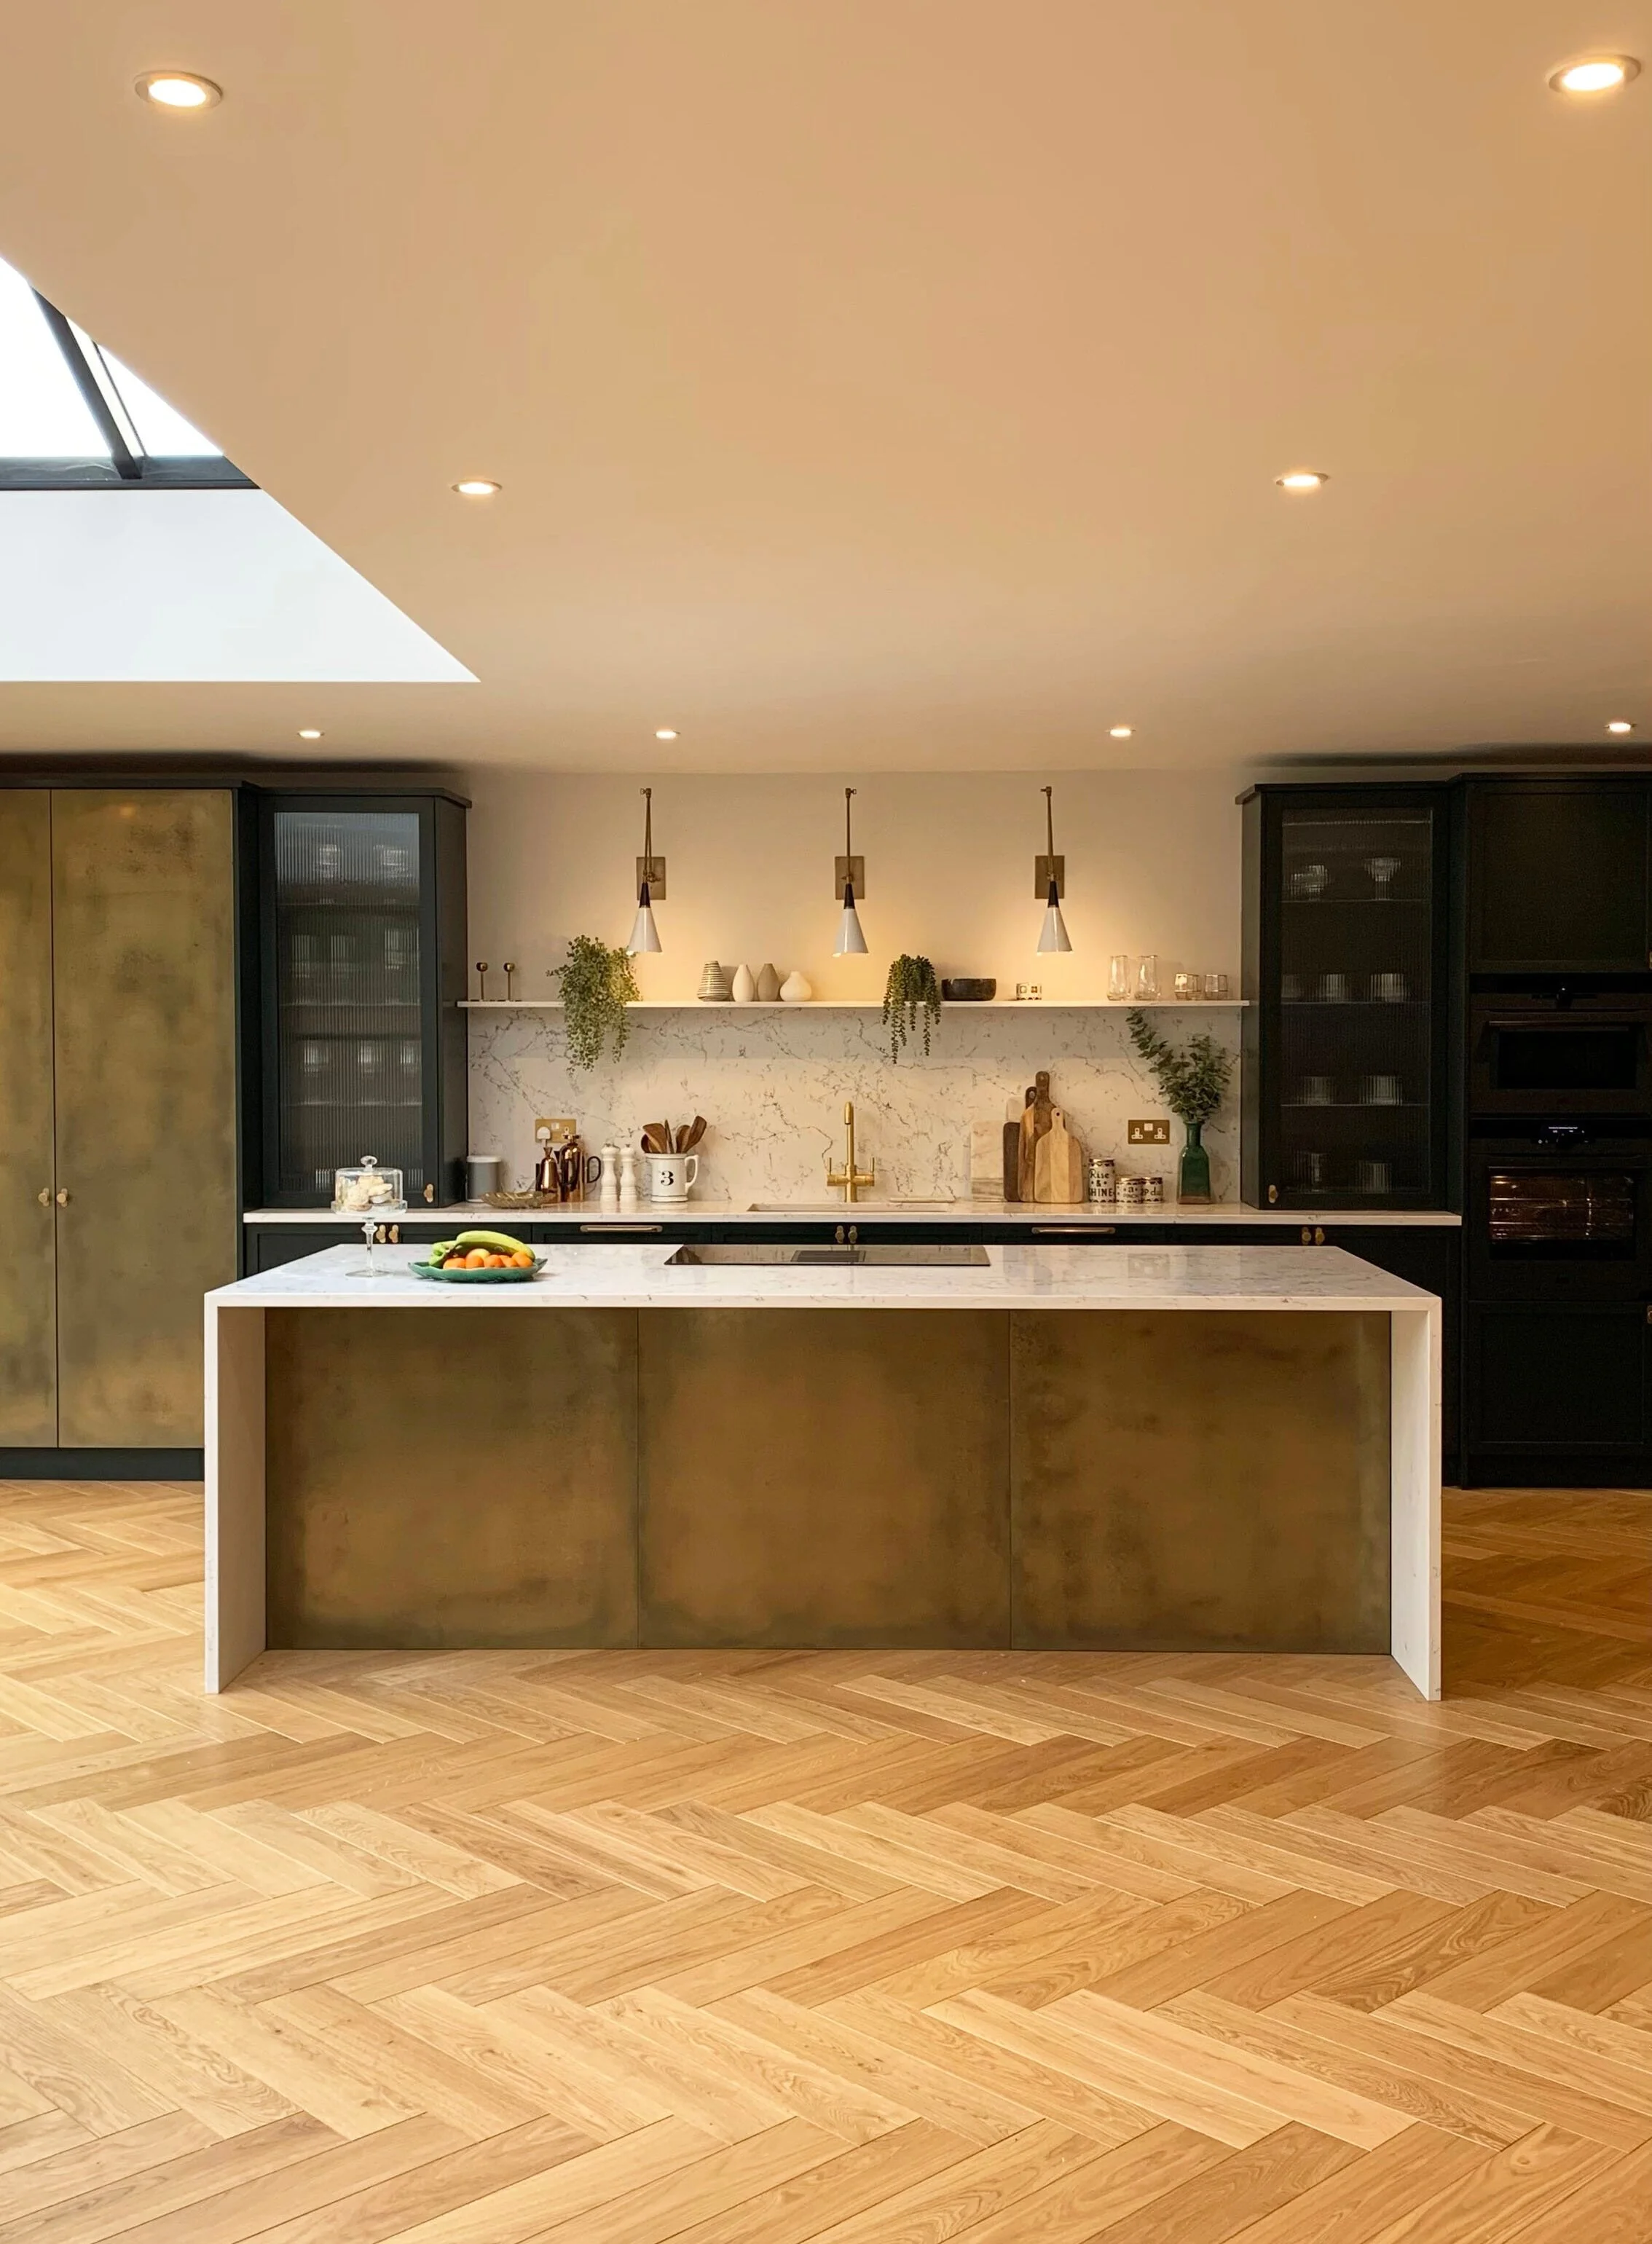
Caesarstone White Attica, engineered quartz worktops.
What is quartz?
Quartz is an engineered worktop material composed of natural quartz crystals, one of the hardest minerals on the planet, and sometimes an amalgamation of raw materials such as glass pigments, resin and polymers. Usually, the ratio is at least 90% quartz to 10% of the other raw materials. It is worthwhile selecting an established brand to ensure the quality.
After looking around at different quartz manufactures we settled on Caesarstone. Having their HQ only down the road in enfield I was able to visit their showroom out of lockdown, and view their huge selection of engineered quartz designs.
Caesarstone have created an innovative and diverse range of colours and patterns that evoke the luxurious appeal of marble but also add an incomparable beauty that only quartz can deliver.
Whether you're looking for sleek black marble, stylish grey marble or classic white marble, there's an alternative option made from quartz that is based upon the natural stone but then developed further to create something new entirely.
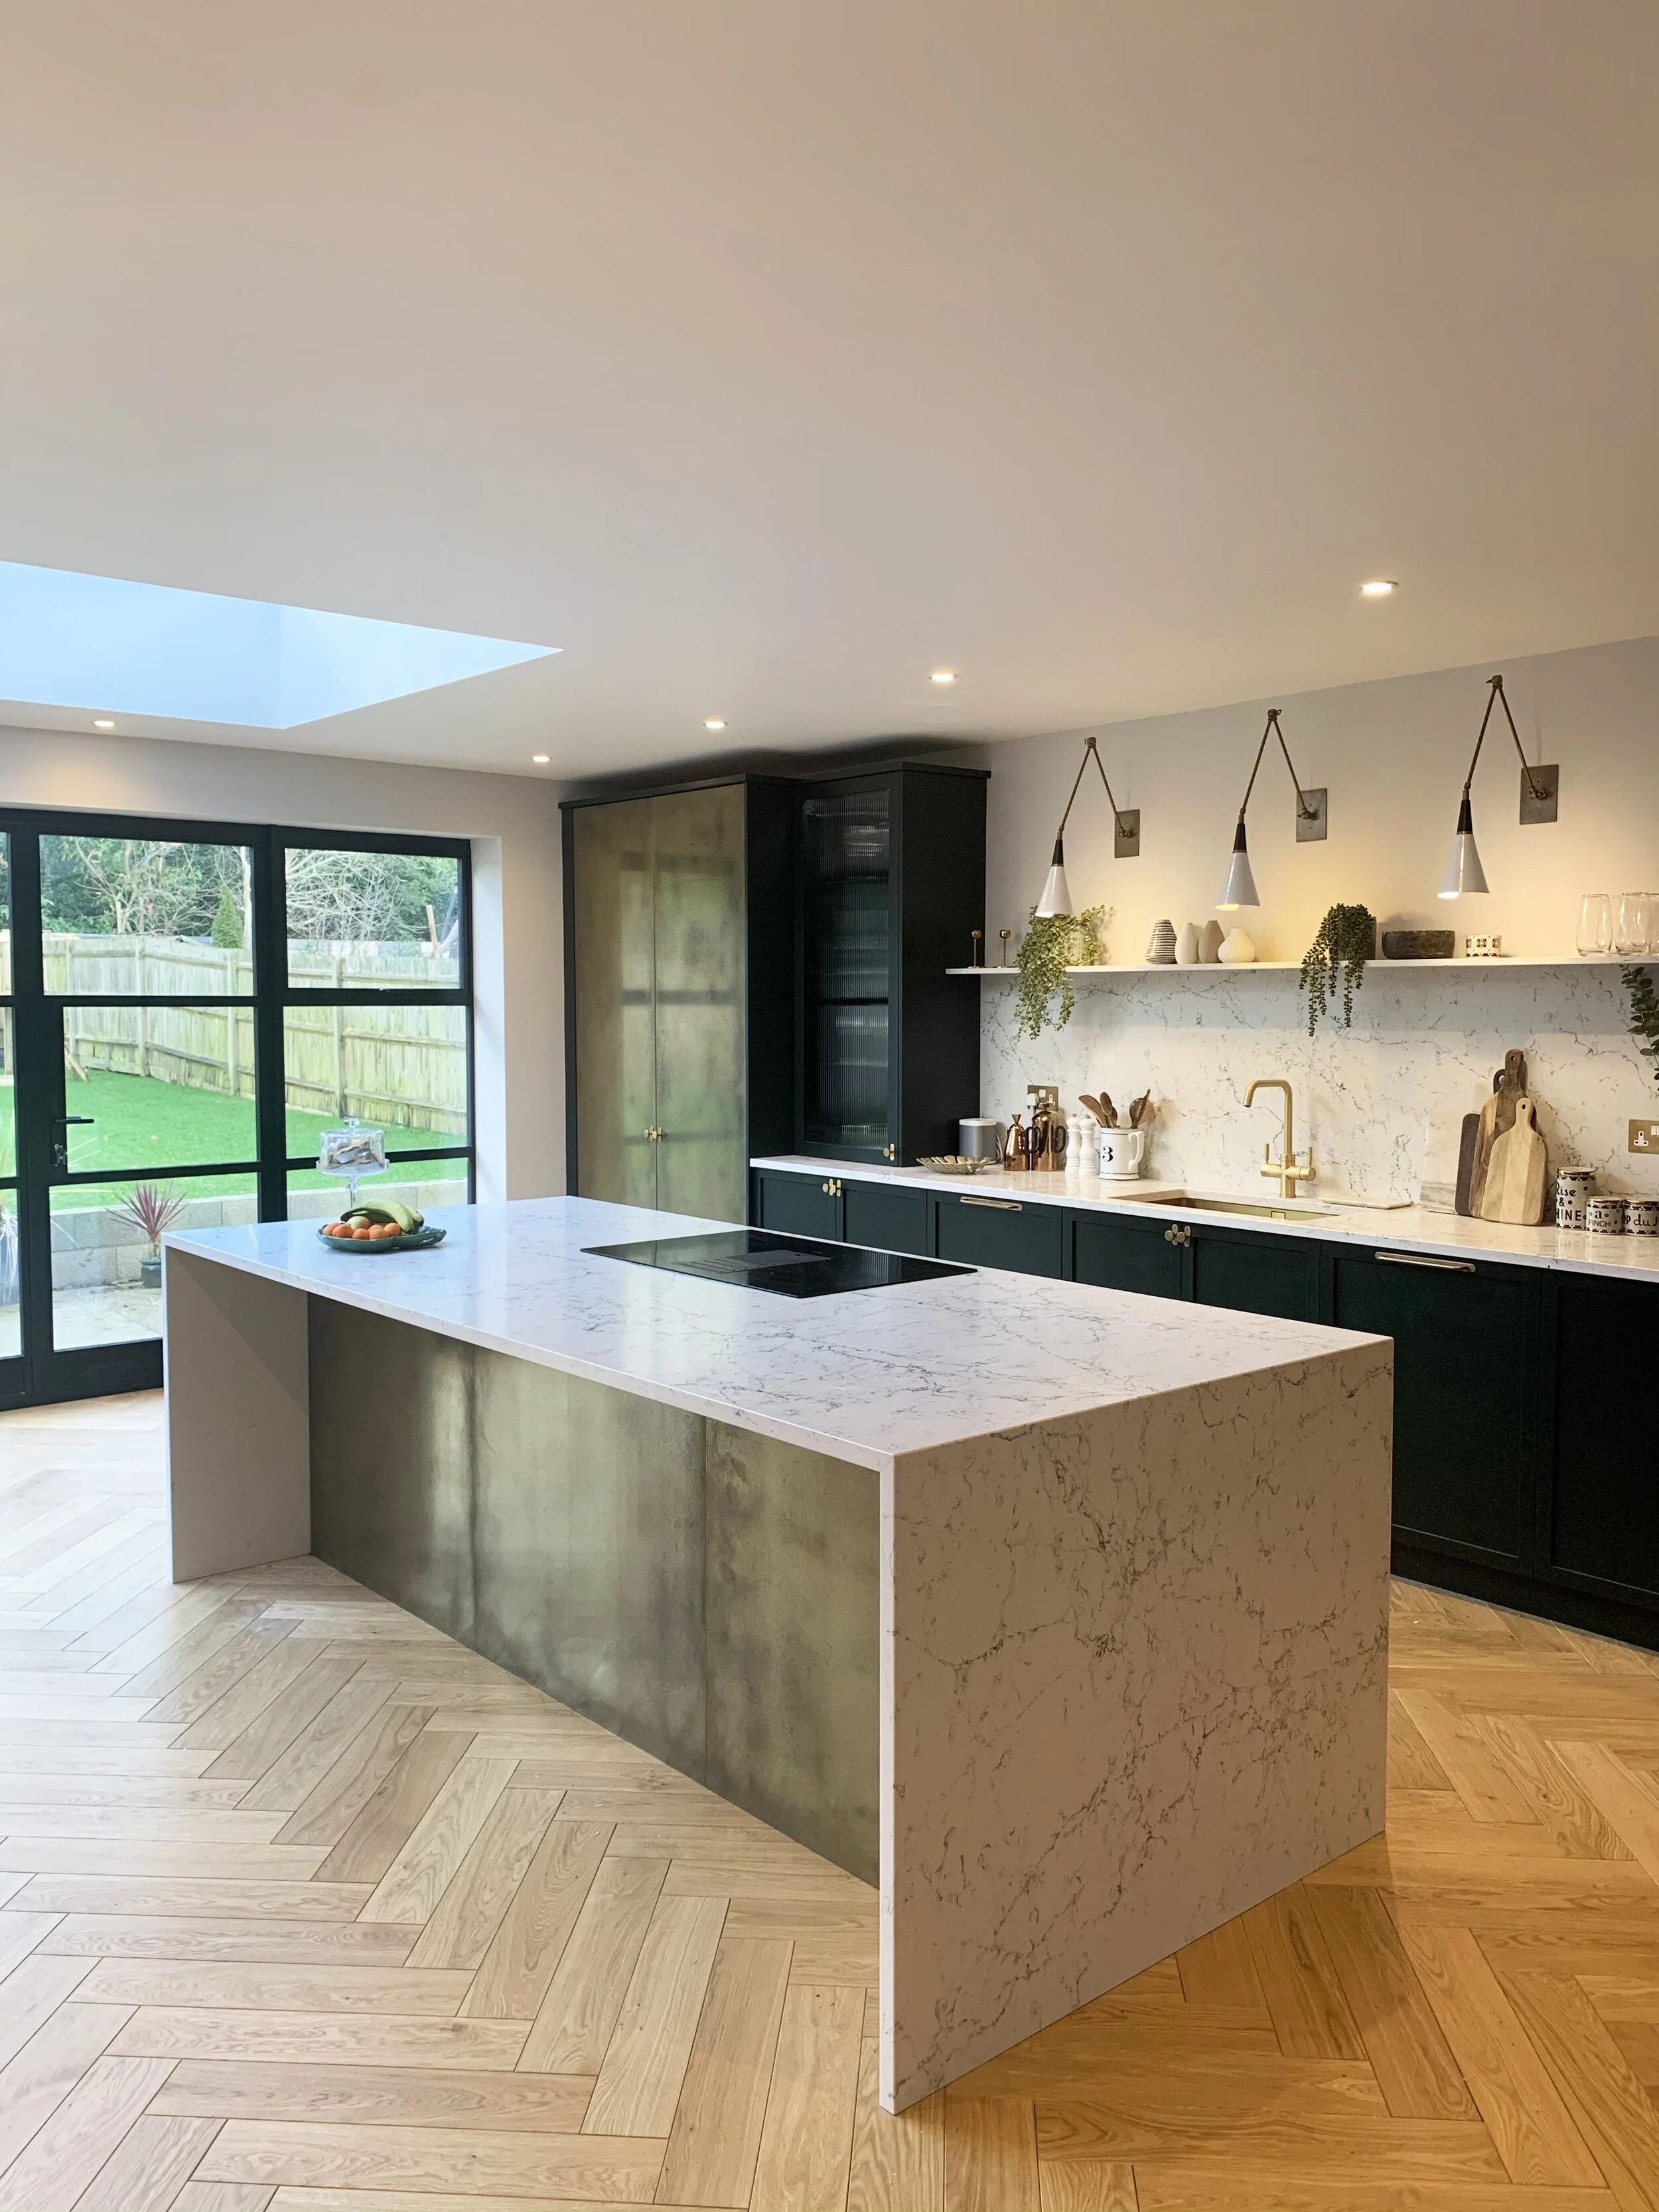
Caesarstone White Attica, engineered quartz worktops.
How easy is it to care for and maintain quartz?
One of the biggest supporting factors of quartz is that it’s virtually maintenance free. Marble is actually considered a soft and porous stone, meaning it absorbs liquid and leaves watermarks very easily. Regular sealing is required to allow time to clean up spillages and prevent staining, however marble can only be cleaned with a PH neutral cleanser to avoid damaging the surface.
The non-porous nature of quartz means it doesn’t require sealing and is designed to be stain resistant, with no need for specialised cleansers. It’s also less susceptible to mold and bacteria growth, making clean up and care much simpler. If you don’t have the time to keep a natural stone like marble in top condition, quartz is a much lower-maintenance option.
Why Caesarstone?
Caesarstone have been at the forefront of manufacturing premium quartz worktops for almost three decades, consistently creating high-quality surfaces that are designed to last. The non-porous, stain-resistant nature of quartz makes it an ideal worktop choice to contend with all life throws at it.
And if you need any proof then you just need to make an appointment to visit the Caesarstone showroom in Enfield, where you can see the large slabs in all their glory, showing you the full potential of their designs.
Why White Attica?
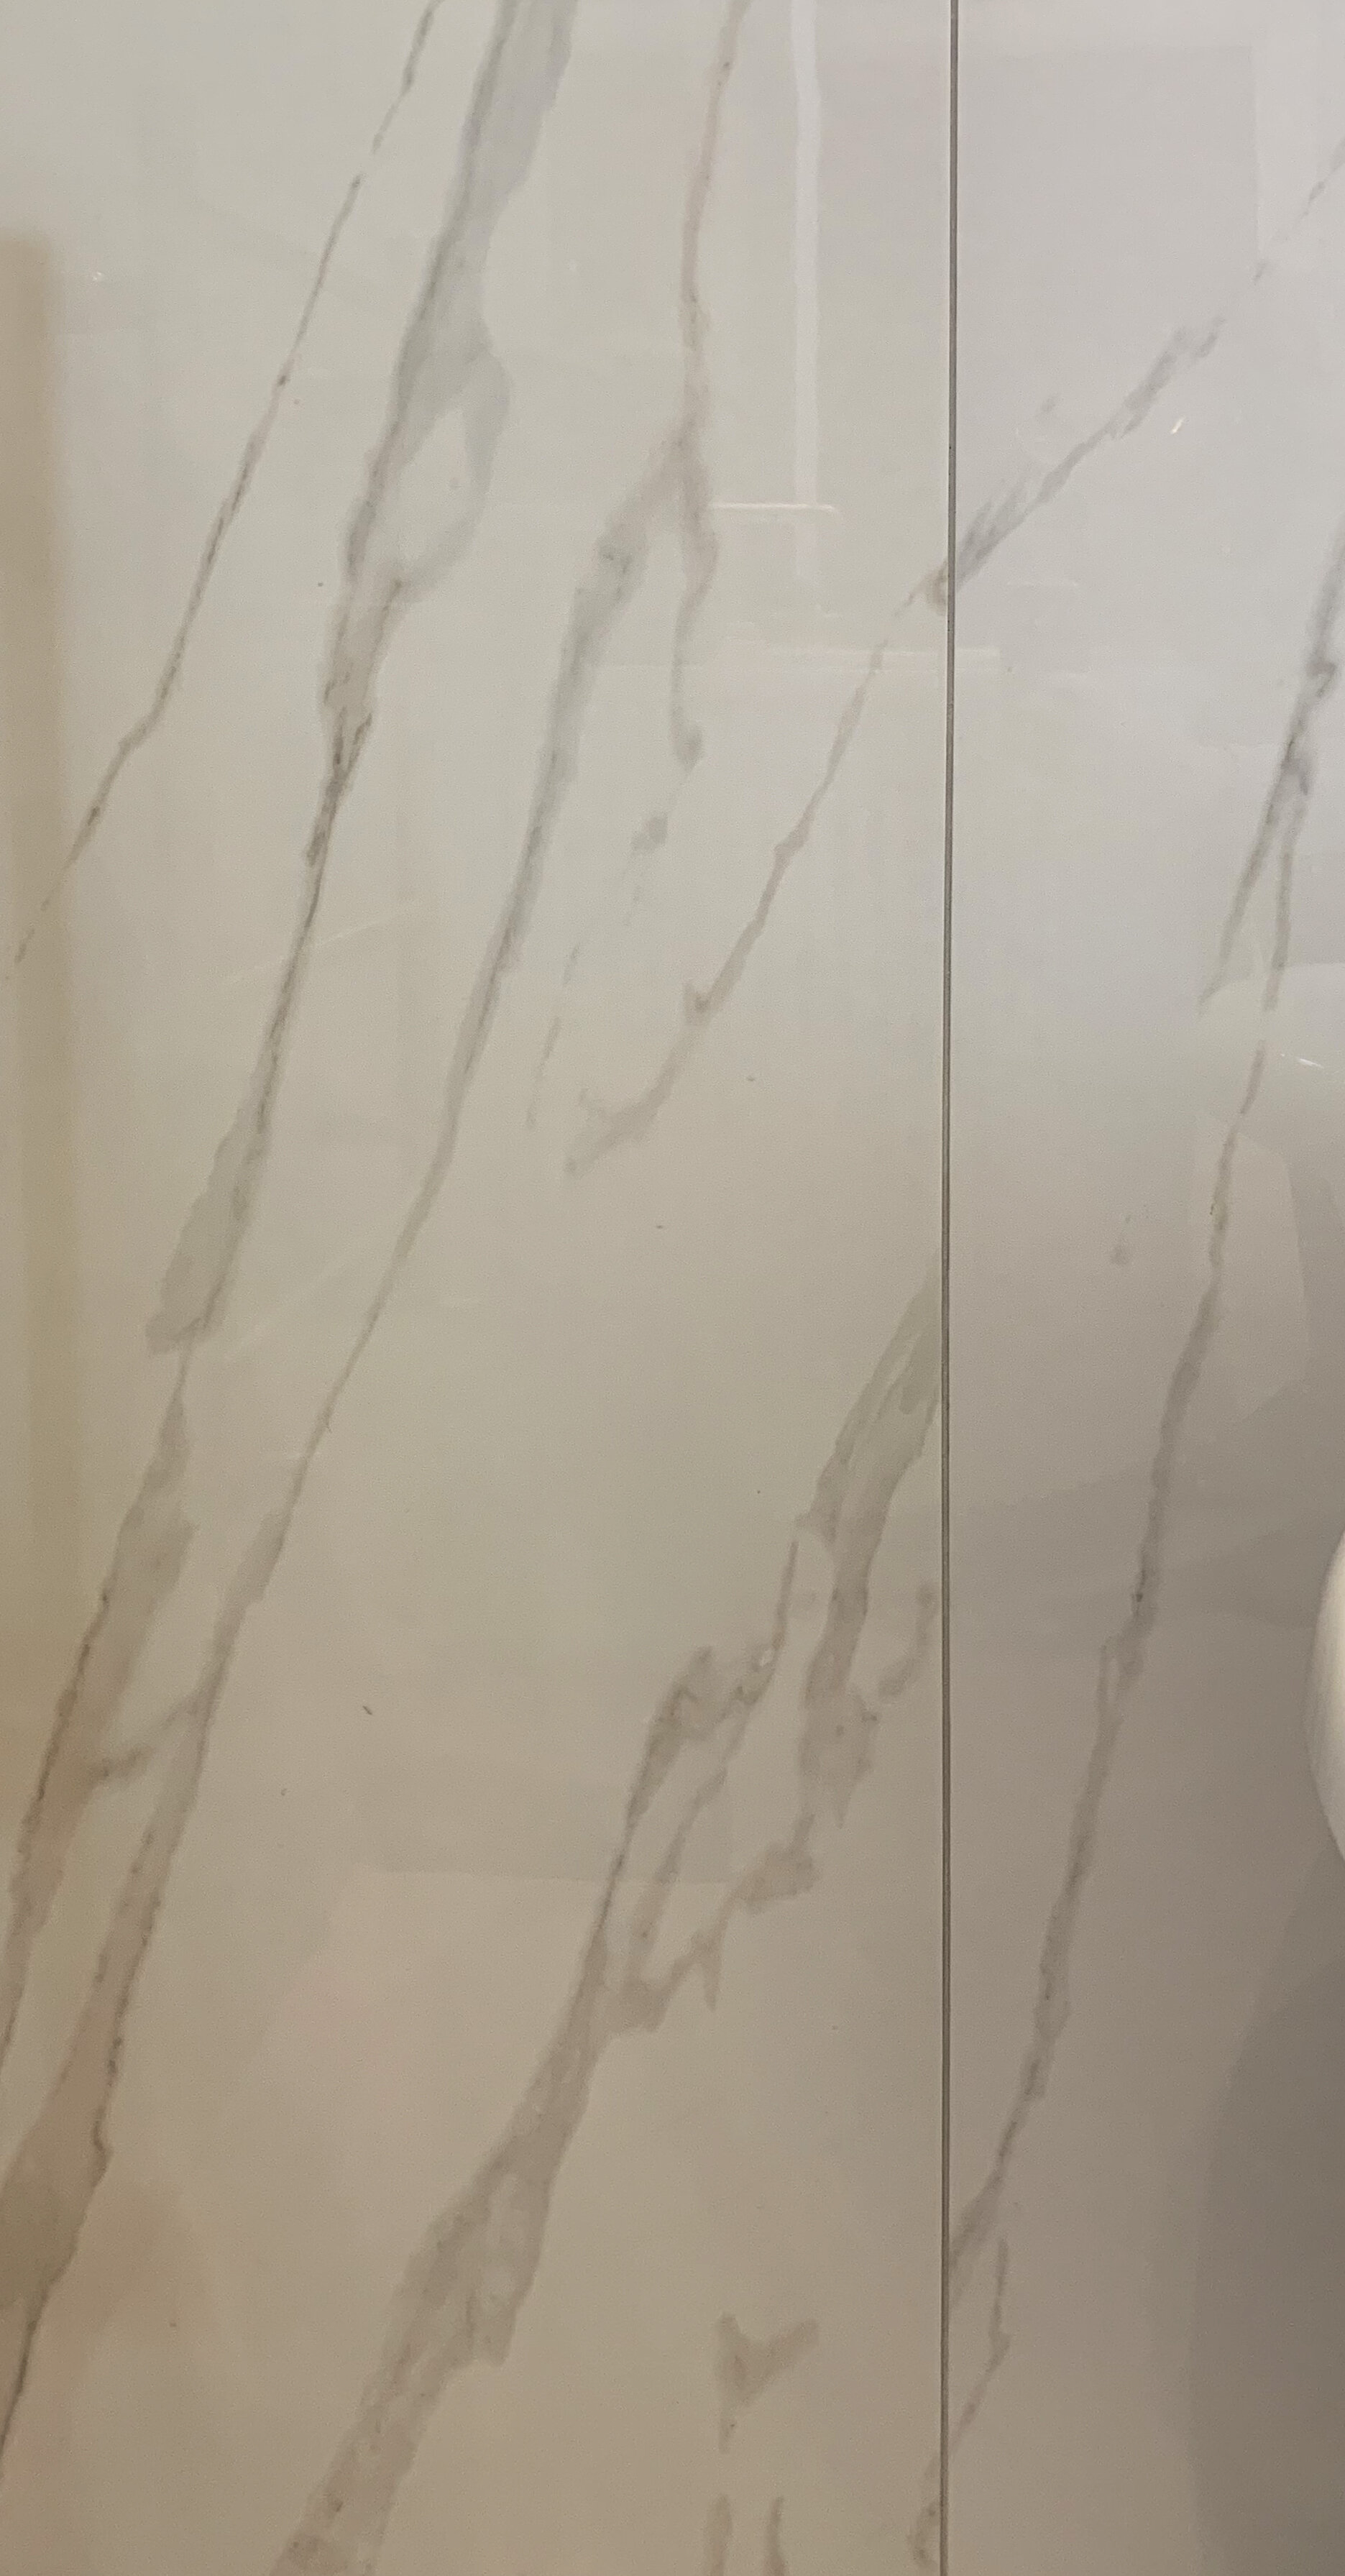
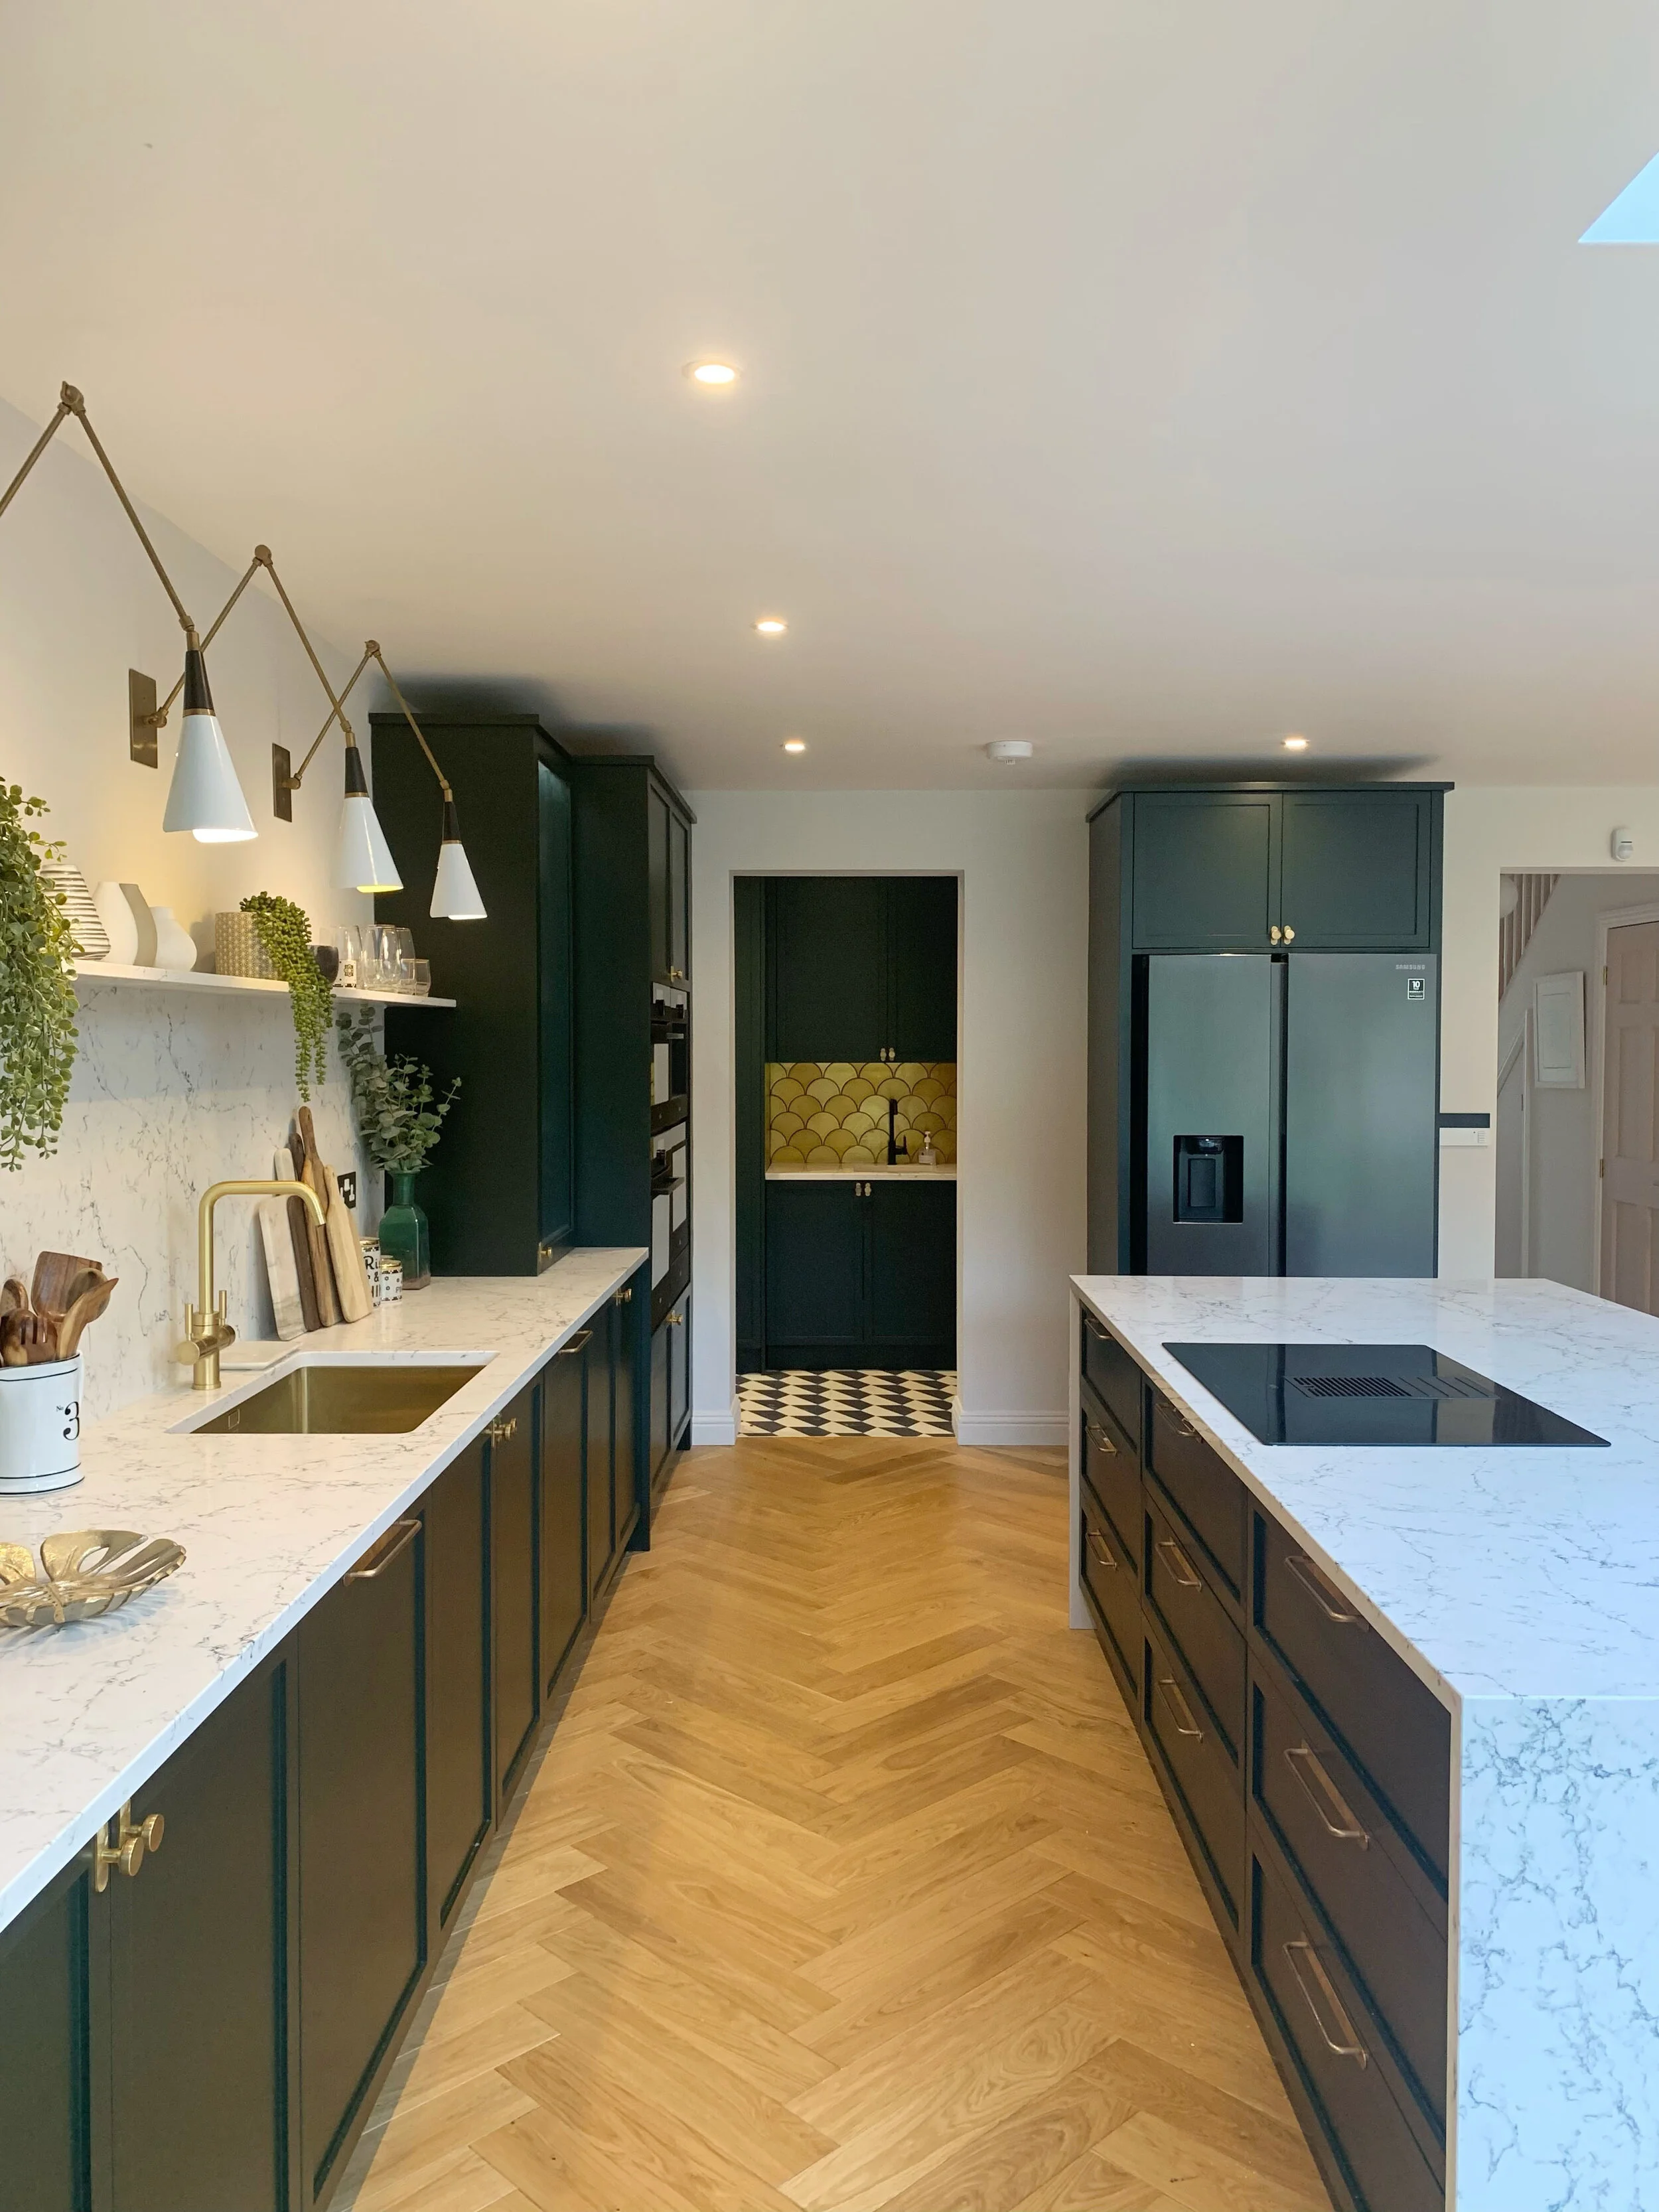
I went for a Caesarstone design called White Attica. This is a white quartz from Caesarstone Classico collection. Inspired by classical natural marbles, White Attica features a clean white base with dense, dark grey interwoven veins. It looks a bit like blue cheese, and I just loved the dark vein and how it would pick out the dark green tones of our kitchen units.
Caesarstone White Attica, engineered quartz worktops.
The Kitchen design
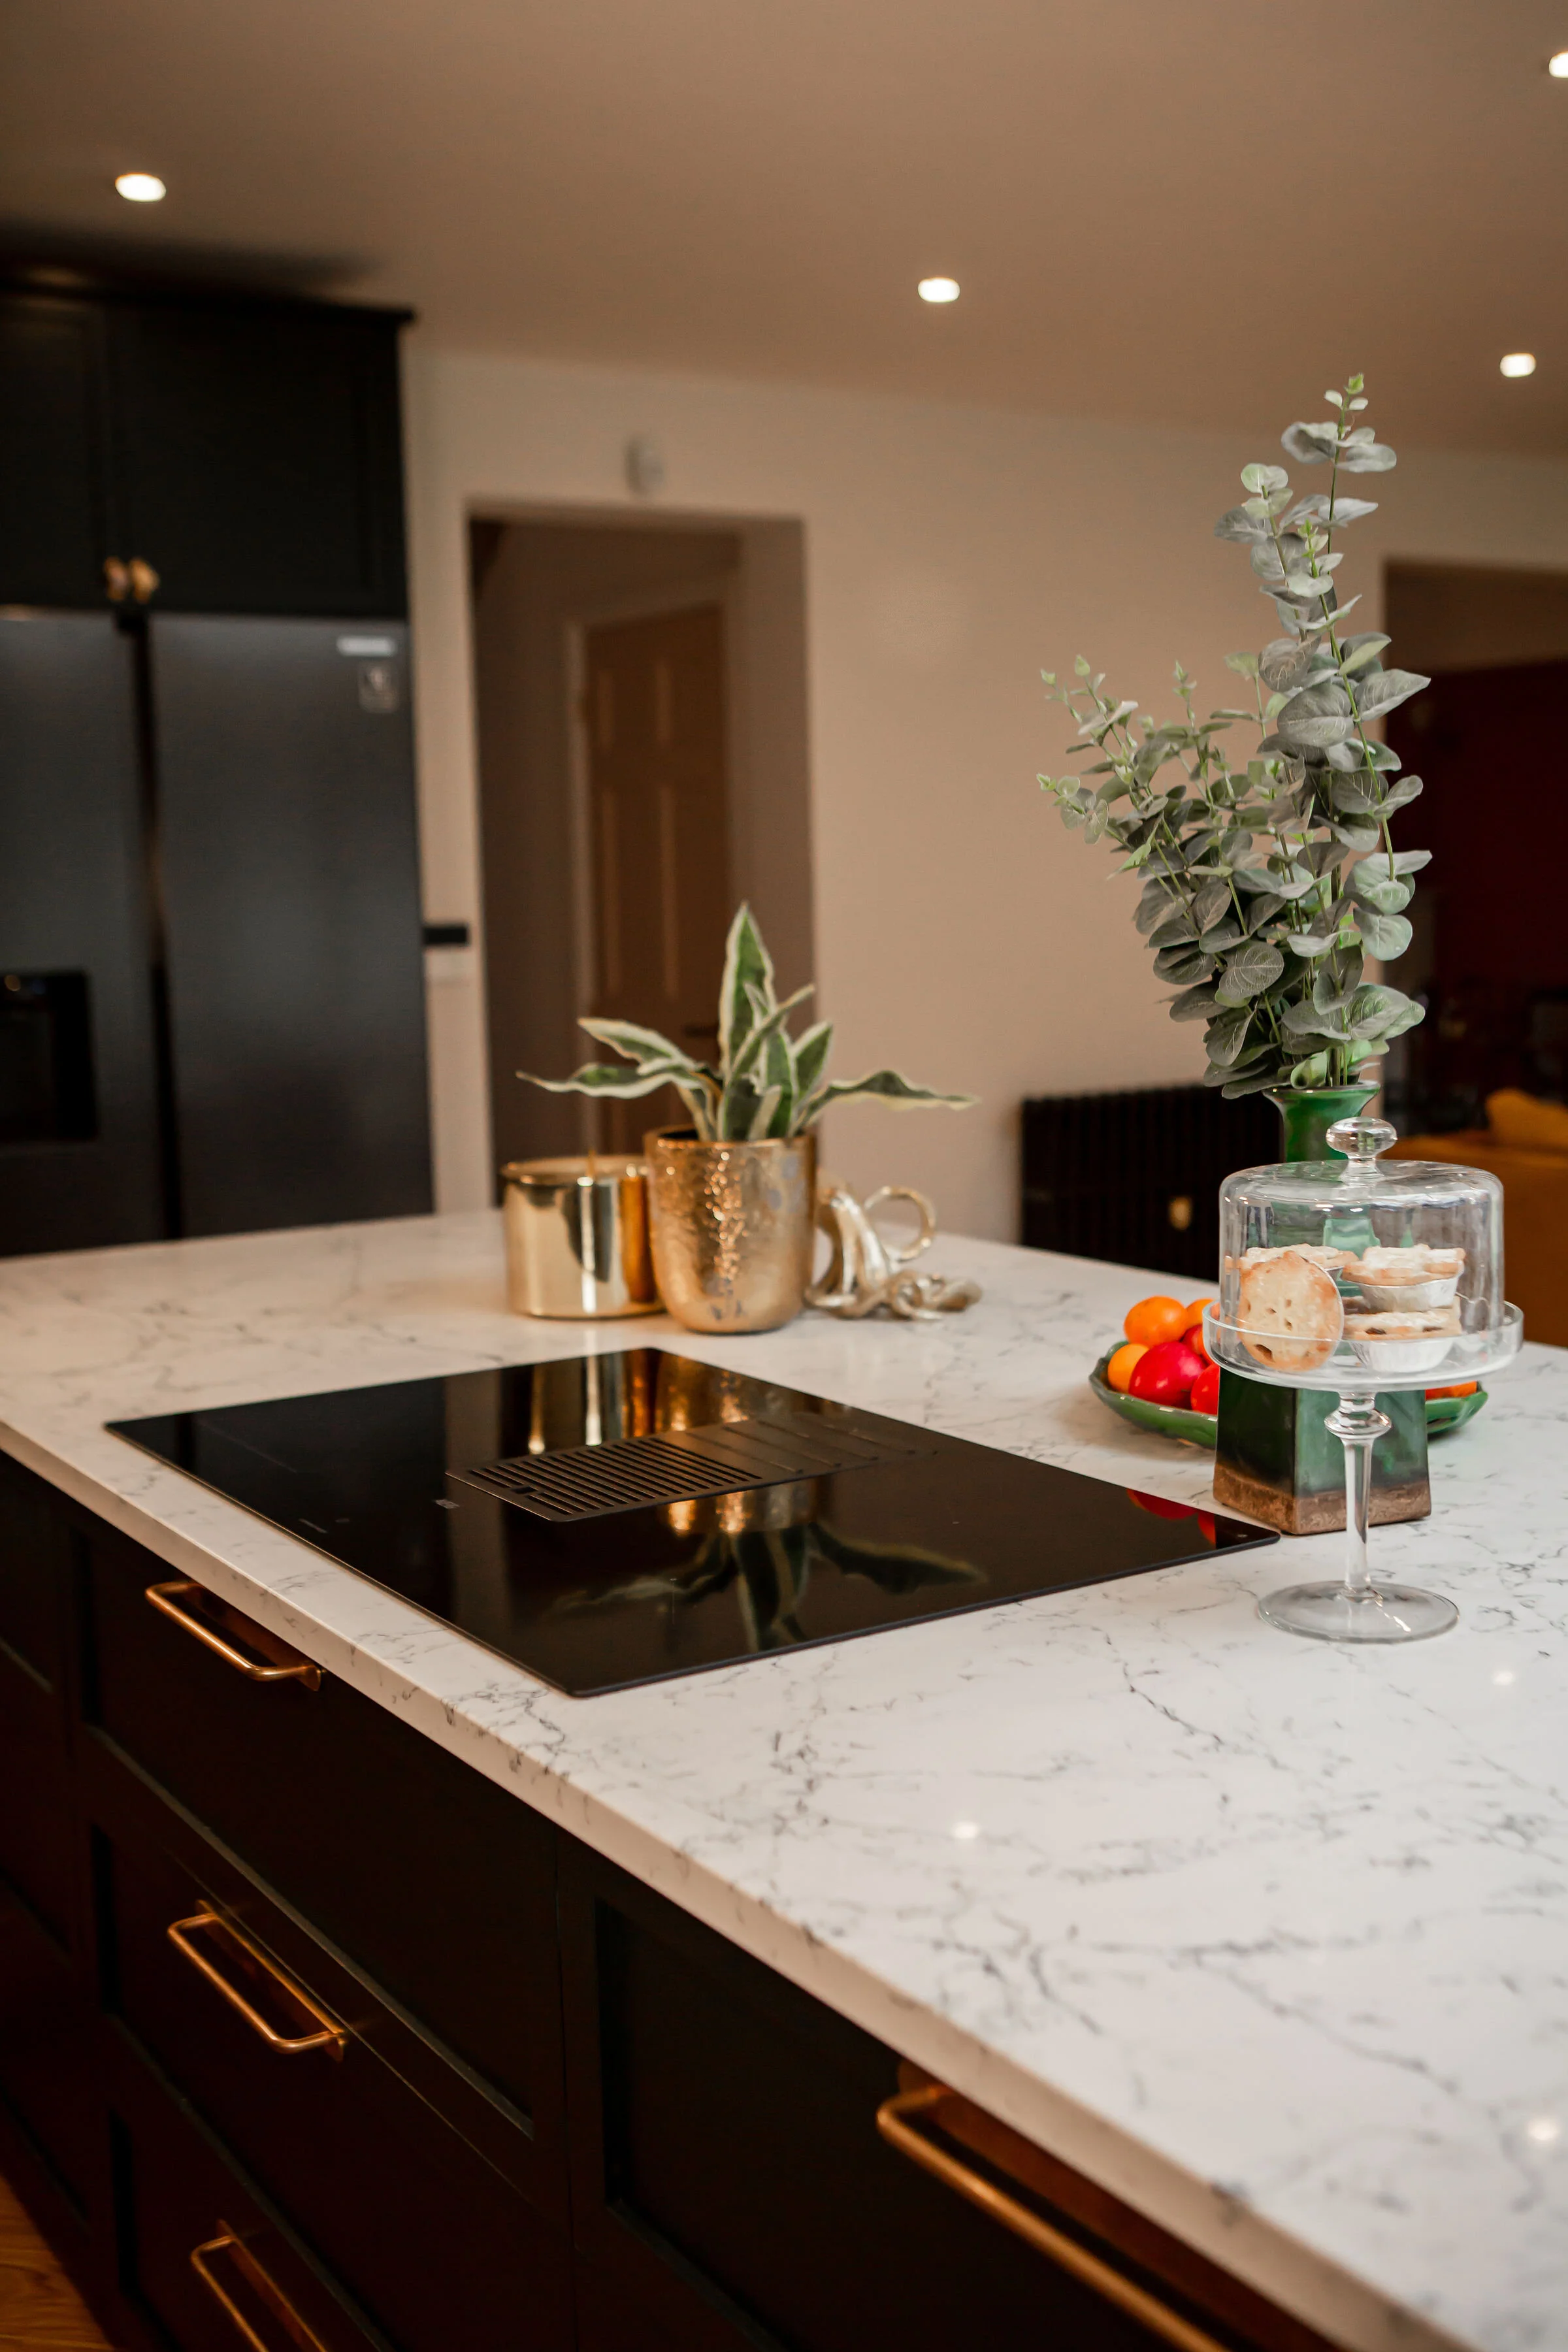
We used 30mm thick White Attica slabs for our worktops, the kitchen island which has a waterfall design down the sides, then the same inside our pantry cupboard and utility room.
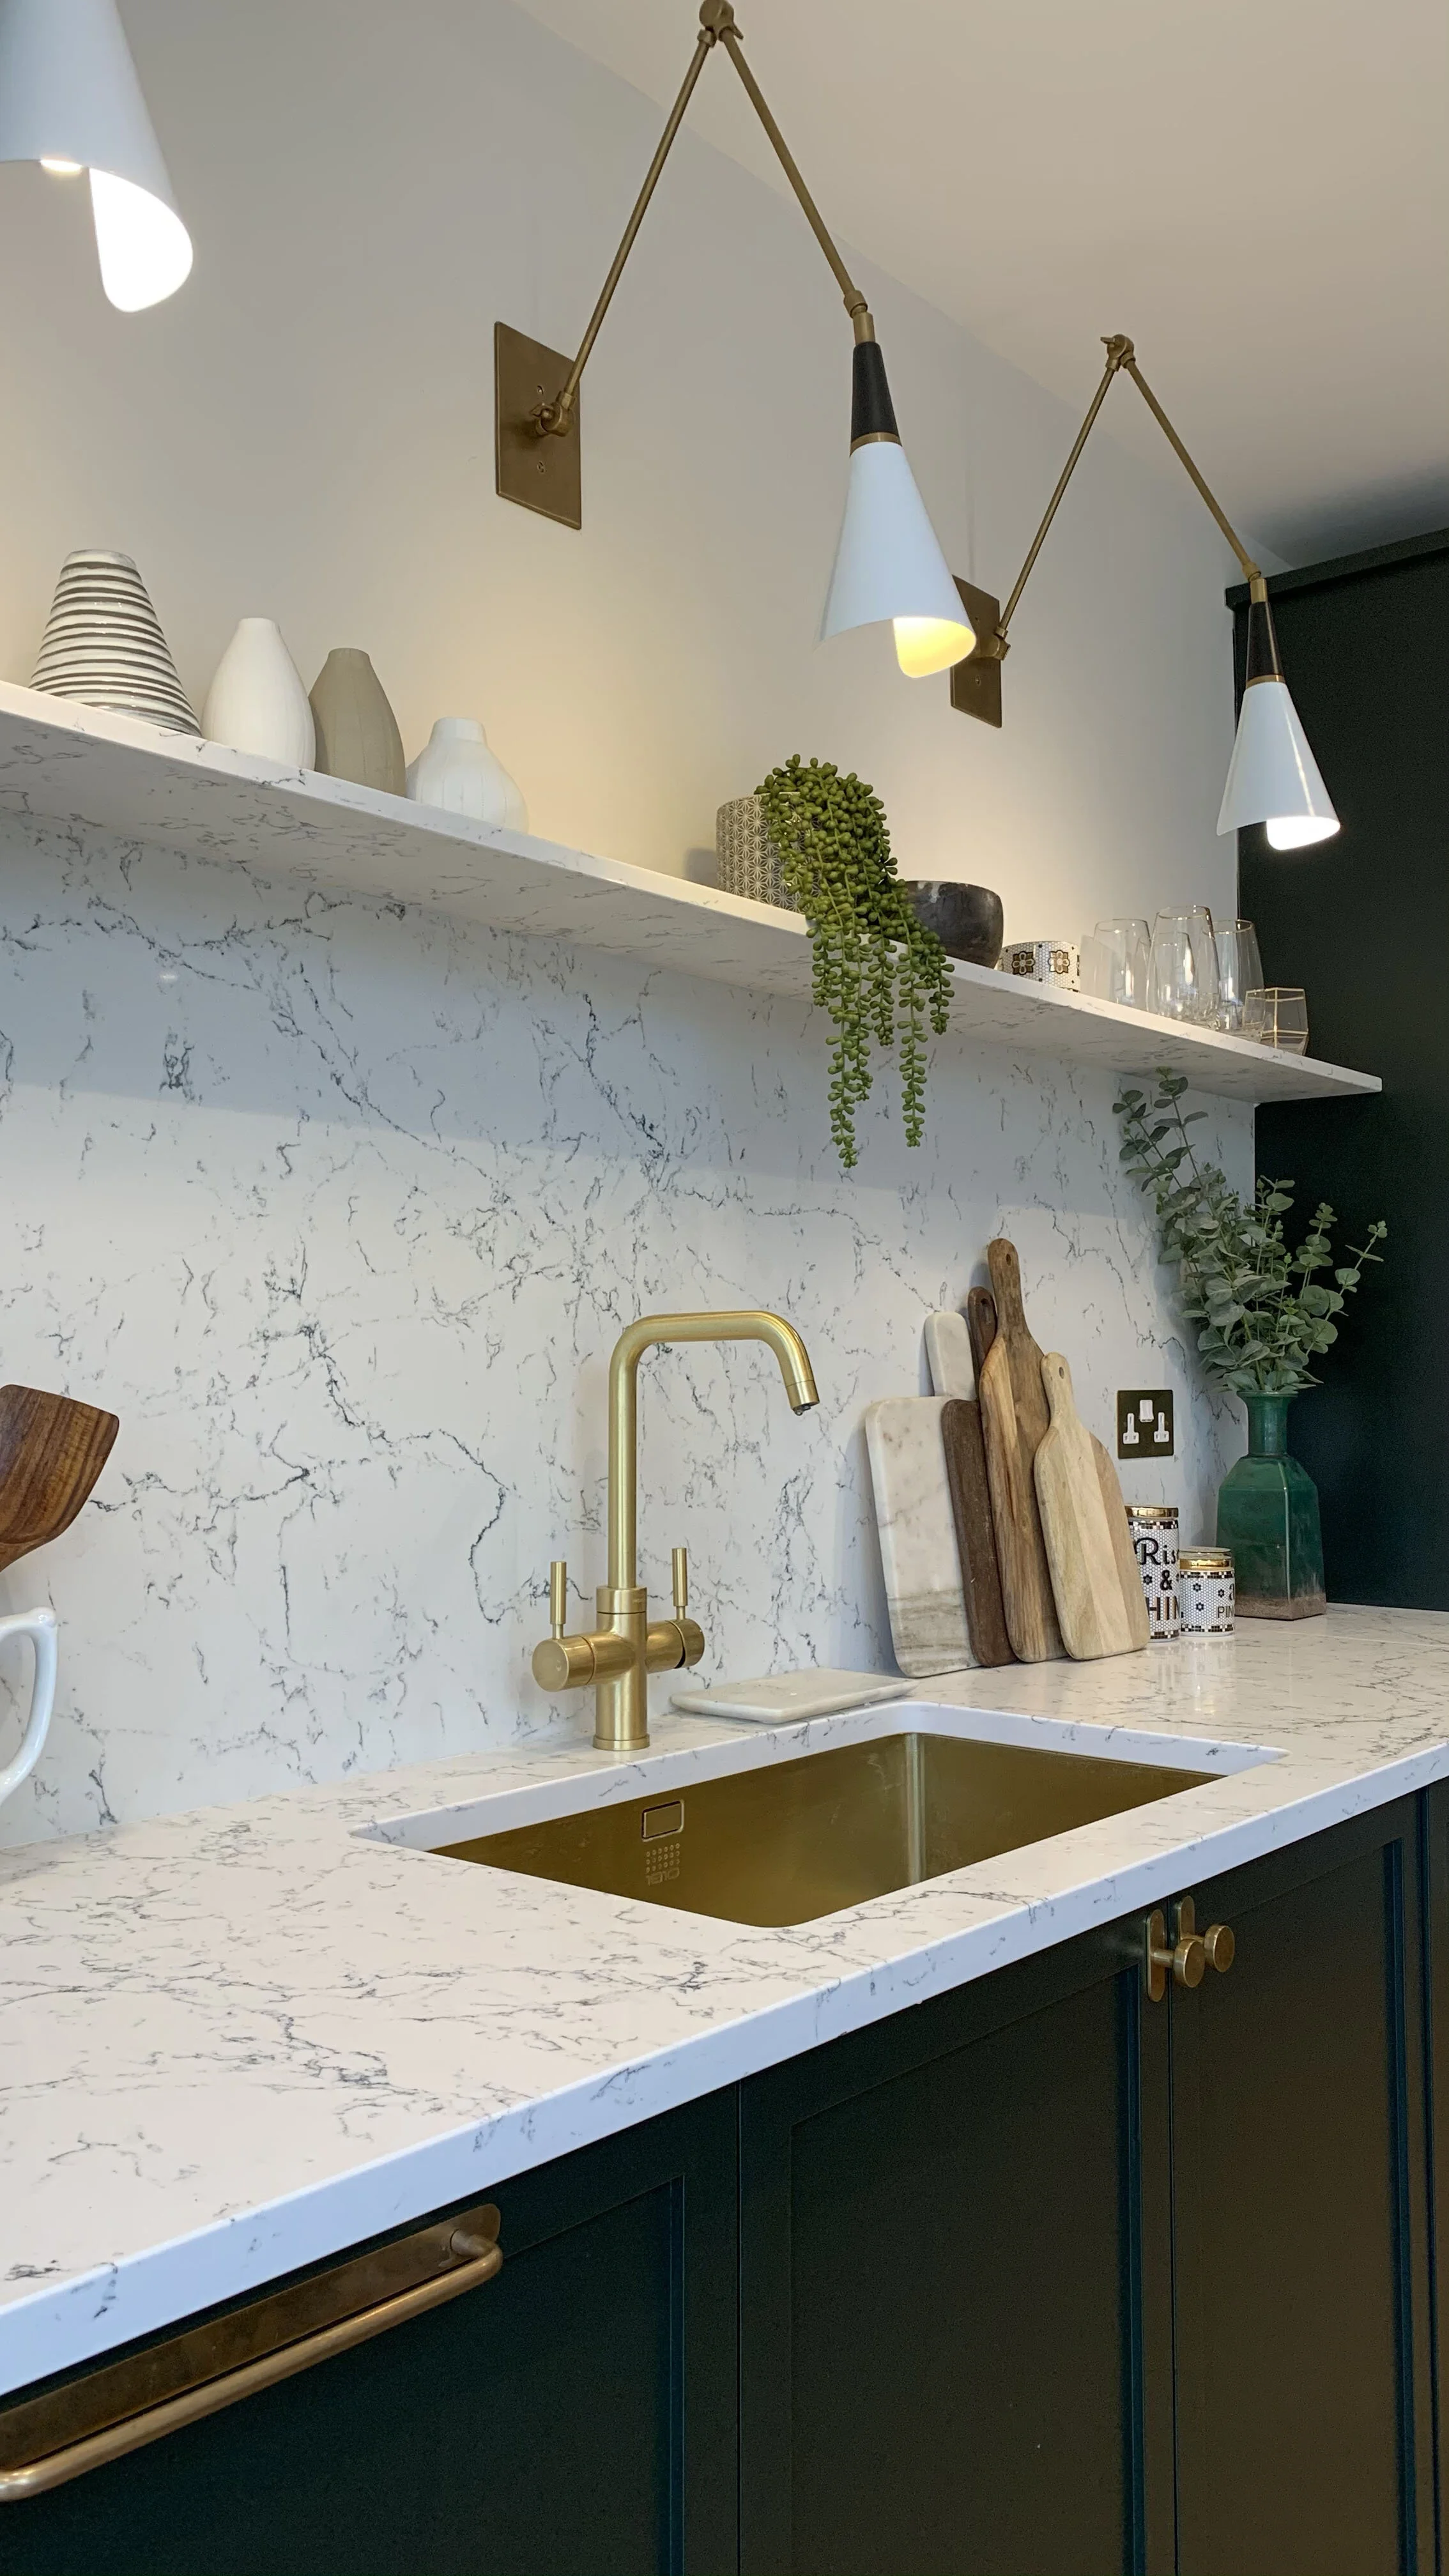
For the 600mm high splash-back and shelf we used a 20mm thick slab in the same design.
It didn’t need to be as thick as the worktops as it was going against the wall.
Caesarstone White Attica, engineered quartz worktops.
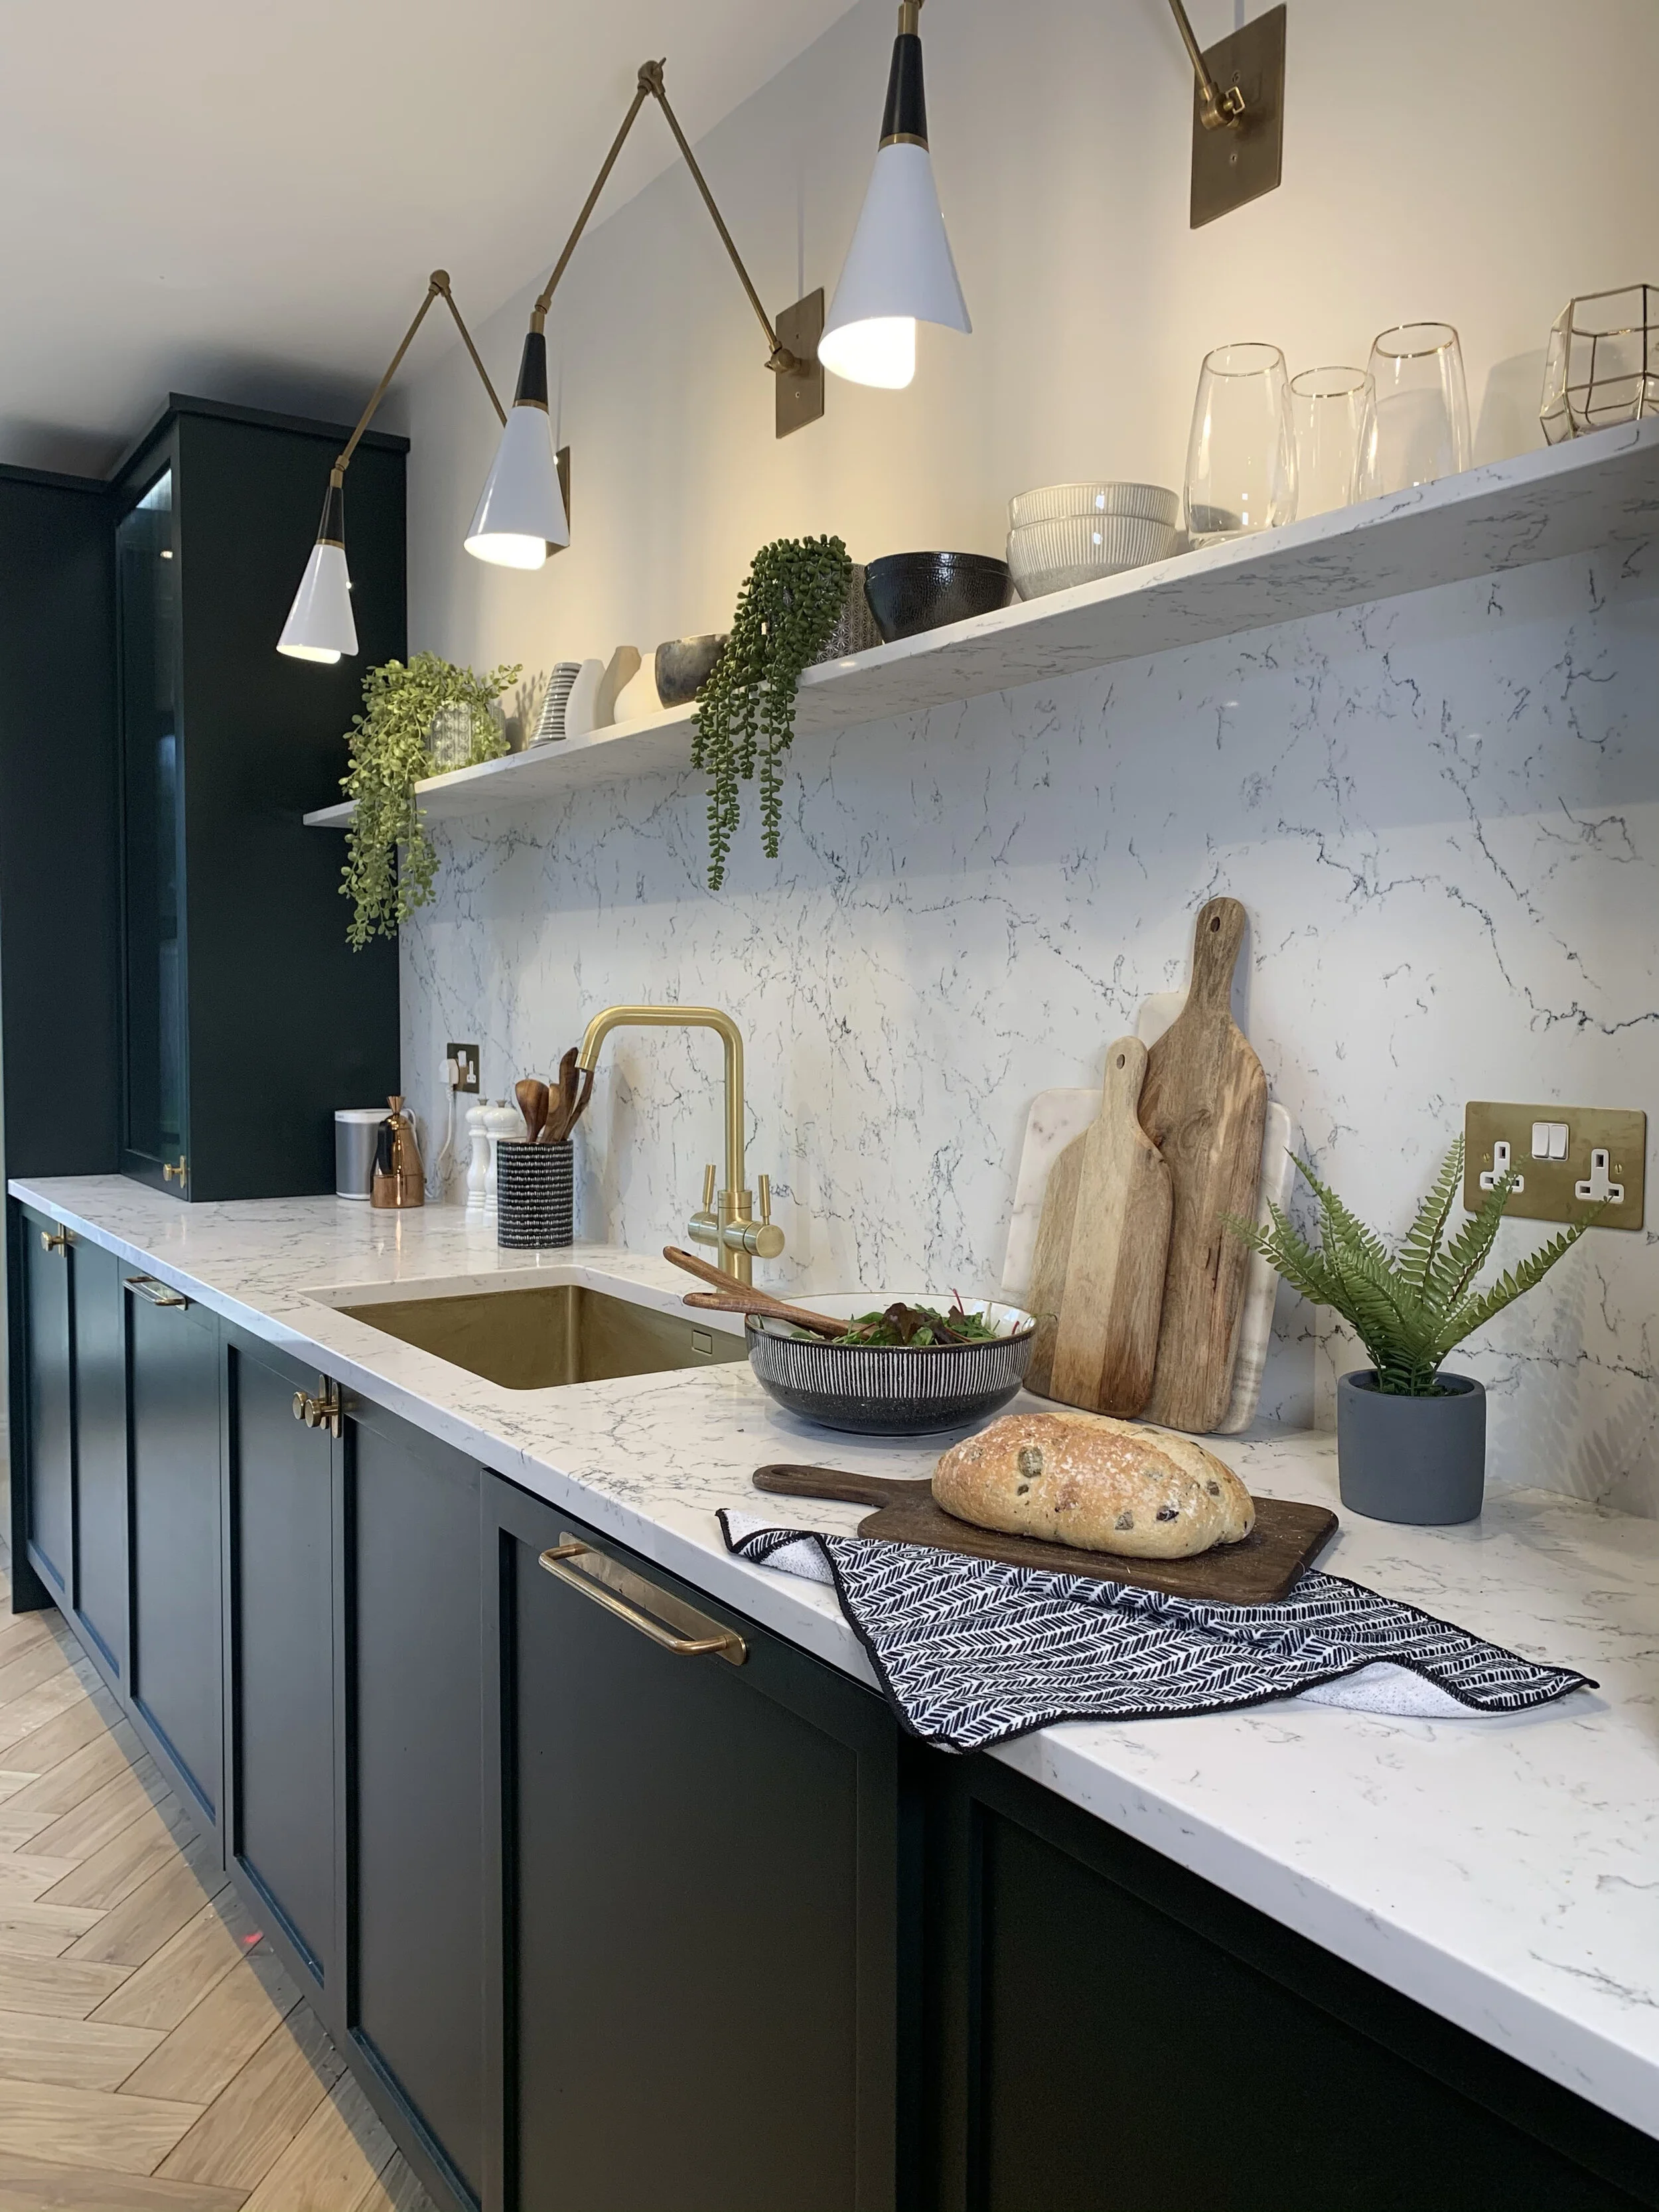
The Floating Shelf
The plug sockets were cut out of the splash back on site, ready for the brass sockets to be added.
The stone shelf took a lot of preparation and had to be pre prepped at the beginning of the build. Once the block-work went up for the kitchen extension, our builders added wooden battens leaving a 20mm gap to sandwich the shelf into. They then proceeded to plaster board and plaster the wall, still leaving the small 20mm gap.
Once the wall was painted, the application for the shelf was pretty straight forward. Our fabricators (G Worktops) fitted the splash back first, then applied a strong adhesive then inserted the stone shelf.
The shelf is 200mm deep, and the science is that the shelf counter balances from the wooden beams, plaster board and plaster and glue so that it holds in place.

Our builders applying the timber beams to support the floating stone shelf. They left a precise 20mm gap for the shelf to be slotted inside.
I’d love to know what your thoughts are on Marble Vs Quartz, and what your preference is? I love our quartz worktops and am delighted with the end result. They really finish our kitchen off perfectly.
If you’re in the market for new worktops and want to visit Caesarstone’s showroom, virtual tours are available to book.
Virtual studio tours
Caesarstone’s virtual showroom is packed full of information to help its customers. The virtual tour invites you for a sneak peek inside the showroom, allowing you to walk through the space and explore what they have on display at the touch of a button. If a particular piece captures your attention, you can find out more information from the interactive elements.
To register your interest in an appointment, please visit here.
Manchester studio (for when we’re allowed to book in physical visits)
There are two Caesarstone studios in the UK, one in London, at the brand’s Head Office in Enfield, and one which opened more recently in Trafford Park, Manchester. Both offer a highly engaging and tactile experience and includes large format product displays of Caesarstone’s unique and dynamic designs. Guests can book an appointment via an online booking system, which will secure them a 45 minute consultation in which the studio manager will personalise the visit based on the customer’s preferred worktop style and individual project requirements.
Caesarstone Manchester Studio
Unit 38, Wheel Forge Way, Ashburton Point
Trafford Park, Manchester M17 1EH
To book a guided visit please contact:
0800 158 8088