A GUIDE TO BUILDING WORK (AND ALL THE EXTRA COSTS THAT GO WITH IT)

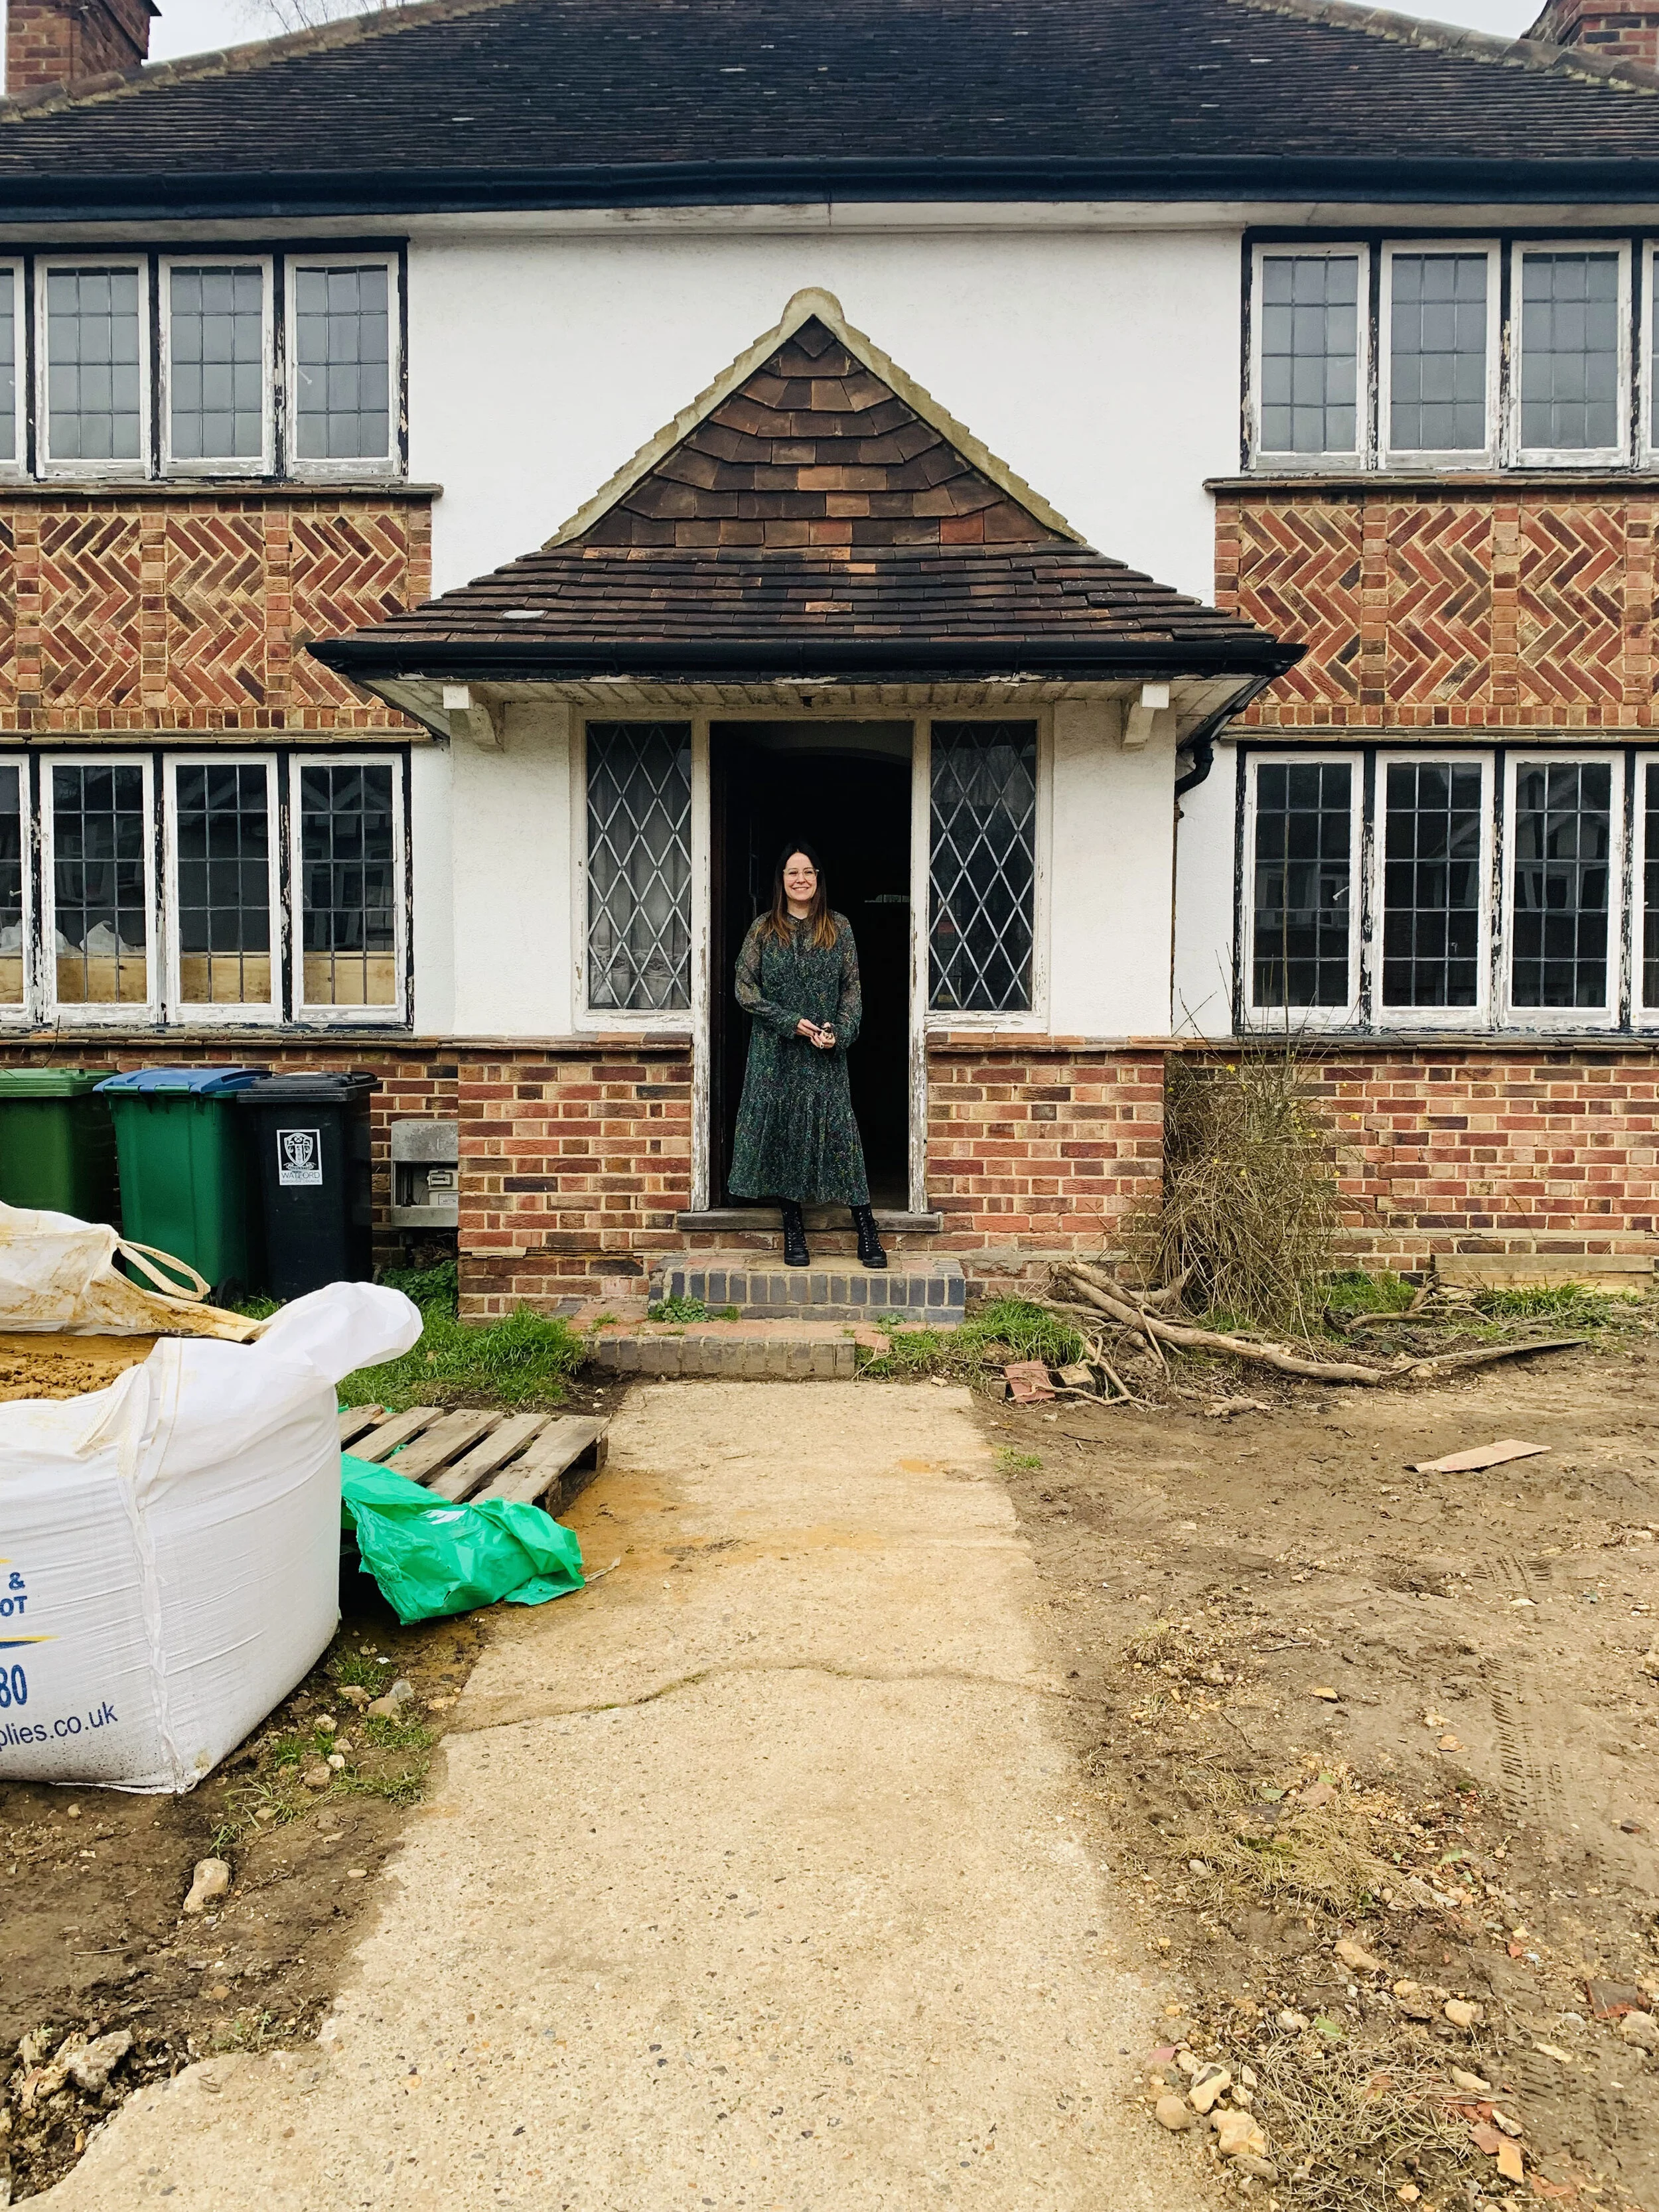
Hi, This is me and our ‘Rat House’ Renovation- A detached 1930’s house in Watford

Hi, This is me and our ‘Rat House’ Renovation- A detached 1930’s house in Watford

This blog post is sponsored by Hoppy. All views and opinions are 100% my own.

Whether you’ve owned your property for a while, or you’re on the search for the perfect doer upper. I’m sure if you’re anything like me, you’ve had conversations with your partner, friends or family about “doing a little loft extension”, or “let’s just fill in that side return, surely it can’t cost that much”.

I’m currently living through our second build as I type this. This time round, we bought the doer upper - A detached 1930’s house in Watford, Hertfordshire. We’re adding a 7 metre (7m) ground floor extension to the back for an open plan kitchen/ dining room and a 3.5m first floor extension for an extra bedroom and en-suite. In building terms this is on a much grander scale than our last build which was a 2-bedroom, 1-bathroom loft extension on a Victorian terrace.

(If you want to read more about our 1930’s build, I’ve written about it here).

Perhaps for our third build we’ll buy a plot of land and do a self-build to earn the top building badge of honour. Ah, who am I kidding? After this one I think we’ll be done for a while, if not forever.  Although I do think I’ve got the building bug. Just don’t tell my husband. *wink

So, you’ve decided you want to convert your garage into a playroom, you’ve done your Pinterest boards and Sally on Instagram is doing it so it must be affordable and doable right? Think again. One thing no one really talks about is the amount of administration, planning, time and expense which you may incur by having the smallest of renovation work done.


I’m going to take you on a step by step guide to all the extra costs which you need to consider before taking on any building project of any size, because what people don’t tell you is all of this stuff.

So here goes..

Architect

Speak to an expert. The initial talk with an architect will be free, so pick their brain when it comes to what you can and can’t do.

Disclaimer ** Architects don’t know for certain what will or won’t get approved by your local authority, so do check your local planning portal to see what your neighbours have done already. This will give you a good gauge on what is and isn’t possible in your area.

And remember that just because someone down your road has the same extension, it doesn’t mean it will definitely get approved. You need to take into account neighbours objections.

What an architect will do though once you’ve paid your fee is:

·      Carry out measured site survey and take required photographs.

·       Prepare existing floor plan.

·      Prepare existing elevations.

·      Prepare existing section.

·      Prepare existing site plan.

·      Prepare proposed floor plan.

·      Prepare proposed elevations.

·      Prepare proposed site plan and block plan.

·      Prepare proposed section.

·      Submit planning application to local authority via the planning portal. – Not all architects will do this, but some might include this in their price.


The Cost

Once you’re ready to get the drawings done, these could cost as little as £1k, but up to £10k depending on the size and detail of the project.

Our architect drawings for our 1930’s detached house with a new 7m ground floor extension and a 3.5m 1st floor were £1.5k + Vat

Our proposed drawings for Rat House

 Structural Engineer

Some architects will have their own structural engineer within their company, but some won’t. The structural engineer drawings are vital for any builder to work from, otherwise all you have is a very pretty, slightly complex line drawing from the architect for the builder to work off- which is basically not very helpful. The structural engineer plans will lay out steel sizes, foundation depths, insulation thicknesses and so on to make sure the build complies with the most up to date building control regulations.

Make sure when you get your quote for the architect drawings that its clear whether the structural drawings are or aren’t included in the price, because quite often this is a surprise to pay-out later down the line.

What you get for your money from your structural engineer is:

·      Prepare Structural Drawings.

·      Prepare Building Control Drawings.

·      Prepare Drainage Drawings.

·      Prepare Structural Calculations.

·      Prepare Construction Drawings.

·      Submit initial Notice for Building Control (Fees not included).

·      Submit Water Build Over Contract (if needed- and cost wouldn’t be included) 

The Cost

Our structural engineer drawings were included with our architect, but I’ve broken this amount down from the rest, which was roughly another £1,200+Vat


Planning Application

You have your architect drawings and you’re ready to make that planning application. You don’t actually need structural calculations to apply for the building notice – all you need is the architect drawings, so it’s probably best that you wait to see if your plans are approved before paying for the structural calculations as you might need to make changes, or worst case scenario, they won’t be approved and you would have wasted your money.


Some Architects will build this cost in and make the submission for you.

You can apply for planning before owning the property but the current owner or part owners of the property or Leaseholders with at least 7 years lease remaining or any agricultural tenants will need to be informed.

Firstly, the property owners may be more reluctant to sell the property to you. Visits from architects and additional delays caused may lead them to prefer a different buyer, and once you receive planning permission, the seller may choose to put the property back on the market at a higher price. They can now add the fact that planning permission has been approved for the works you have proposed.

Alternatively, you can wait 21 days from completing on the property and you won’t need anyones prior permission to apply.

It’s also worth noting that with most councils you have 3 years to start your building work from when your application is approved. This is three years to get a fork in the ground and get the building control officer out. The work doesn’t need to be finished in this time, but does have to start, otherwise you need to start the application process all over again. It’s worth noting that if your application has multiple works, the permission doesn’t have a timer and you can come back to do other bits any time as long as something has started.

The cost

If you need to apply yourself, the cost varies from £206 - £462 depending on the work, and this price might vary if the property is in a conservation area.

You or your architect will also need to pay £72 for Ordnance Survey
Extract (which is a satellite map which you can purchase online). This must be submitted with any application.


Party Wall acts

If your planning is successful, your local authority might ask you to obtain a party wall act with each of your neighbours. This all depends on how close the neighbouring properties are.

** Even detached houses have to comply with the party wall act, unless your property is within 6 meters of any neighbour’s boundary.

I’ve written a blog post about Party wall acts, which you can read here.

In summary, these don’t have to cost anything and is just a matter of asking your neighbour to sign a legal document which means you will make a mend if any damage is caused to their property during the build. However, they can also become expensive if the neighbour refuses to sign.

But one thing to remember is your neighbour cannot stop your building work happening, even if they refuse to sign. It just means you will have to pay for a party wall award which means having an independent structural engineer draw up a contract.

Also, worth noting that you are meant to give your neighbours 30 days’ notice of work starting.

The cost

They can vary, but if you need to pay a structural engineer to put a party wall award in place it can cost anything from £900 +, and you could have two on your hands if both neighbours don’t comply and want awards in place.

It’s also worth noting that you can’t use a structural engineer which you’ve used before. They must be impartial to both you and your neighbour as they will act as a mediator if any damage is caused.

House Lusts Rat House Renovation - A detached 1930's House in Watford

 Building Control

Things are now progressing, you’ve got your planning permission, your structural drawings are done, and you have your party wall act signed. It’s time for you to start building.

Now you must notify your local authority’s building control with intent to start the building work 48 hours prior to starting.


The cost of this for us was £235

Around six weeks later you will need to pay the further building control fee which covers all site visits and will pay for the certificate at the end by building control when they sign the project off. For us this cost was £630


The start of our 1st floor 3.75m extension

The start of our 1st floor 3.75m extension

Builders Quotes

Depending on what type of work you’re having, you might be planning to project manage the work yourself i.e. organise your own trades, brick layers, plumbers, electricians etc or perhaps you’ll get someone in to project manage it for you. Whichever you decide to do, make sure you get three separate quotes and ask them break down each cost, and don’t be afraid to challenge. Ask if the cost is fixed and final and isn’t an estimate.


Ask if waste and skips will be included in the price. A large skip can cost £400 and can add up pretty quick when filling with old plaster and timber.


In London and the South East, the average cost per m2 is around £1,500-£2,000+. For two-storey extensions, add 50% to the cost of a single-storey extension. If you want to add a bathroom or kitchen, add £5,000-£10,000 for the plumbing. This doesn’t include the tiles and bathroom suites which you want to install, so make sure you keep some budget back for them too.

Here’s me and my pink hard hat ;)

Here’s me and my pink hard hat ;)


Dropped Kerbs

This might not apply to your property, but if it does and you want your kerb dropping this ranges from £1k - £3.5k per property (depending on how many drop kerbs you require and if it’s a carriage driveway) for your local authority to carry out this work.


Water - Build over agreement

 A Build Over Agreement is needed when you want to build over a public sewer and need your local authority's consent to do so ‘in the form of a “build over agreement”.


This can cost in the region of £500.


Driveway

A driveway is something to bare in mind early on as you can apply for it at the same time as your house plans, otherwise you’ll need to make an extra application with an additional cost.

Don’t forget to consider drainage  and soakaways.

The cost

A driveway will cost you in the region from £3k + vat upwards.

Our Garden once all the trees had been cleared.

Our Garden once all the trees had been cleared.

Garden

Your new extension looks lovely, but it’s wrecked your old patio/ garden where the builder used it to store his bricks and cement.

Consider keeping some budget back to re do your patio/ garden.

 The cost:

This is very hard to guesstimate. We have had quotes for as much as £16k to level, re landscape, lay patio and decking and this doesn’t include the slabs or decking materials.

For now, this one’s going to have to wait a while.


I hope this is helpful and hasn’t put you off. I certainly wish I had read something like this before I started our first build. It’s always good to have a plan.

Good luck and remember I’m always available on  my Instagram @Houselust for a bit of building advice if you ever need to ask me anything else.

Just me having one  of those ‘what the hell have we done’ moments whilst looking at our mouldy windows :)

Just me having one of those ‘what the hell have we done’ moments whilst looking at our mouldy windows :)

A GUIDE TO BUILDING WORK.jpg

MY TIPS FOR MAKING A *SUCCESS* OUT OF INSTAGRAM

Amanda+Cotton+-+House+Lust

Howdy campers! I hope you’re all keeping safe and well during lockdown!

Today’s blog post is a little different and something I’ve wanted to write about for a while; It’s all about my relationship with Instagram.

I probably get asked a couple of times a week for any tips on how to make a *success* out of Instagram.  From starting an Instagram page from scratch, to gaining a following and getting likes which can lead to brand partnerships and collaborations.  

Before I begin, I would just like to make a disclaimer that I by no means think my Instagram page @Houselust is ‘super successful’ and if I knew all the answers then I’d probably have a lot more followers and get a lot more likes on my posts. However, I think success is all about how you perceive yourself and I’m proud of what I’ve achieved over on this little app and most importantly I love the network of like-minded people that I’ve discovered and the friendships which I’ve formed with fellow interior lovers, new mums, and recently new neighbours within my new neighbourhood.

As of today, I’ve got approximately 39,800 followers, I’ve posted 626 times, and I follow around 2,000 people. I’ve collaborated with over twenty of my all-time favourite brands from John Lewis to West Elm and to baby and kids brands like Stokke and Sleepyhead and I also have a @Houselust pinterest account which is linked to both my Instagram and blog and has over 300,000 views a month, and I do this all on the side of my full time job, looking after my two year old and whilst renovating our new home- The rat house.


My Journey

So, let’s go way back to the beginning. It was January 2016 and after months of deliberating a name for my blog I set up www.Houselust.co.uk – which is this website that you’re reading this on today. A month later I set up my Instagram account @Houselust in the same name.

 The purpose of my blog was to document our home renovation, do home tours, publish interior shopping guides and talk about what was trending in interiors. Coming from a fashion and trend forecasting background and having a passion in interior design it was something I had wanted to do for a while but after having an encouraging chat with my brother in law – a fellow Blogger I thought I’d give it a go.

I guess my point here is my blog came first and I set it all up with absolutely no expectation of earning any money, getting any freebies or working with any brands.

If you want to earn a quick quid or get a free footstool, then maybe your intention is all wrong.

But if you’re here for the community and you’ve you’ve decided on that Instagram page name, set your page to PUBLIC, then off you go….

*Footnote* Someone once moaned to me about not being offered any brand collaborations and their page was actually set to private. …! DUH!


Culture

My first advice to anyone wanting to make a success of an Instagram page is to remember that the Instagram world is a community.  You have to nurture it and give time to it like you would with any real friendships.

You must engage. ENGAGE, ENGAGE, ENAGE. What that means is, comment, like, share and basically spend a lot of time on your phone talking to fellow instagramers. When you post – tell a story, take people on a journey. Be sincere. If you’re already halfway through a renovation, don’t try going back to the beginning and pretending you’re in 2018 and have just got the keys. Start from now and take people with you on the journey of how you got to that pink wall that you currently have in your lounge. Perhaps you relocated, had a baby. It’s a network of over sharers, and although you can be on it and be anonymous, people like to be nosey and personally I’ve found that people like it when you open up. It can feel a little invasive, but again this is one of those things that comes with being an ‘instagrammer’.

 I’d also mention that if you’re trying to run several Instagram accounts all at the same time; perhaps all as a hobby – maybe one in fashion, one in interiors or a business and you have a full time job, I’d suggest just focusing on the one and make a success of that first. Unless this is your full-time job and you can sit on your phone a lot and create fresh content every day and engage with all the different people on your accounts.

 I built up my following slow and steady, gaining 6,000 followers over the course of the first two years and then in 2018 I had a baby and I hit a turning point.

Timings of when to post

I never knew there was a formula to Instagram, and maybe there isn’t, but what I discovered from being on Instagram A LOT in 2018 after having Otis is that you have to post at certain times of the day.

In the old glory days of Instagram, you could post at any hour of the day and your friends would see your posts in chronological order, so they never missed your latest post. Then Instagram mixed it up and introduced the algorithm and this changed the Instagram world as we all knew it.


My key times to post are…  

Monday – Friday - 6.00am-8am and 5pm- 8pm.

Weekends are a bit different as people get up later and anything really goes.

Obviously, this doesn’t have to apply if you have over a million followers and if your reach is global. But if your demographic is predominately in the UK then I’d try following this guide.

 It actually makes complete sense because ‘most’ people are at work during the day, so you’re aiming to capture those who have just woken up and looked at their phone and are looking for fresh content to accompany them on their daily commute – we’re like modern pocket pals.

There are also some instagrammers who will post TWICE in one day. Posting strategically 12 hours apart. These will of course help you beat the algorithm, but it’s a lot of work and you don’t want to overdo it on your followers unless the content really is good and doesn’t look spammy strategic and turns people off.


Content

This leads me onto the most important point to help you grow your Instagram account- The content.

Invest in a decent camera, lighting system, editing software on your laptop or the newest apple iPhone because old wonky photos won’t cut it. Don’t shoot in the dark unless you’re trying to show some ambience/ candle lit dinner and spend time editing photos if you need to. Airbrush out your bedside light cables, the dust a mark under your sofa, because even though people like real life, if you’re promoting a beautiful home, no one wants to see a tea stain on your bedding and the biscuit crumbs on your rug- unless you’re pitching it as a slummy mummy type account, then go for it :)


Hashtags

You get 30 hashtags, so use them! There are plenty of sites out there which will tell you what the latest trending hashtags are or look at what other people are using. Most importantly make sure you use ones which are relatable to the image in question.


Hardwork

If I haven’t put you off and you’re still here reading this then well done for sticking with me. I hope if anything I’ve made you realise that it’s not all easy peasy. Nothing is for free, but hardwork can pay off and you can make a ‘success’ of your own page if you put the hours in. 

In Summary…

Don’t have any expectation otherwise it won’t look natural and organic. I once read a post from an instagrammer moaning about not being offered any freebies. Her tone was all wrong and she lost hundreds of followers overnight, as I and many others immediately realised why she was here. She wasn’t here to make new friends or get DIY advice, but to be offered some free cushions and new bedding. Likewise, if you do get offered the odd freebie – which is super flattering and is a lovely thing to happen, be aware that nothing is for ‘free’ and in exchange you will have to promote the ‘gift’ and if you want to increase your engagement showing pictures of a free candle won’t necessarily have people tuning in and commenting, so be selective.

And MOST importantly, have fun with it and if you take away one thing from this it’s that you should just be you and be kind to others.

MYTIPS FOR MAKING A *SUCCESS* OUT OF INSTAGRAM

6 SIMPLE HOME CLEANING RECIPES YOU CAN CONCOCT IN THE KITCHEN

Image credit: The appliance judge.

Image credit: The appliance judge.

Nowadays, there’s loads of commercially available home cleaners that can be conveniently purchased in stores with no issues. Unfortunately, these products also contain a lot of toxic chemicals and hazardous substances. More and more people are becoming aware that these chemical cleaners are dangerous to our health in the long run, and many more people have made the switch to using homemade cleaning products that are organic and safe to use.

The US National Center for Health Statistics has discovered that one in three people suffers from ailments such as allergies, asthma, bronchitis, or sinusitis. Some chemical-based cleaners have been found to trigger these conditions. Unfortunately, these common cleaning agents are still widely used, especially since manufacturers are not required to list down all the ingredients they use.

Here are some homemade cleaners that can be made using ingredients found in the kitchen:

All-Purpose Cleaner

  • 1 part white vinegar

  •  1 part water

  •    Rosemary sprigs

  • lemon rind

Mix all the ingredients together and pour into a spray bottle. Shake the bottle to mix thoroughly. Make the mixture more potent by leaving the bottle untouched for a week to allow the ingredients to steep before using it.

The solution can get rid of hard water stains and wall smudges. It can also clean trash cans and most surfaces.

Clothing Stain Remover

  • 1 gallon hot water

  • 1 cup regular liquid chlorine bleach (avoid ultra or concentrate)

  • 1 cup powdered dishwasher detergent

Take precaution when using this DIY home cleaning recipe because it should only be used as a last resort on badly stained white clothes. Use bowls that are made of plastic, stainless steel, or enamel. Avoid aluminum bowls because it reacts with chlorine.

The clothes may be soaked in the prepared solution for 15-20 minutes. Once done, check if the stain is still in the garment. If it is already removed, wash the item regularly.

6 SIMPLE HOME CLEANING RECIPES YOU CAN CONCOCT IN THE KITCHEN

Disinfectant Wipes

  • 1 cup water

  • ¼ cup white vinegar

  • 8 drops Eucalyptus essential oil

  • 8 drops Tea Tree oil

  • 8 drops lemon essential oil

  • Old t-shirt or dish towels, cut into squares

 Mix all the liquid-based ingredients thoroughly before pouring into an empty container with the cut cloth squares placed inside. It helps to reuse an empty container so it is easy to pull out the cloth for use anytime.

 Homemade cloth disinfectant wipes are economical and environmentally friendly because they can be reused several times. There is no need to waste paper towels because the cloth can be washed and dried and used anew.

Glass Cleaner


  • 2 cups water

  • ½ cup white vinegar

  • ¼ cup 70% rubbing alcohol

  • 1-2 drops Orange essential oil (optional)

Windows and mirrors should be kept clean. The ingredients above can be mixed in a spray bottle to make a homemade glass cleaner. Apply the solution on the surface and use a paper towel or soft cloth to wipe.

 Remember that when using this solution, avoid cleaning windows on a hot, sunny day. The solution dries up too quickly and will leave behind lots of streaks.


Kitchen Cleaner and Deodorizer


  • 4 tbsp baking soda

  •   1 qt warm water


The insides of a refrigerator and surface of kitchen counters and appliances need to be cleaned periodically to stunt the growth of nasty bacteria and fungi. Fortunately, these microorganisms are no match for the mighty baking soda. Mix it with warm water to make stainless steel sinks and appliances shine.


The solution needs to be poured onto a clean sponge before wiping the surface. The mixture also has a deodorising effect.

Liquid Dish Soap


  • ¼ cup warm distilled water

  •   2 tsp kosher salt

  • ½ cup white vinegar

  • 1 tsp lemon juice

  • ½ cup Dr. Bronner's Sal Suds

  • 10-15 drops lemon essential oil (optional)


In a container, combine water with salt until dissolved completely. Use another bowl to mix the vinegar, Sal Suds, and lemon juice. Pour into the water-salt mixture and stir until it becomes thick.

What to Do With These Recipes

Making home cleaning supplies saves time and money because you no longer have to go to the supermarket. You can whip up a batch or two quickly just as long as all the ingredients are available. Apart from being convenient and cheap, these recipes may also be used to sell items online and start a business.

Creating your own organic home cleaning recipes helps ensure that the products are safe for animals and humans.  

Do you have a favourite home cleaning recipe that you love to use? Feel free to share it in the comments

MY FIVE WAYS TO SAVE MONEY WHEN BUYING CARPET

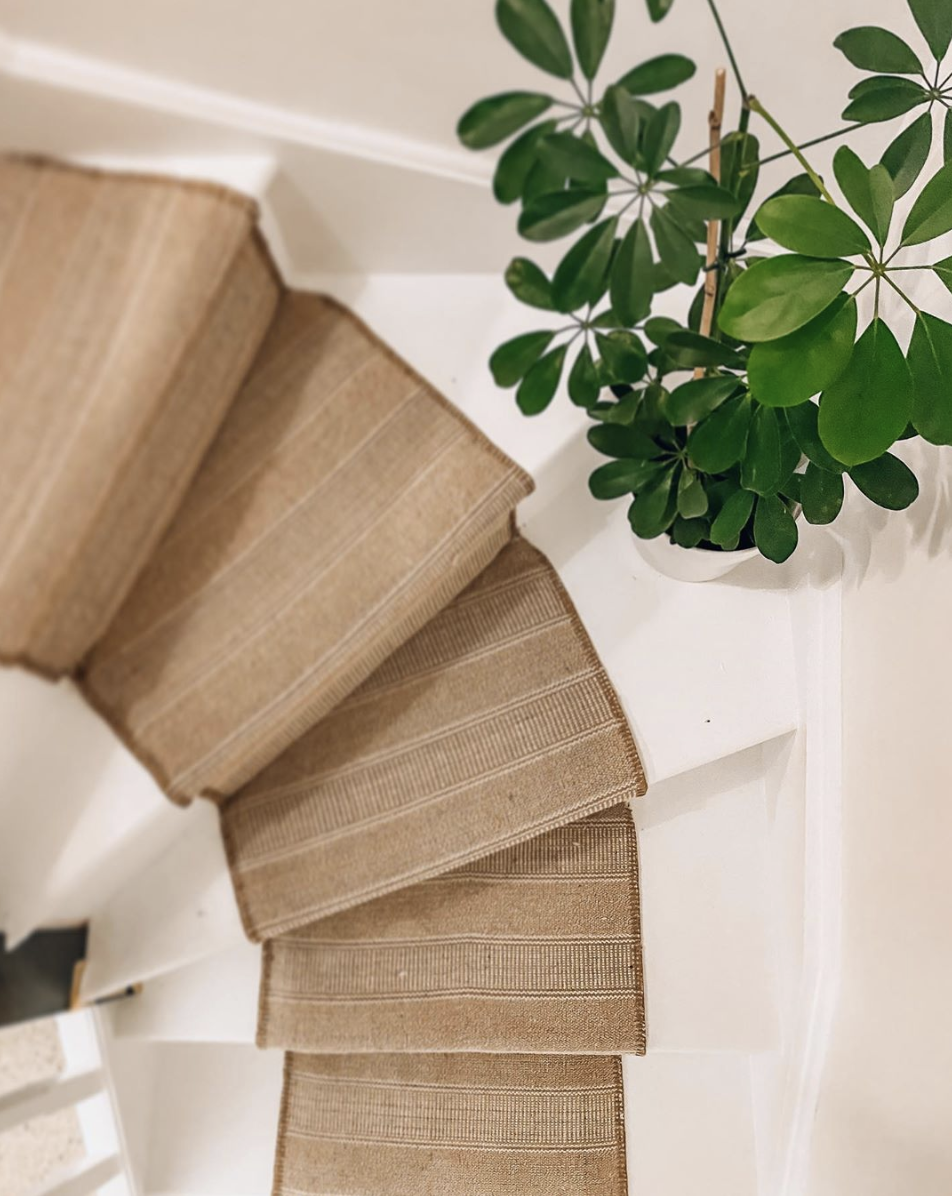
Image Credit : A black and white stripe carpet runner with yellow whipping in the home of Sandra @The_idle_hands

Image Credit : A black and white stripe carpet runner with yellow whipping in the home of Sandra @The_idle_hands

I know I’m still a while off the finessing stage of Rat House. Choosing paint colours, carpets, rugs, cushions and wallpapers, not forgetting my glazed ceramic vase collection to faff with. Oh, how I miss the styling part. I can’t even begin to tell you how excited I am for that stage to come, but I know it will be here before I know it.

Now the only problem is… will we actually have any money left for all the fun things like carpets, paint and wallpaper? I was advised to budget for 15% extra of the agreed quote, but two weeks in and our architect has already added in extra steels in the structural drawings which are slowly eating into this budget.

I am determined not to live without these things and to make Rat House as homely as quickly as possible, so I’ve been looking at ways to save money, starting with the carpet.

I used to have a jazzy carpet runner down our staircase, but this got destroyed by hundred years’ worth of thick black dust when we converted our loft, and we never replaced it once we finished the renovation. Instead, we lived with raw stairs which echoed every time we walked up and down and meant you could never walk past our son’s bedroom quietly without waking him.

So, this time a carpet stair runner is high on my list of must-have items. But the carpet is usually quite pricey isn’t it, meaning we’ll have to wait a while to afford it. Well, actually no…

Image credit: Pinterest

Image credit: Pinterest

Today I’m going to talk you through my top tips for saving money when buying carpet and the rules that I’m going to live by when choosing my own.

  1. Rip up the old carpets/ flooring yourself. I know it sounds obvious but ripping up your own carpet or old flooring and disposing of it safely yourself will save you £££. Most large carpet retailers will charge for the privilege, so just do it yourself.

  2. Move your own furniture. Again, this sounds so obvious, but honestly ask any carpet fitter and they’ll tell you they will charge to move your large pieces of furniture around the room to lay the carpet. It eats into their time, so don’t pay them to do something that you or your other half can do.

  3. Choose the right material. Consider your lifestyle and how much traffic an area will get. And think about if you’re likely to want to change it up in a few years. Natural fibres are lovely but can stain easier and can be more difficult to keep clean.

  4. Buy remnants. I recently discovered Designer-Carpet, an online carpet retailer which specialises in - you guessed it - designer carpet. But here’s where it gets exciting. They have some real bargains in their carpet remnants section. I always thought remnants and “off cuts” were the scraps that I could use for a box room, or for my dolls house floor (my dad used to actually cut me pieces of real carpet for my doll’s houses). But these remnants are a mixture of end of the line, discontinued carpets and surplus carpet rolls which didn’t make their intended journey but could be yours for a fraction of their recommended retail price. For example, you can buy a Brintons carpet for almost half the RRP price. Or get a luxury Kersaint Cobb sisal carpet for a fraction of their price. Plus, they’ll still give you the full customer treatment, and offer you whipping and framing options if you want to turn these remnants into stair runners or even a made-to-measure rug.

  5. Buy supply only and fit yourself (or find your own fitter). If you were to buy from an online retailer like Designer-Carpet they would offer you supply only, which means you can save money by finding your own fitter (search the National Institute of Carpet & Floorlayers directory for a fully accredited professional near you). Designer carpets will still help you with the measuring up etc to ensure you’re not over or under ordering for your space. 

I’ll be going through some more top money-saving tips throughout the Rat House Renovation, so do come back to see what else I’m trying to save money on.

Image credit: A natural fibre rug by Geri @overatno18

Image credit: A natural fibre rug by Geri @overatno18

** This post was sponsored by Designer-Carpet.co.uk. All thoughts and opinions are 100% my own. **