BATHROOM ACCESSORISING WITH SAINSBURY'S HOME

BATHROOM ACCESSORISING WITH SAINSBURY'S HOME

Ding dong, the builders have finally gone! The keys are back and the doors are locked. Am I sad to see them go? Errr... definitely not!

Finally, we can get back to some normality and I can get back to some serious blogging.

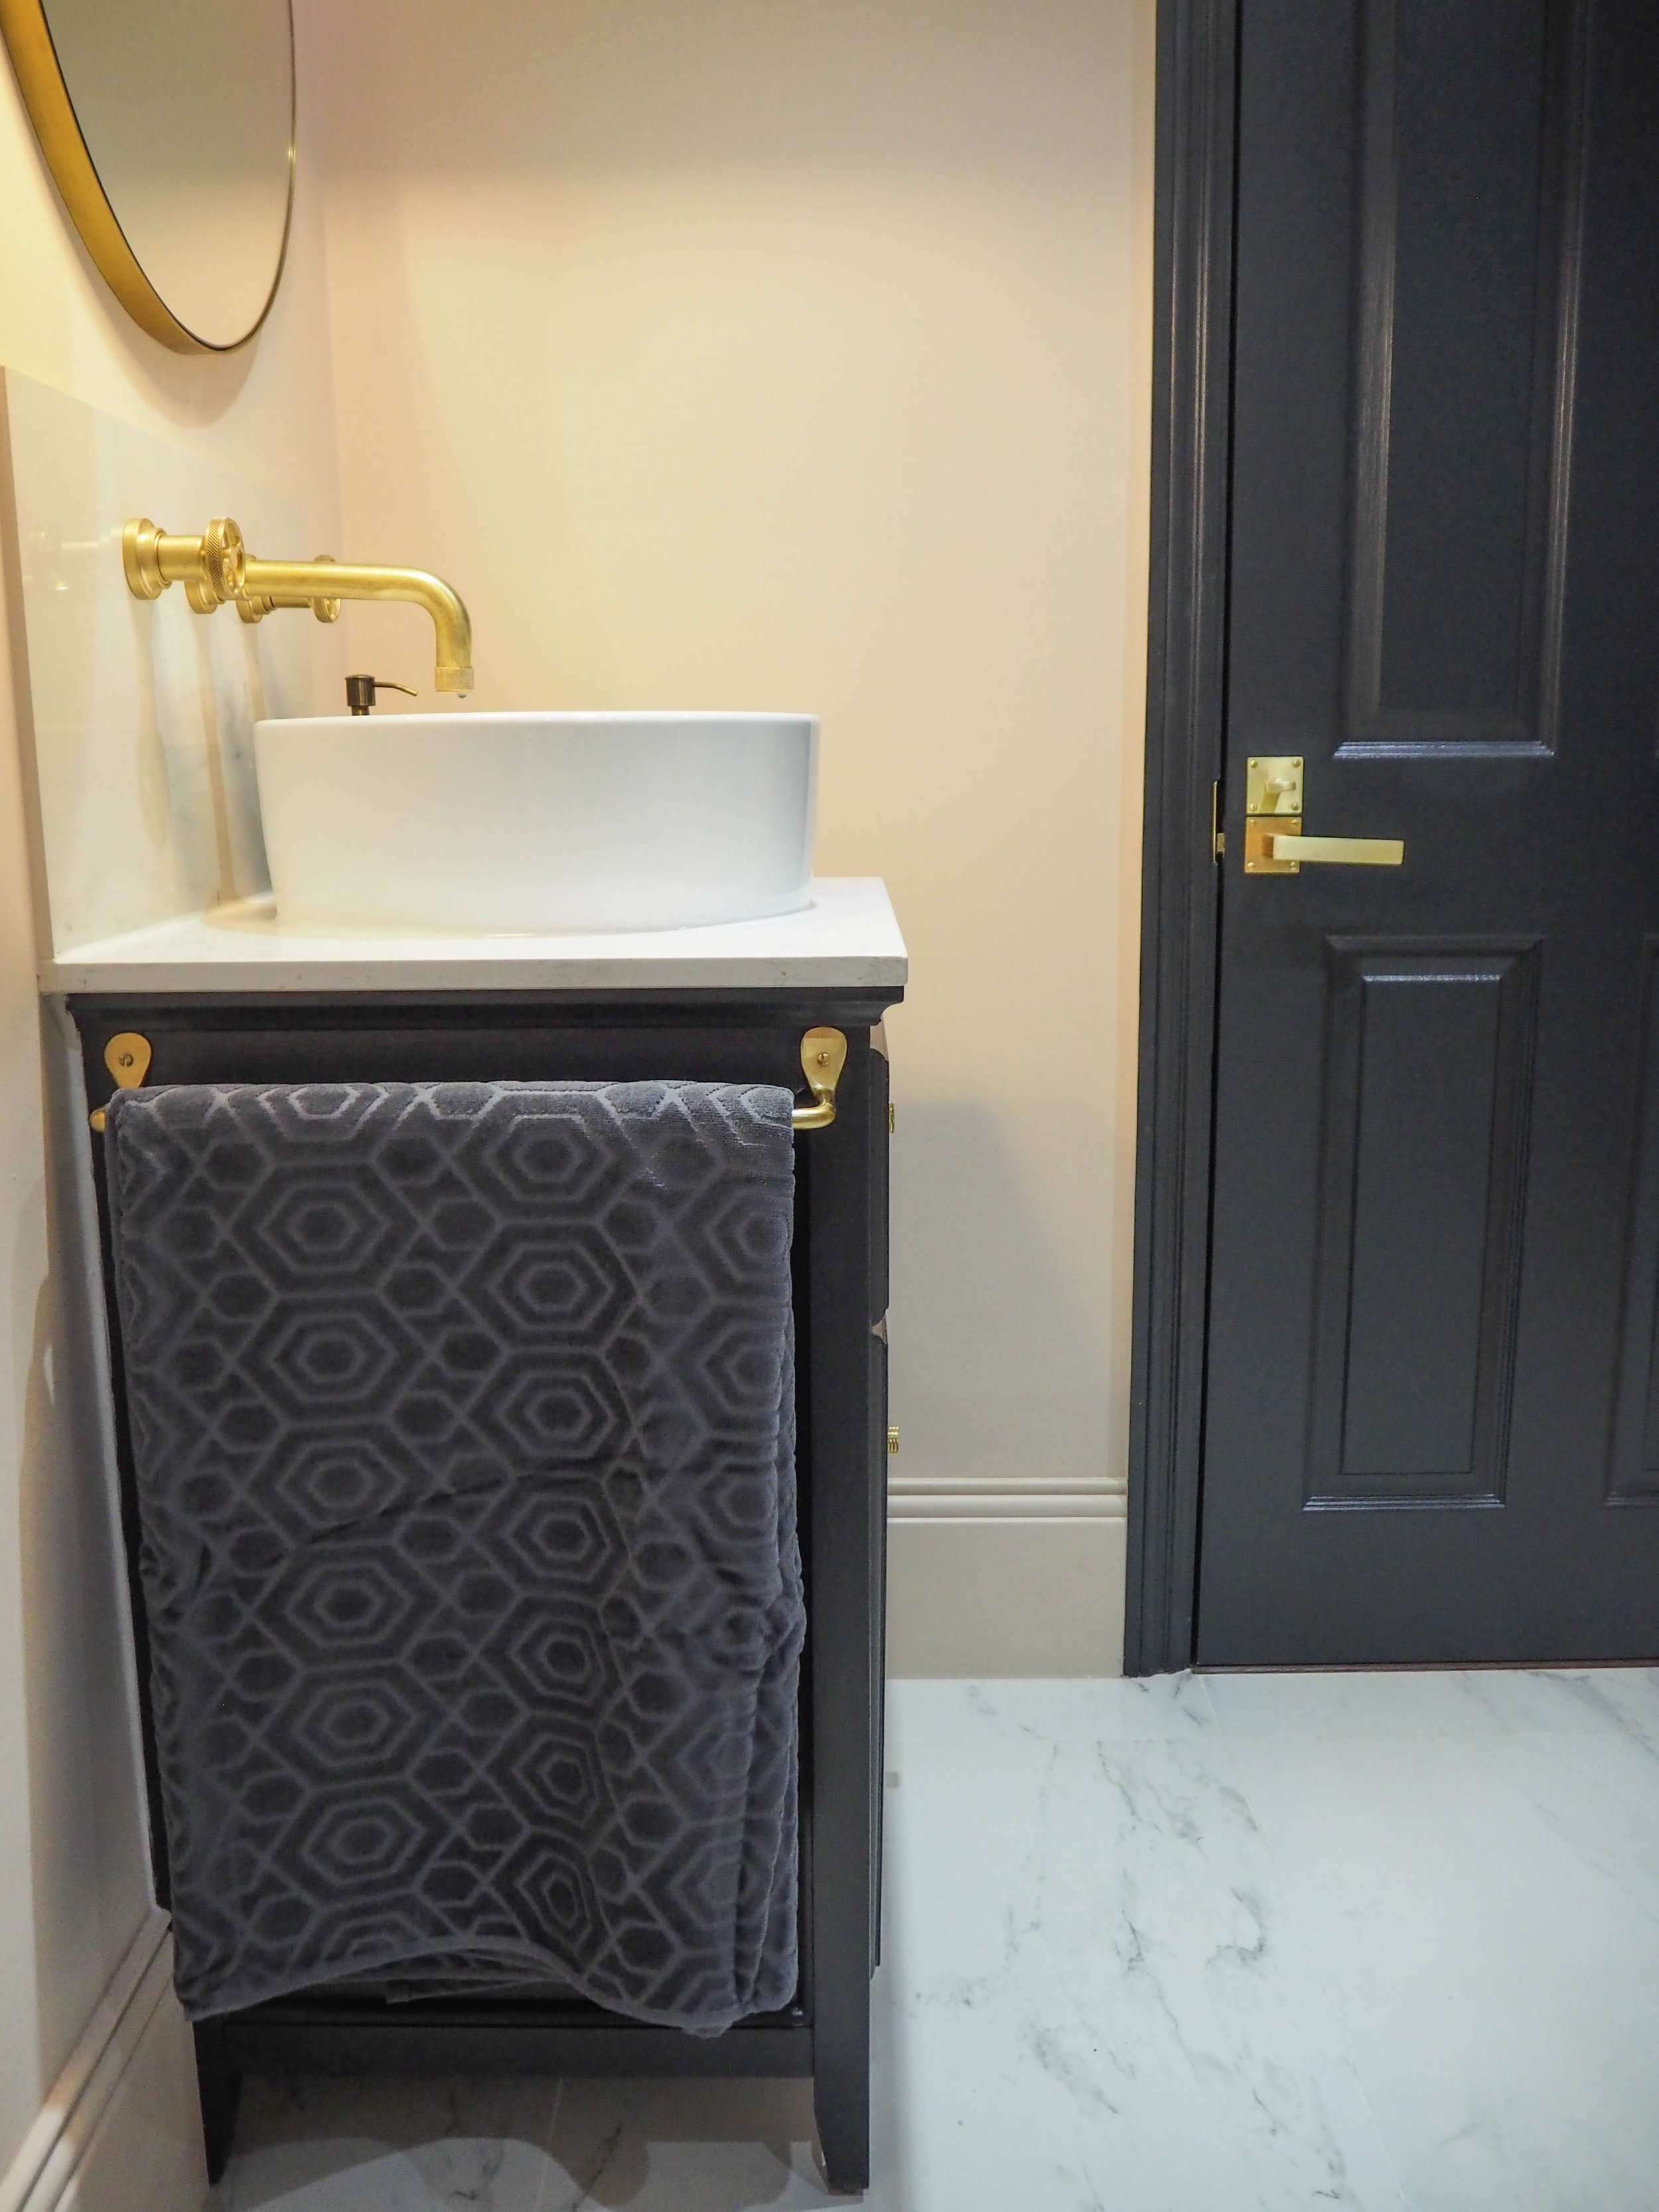
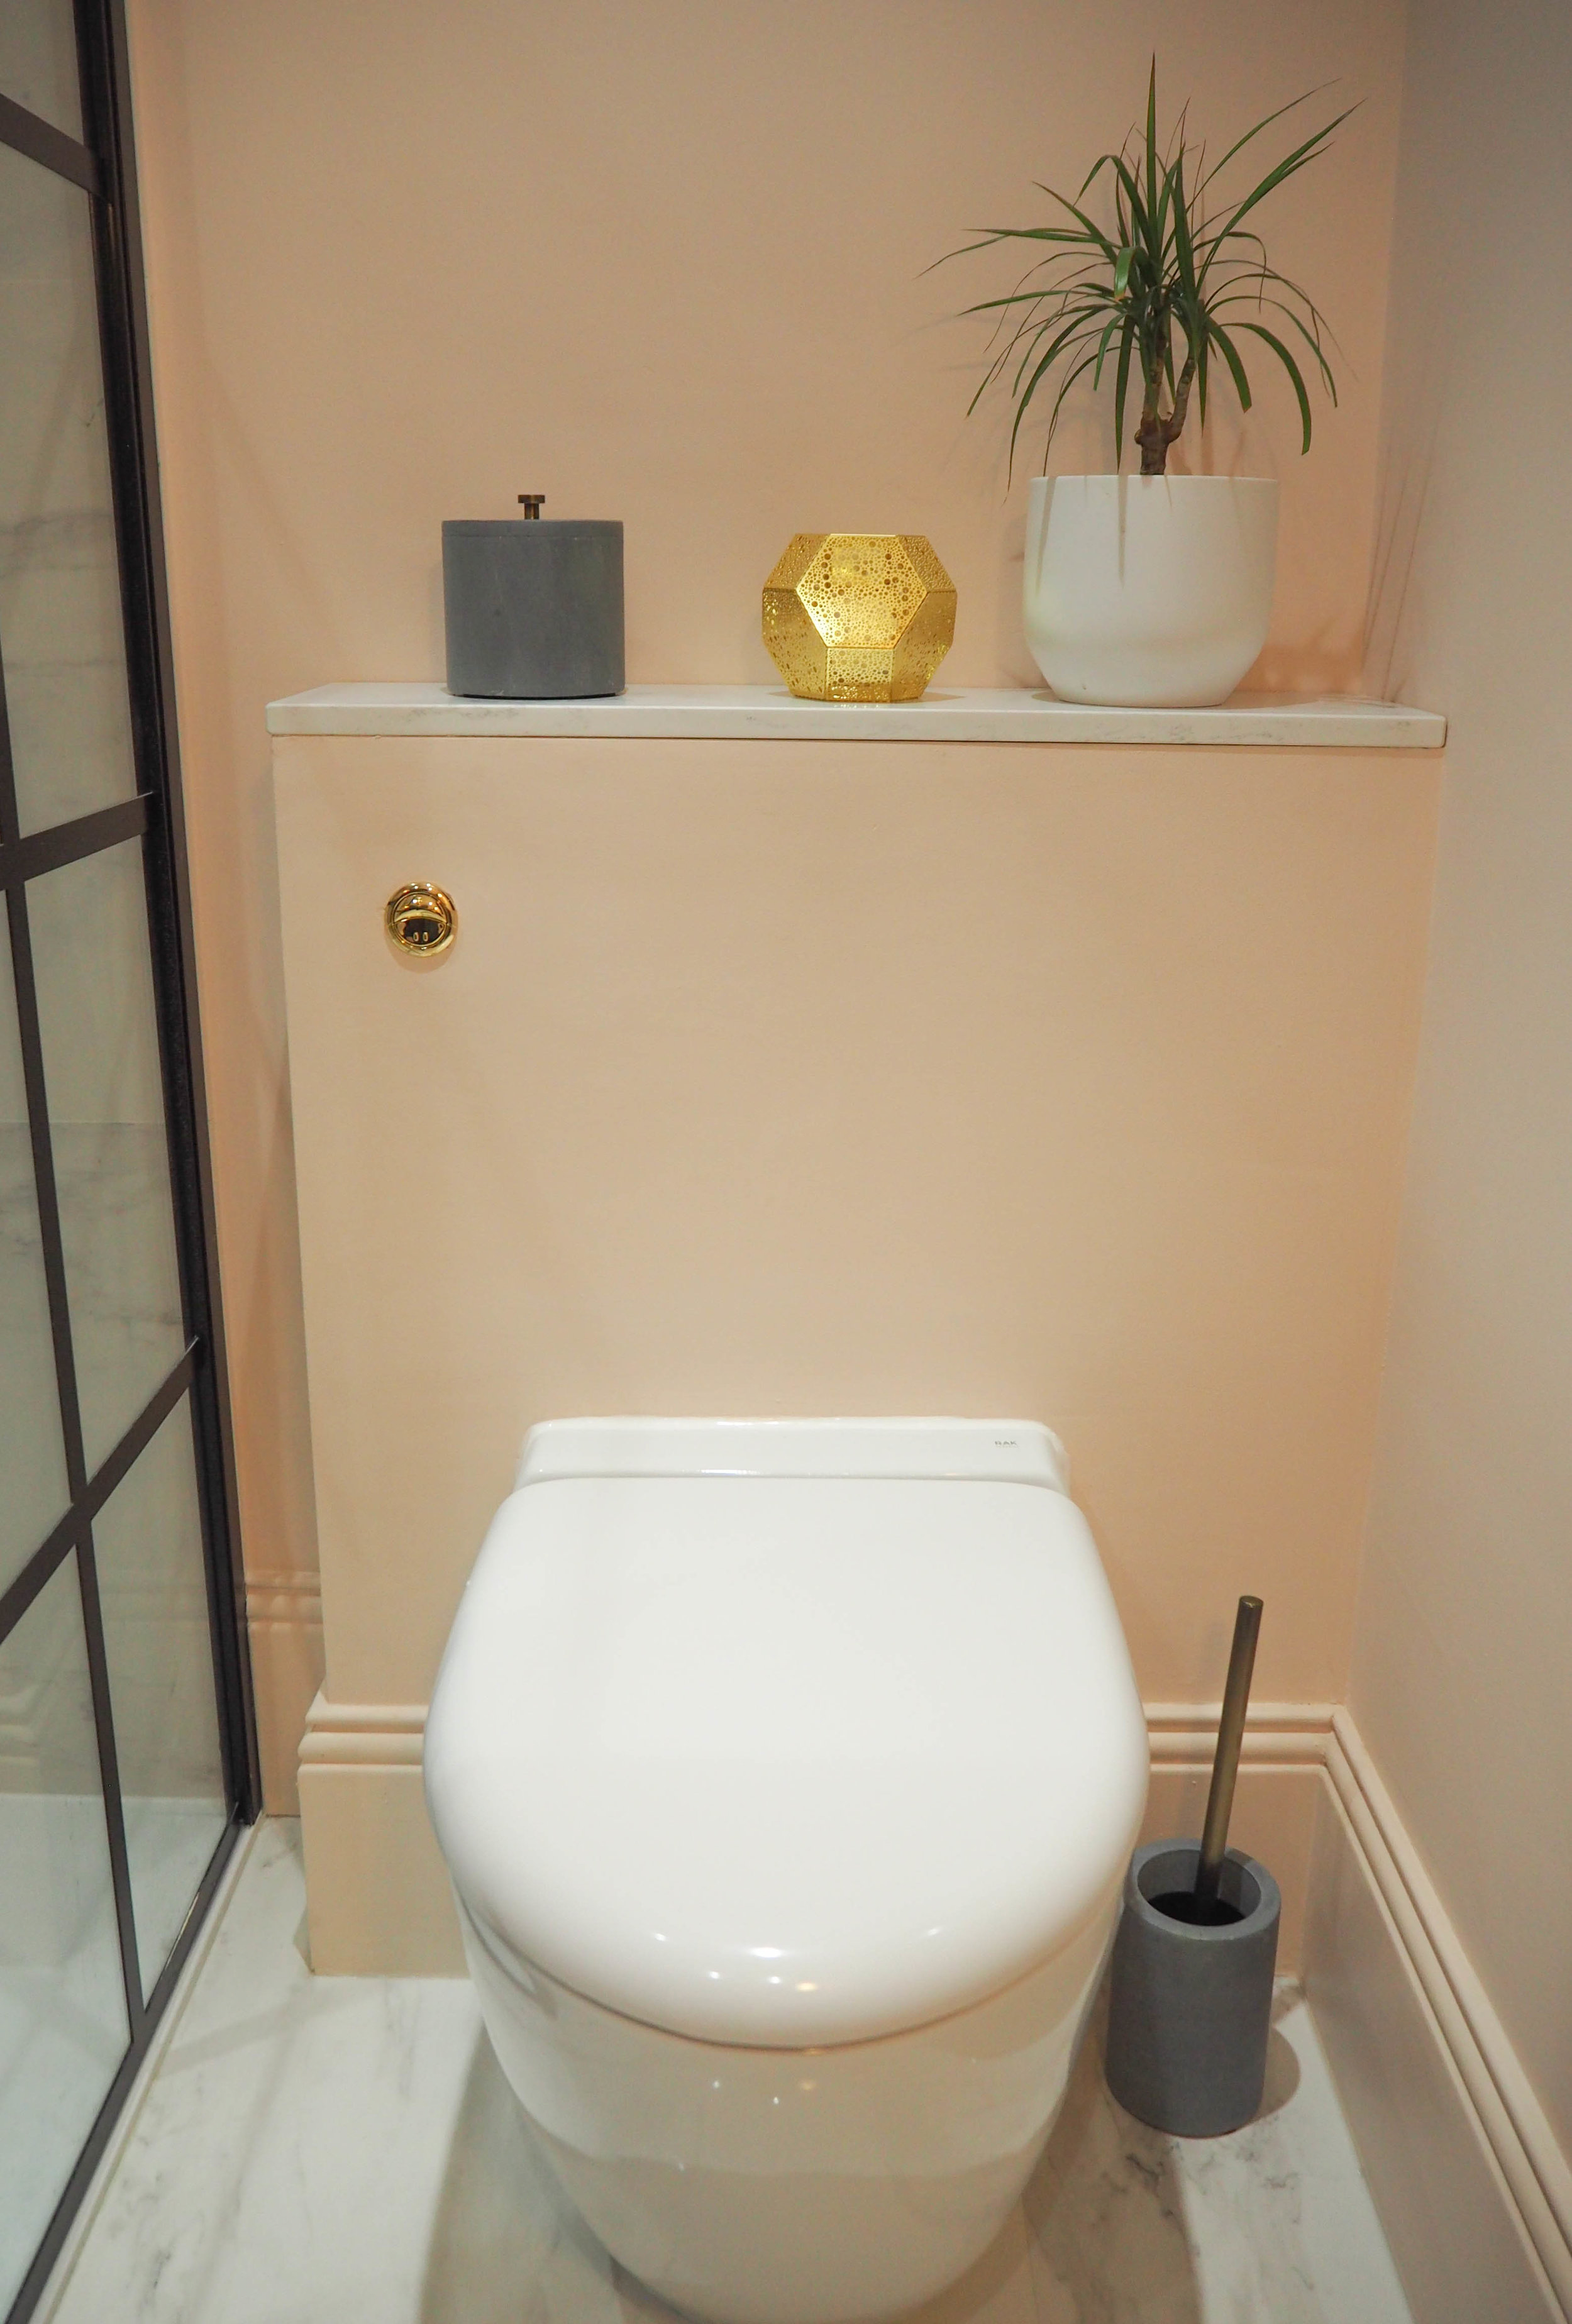
The bathroom is finally finished (I had to wait a month for my builder to fit the gold toilet flush), and I can finally get faffing!

With our budget mostly blown on the actual build, I have been looking at affordable ways I can accessorize our new bathroom without spending a fortune. Did you know that Sainsbury’s has a gorgeous and extremely well priced homeware range? Well I didn’t. It was only when the girls at work were telling me about their fab finds that I started getting major fomo and realised I needed to head straight to my nearest store (my nearest large Sainsbury's store is in London Colney).

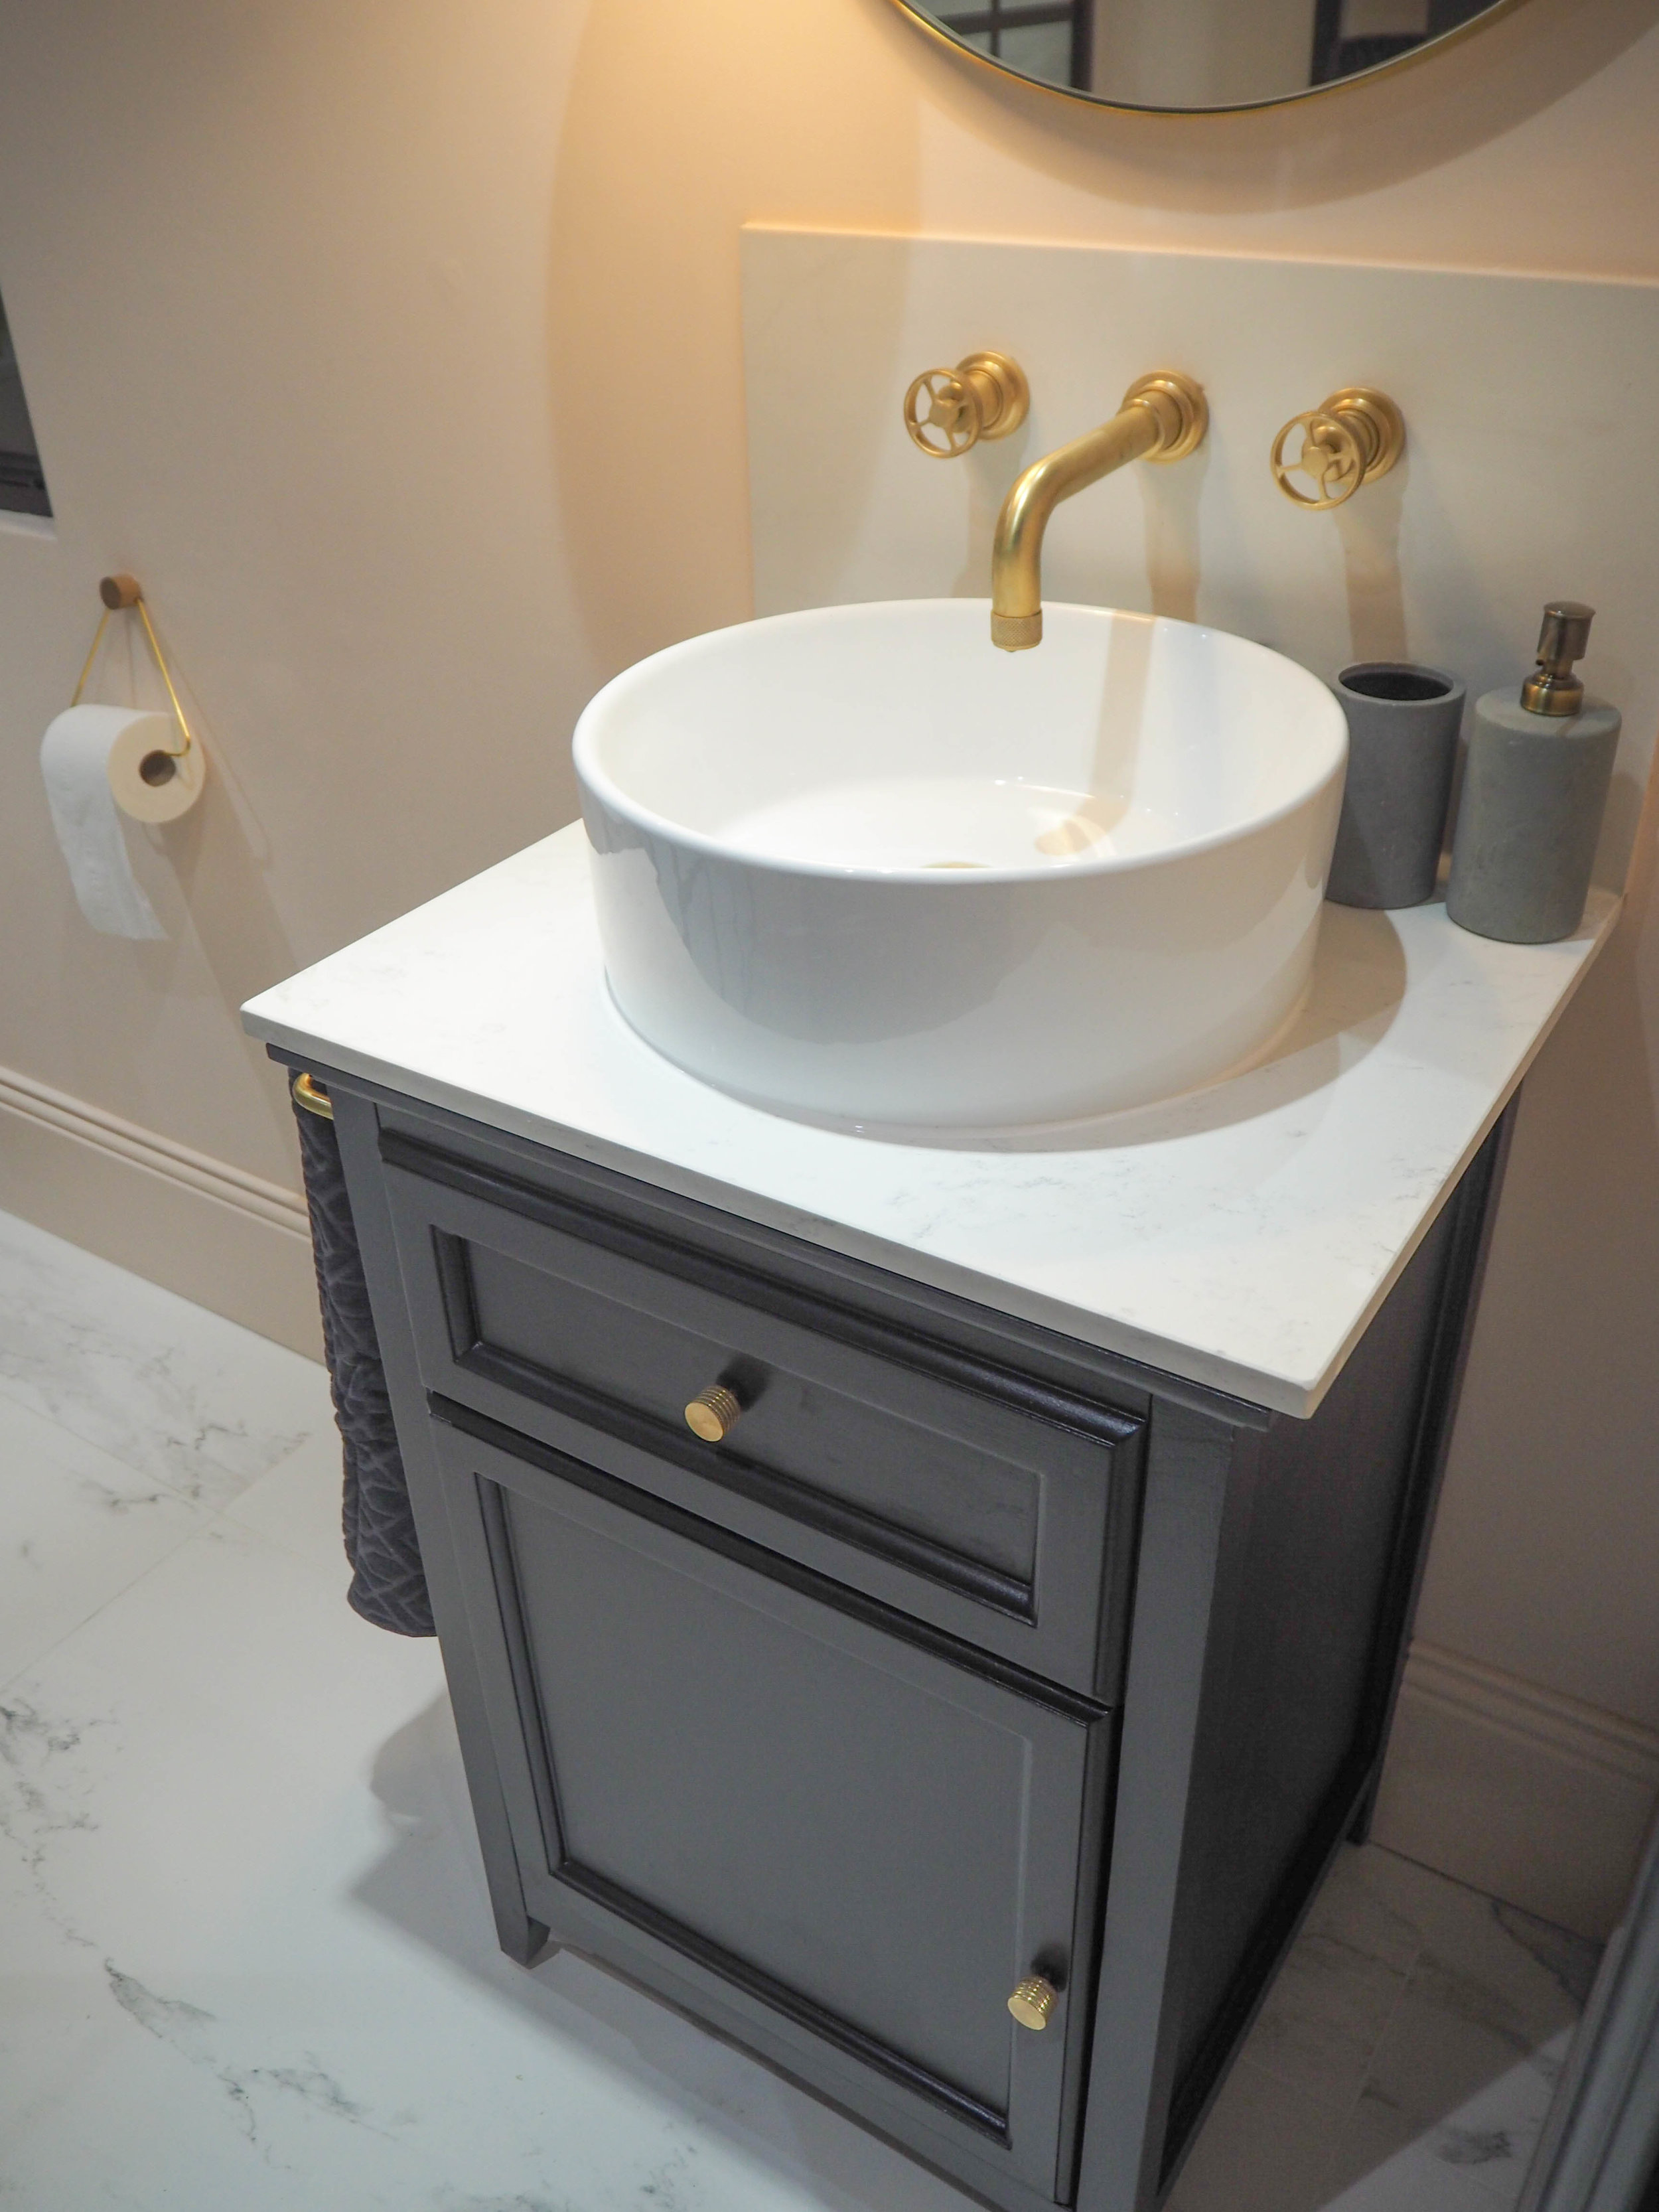
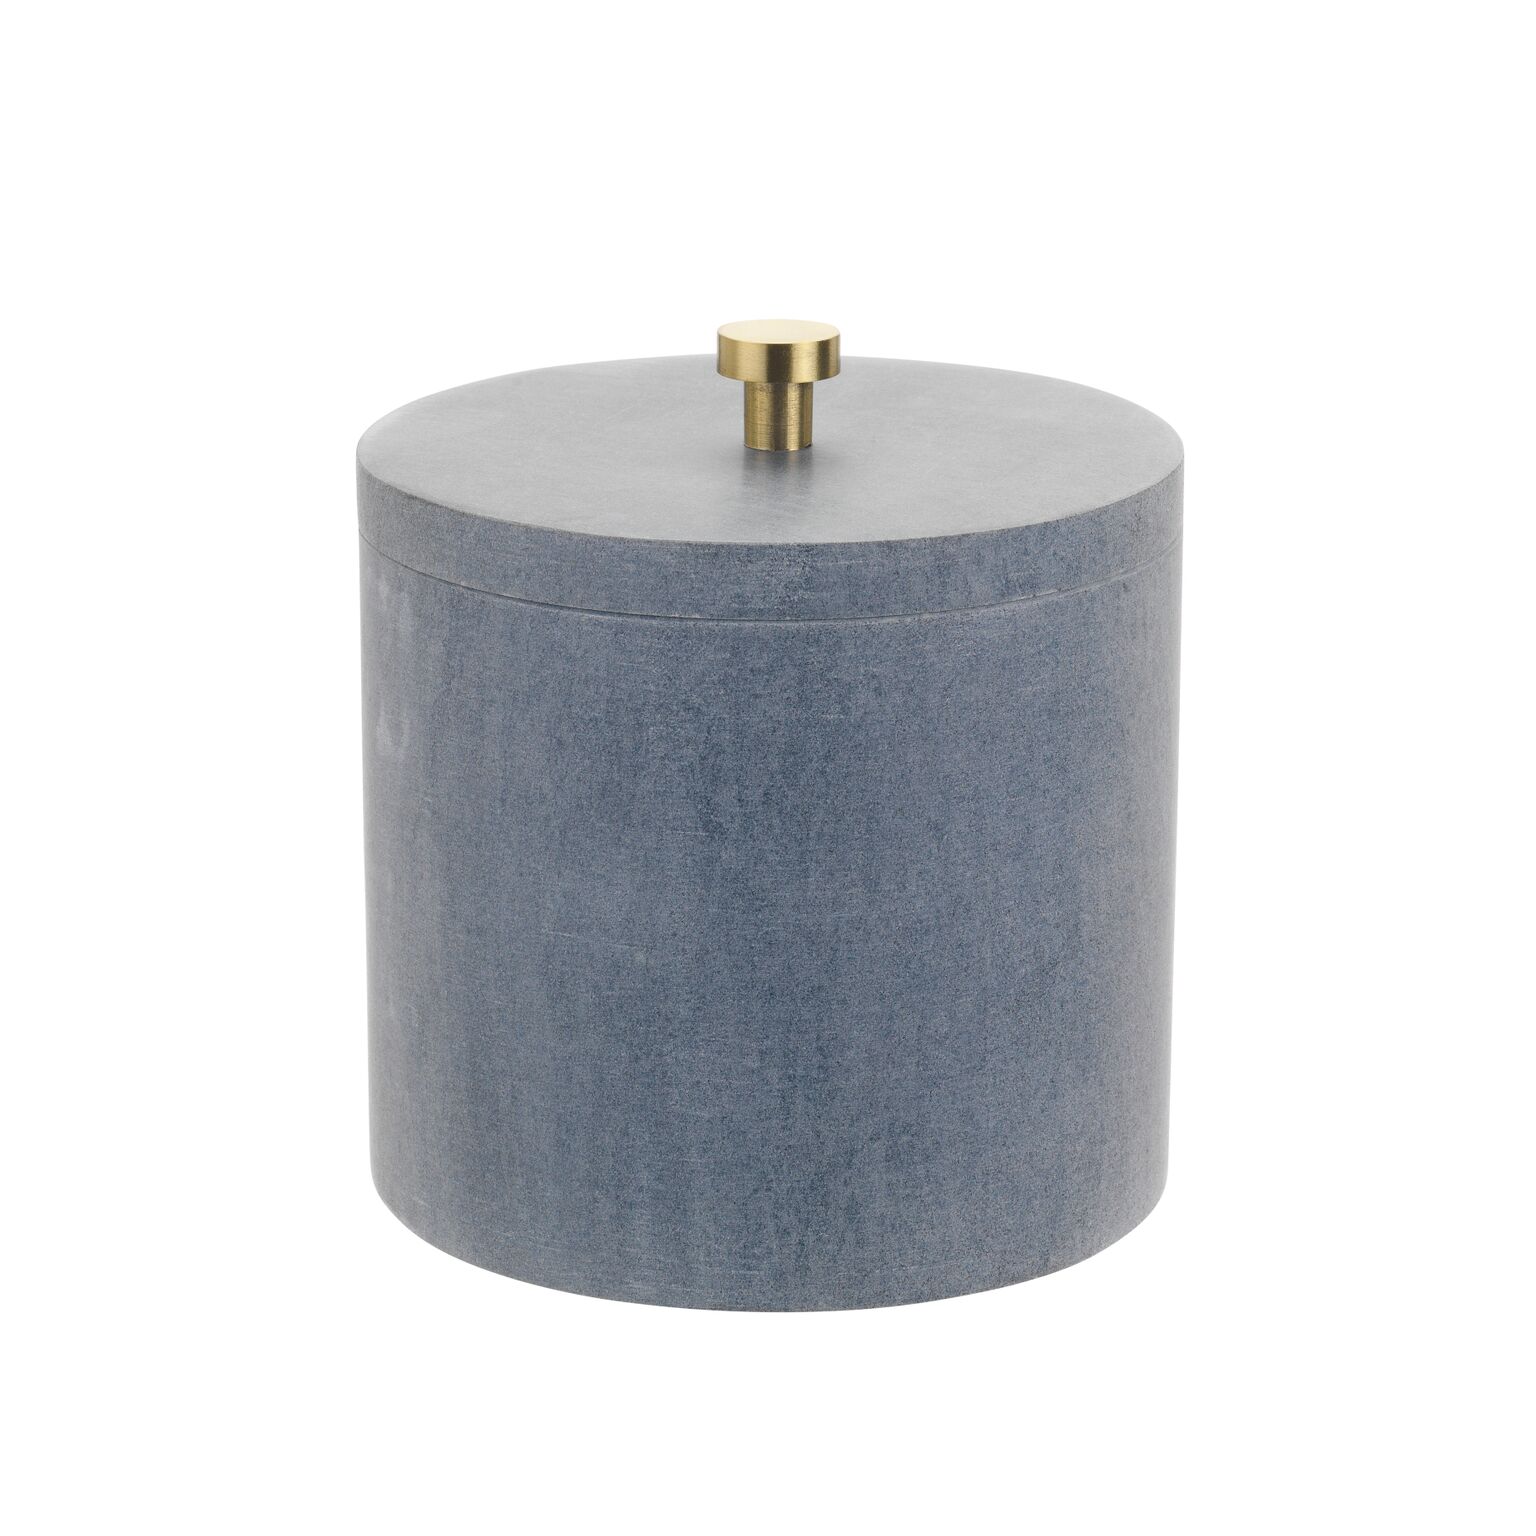
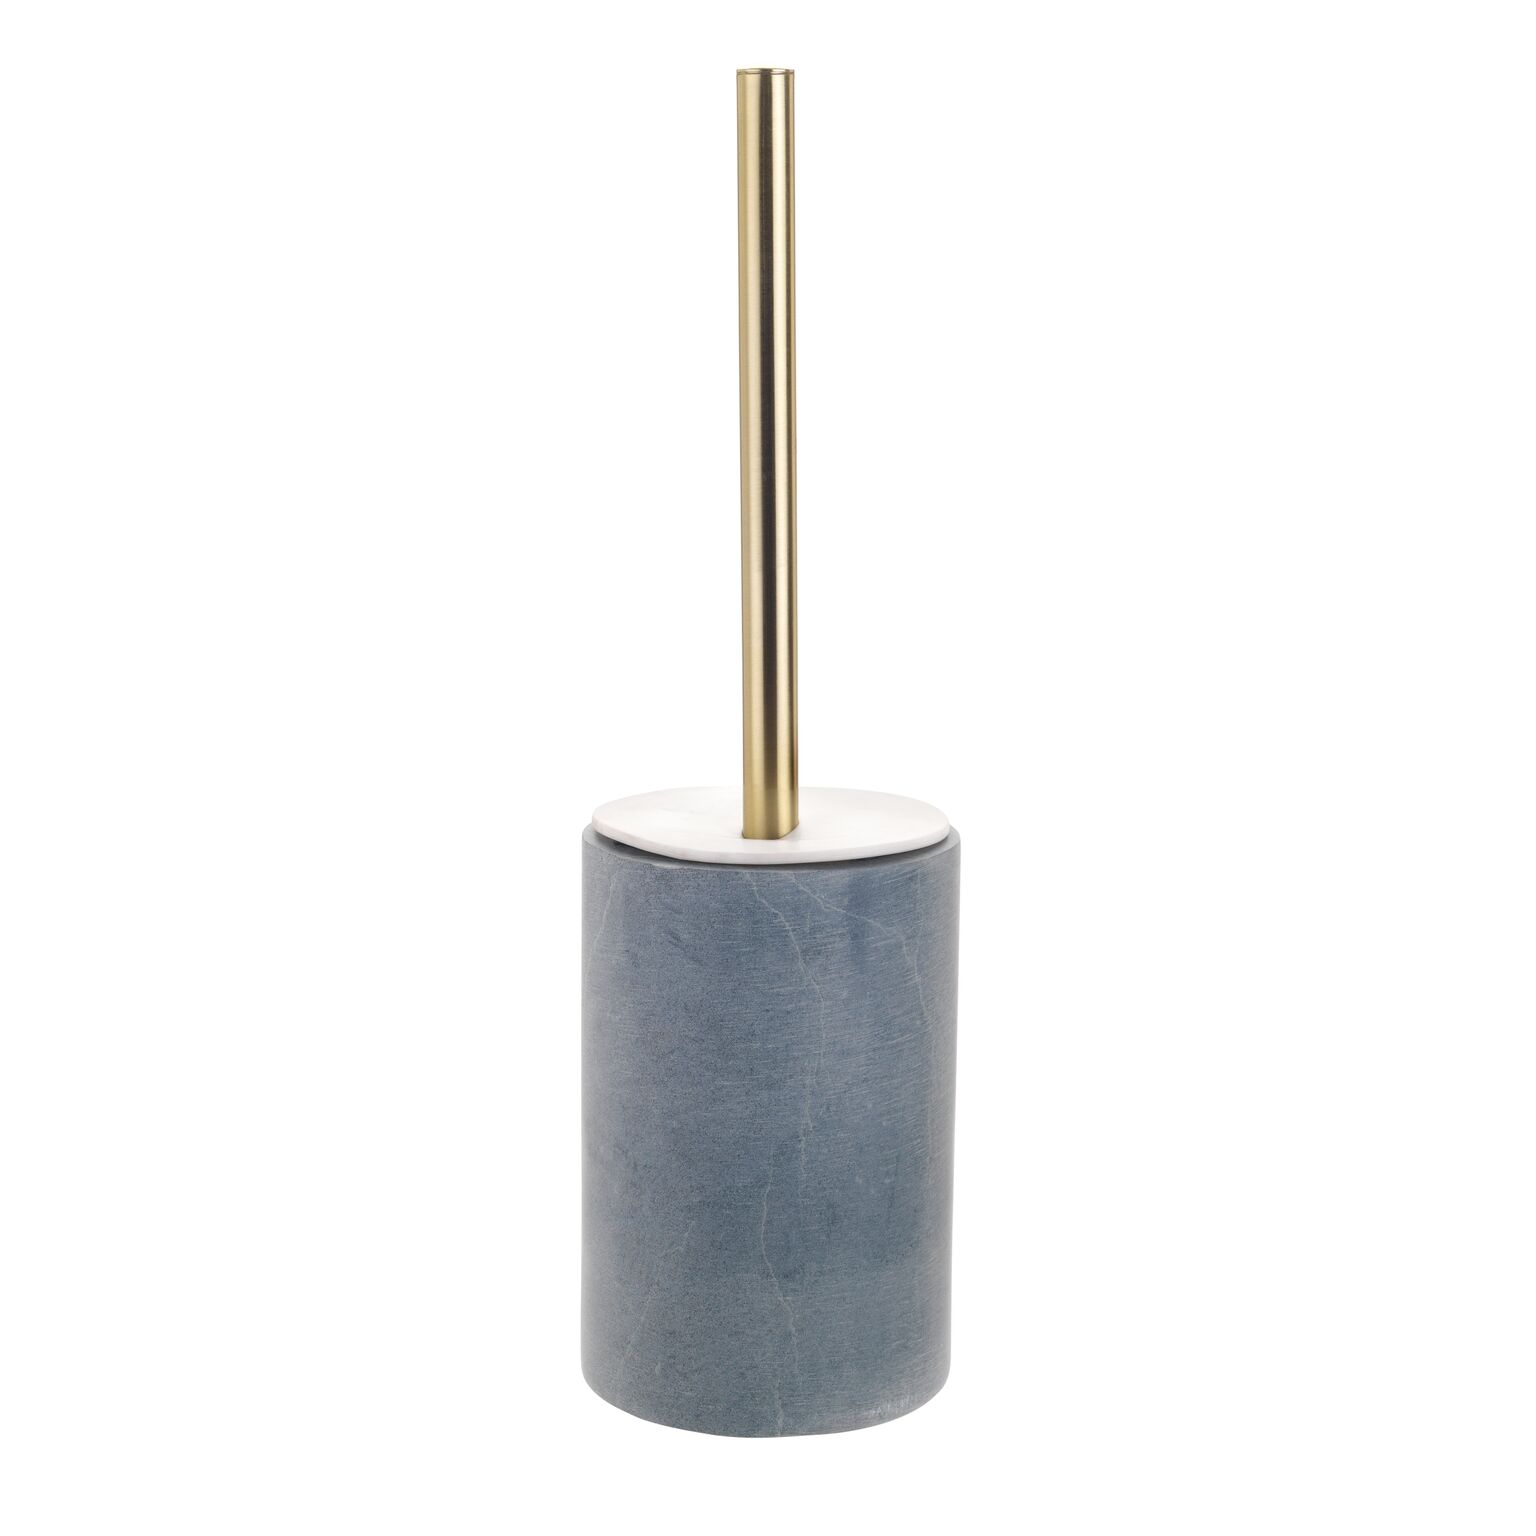
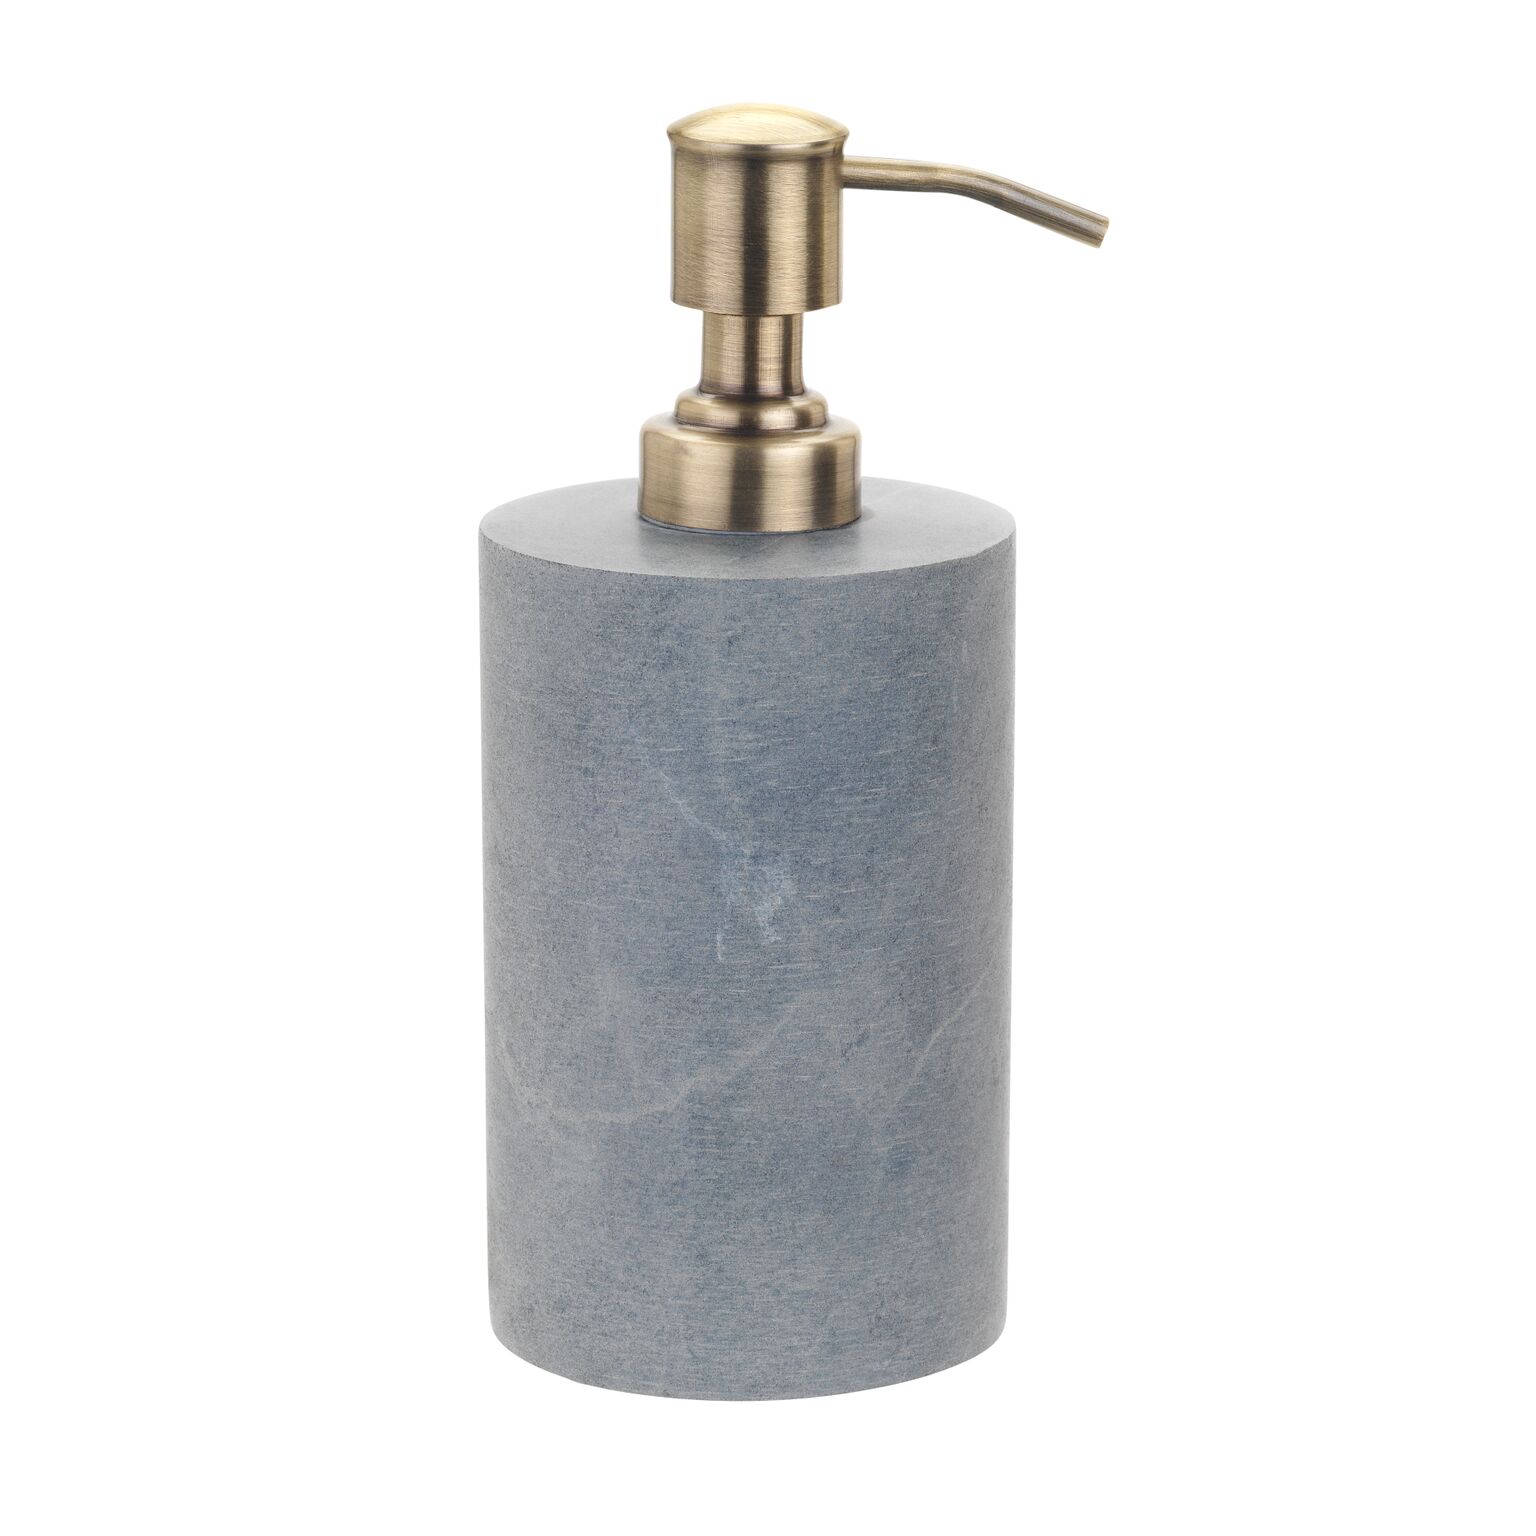
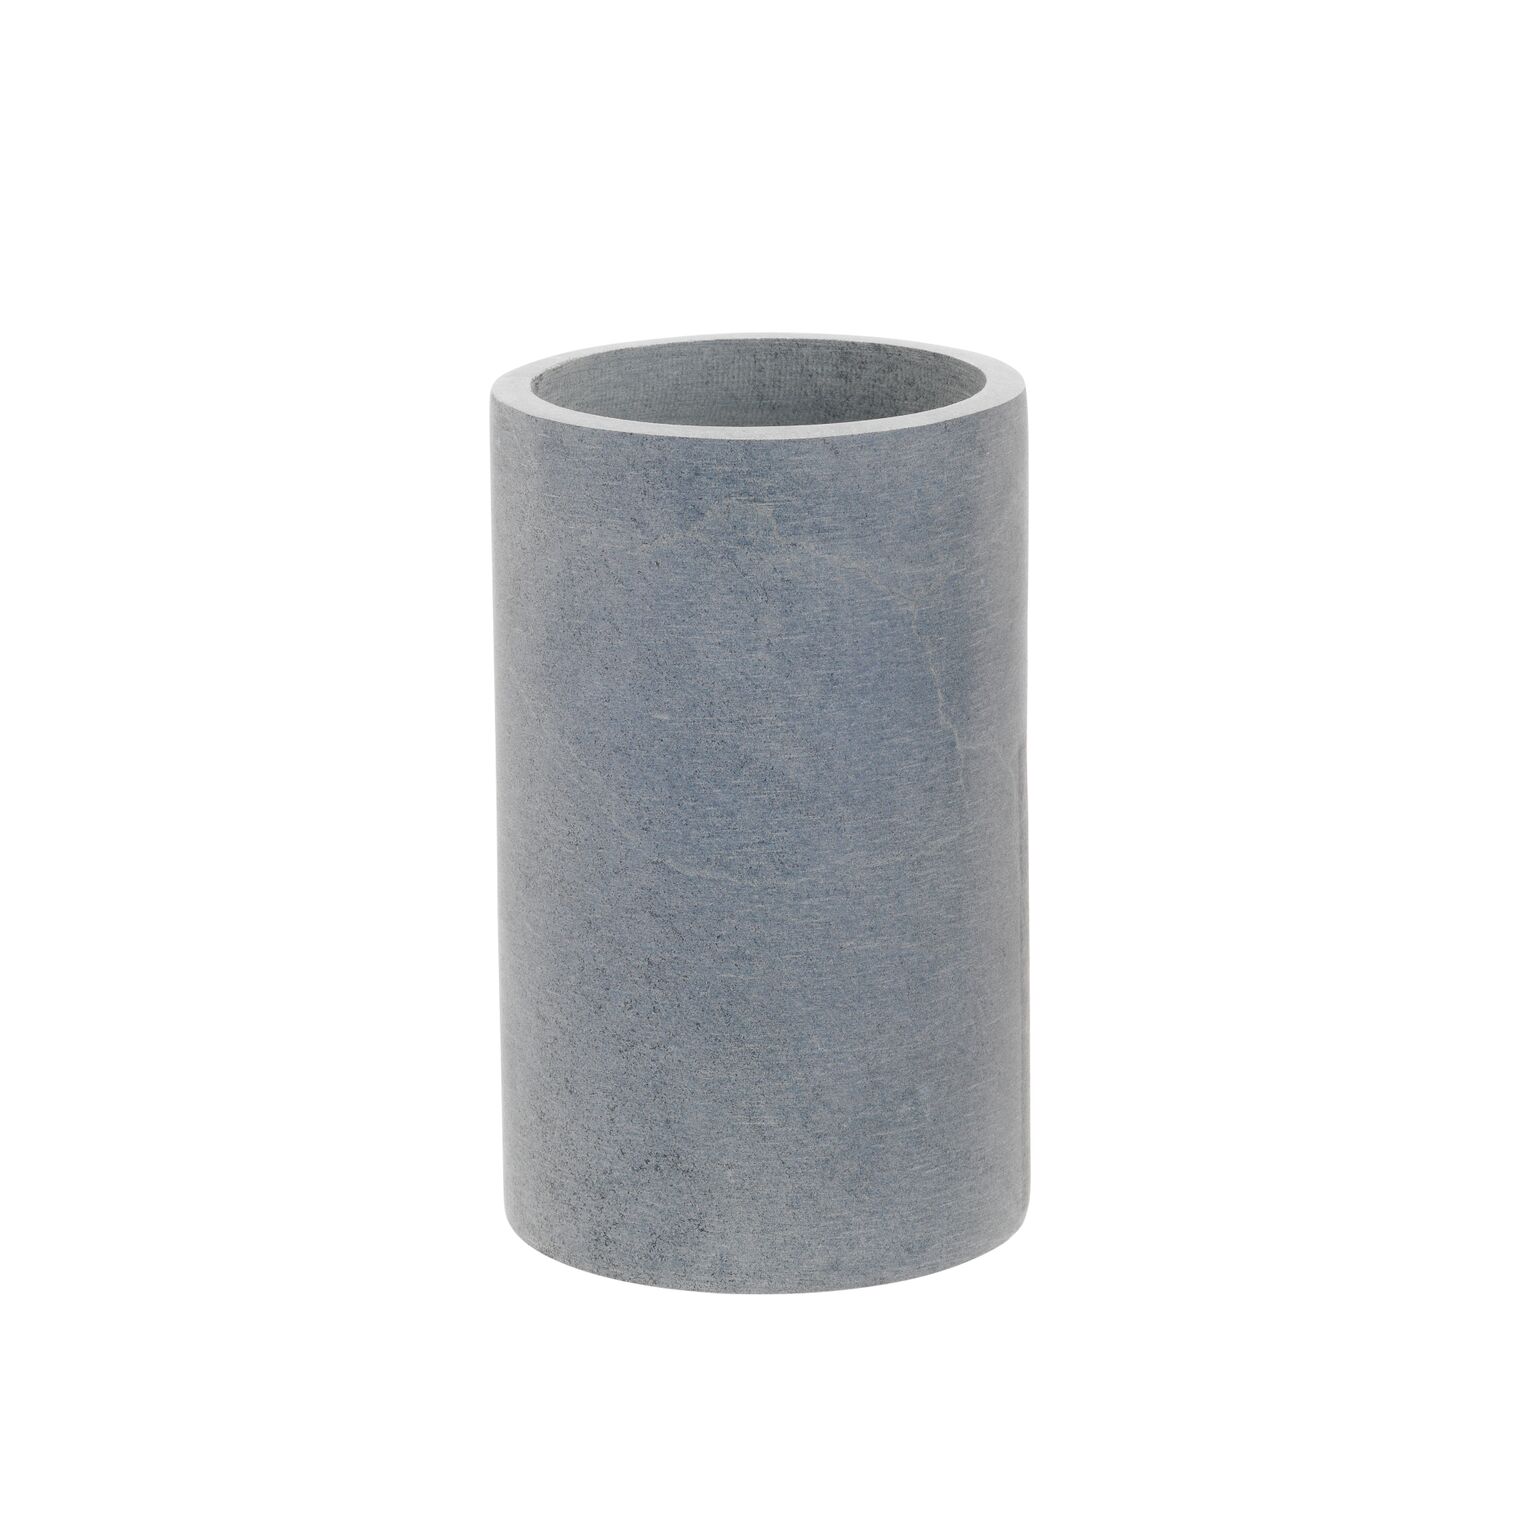
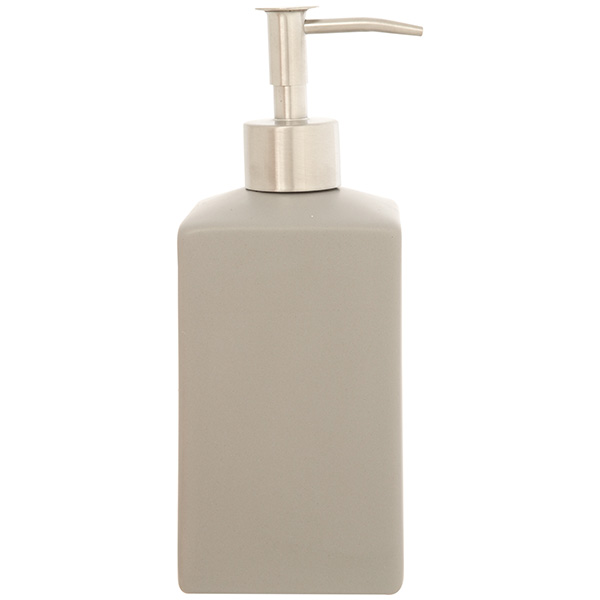
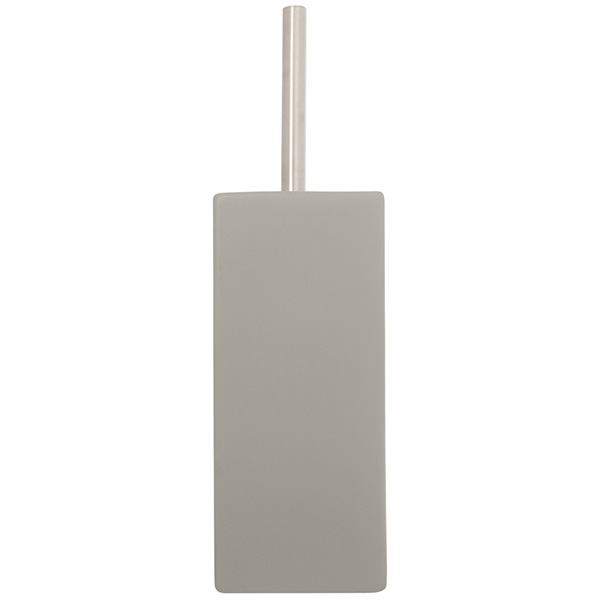
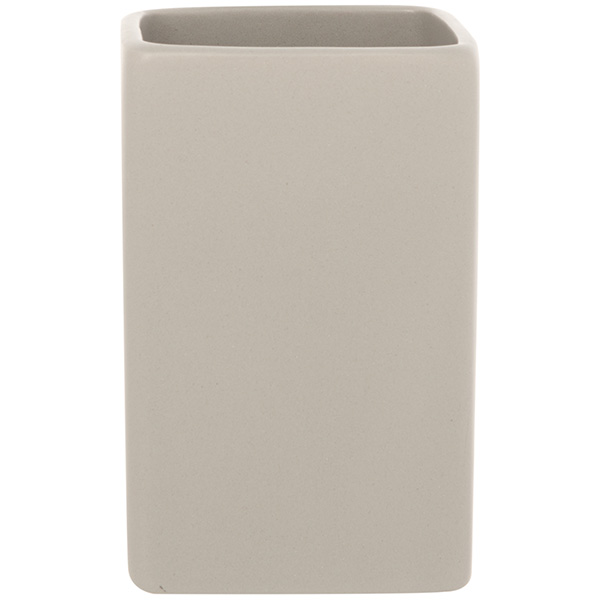
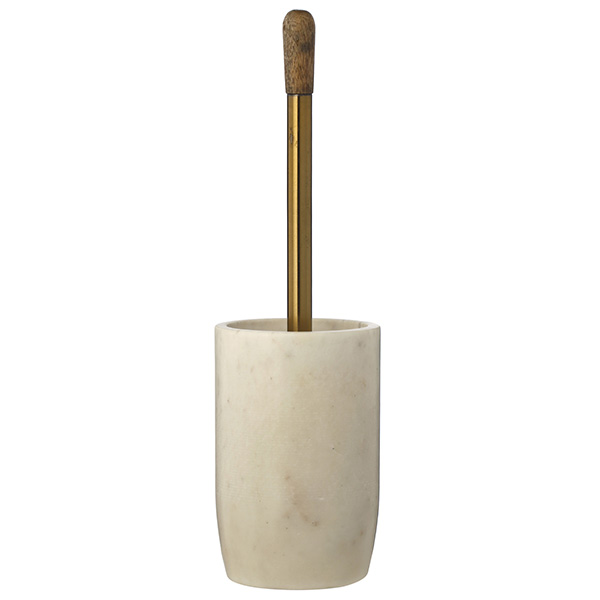
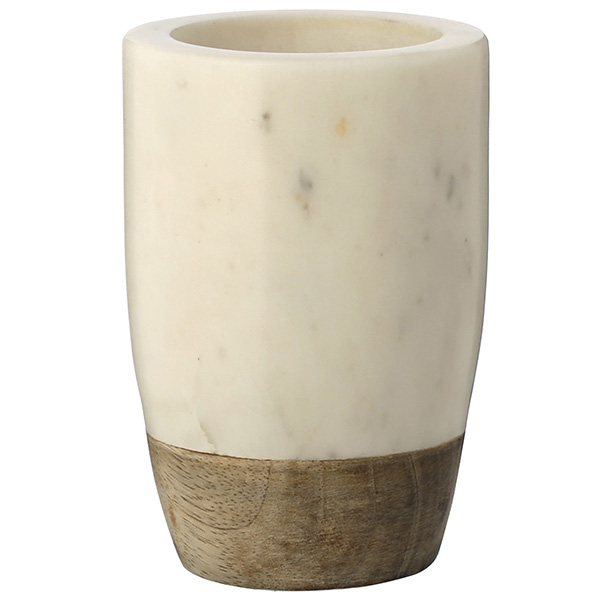
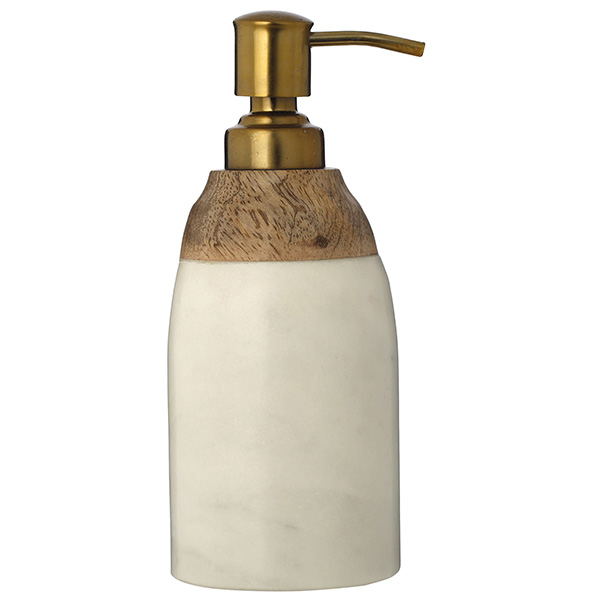
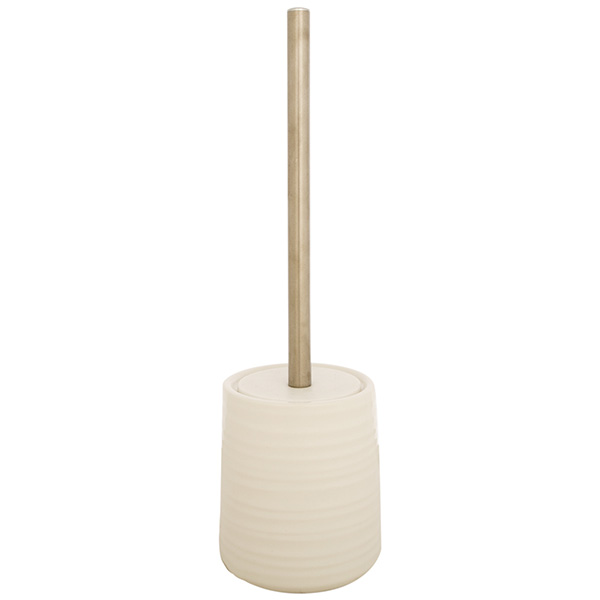
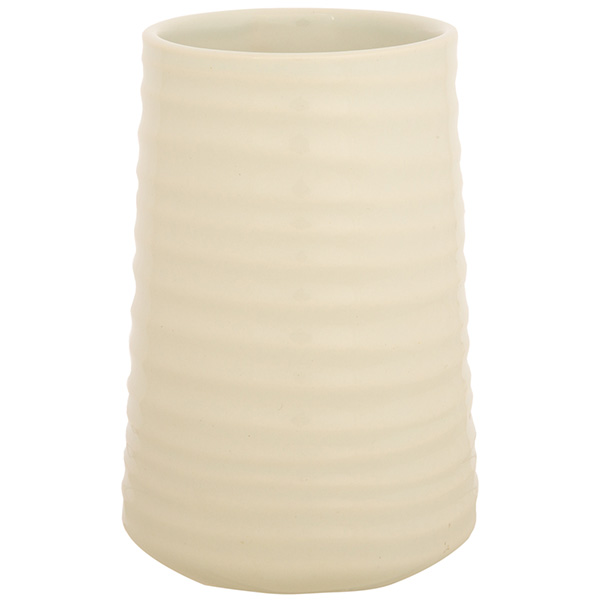
That’s where I found these gorgeous stone bathroom accessories; a Toothbrush holder (£10) , soap dispenser (£12), storage jar (£12) and a matching toilet brush (£20). I’ve never been so excited to buy a toilet brush holder before. Plus, all the metal trims on the stone bathroom bits are in brass so it’s right up my alley and gives my new pink bathroom an industrial edge. And if industrial isn't your thing then check out their other ranges. There's pretty much something for  everyone- just see for yourself below in my Get the look

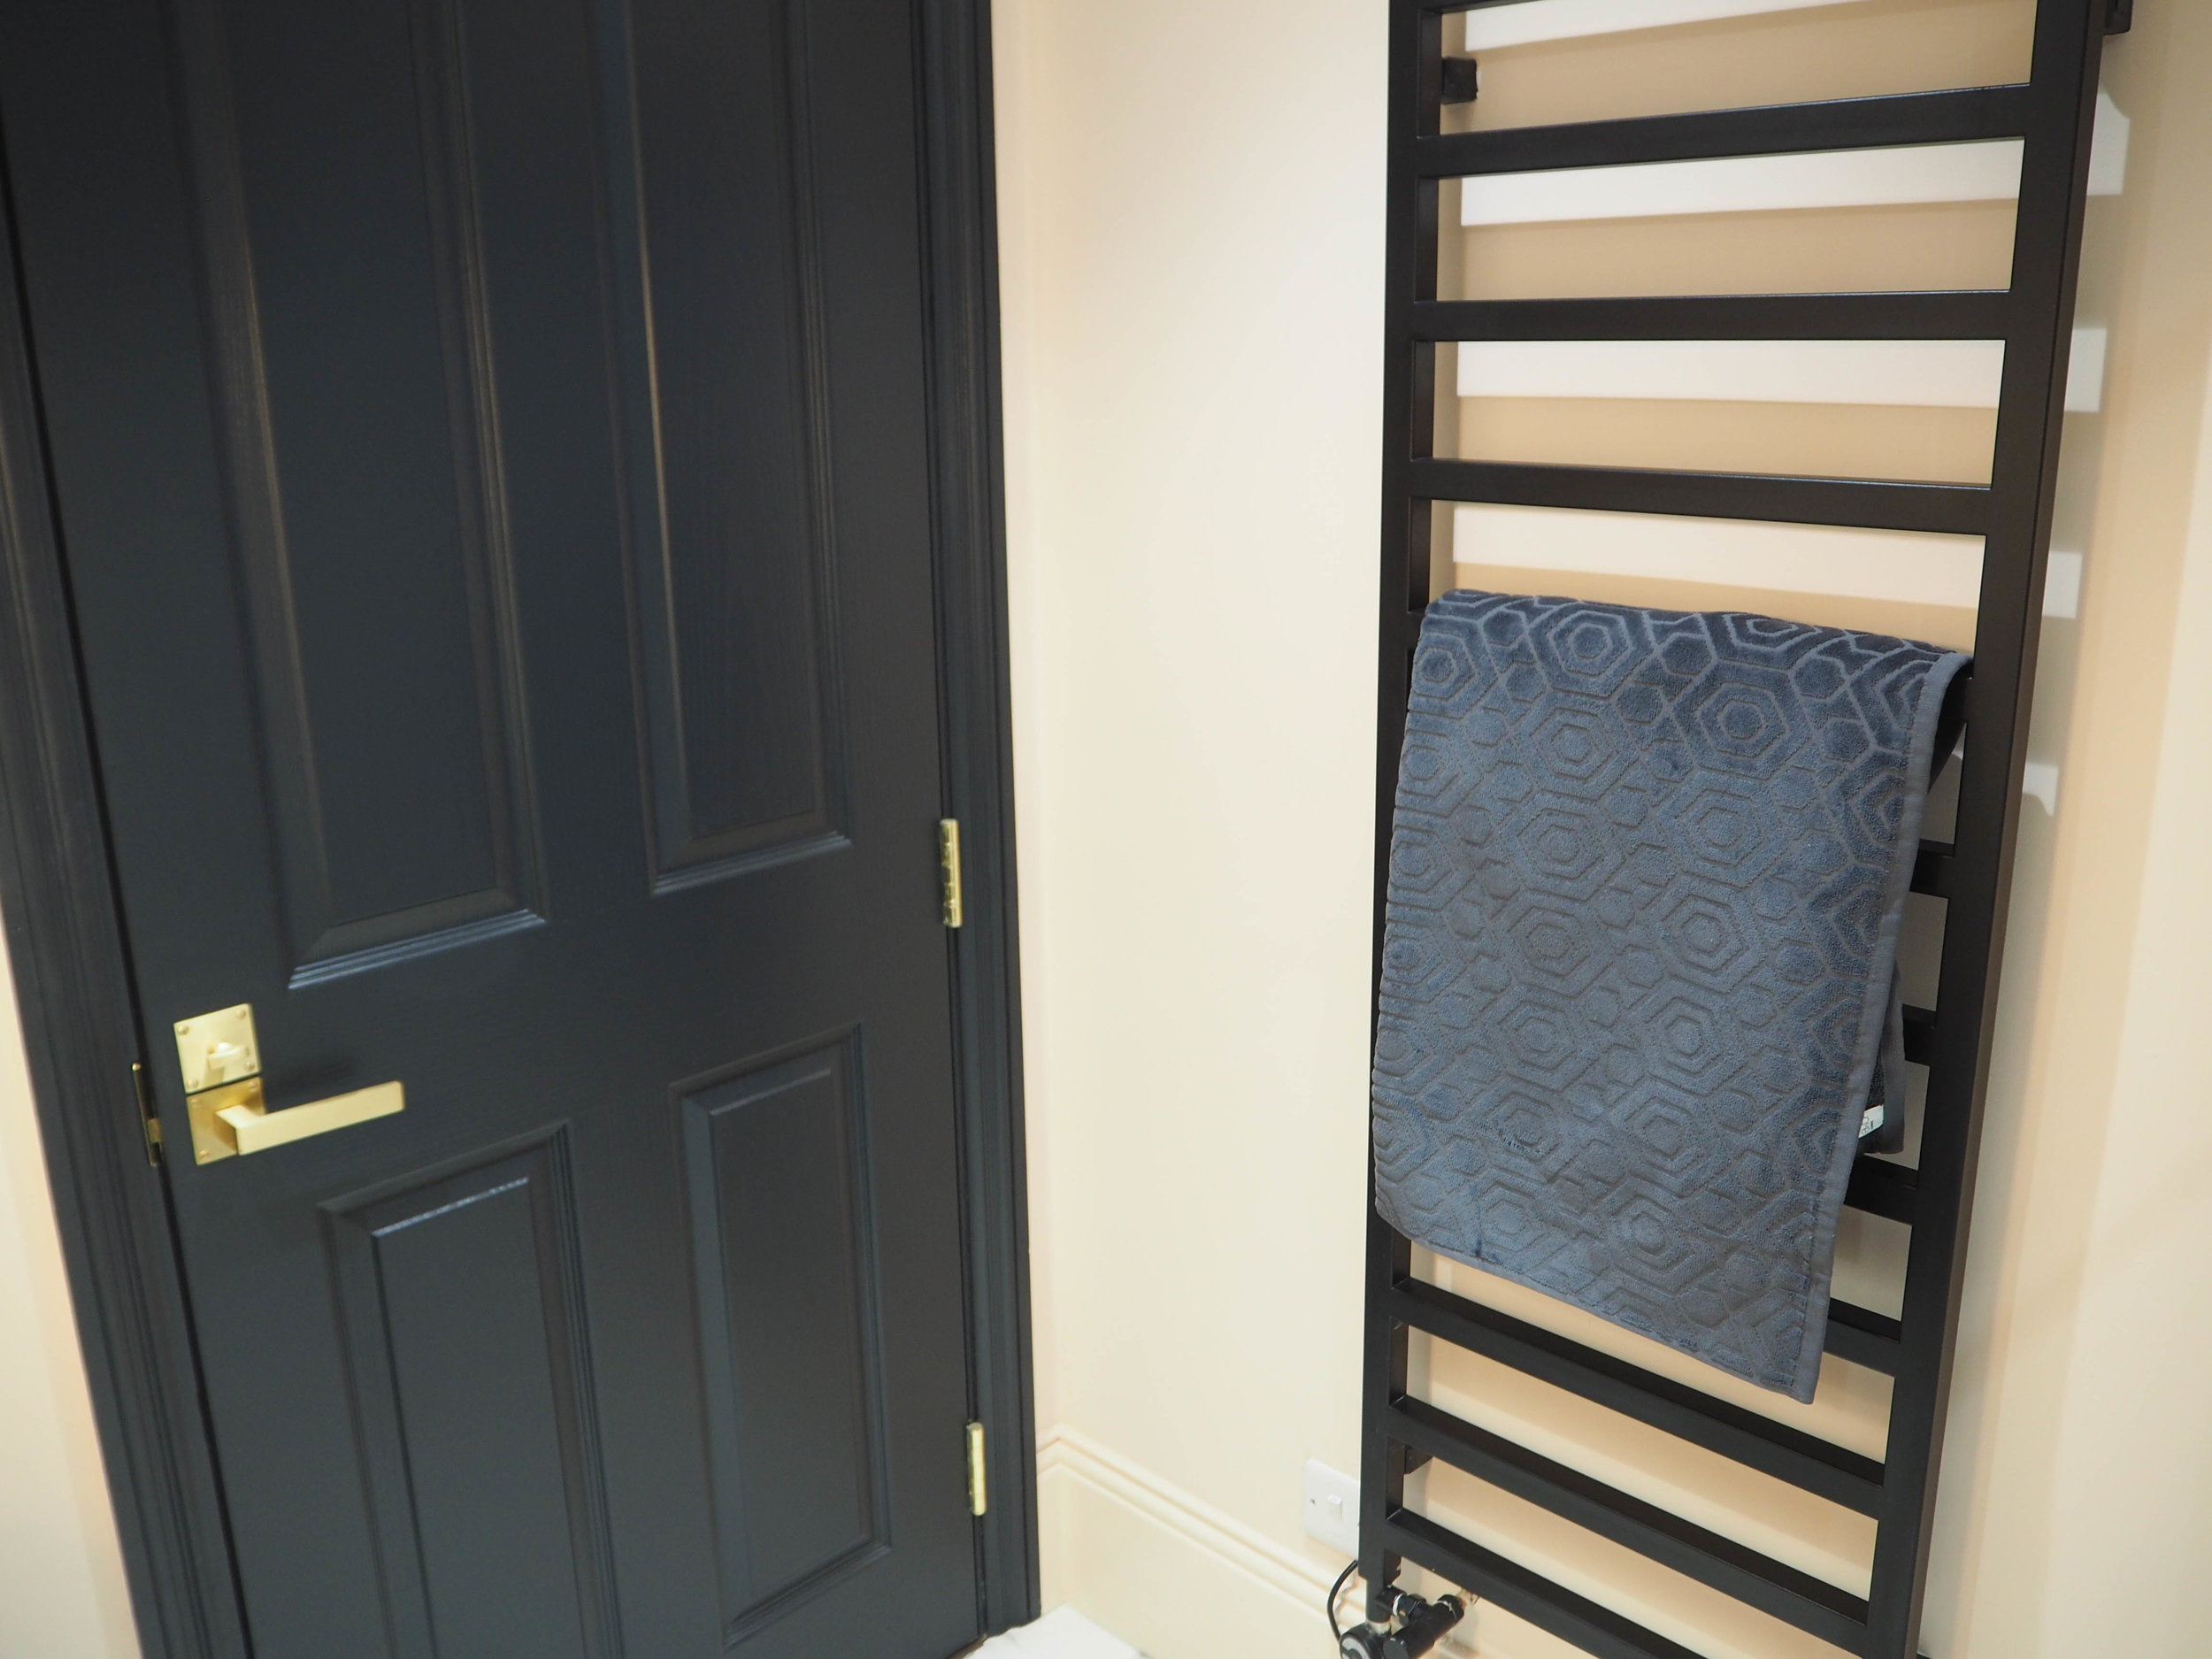
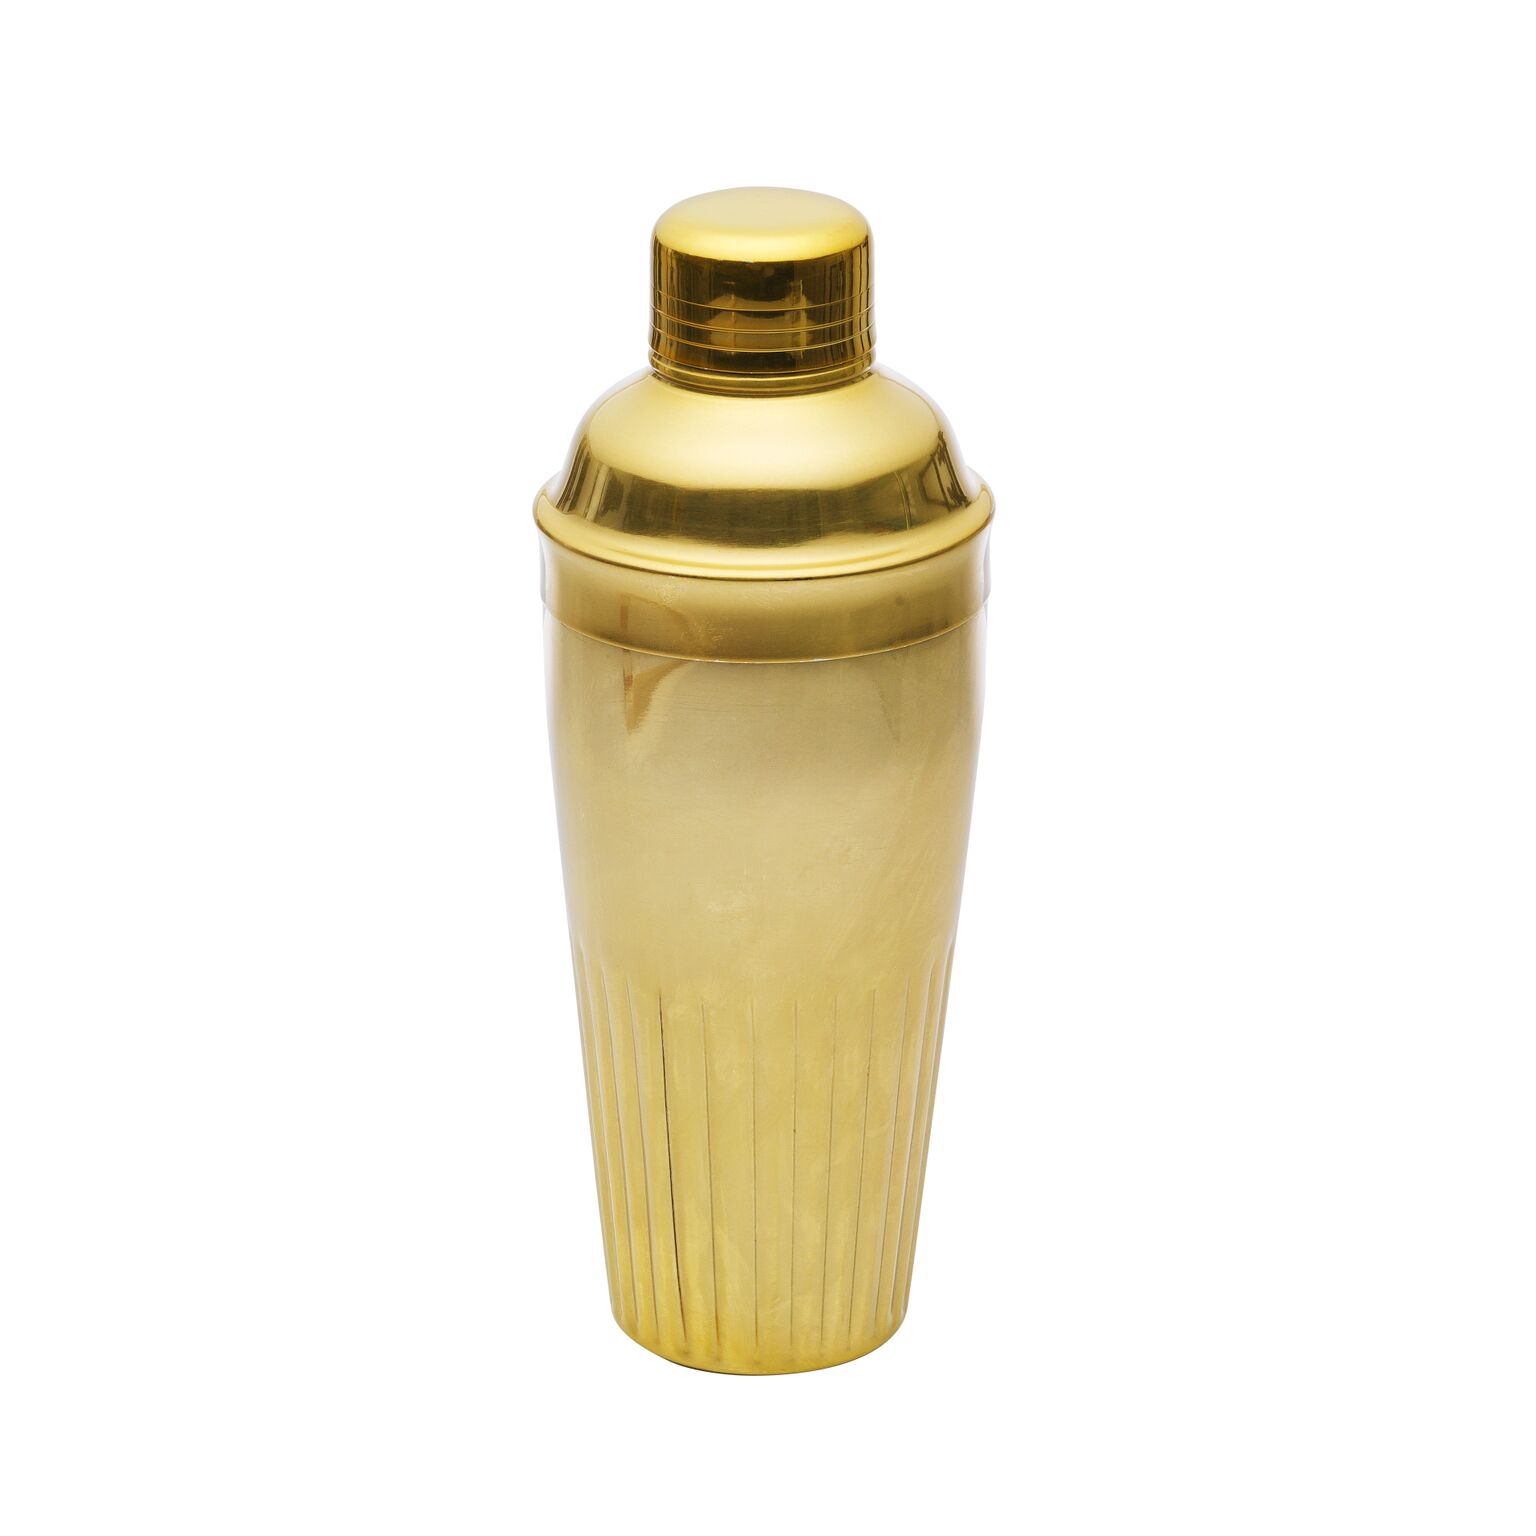
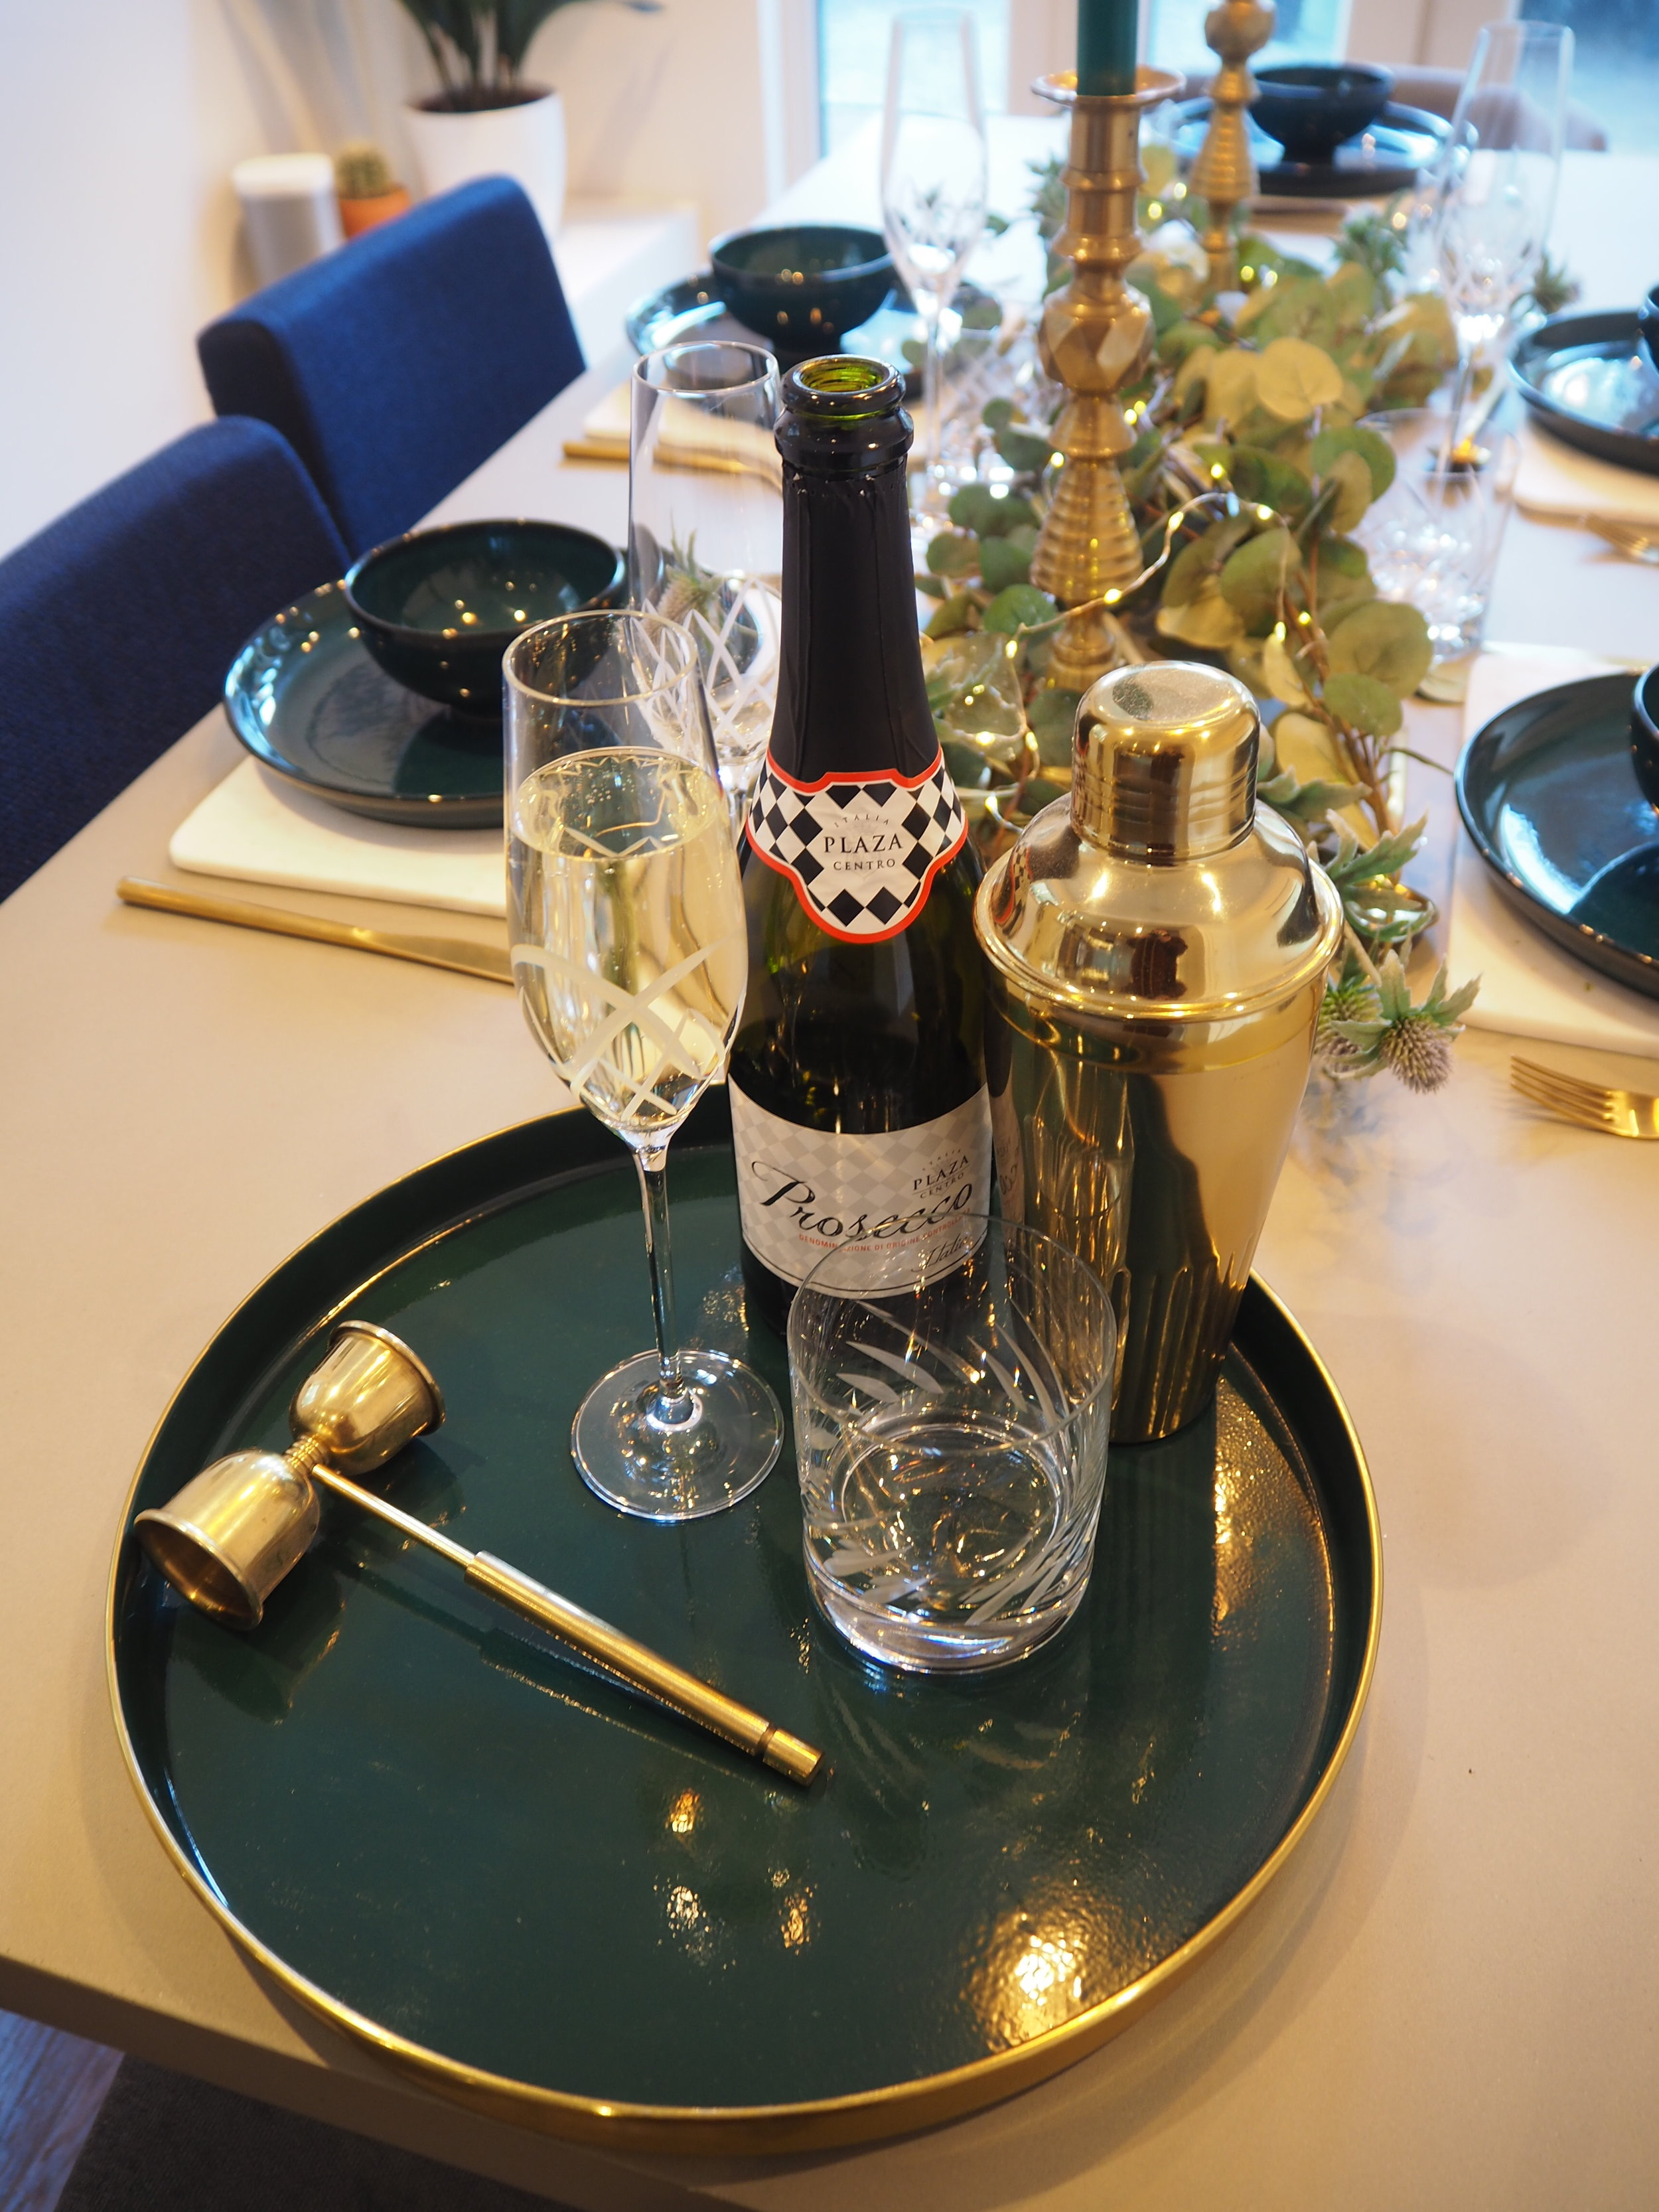
It didn't stop there either, I also splurged on a couple of geo jacquard grey bath sheets for a bargain £15 each to bring some pattern to my plain bathroom, a gold and green tray and a gold cocktail shaker.... Obviously, not for the bathroom but just because everyone needs a cocktail shaker right?

I can’t wait to see what Sainsbury's home bring out next!

GET THE LOOK

MY DO'S AND DON'TS GUIDE TO BUILDING WORK

VICTORIAN TERRACE LOFT EXTENSION

After 5 months of building work, our loft extension is almost complete. Hello third floor! 

Extensions are the perfect way to get that much needed space without having to move, and although I’m happy with the final outcome, it hasn’t all been smooth sailing.

If you follow me on Instagram then you might have seen the two broken lights which were dropped by the builder and electrician (one from John Lewis and the other from Tom Dixon), after I ironically joked with the electrician to make sure he wore the white gloves provided with the Tom Dixon light.

It turns out you should never joke about these things, as a day later we got a watsap from the builder starting with ‘sorry to be the bearer of bad news, but the electrician had an accident in your bathroom today’. Obviously my first reaction was shit, I hope the electrician didn’t die in there, I’m still yet to have my first shower. But then I read on ‘the electrician dropped your marble Tom Dixon light’. Que many FOR F*CK SAKEs!!!!! Then a month later the same thing happened when we asked the builder to shorten a chandelier over the stairs. What are the chances!!!?

 Then came the poorly wired light switches which didn’t work two ways because my builder decided to change the light switches himself instead of getting the electrician back in (*She gets out the dummies guide to electrics for the builder and begs him never to touch the electrics again!*). The hot water tap which took 5 weeks to diagnose that it just needed a new restrictor on the valve. The radiator valves which went missing and had to be replaced. Luckily I had proof that they had been delivered so the builder had to buy new ones. (always keep invoices and emails). To the dirty grout on my newly grouted marble floor, because not one of the tradesman used their common sense to take their shoes off each time they did work in there.

Not to mention the false promises; ‘any damage to existing rooms will be fixed as new’, to the ‘at the end I’ll give the loft a builders clean’. Which turns out is just a spray and a mop and basically your own man power. Cheers guys.

But don’t get me wrong It’s not all been bad. The actual build has been amazing. The roofing and external tiles are brilliant and the decorating looks good once we finally got there with the decorator.

This is why building work is stressful and I wasn’t even project managing it. For those considering an extension I’ve compiled my list of do’s and don’ts to consider before taking the plunge and letting a tradesman come into your home. And if I’ve learnt anything then a good builder will take their shoes off before entering your home. A bad one won’t. It's called respect and if it isn’t there from the start then it probably never will be. Good luck! 

Do….

  • Read up on your local council guidelines regarding permitted and restricted permitted development in advance of having drawings done.
  • Get recommendations of builders from your architect. Likewise, if you know a good builder, chances are they can probably recommend a good architect.
  • Get at least three different quotes to compare prices.
  • Go on recommendations
  •  Once you’ve short listed your builders, get recommendations of previous work and go see it. Ask yourself, is this the finish I want? If it’s not, then it might be a sign that the builder isn’t for you.
  • Make sure you know the difference between a quotation – a firm price and what you can expect to pay for the specified works – and an estimate, which is much less specific. Always try to go for a fixed price contract.
  • Check that the builder has relevant past experience and a good trading history; that he has an office address and that he is able to offer references; and that he has third party insurance.
  • Read your builders contract. Make sure they haven’t missed anything off which you discussed.
  •  Ask your builder to give you a realistic project and payment schedule.
  •  Make sure you have the money quoted plus at least £2k extra encase your builder decides to bill you at the end for extras.
  • Make it clear with the builder from the beginning that any extras are outlined throughout the project and new contracts are signed.
  • Put structural works before cosmetic and aesthetic improvements and work from the outside of the house inwards.
  • Pay attention to the style of the windows.
  • Aim to get the shell weathertight as early as possible.
  • Get a porta loo for the garden if you don’t want builders using your own. Remember this build could go on for months.
  • Take photos of your house before the work starts encase any internal or external damage occurs throughout. You may need them to prove it wasn’t there before.

Don’t.. 

  • Be afraid to challenge the first contract if things are missing which you discussed.
  • Be bullied into paying for things which they break or loose. Keep emails of orders to stock check
  • Pay for any work in advance. 
  • Change your mind or change things throughout the build. This will only add to the final cost. 
  •  Be afraid to lay out ground rules. Ie take their shoes off when they come in. Where can the builders take their breaks? Have lunch? can they use your kitchen to heat up food etc. 

MY NEW YEARS DENBY TABLE

How was New Year’s Day already a week ago?

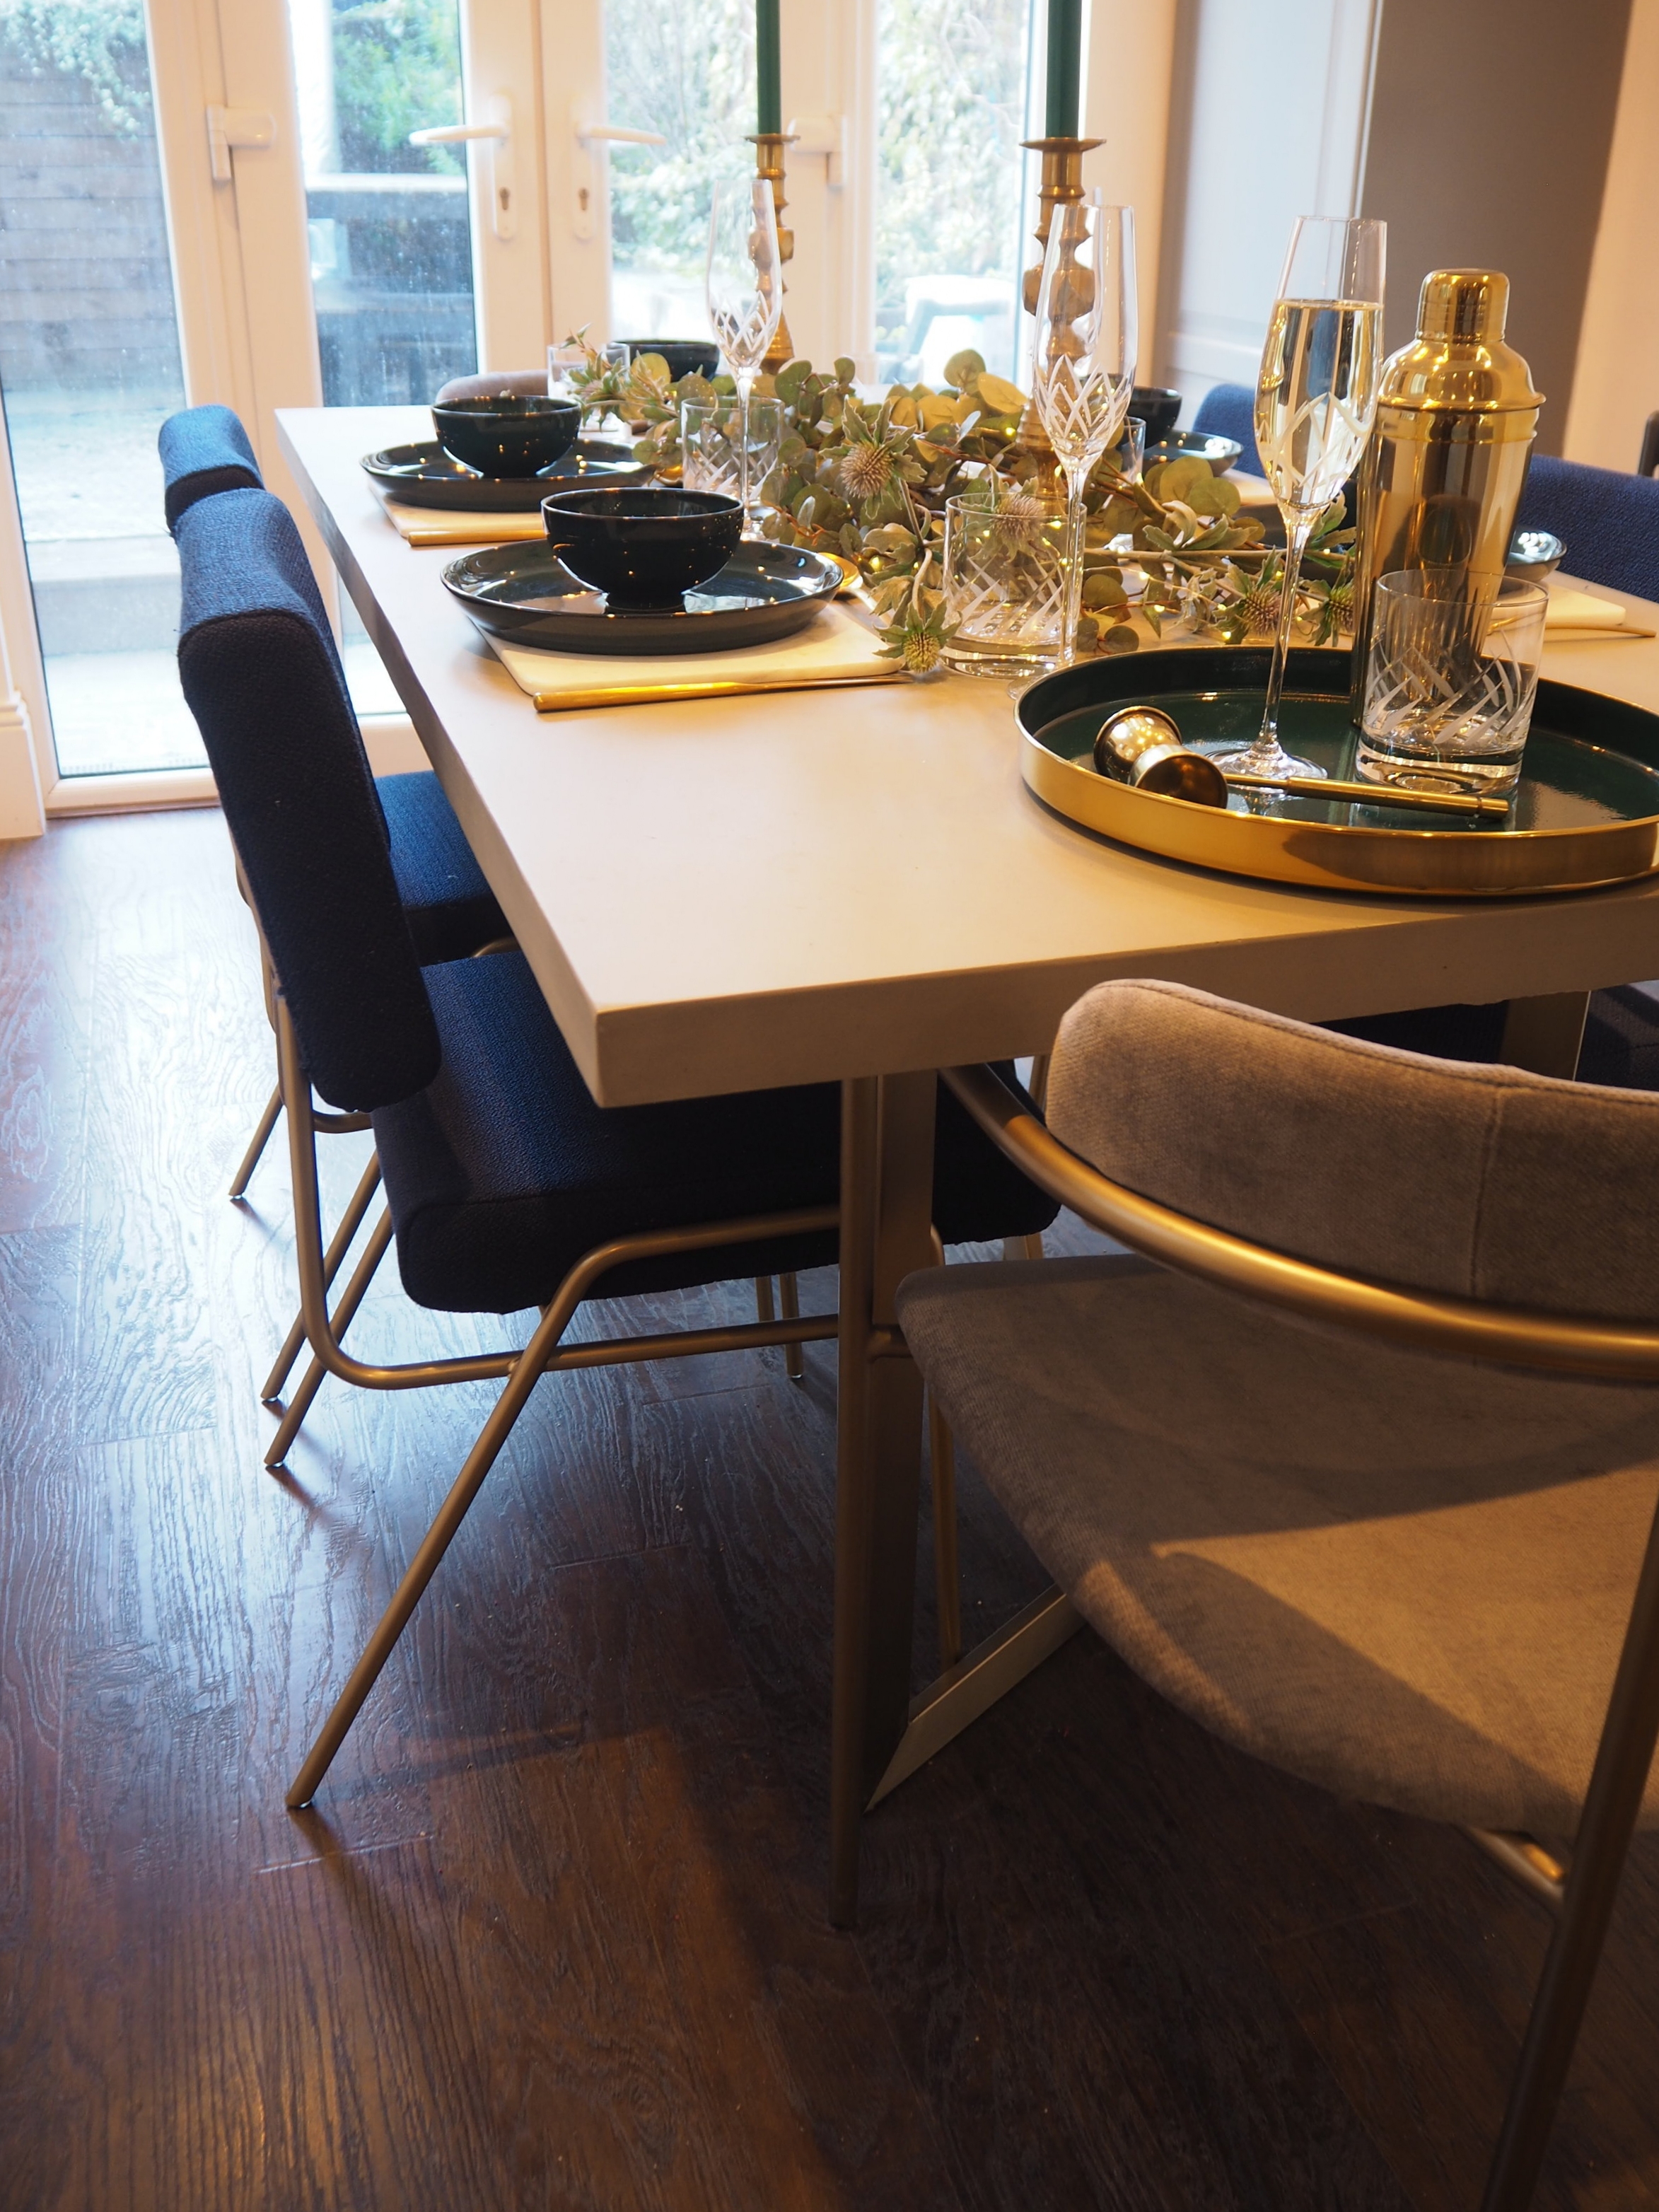
This year’s already getting off to a flying start (I’m already 7 days late with this post for a start), but before I go all spring mode on you, I wanted to go back a week and share my New Year’s Day table.

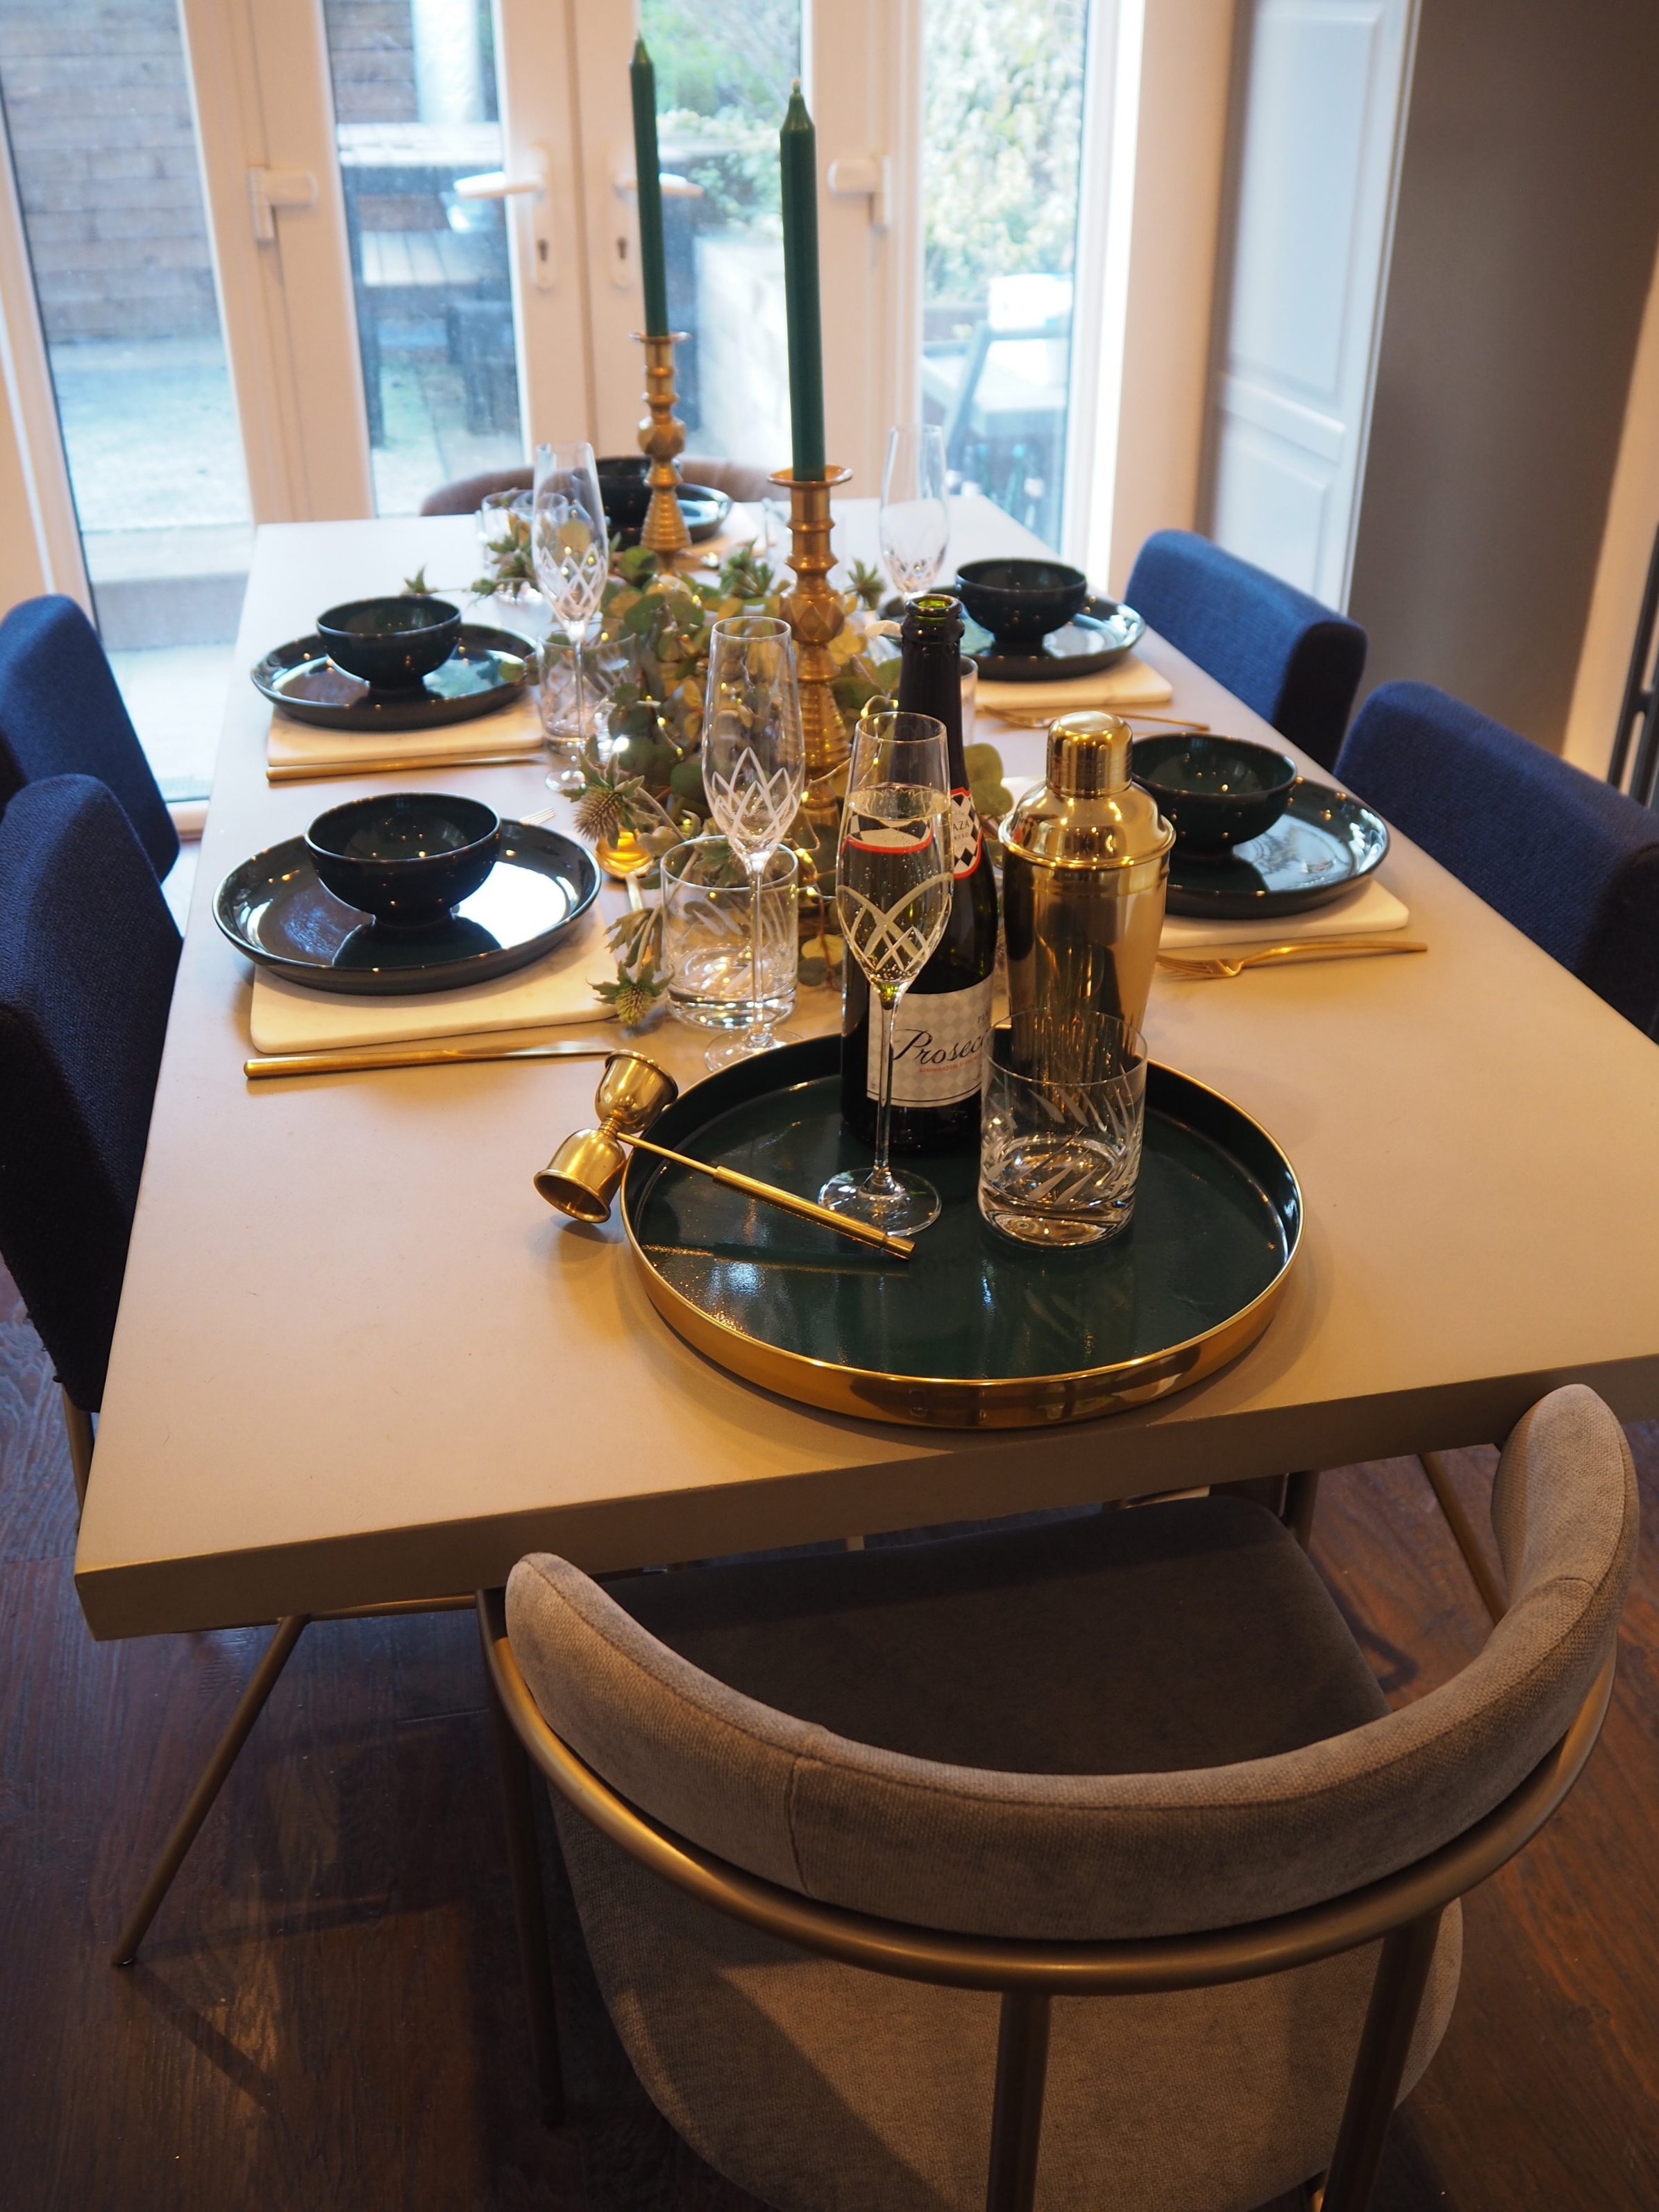
For me, New year’s dinner is up there as another important day to gather some of our nearest and dearest family and toast the new year with a prosecco fuelled lunch. On the menu, this year was an 80’s family classic; prawn cocktail to start, followed by a beef wellington with trimmings.

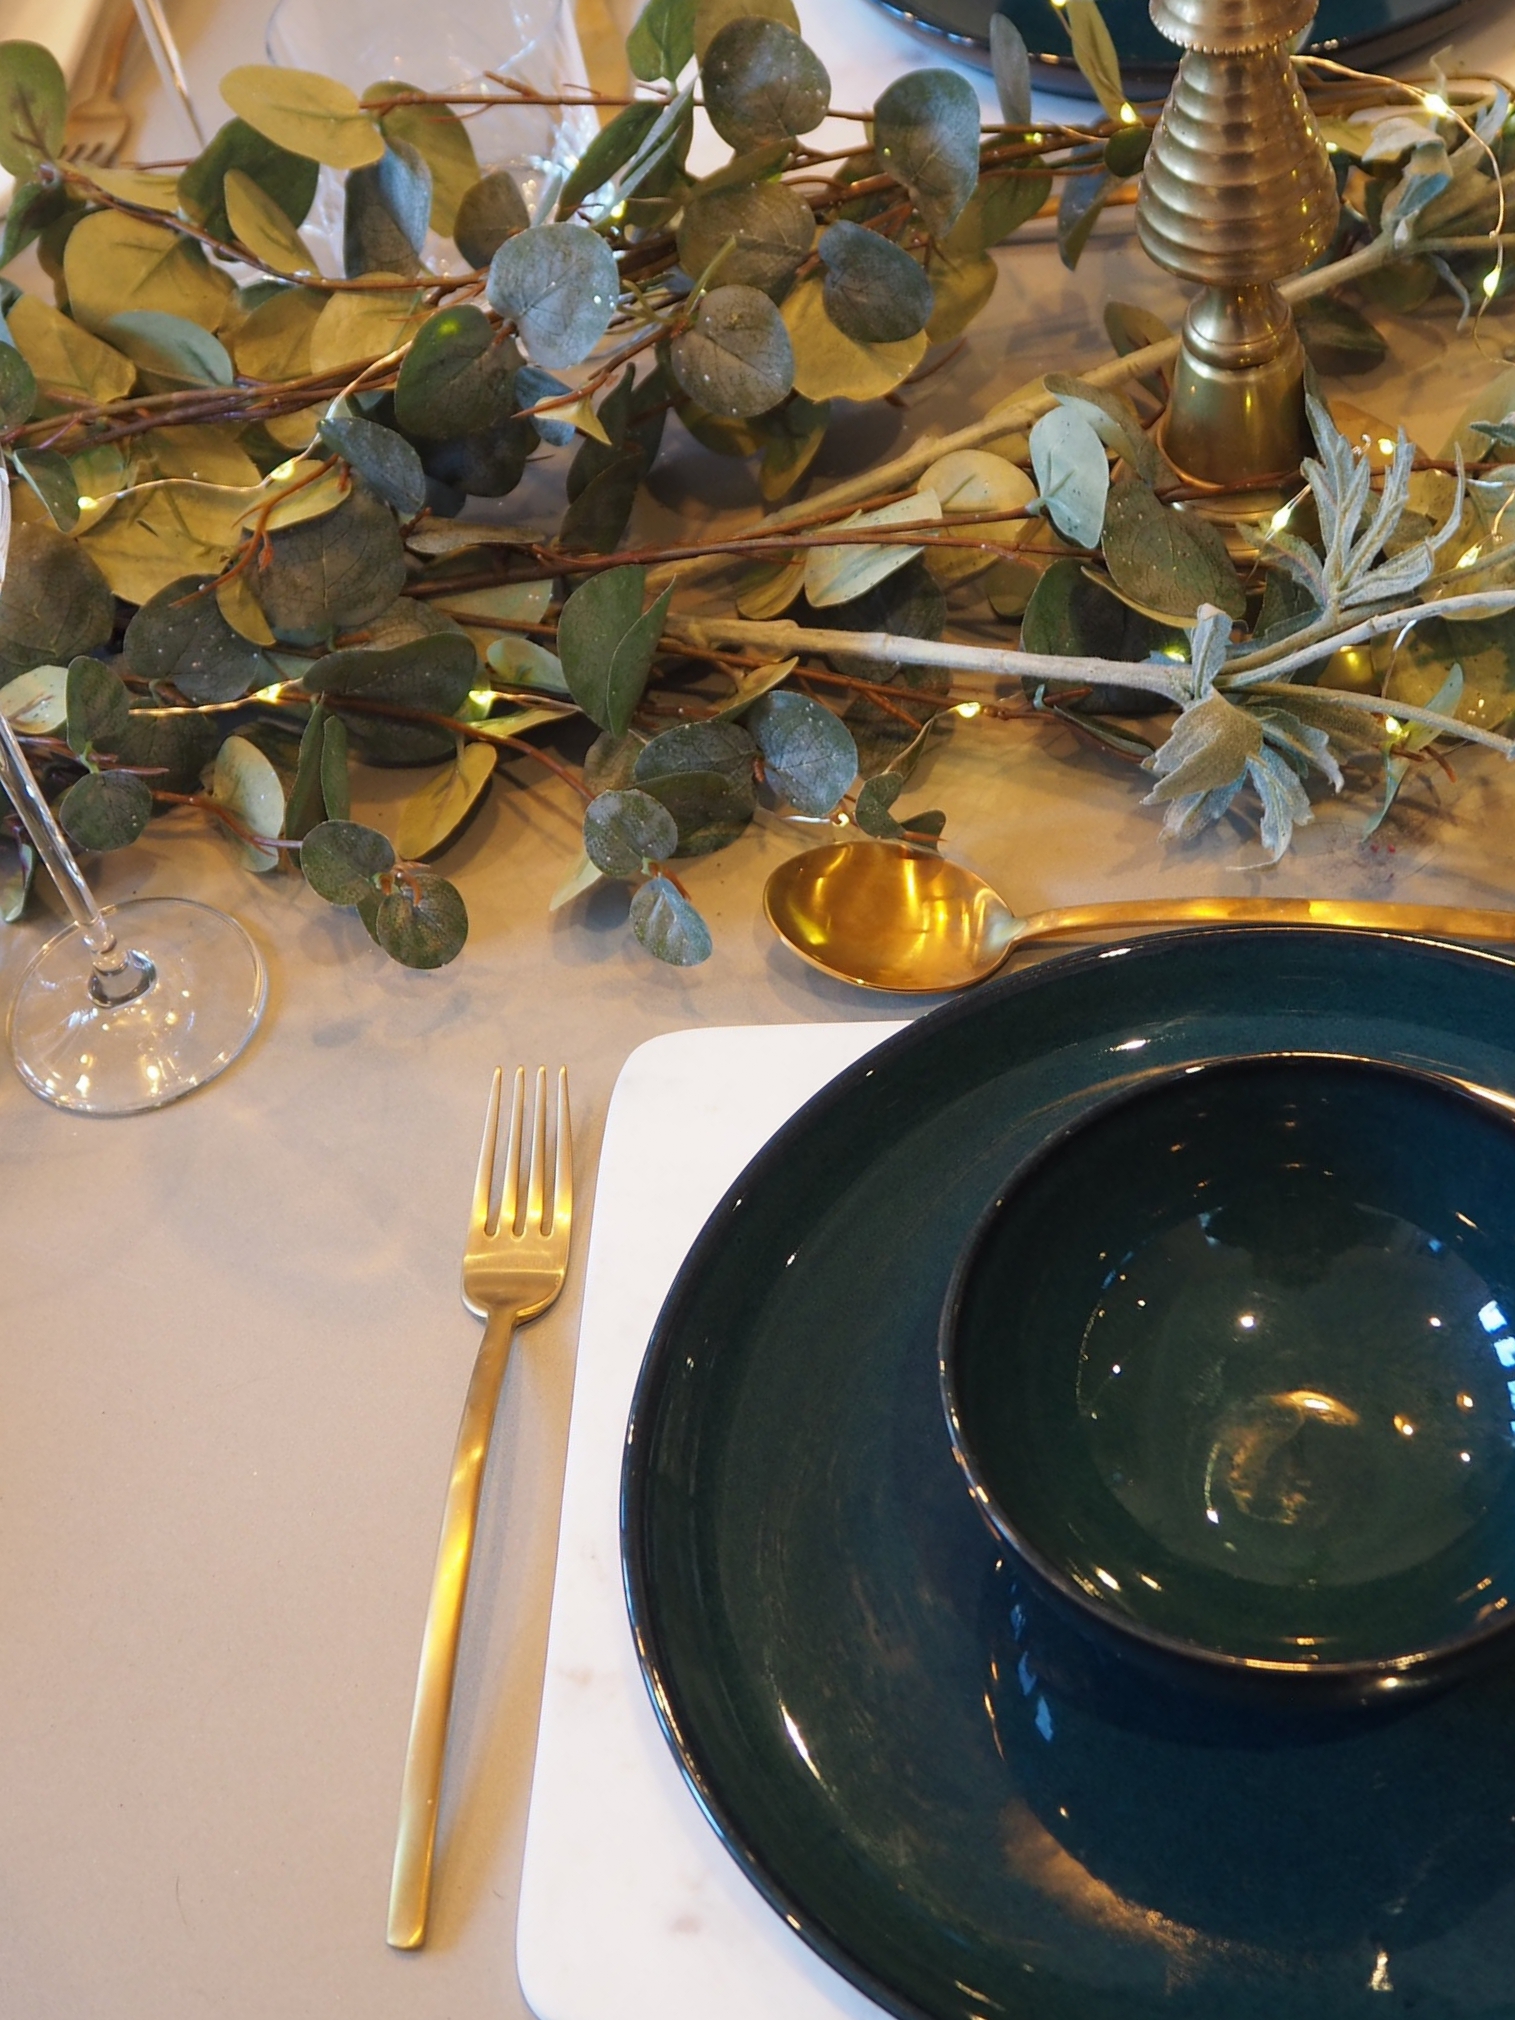
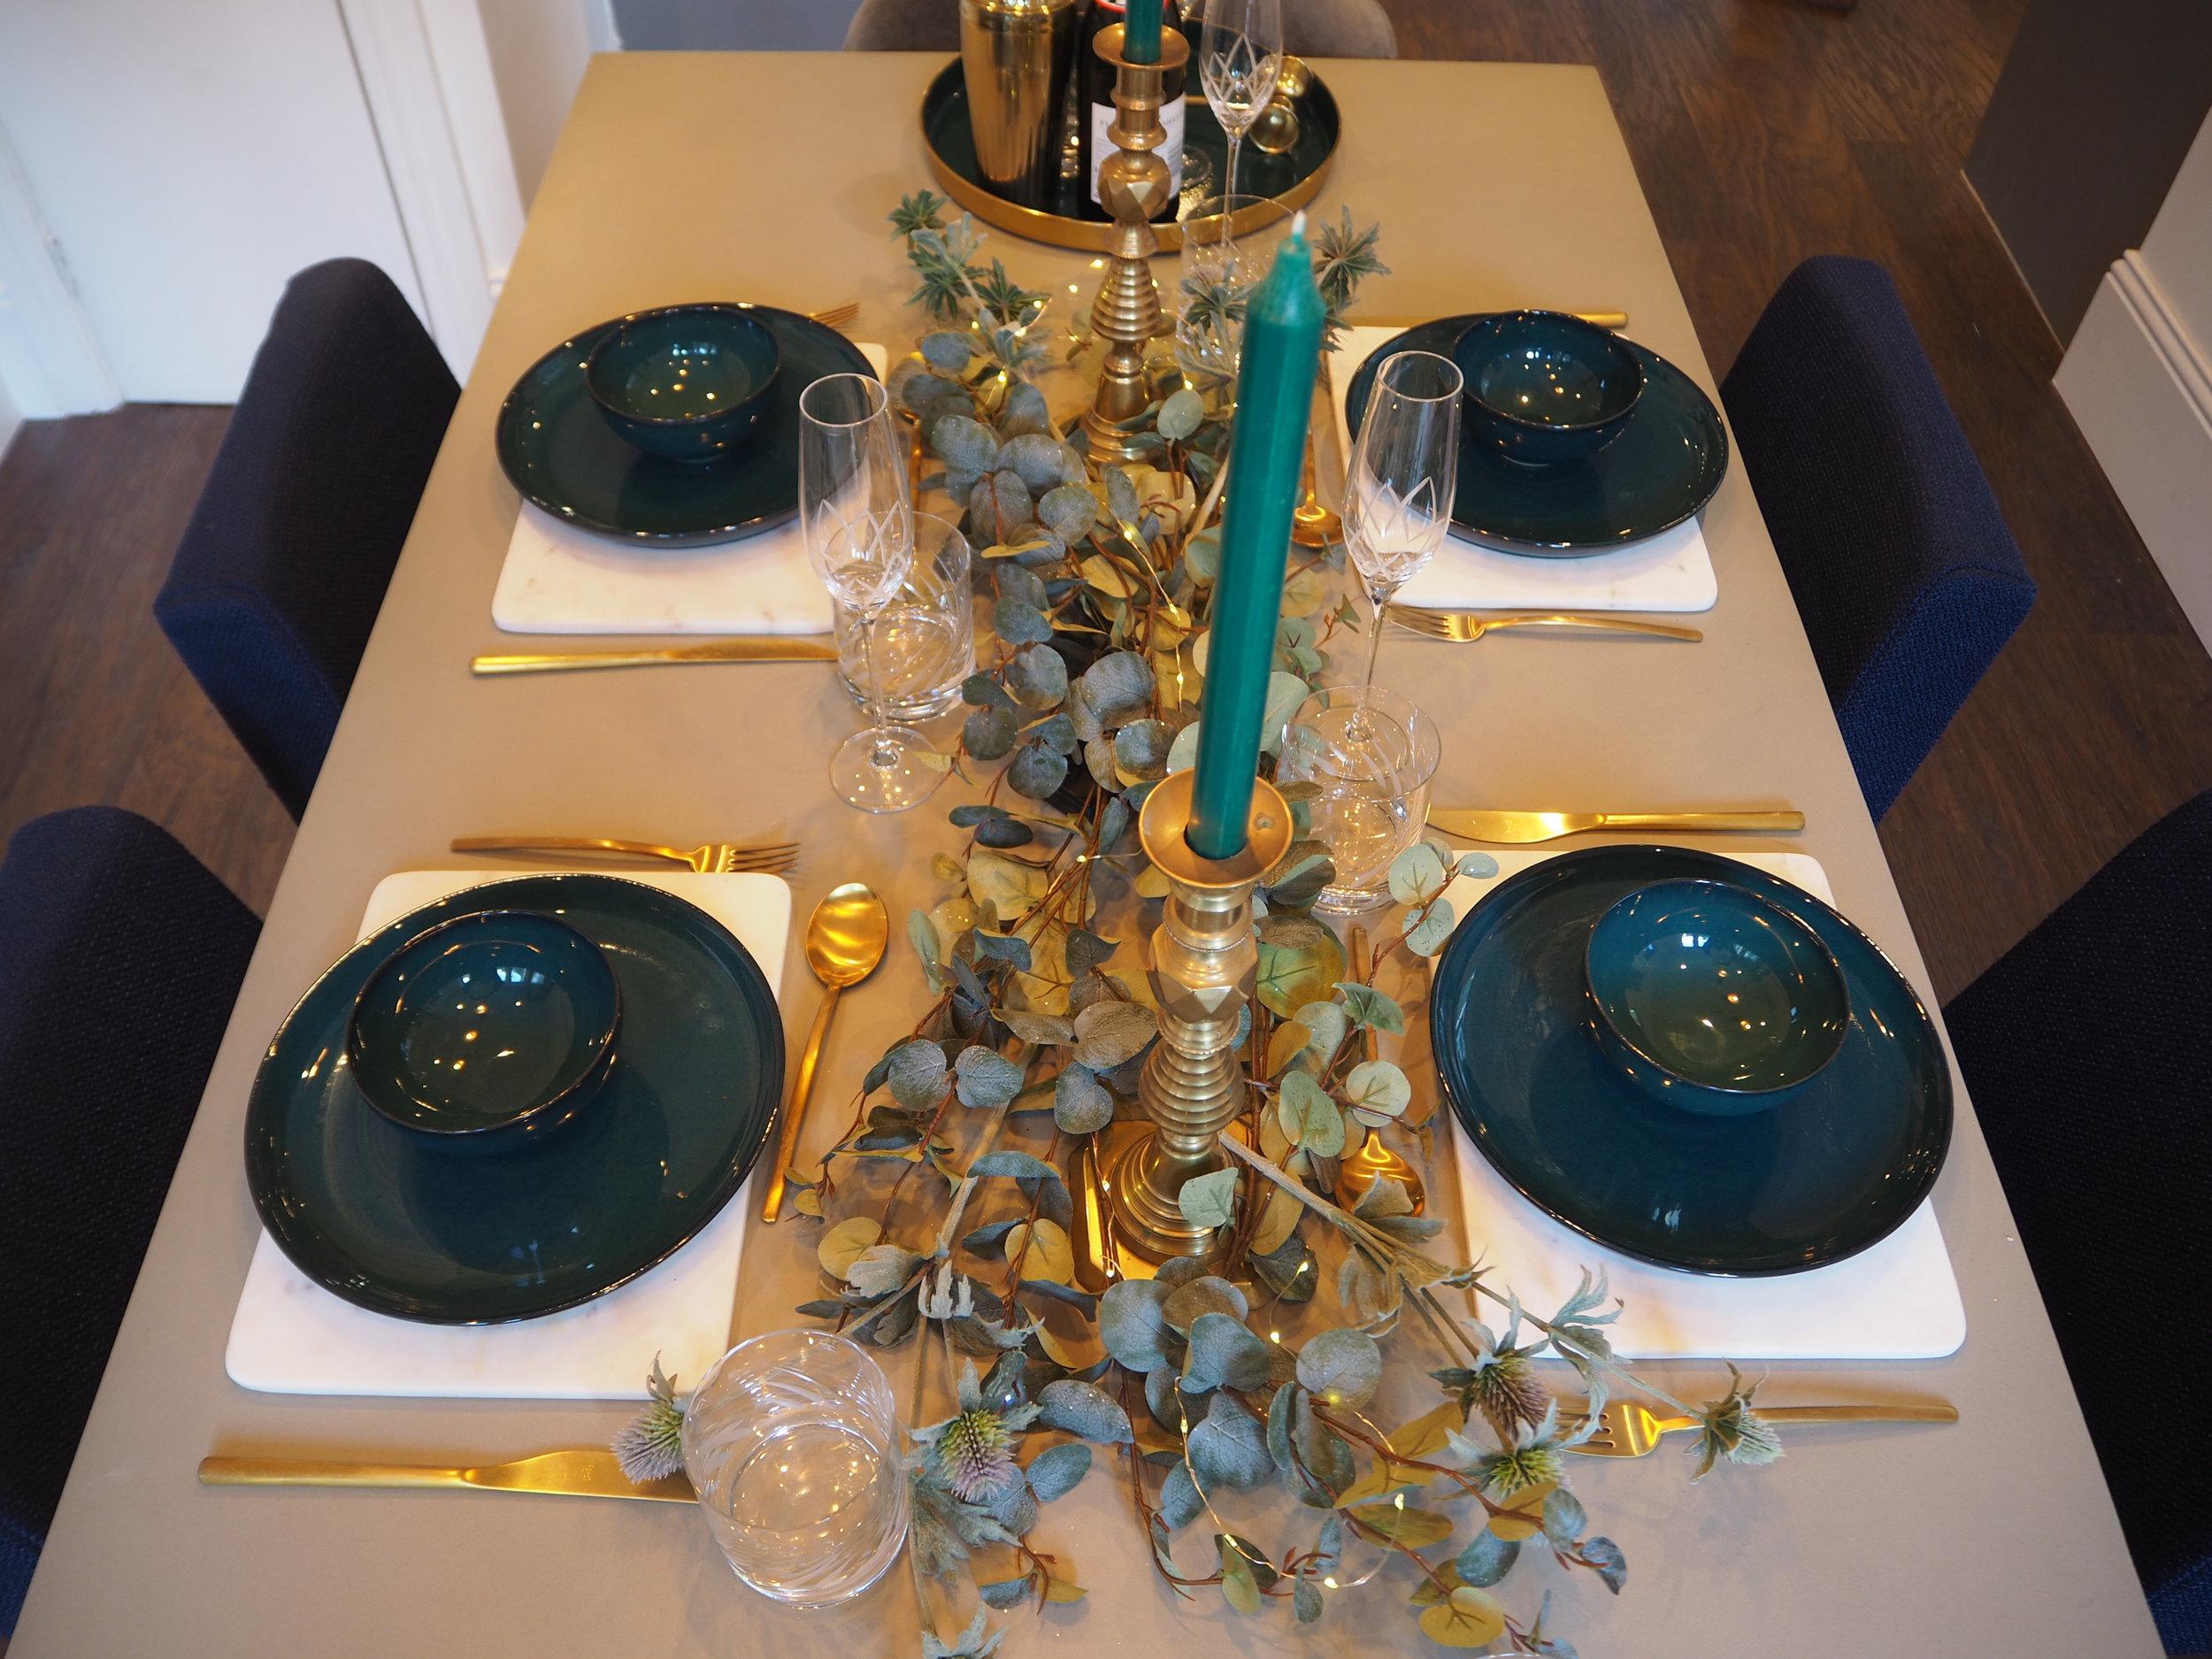
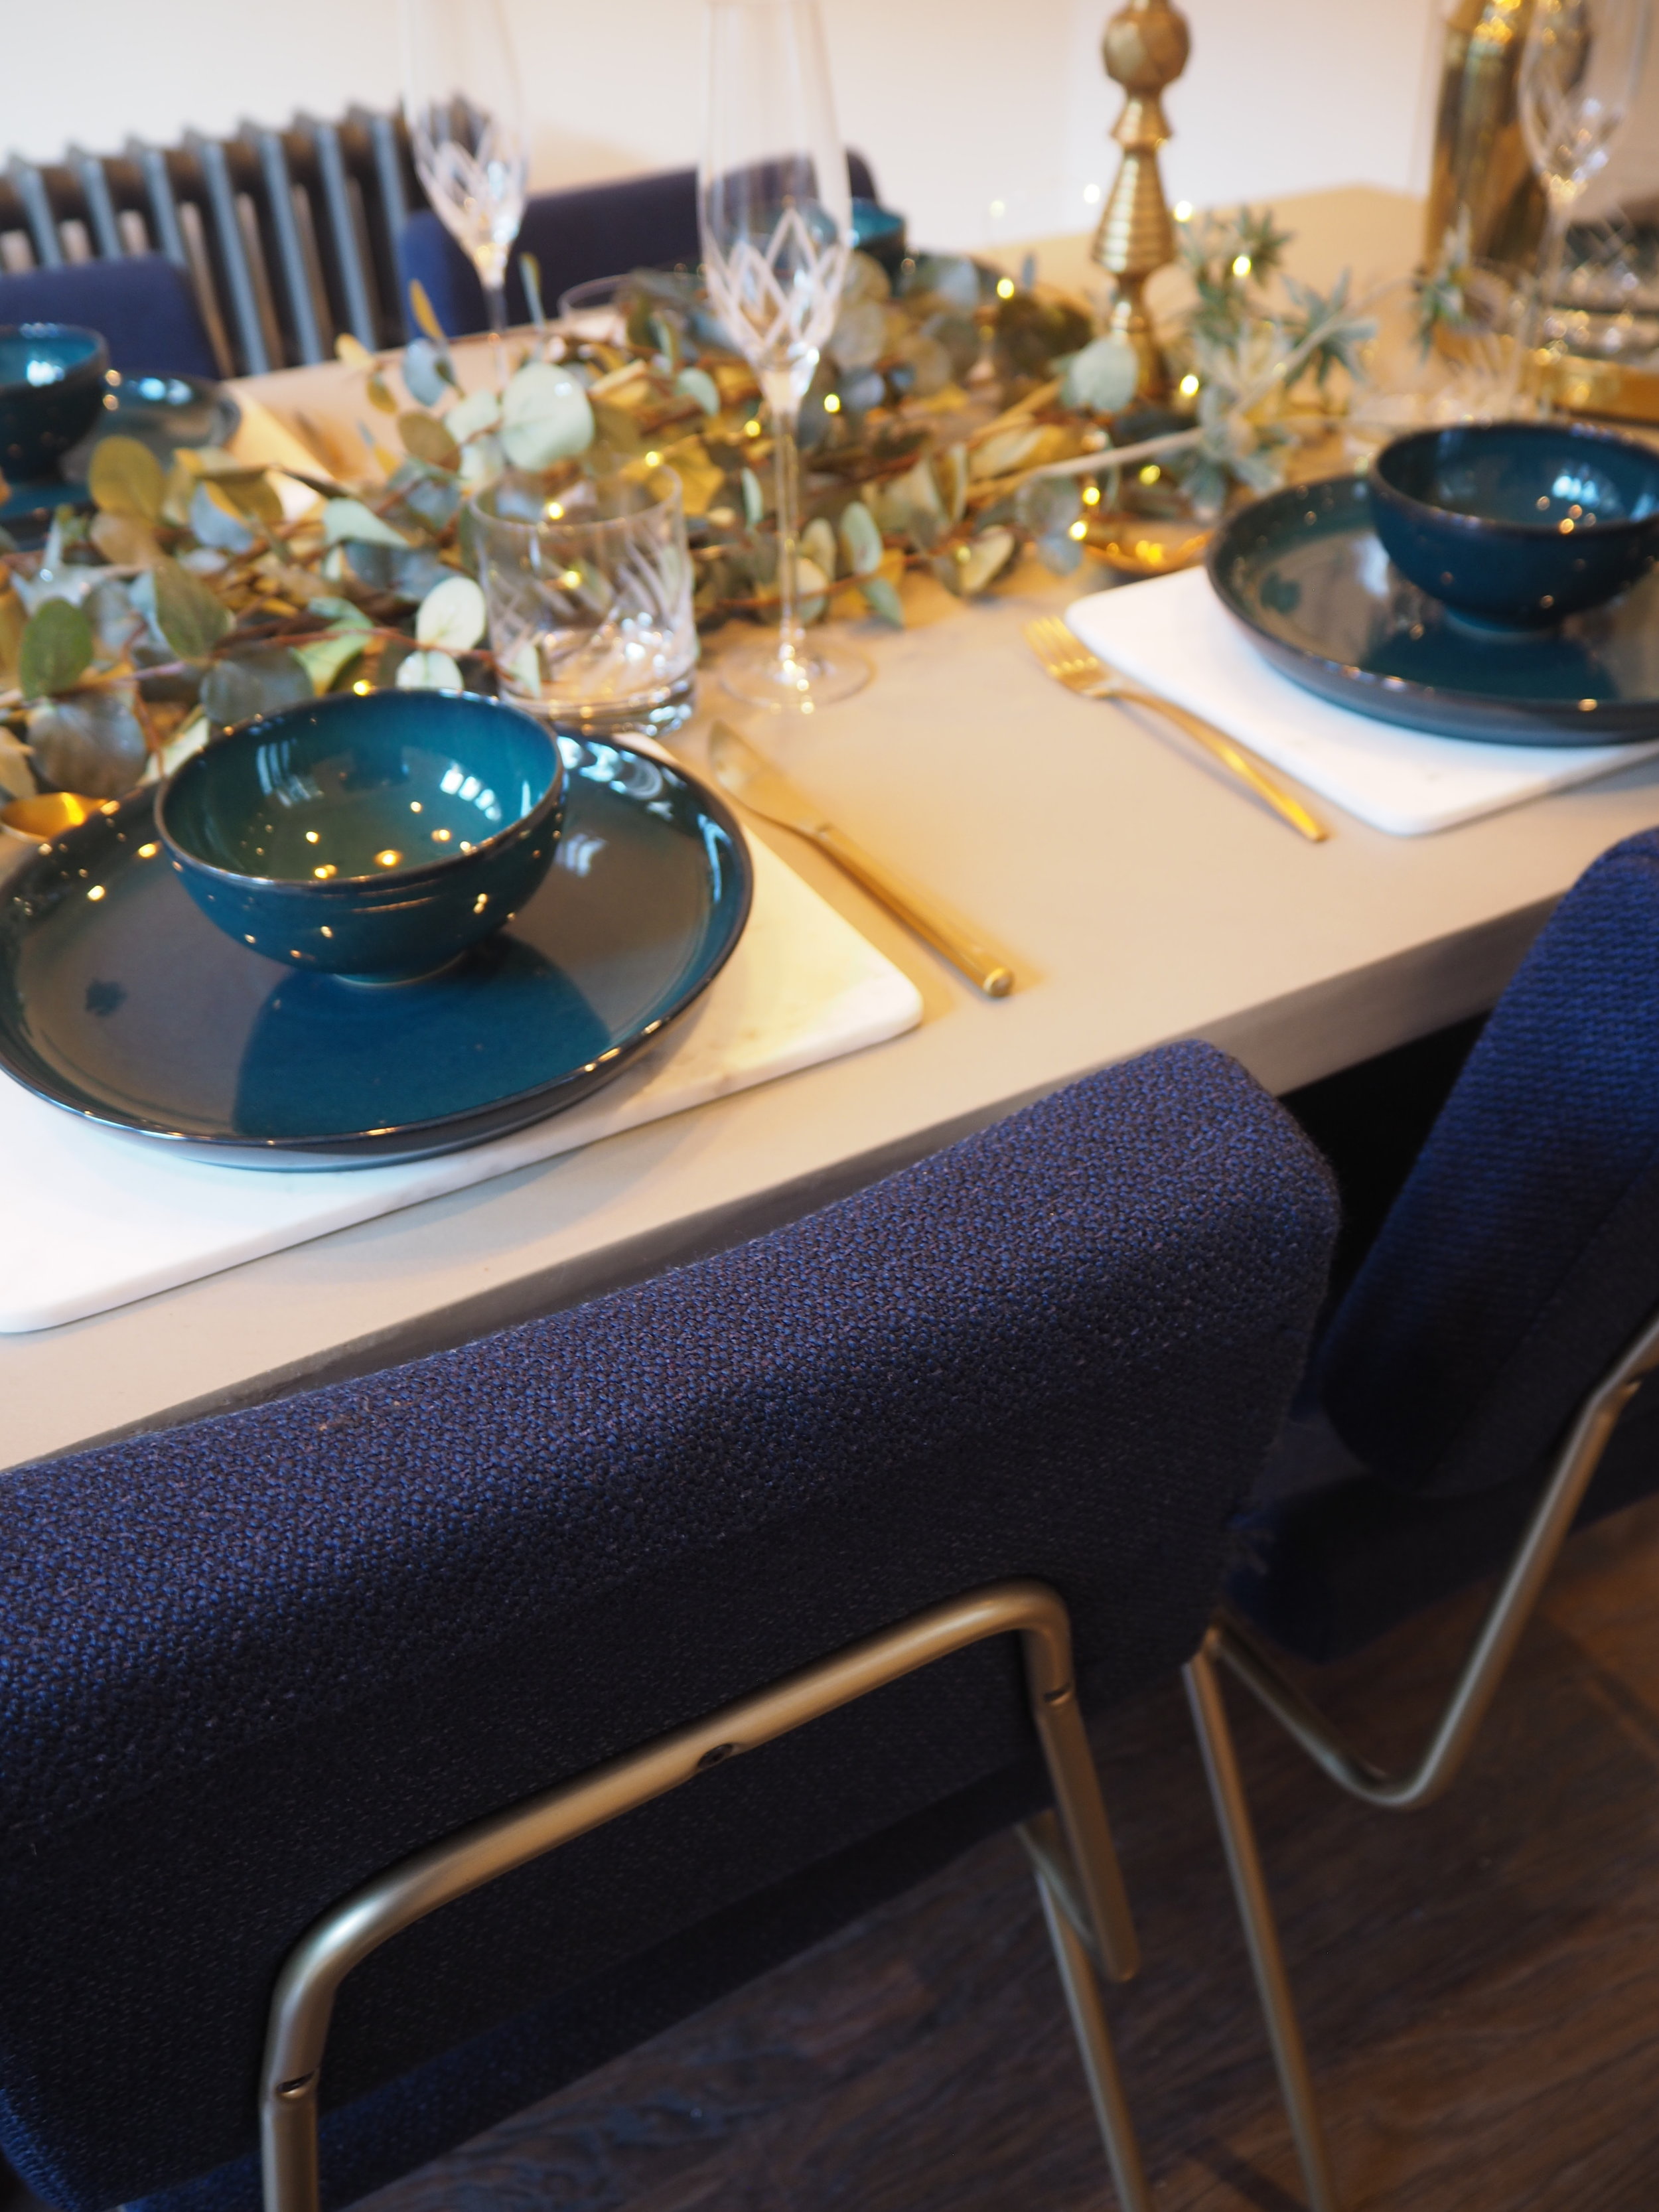
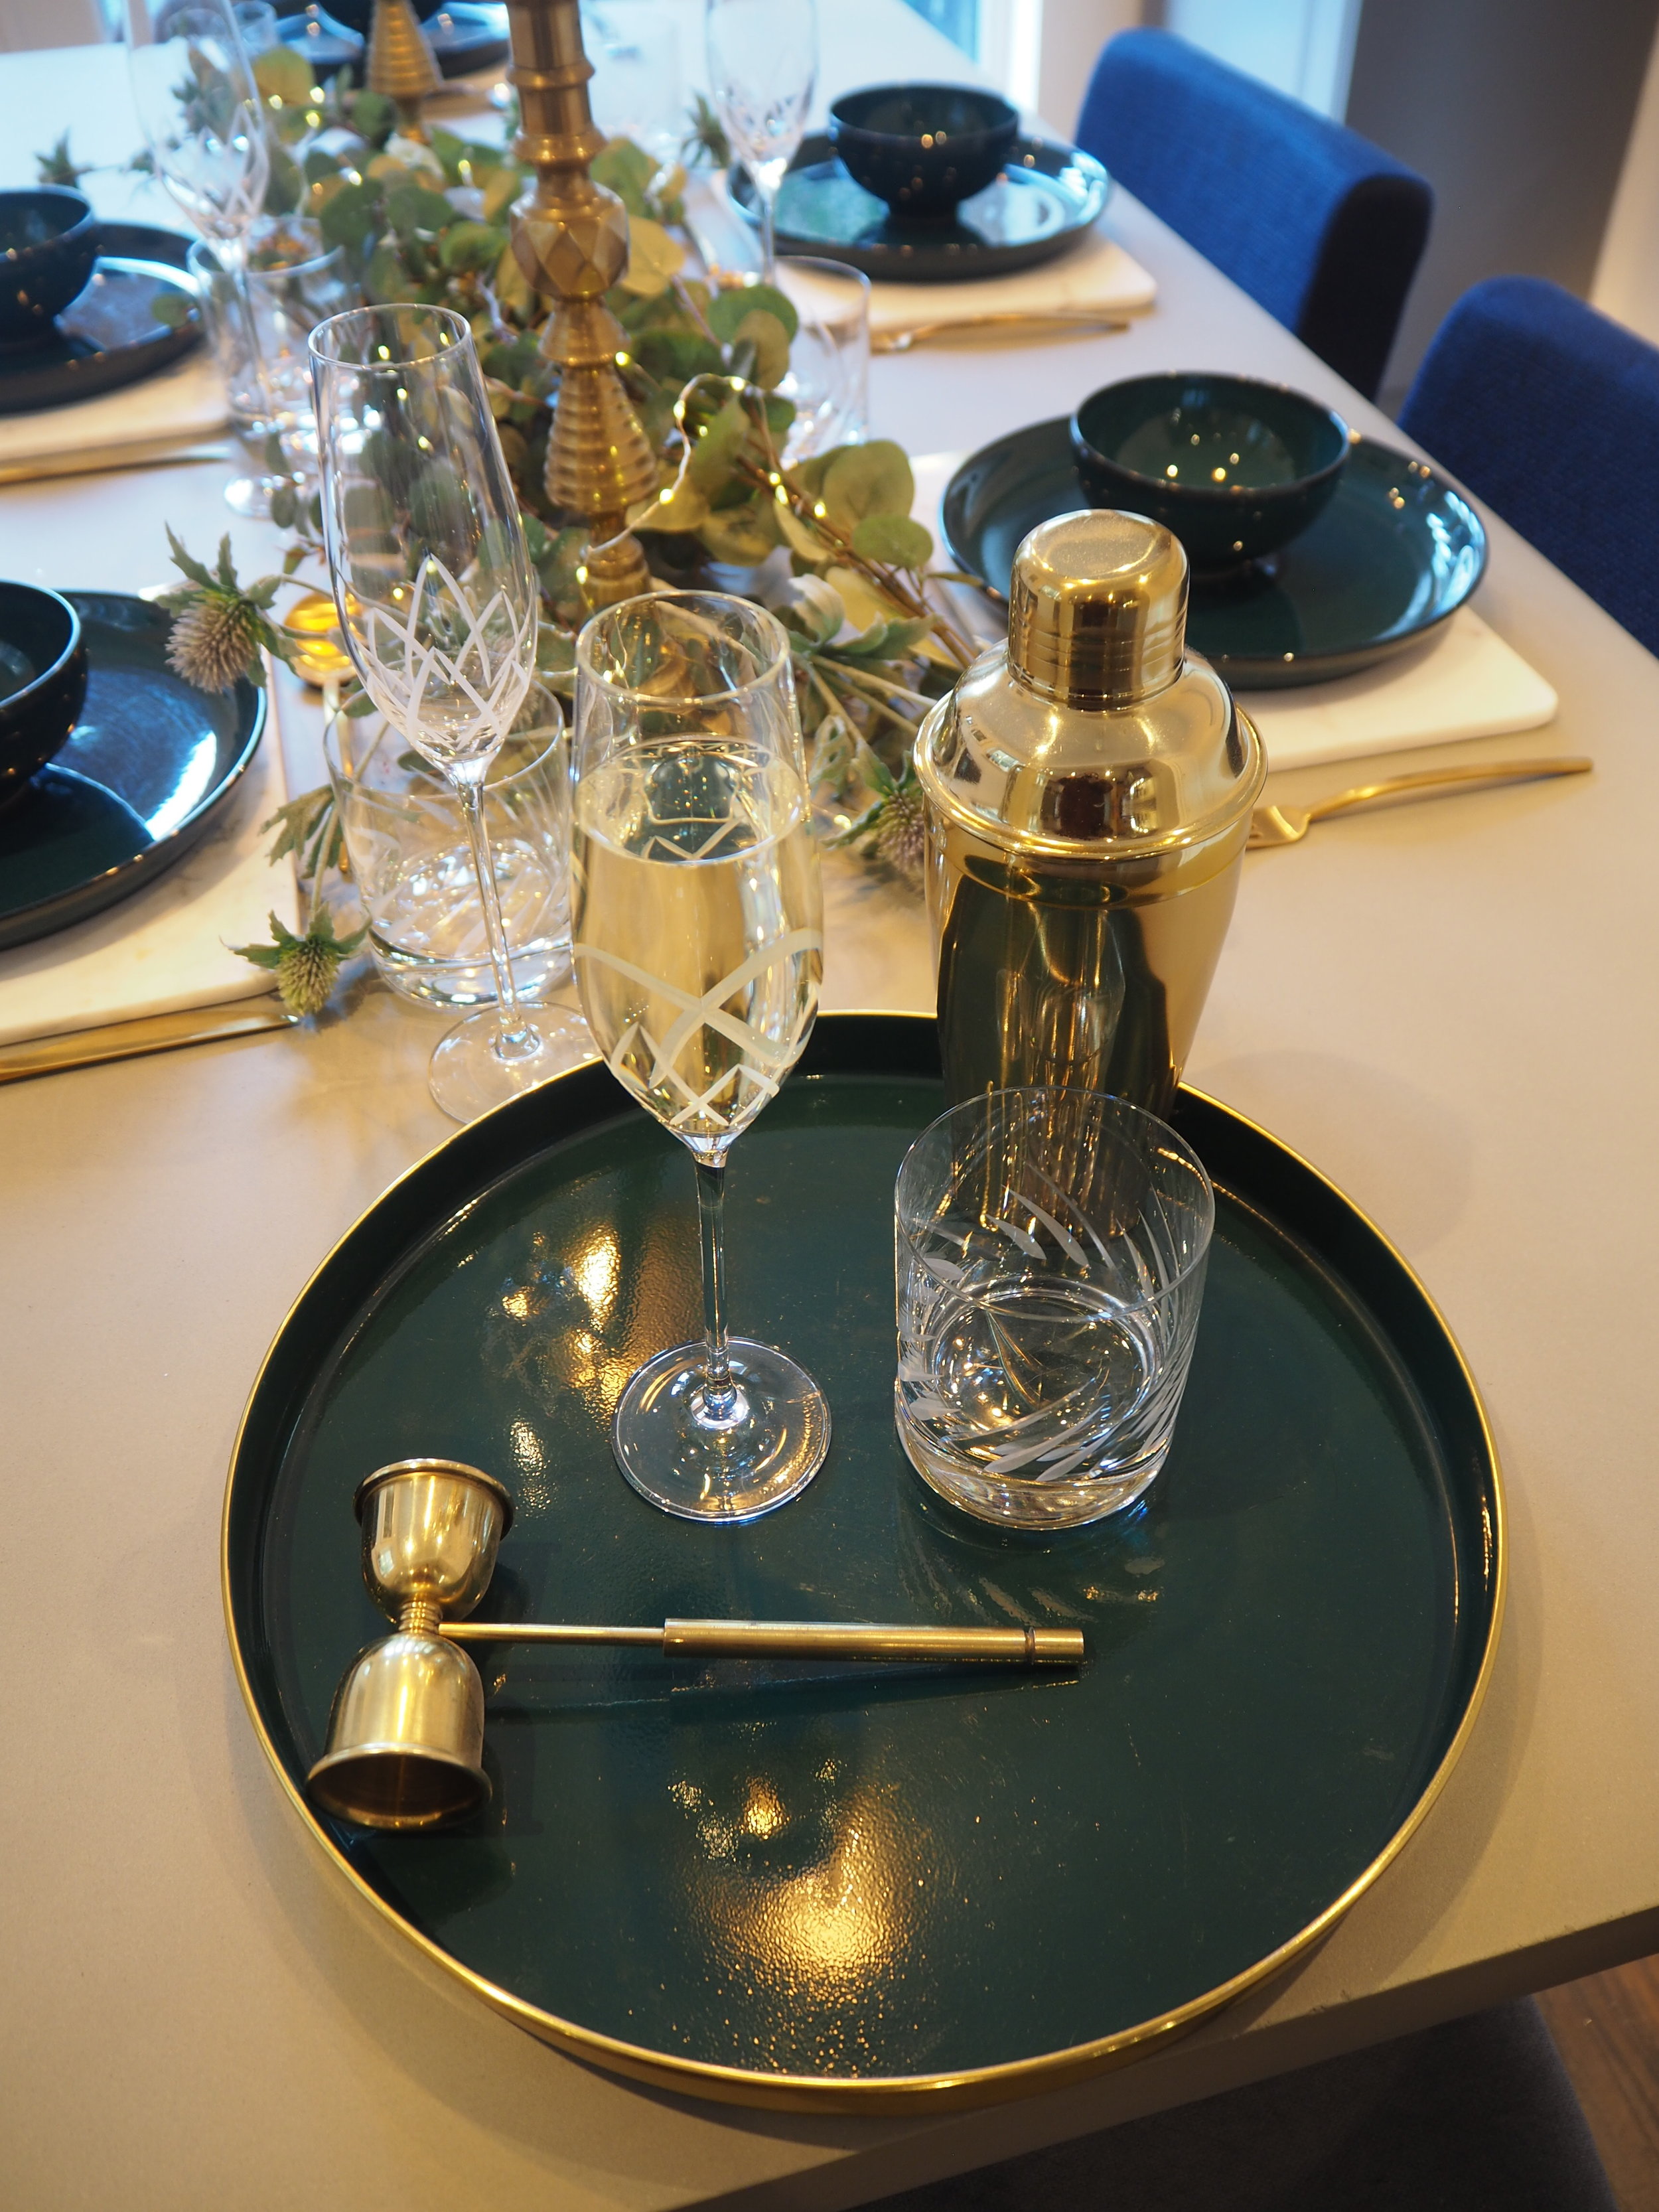
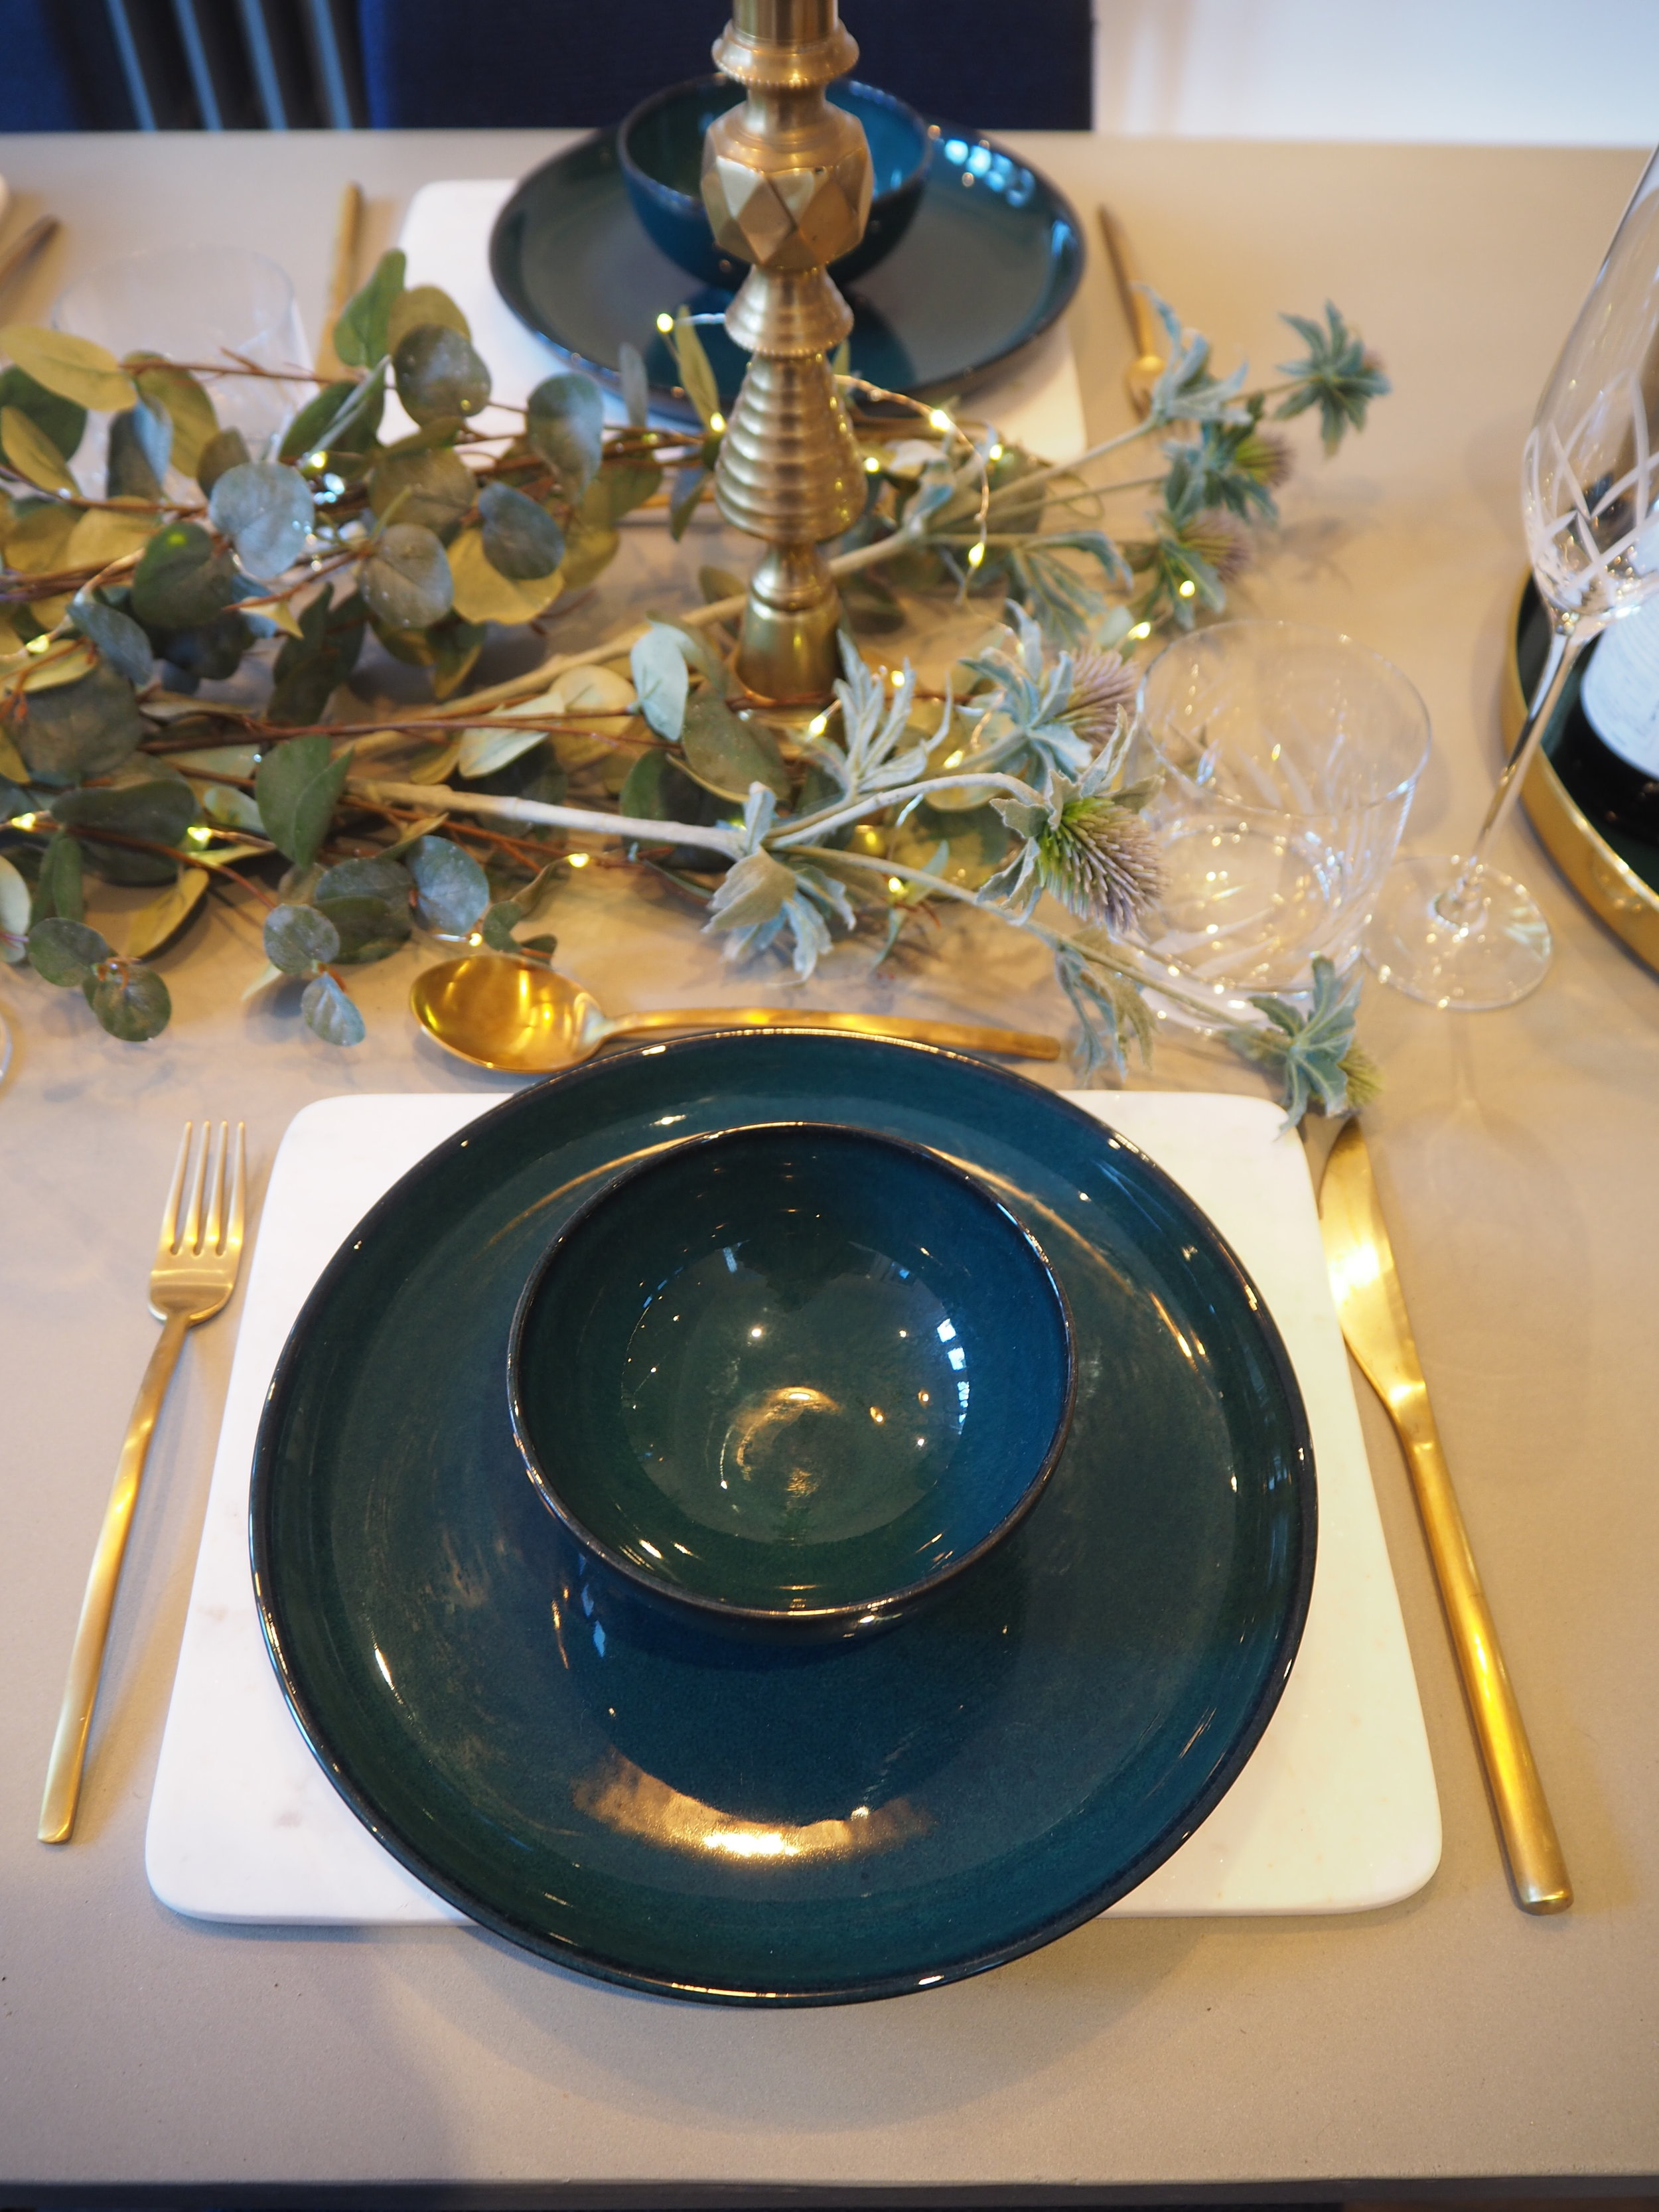
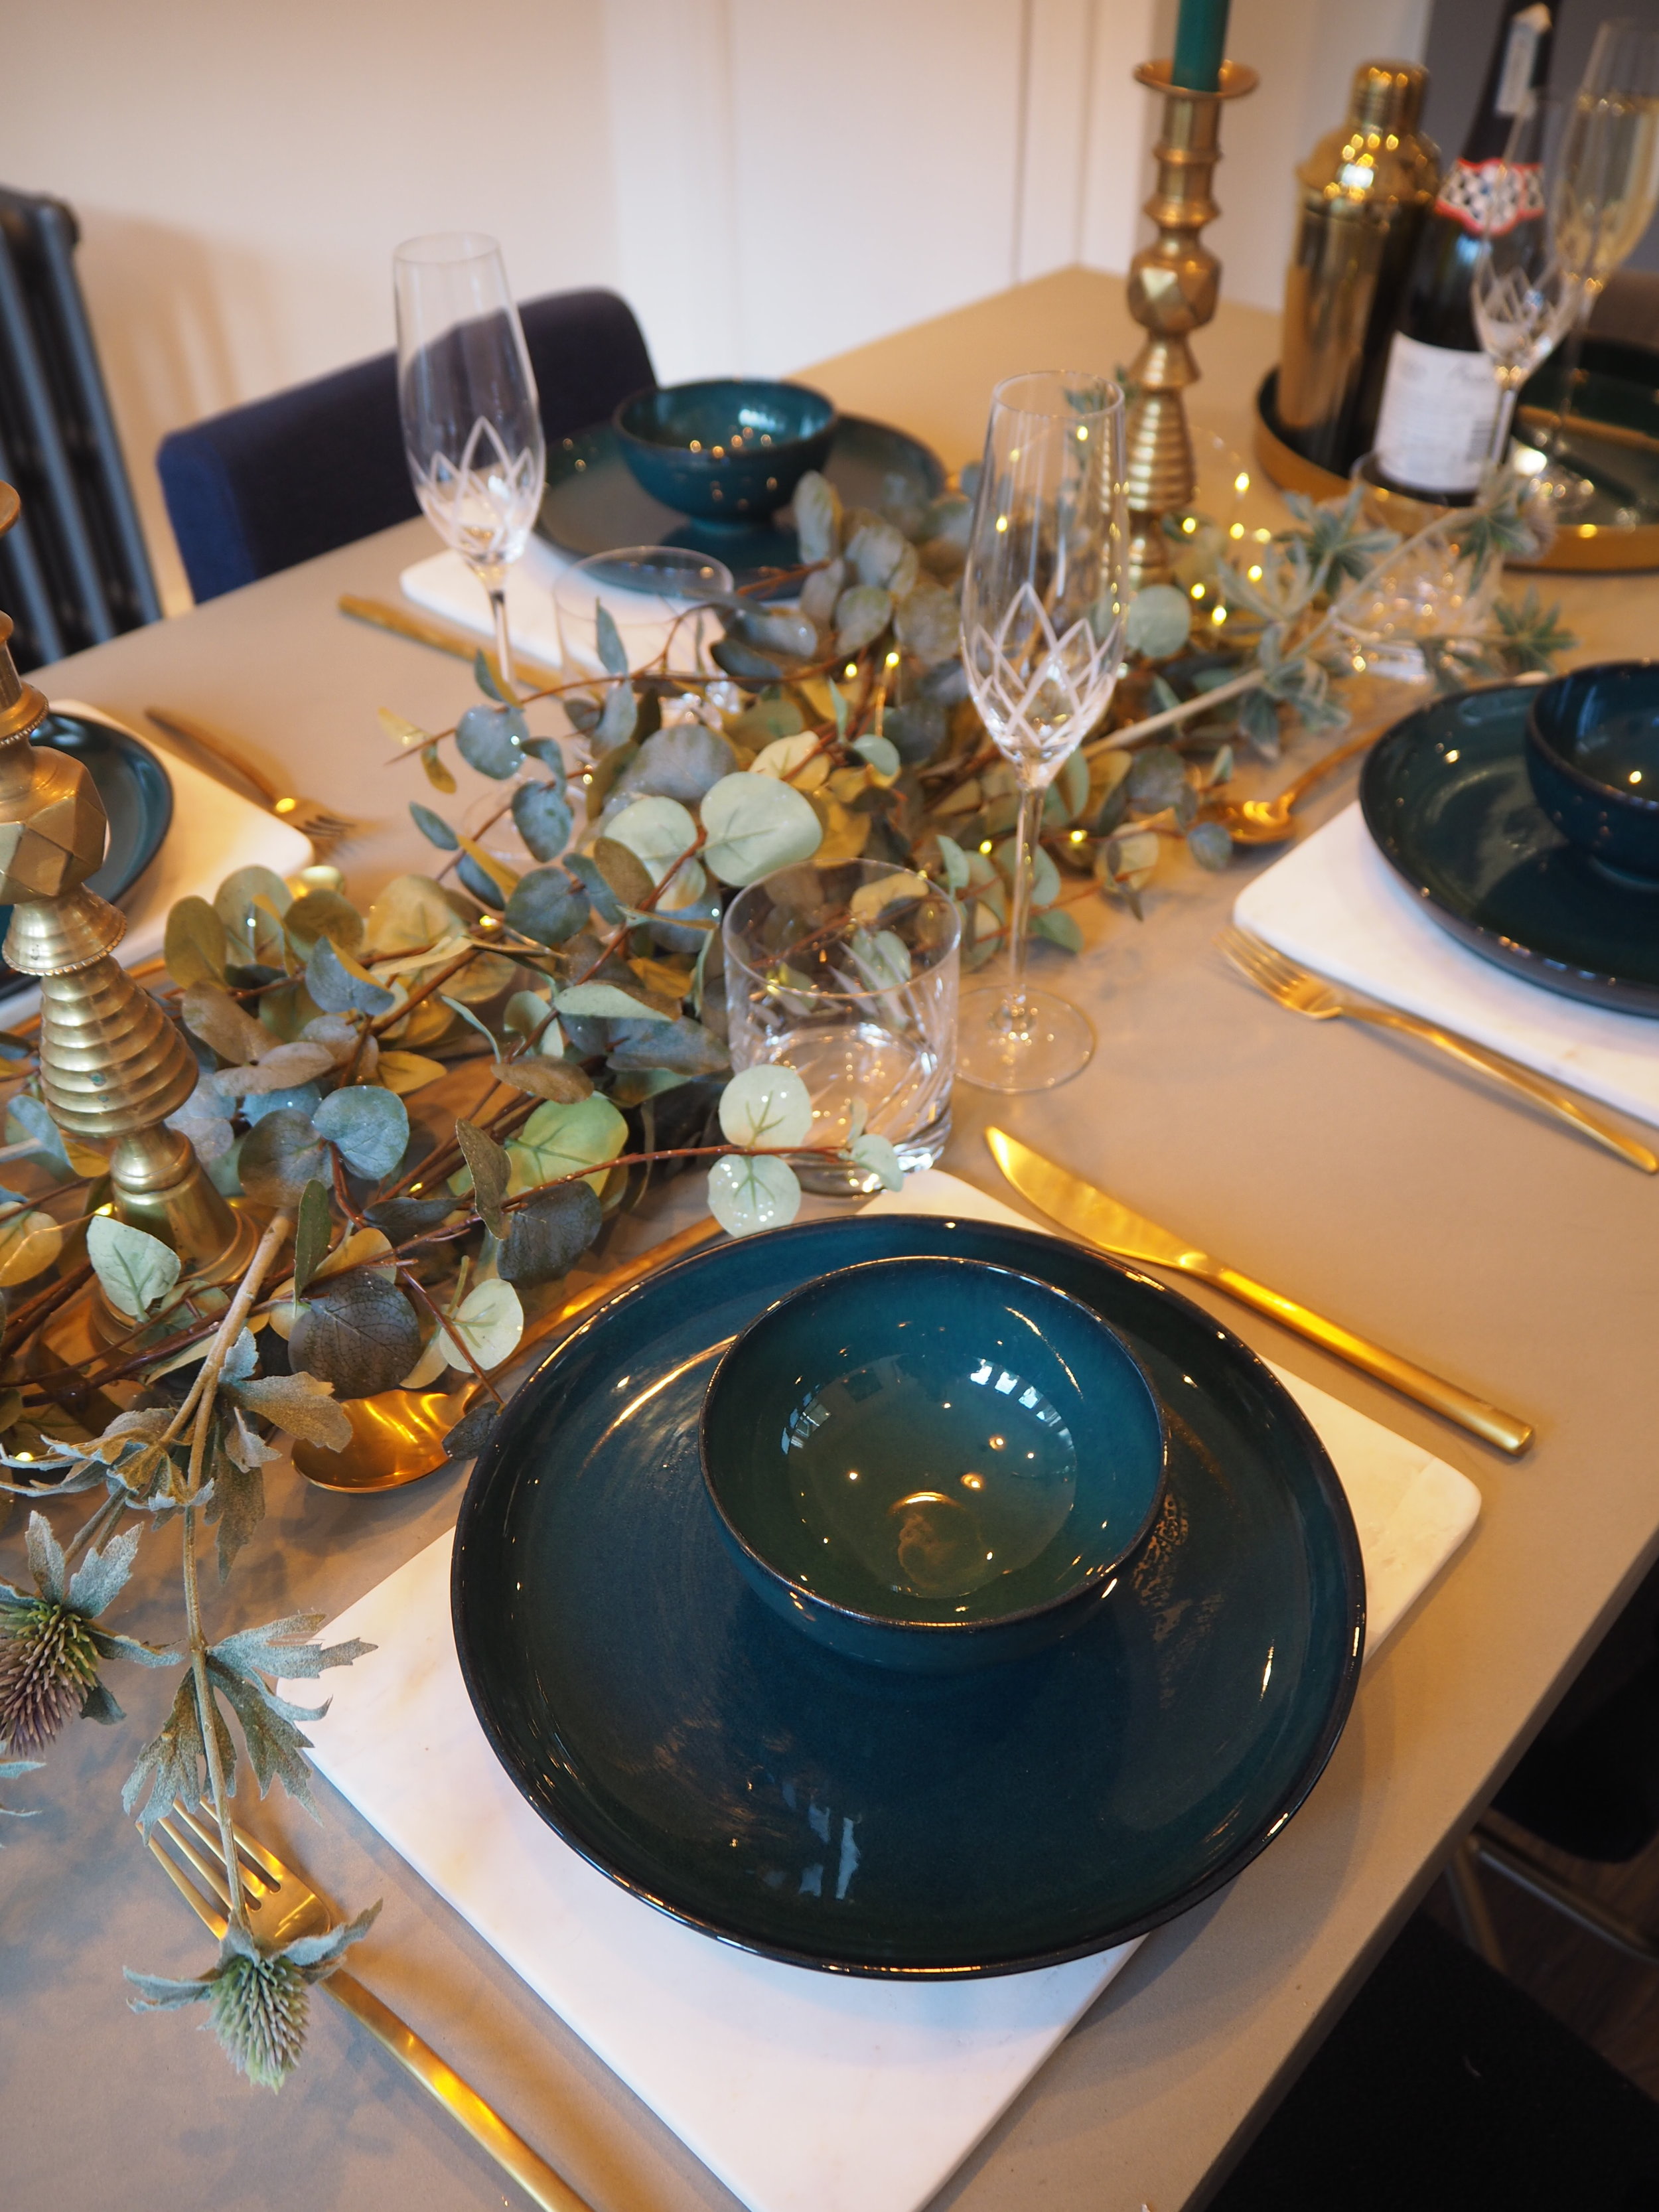
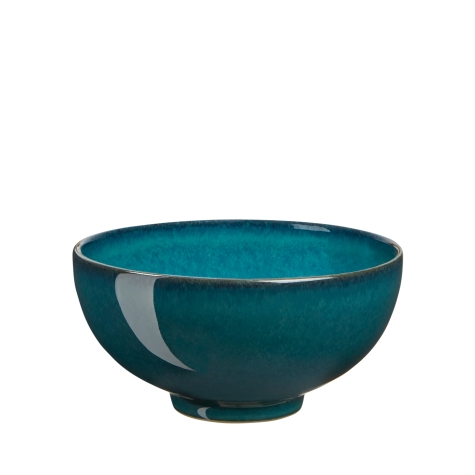
This year I was kindly given these gorgeous sea green plates, bowls from the Denby Greenwich range and beautiful crystal glassware also by the lovely folks at Denby. So, what better way to show them off than with a small fam-a-lam dinner while the Christmas foliage is still out.

I’m a massive fan of British design and have been a fan of Denby pottery for years. Just like the prawn cocktail, Denby is also a family classic having grown up with my parents having denby dinner plates when I was a child.

Made in Derbyshire, denby has been making pottery for over the last 200 years and their range still offers some old classics like the Halo collection which has a beautiful ombre effect to some more modern shapes and colours like the Deli collection in pretty pastel tones with red rims. 

Their expertise doesn't stop there either. They have an expansive range of cookware and glassware including the Lotus crystal champagne flutes and Rio crystal tumblers shown in the photos. 

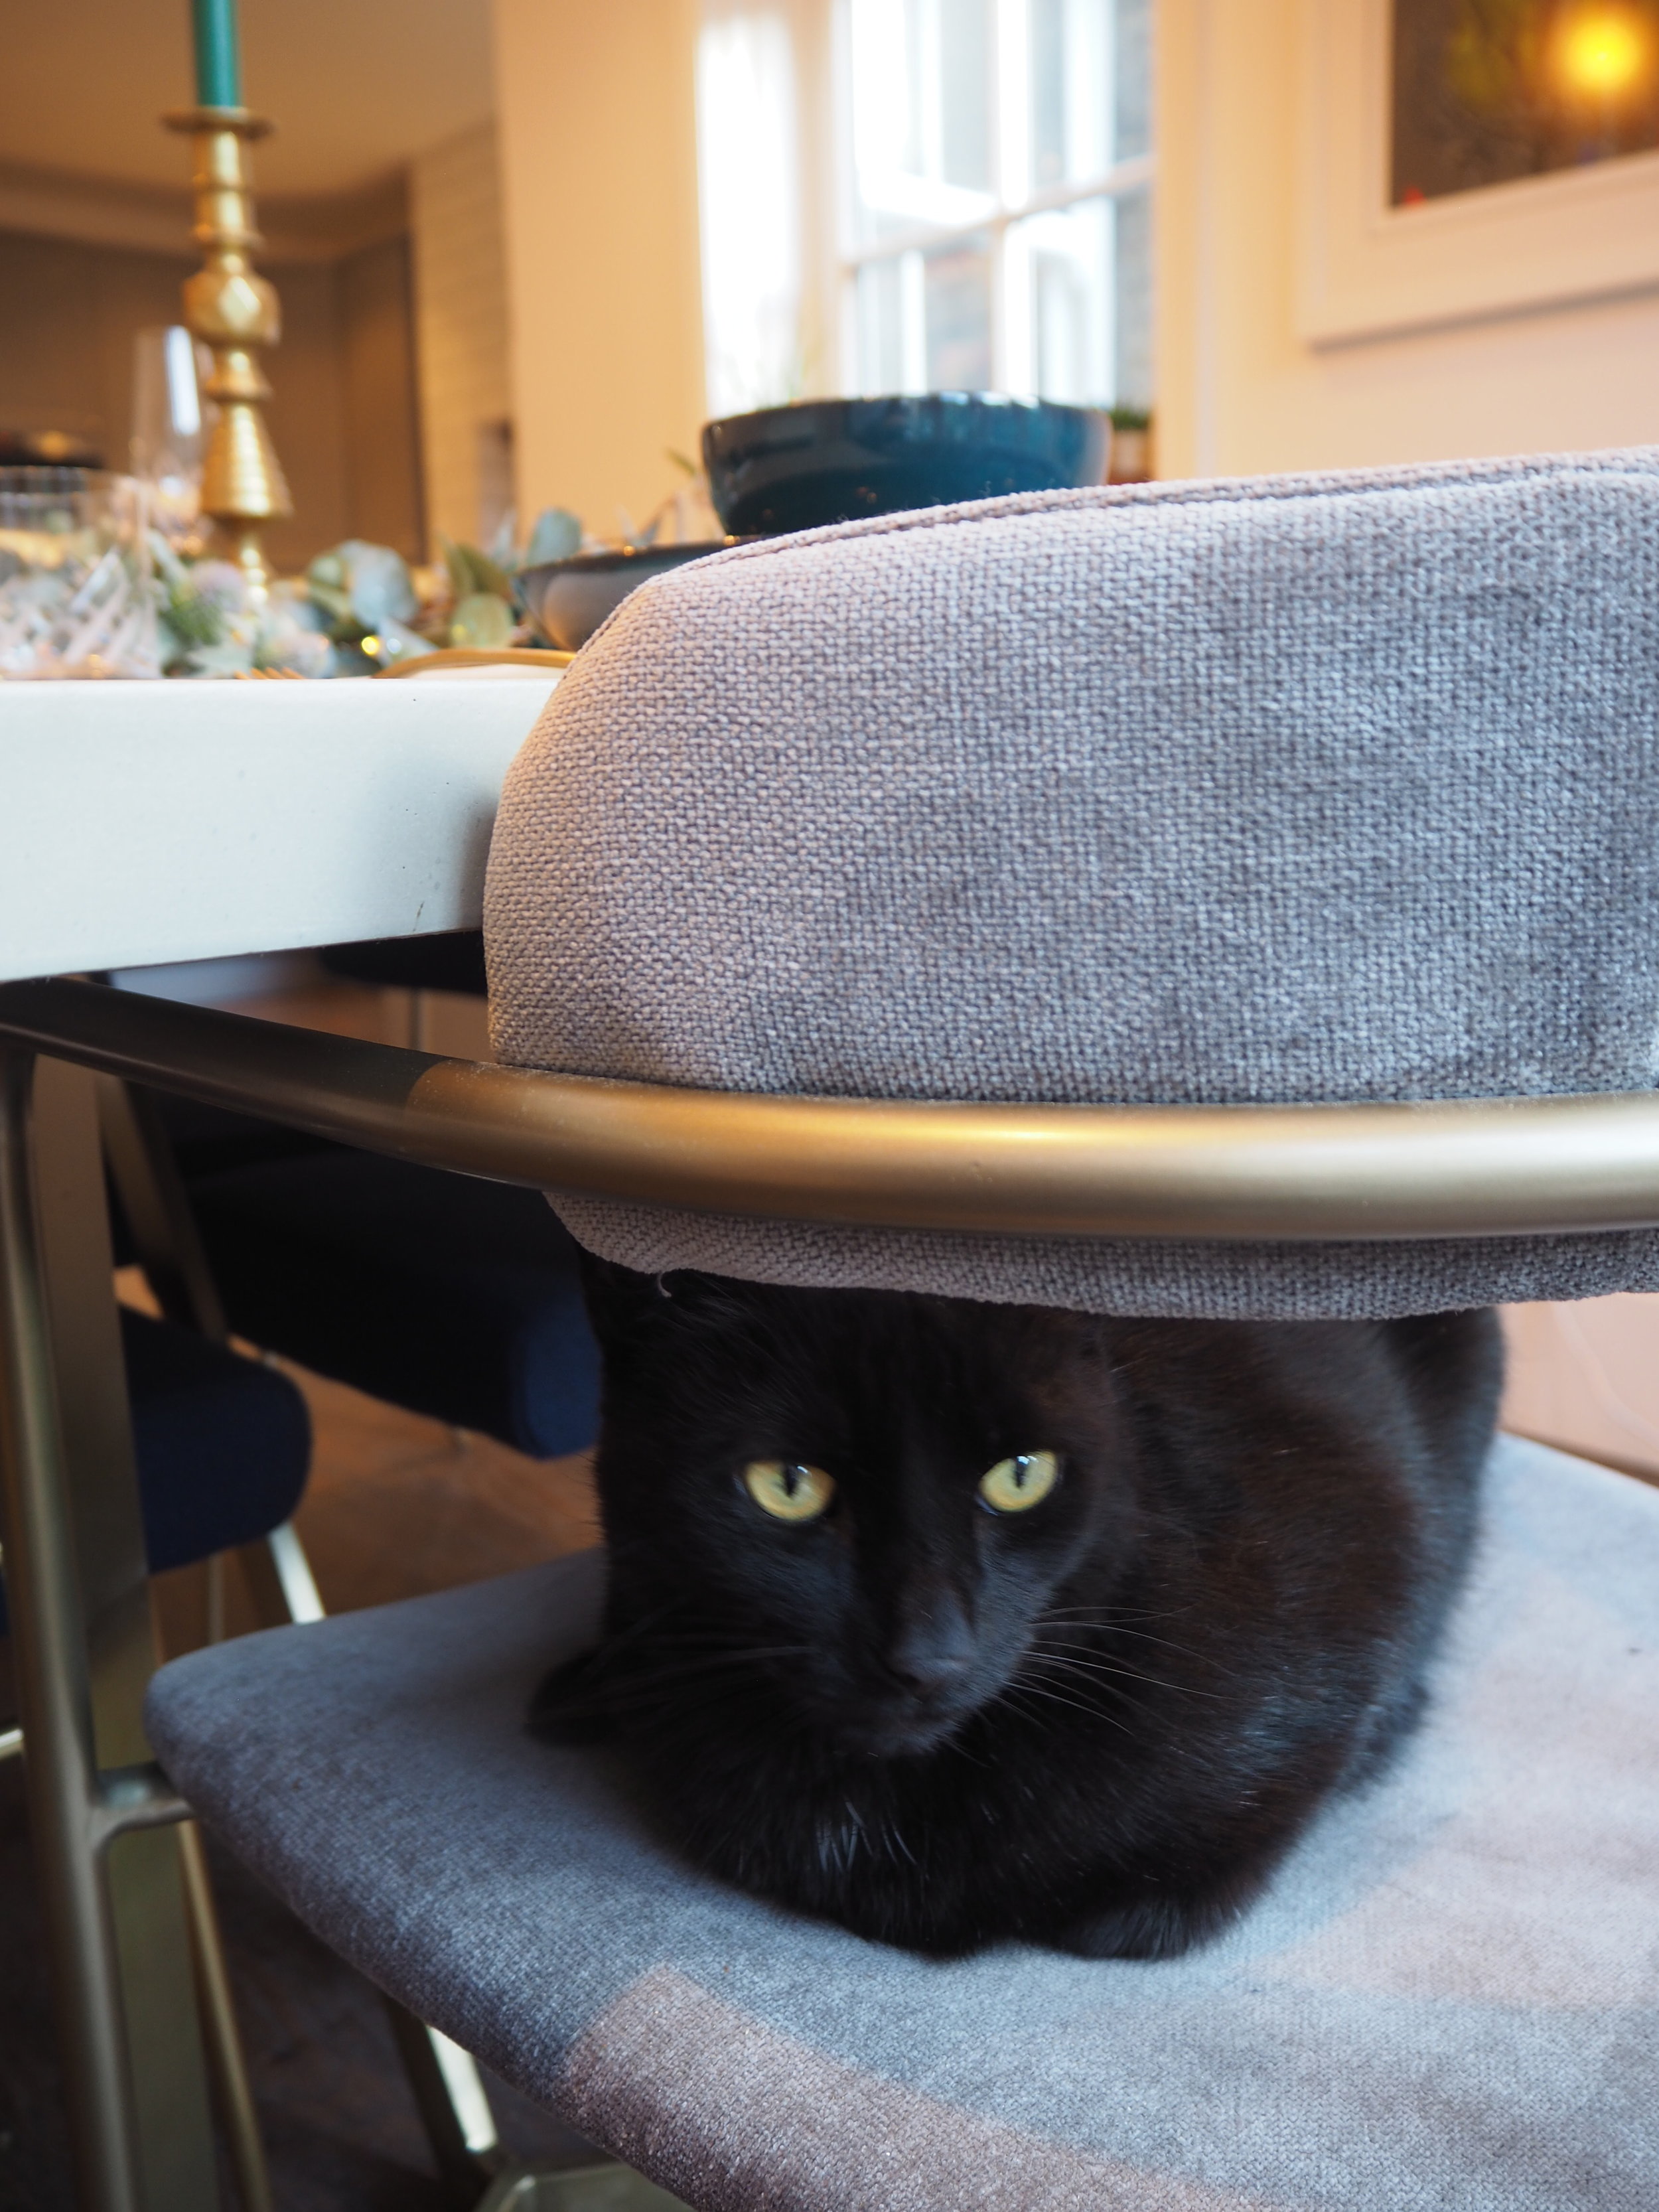
Denby pride themselves on their craftsmanship and it really shows in their products. These sea green plates and bowls have such a strong personality, they were the big talking point around the table when everyone’s use to seeing run of the mill white tableware..... Oh and even the cat joined us at the table, but I think that was probably because of the Beef! 

(To see all of the plates, bowls and glasses in more details,  click on the links at the bottom of this post).

And if you're quick you can make the most of the Denby winter sale, with up to 40% off. (As of January 2018... Happy shopping! 

GET THE LOOK

*This post was sponsored by Denby. All words and opinions are my own.* 

INNOVATIVE DESIGN WITH BE & LIV

And just like that it was 2018! Happy new year folks! Is it too late to say it on the 3rd January? oh god I said it anyways.  Has anyone made any new year’s resolutions or better yet, broken any?

Mine for 2018 is to definitely blog more. I’ve been a bit AWOL recently. It’s a long story and I’m sure I will write about it soon in more depth, but two big things have been happening recently. The first was a major renovation project in our loft. Ok, so those who have or haven’t had their lofts converted are all shouting.. that’s not major! But, I can’t even begin to talk about the stress and mess, not to mention the wrecking of what was a perfectly nicely decorated two bed terrace house, which has now become a slightly chaotic four bed terrace. Whoop whoop!

The second thing is that I’m pregnant! I will talk about this more another time I promise, and I’m not using it as an excuse but I’ve been blooming knackered and poorly and in the early days of my pregnancy my work decided to send me to seven different countries, so when I wasn’t on a plane I just wanted to curl up on the sofa or in my bed.

But now, lucky for you guys, I’m pretty much grounded (well not quite as I'm only 23 weeks preggers), but I certainly won’t be travelling for anything work related for a while so hello House lust.. I’m back!
Let’s get 2018 off to a corker with me talking about an old favourite of mine; Be and Liv. You might remember me talking about Be & Liv last year and their funky Finnish designed cake stand- see link.

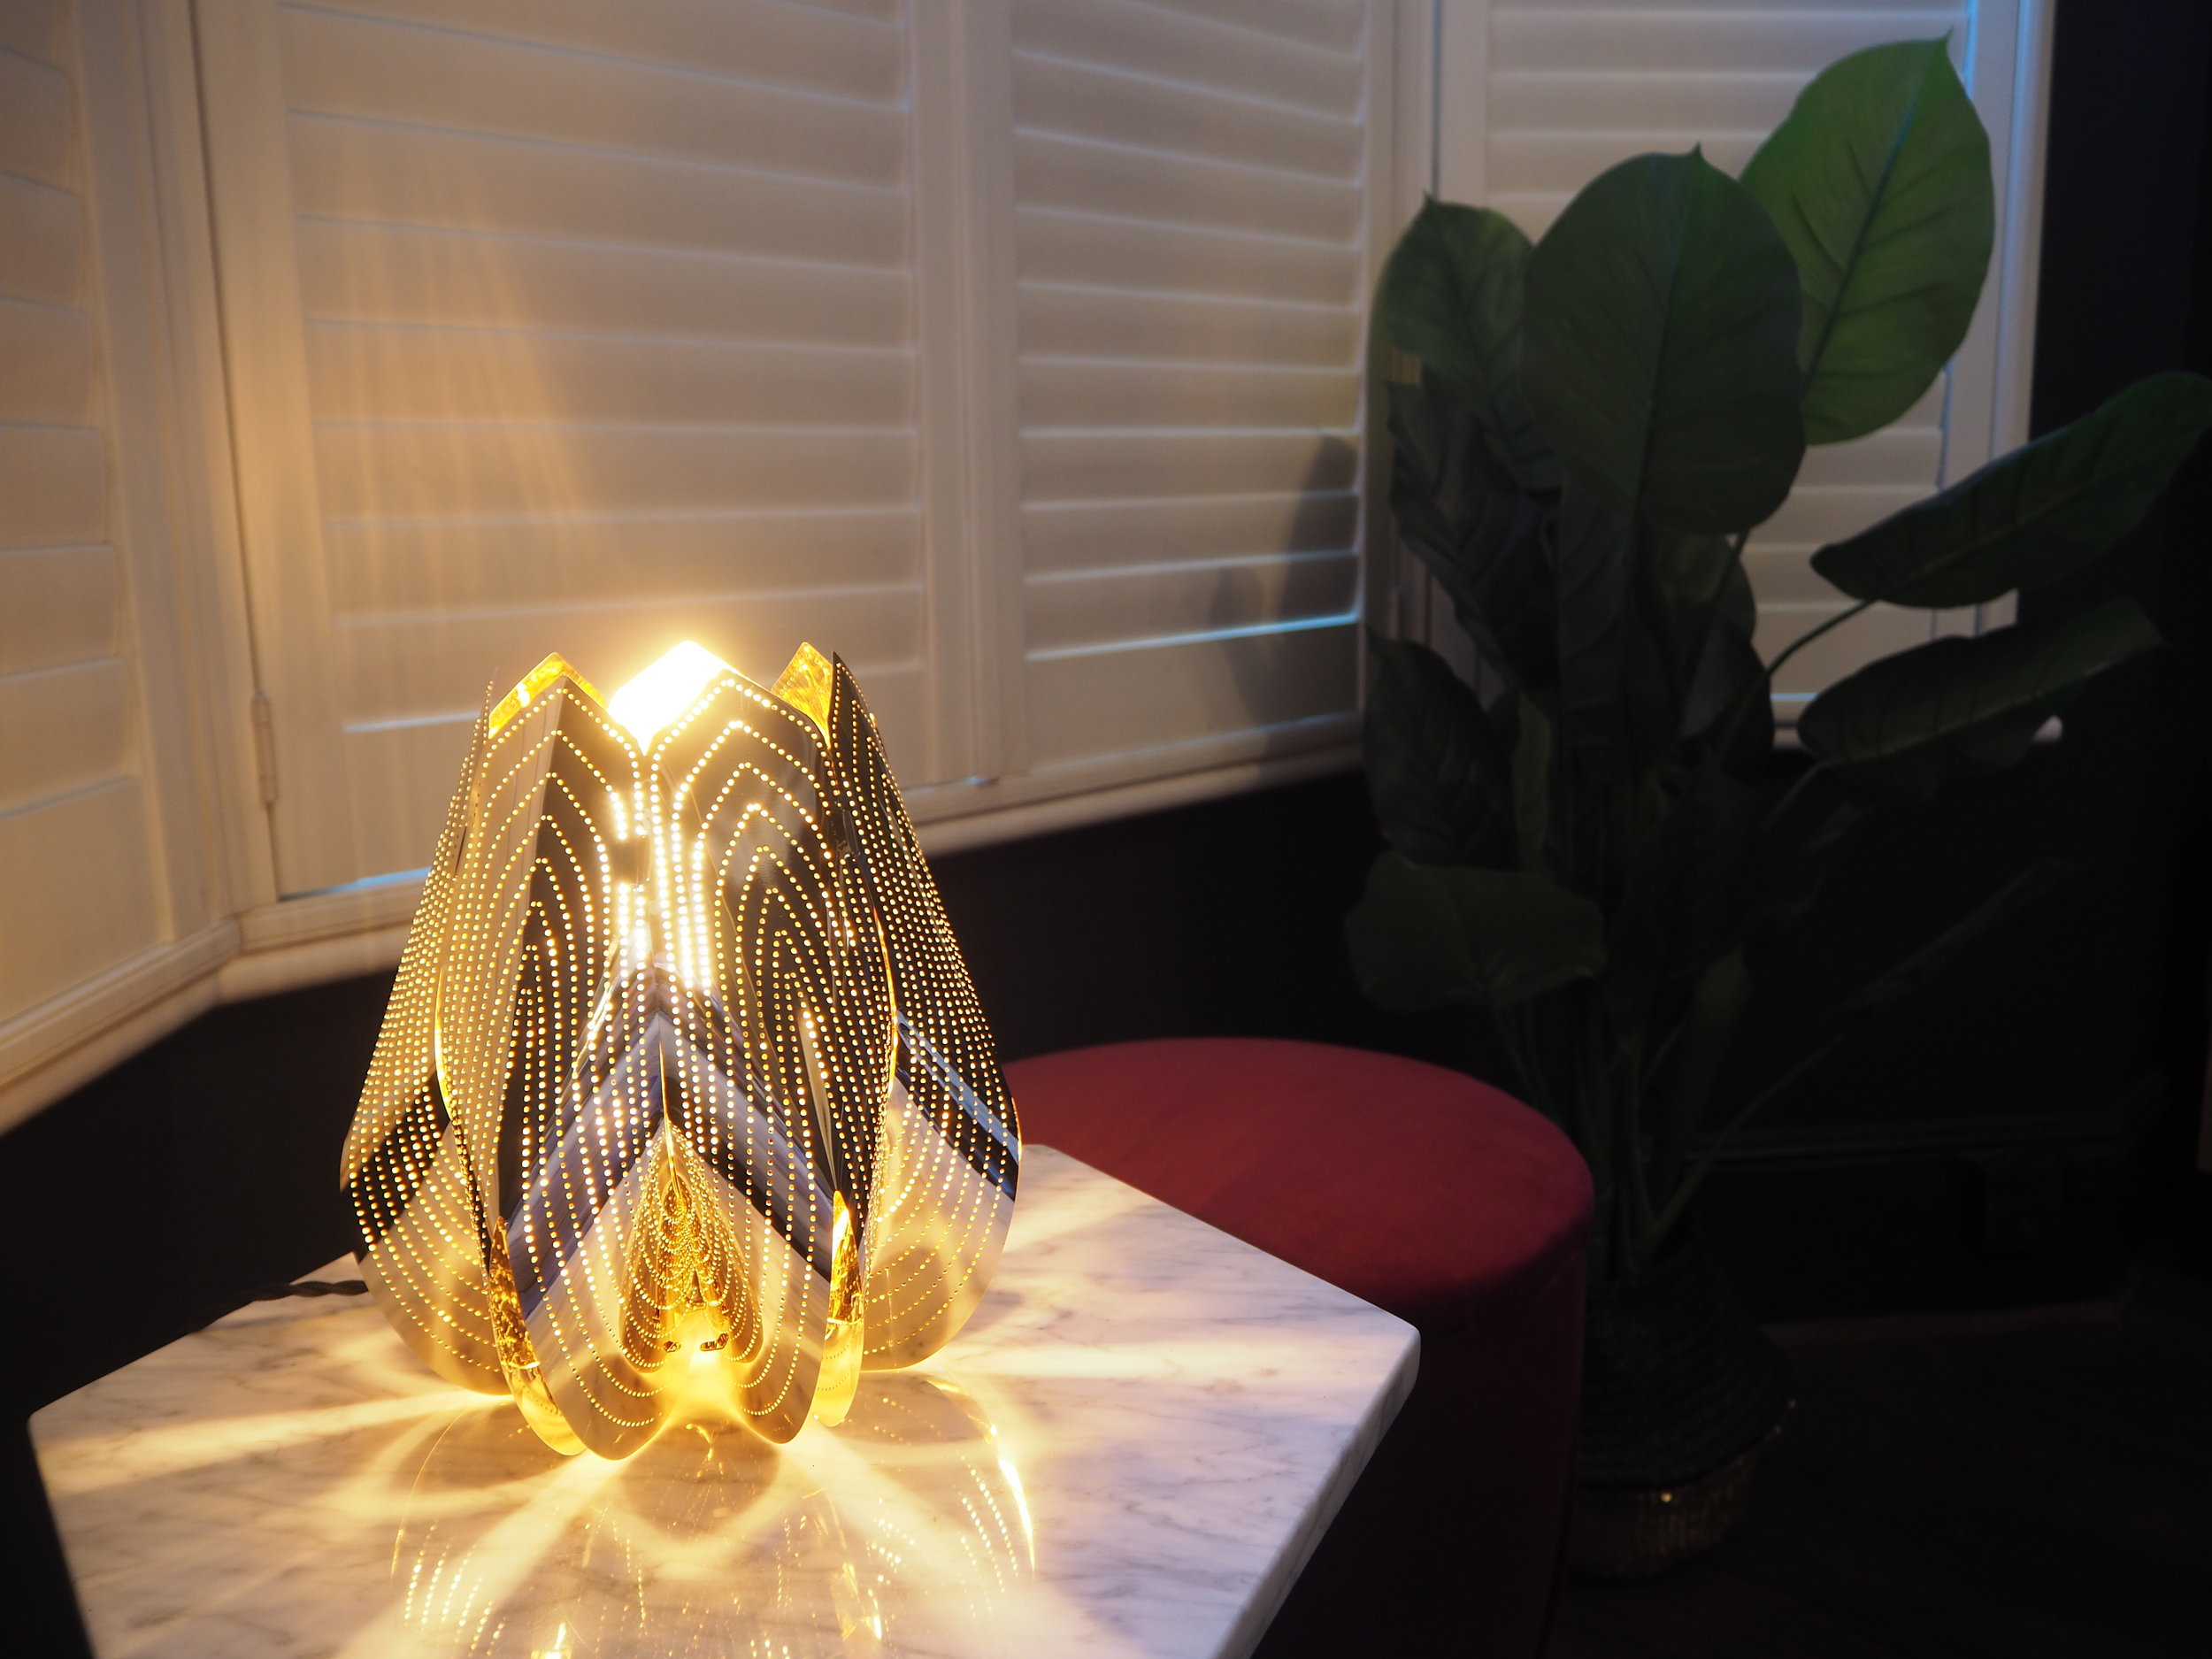
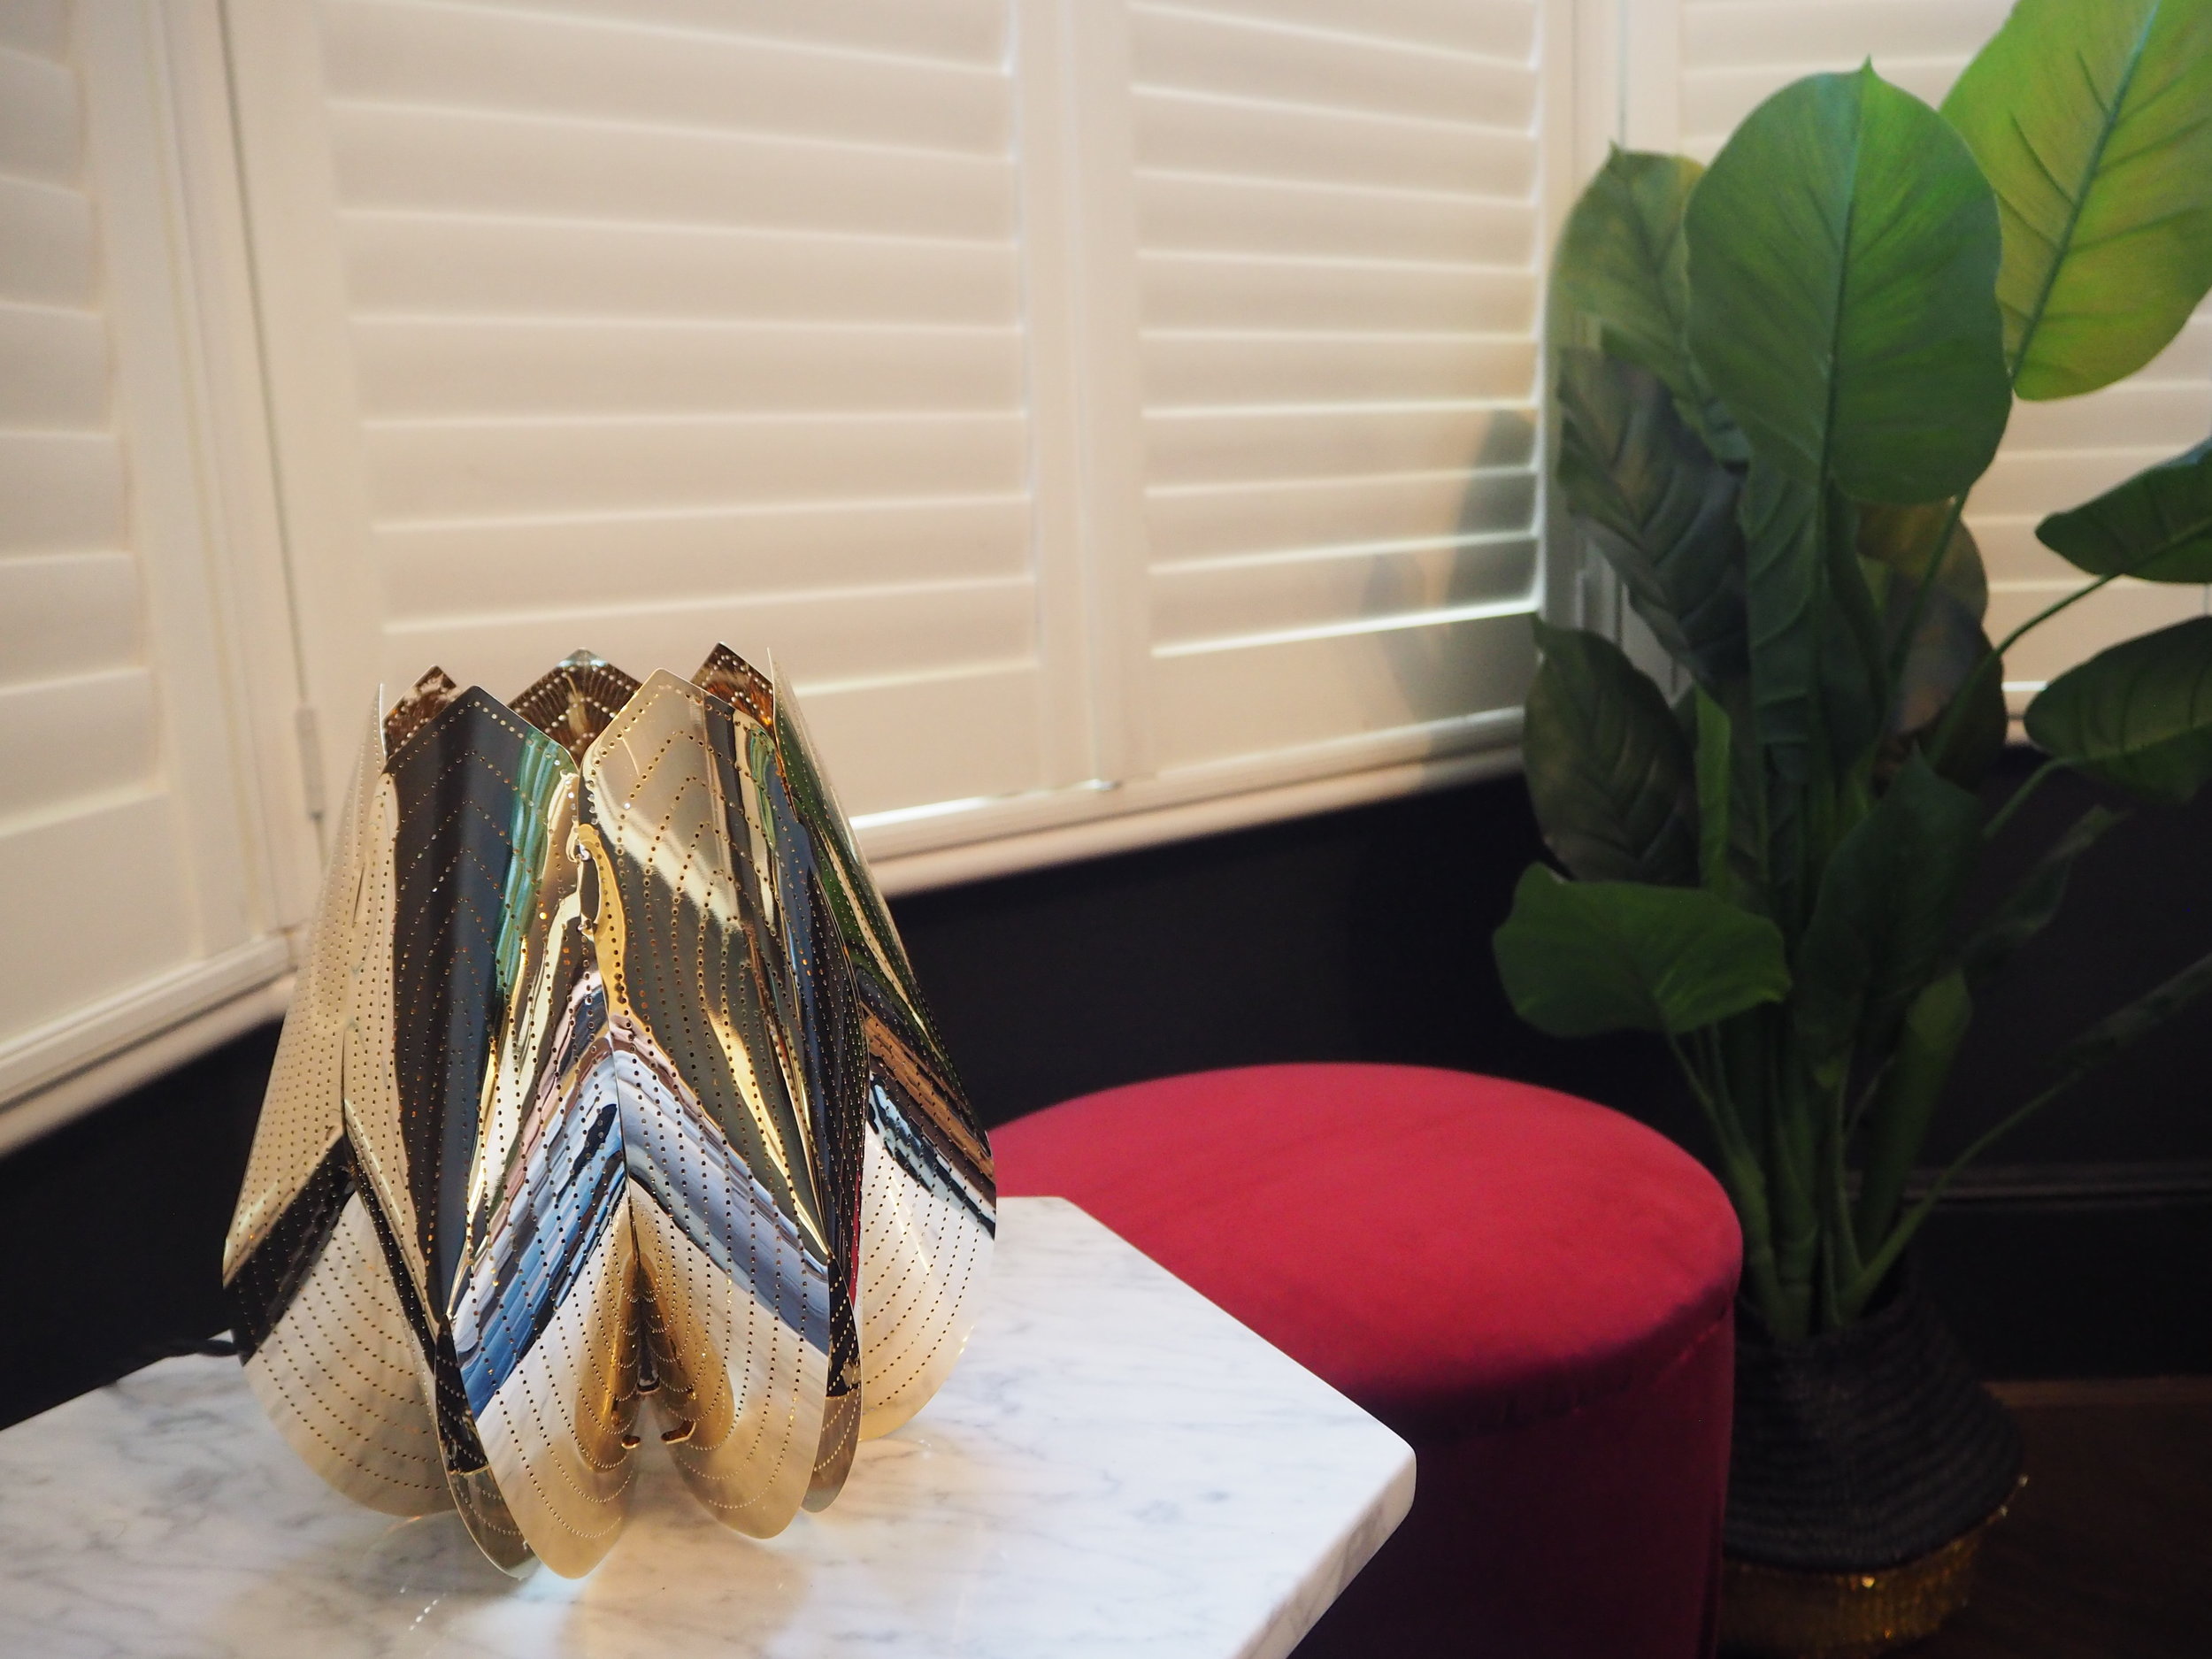
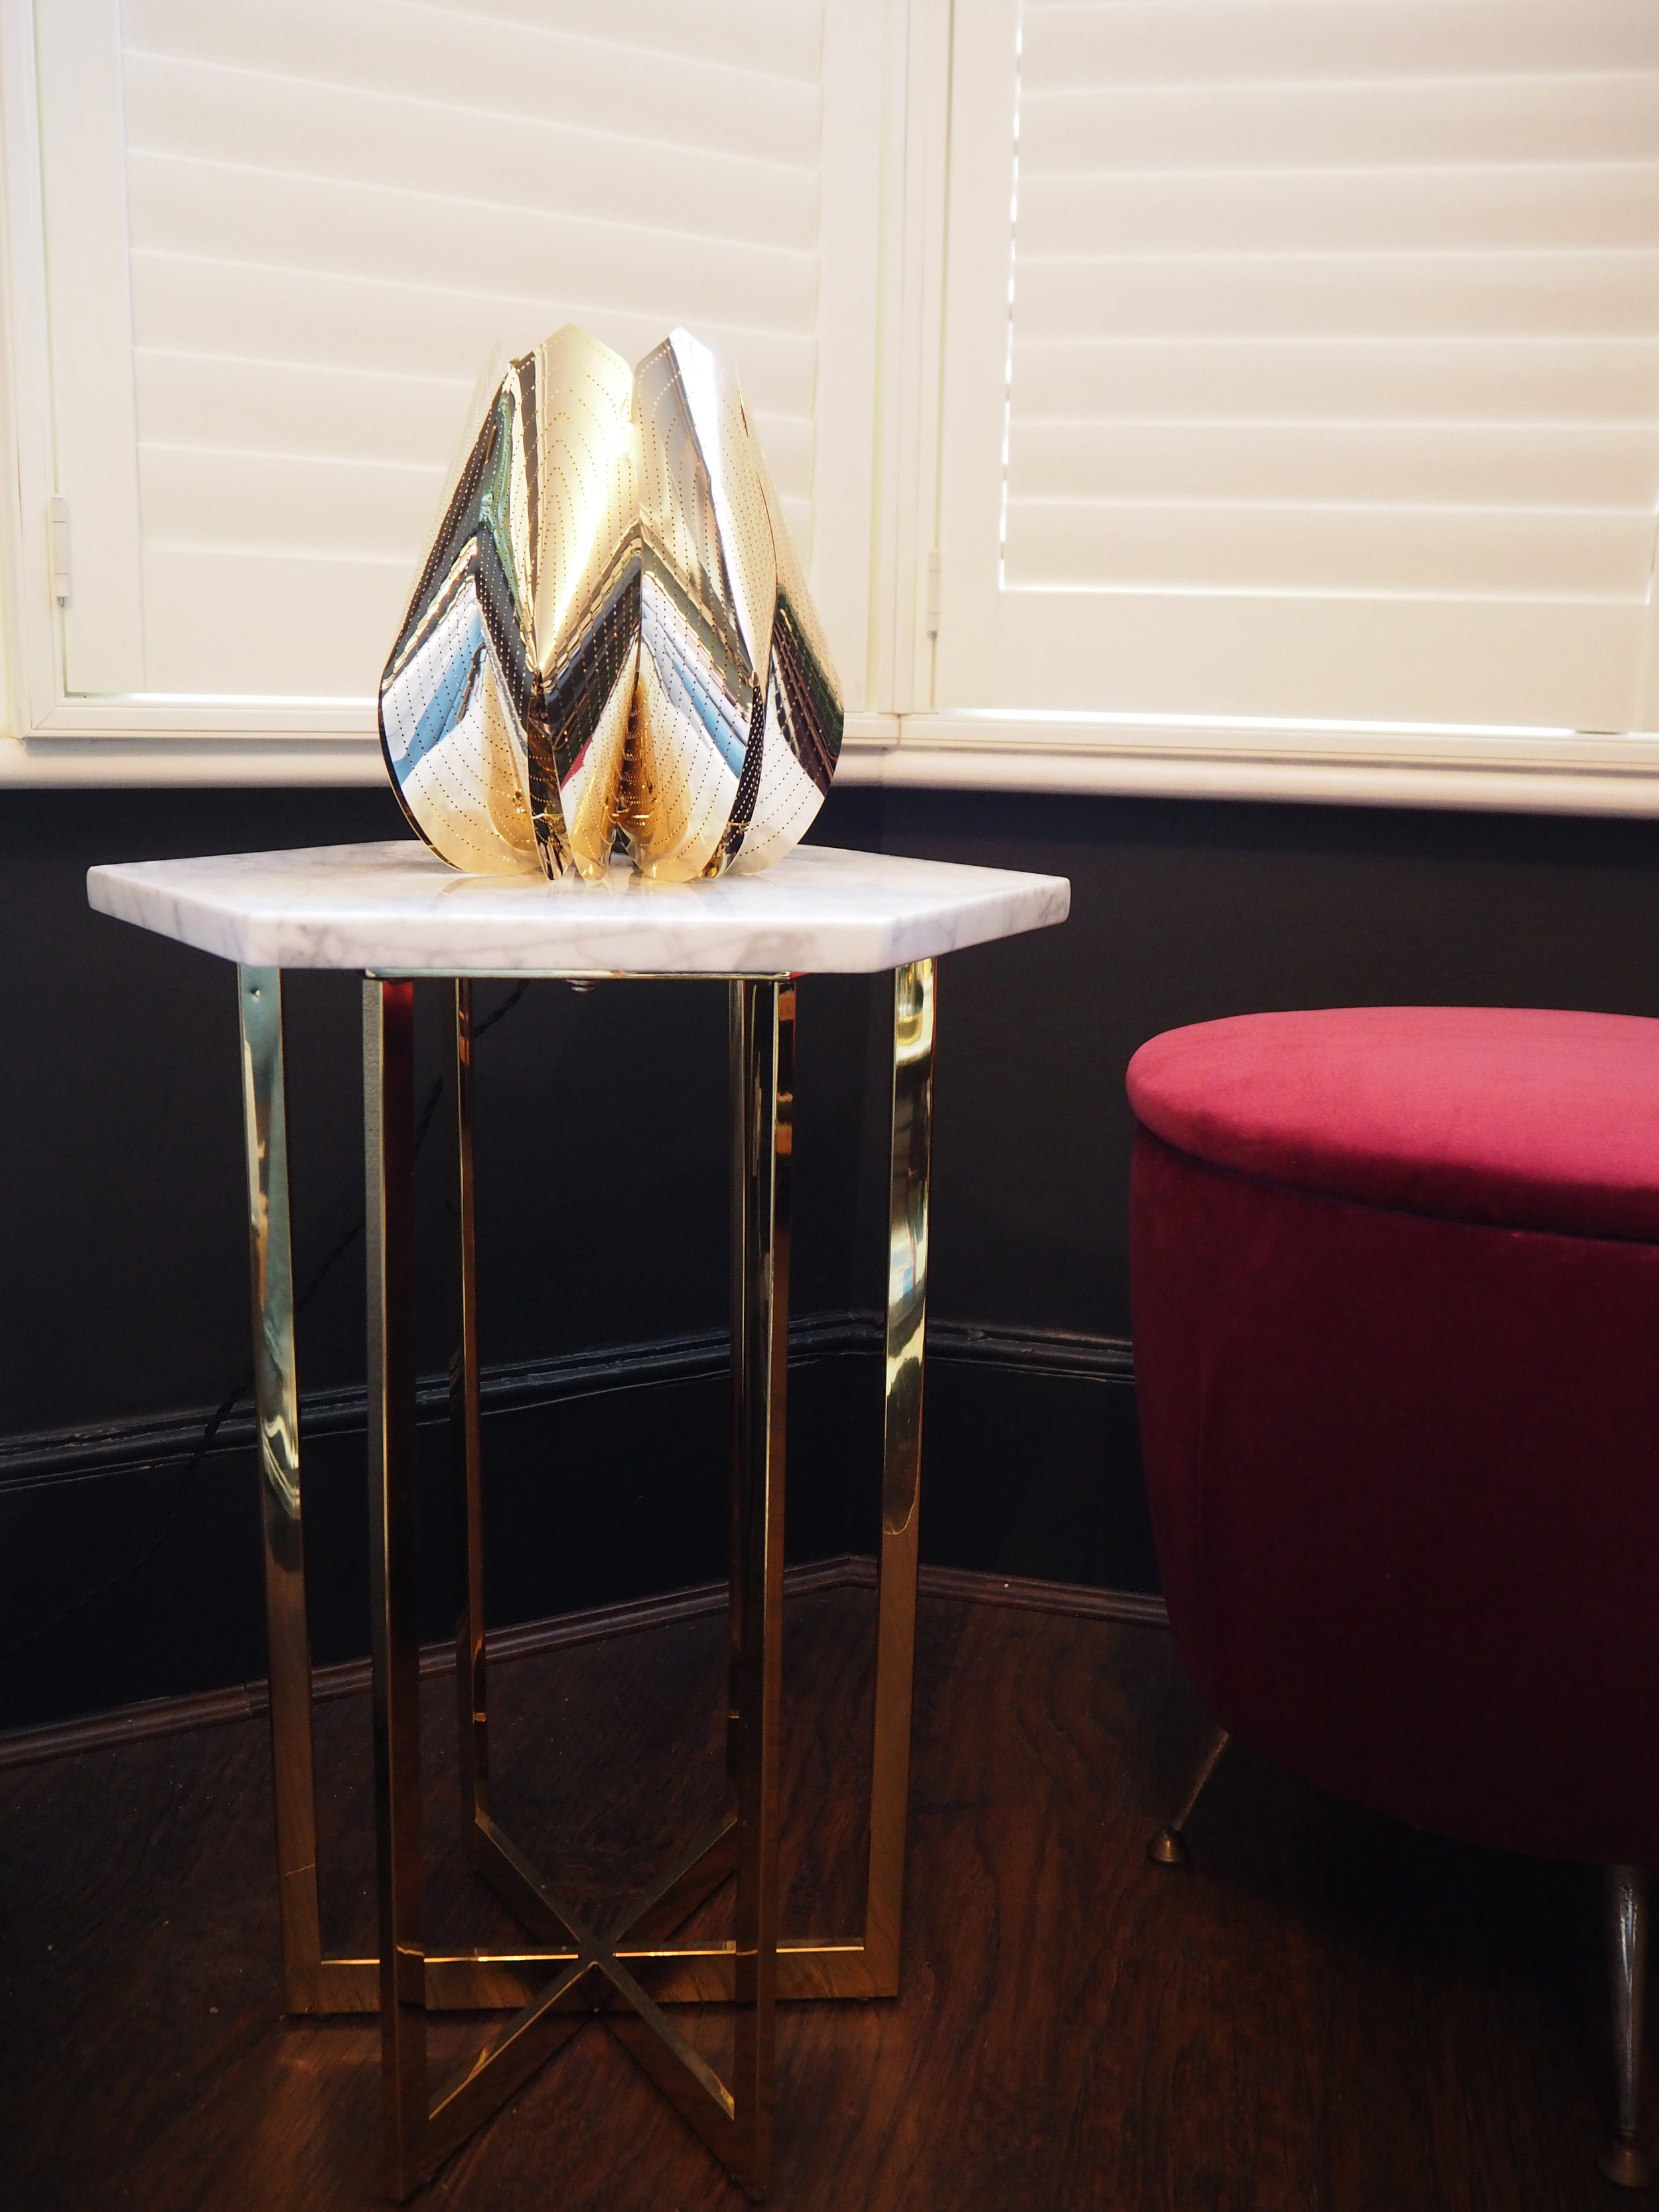
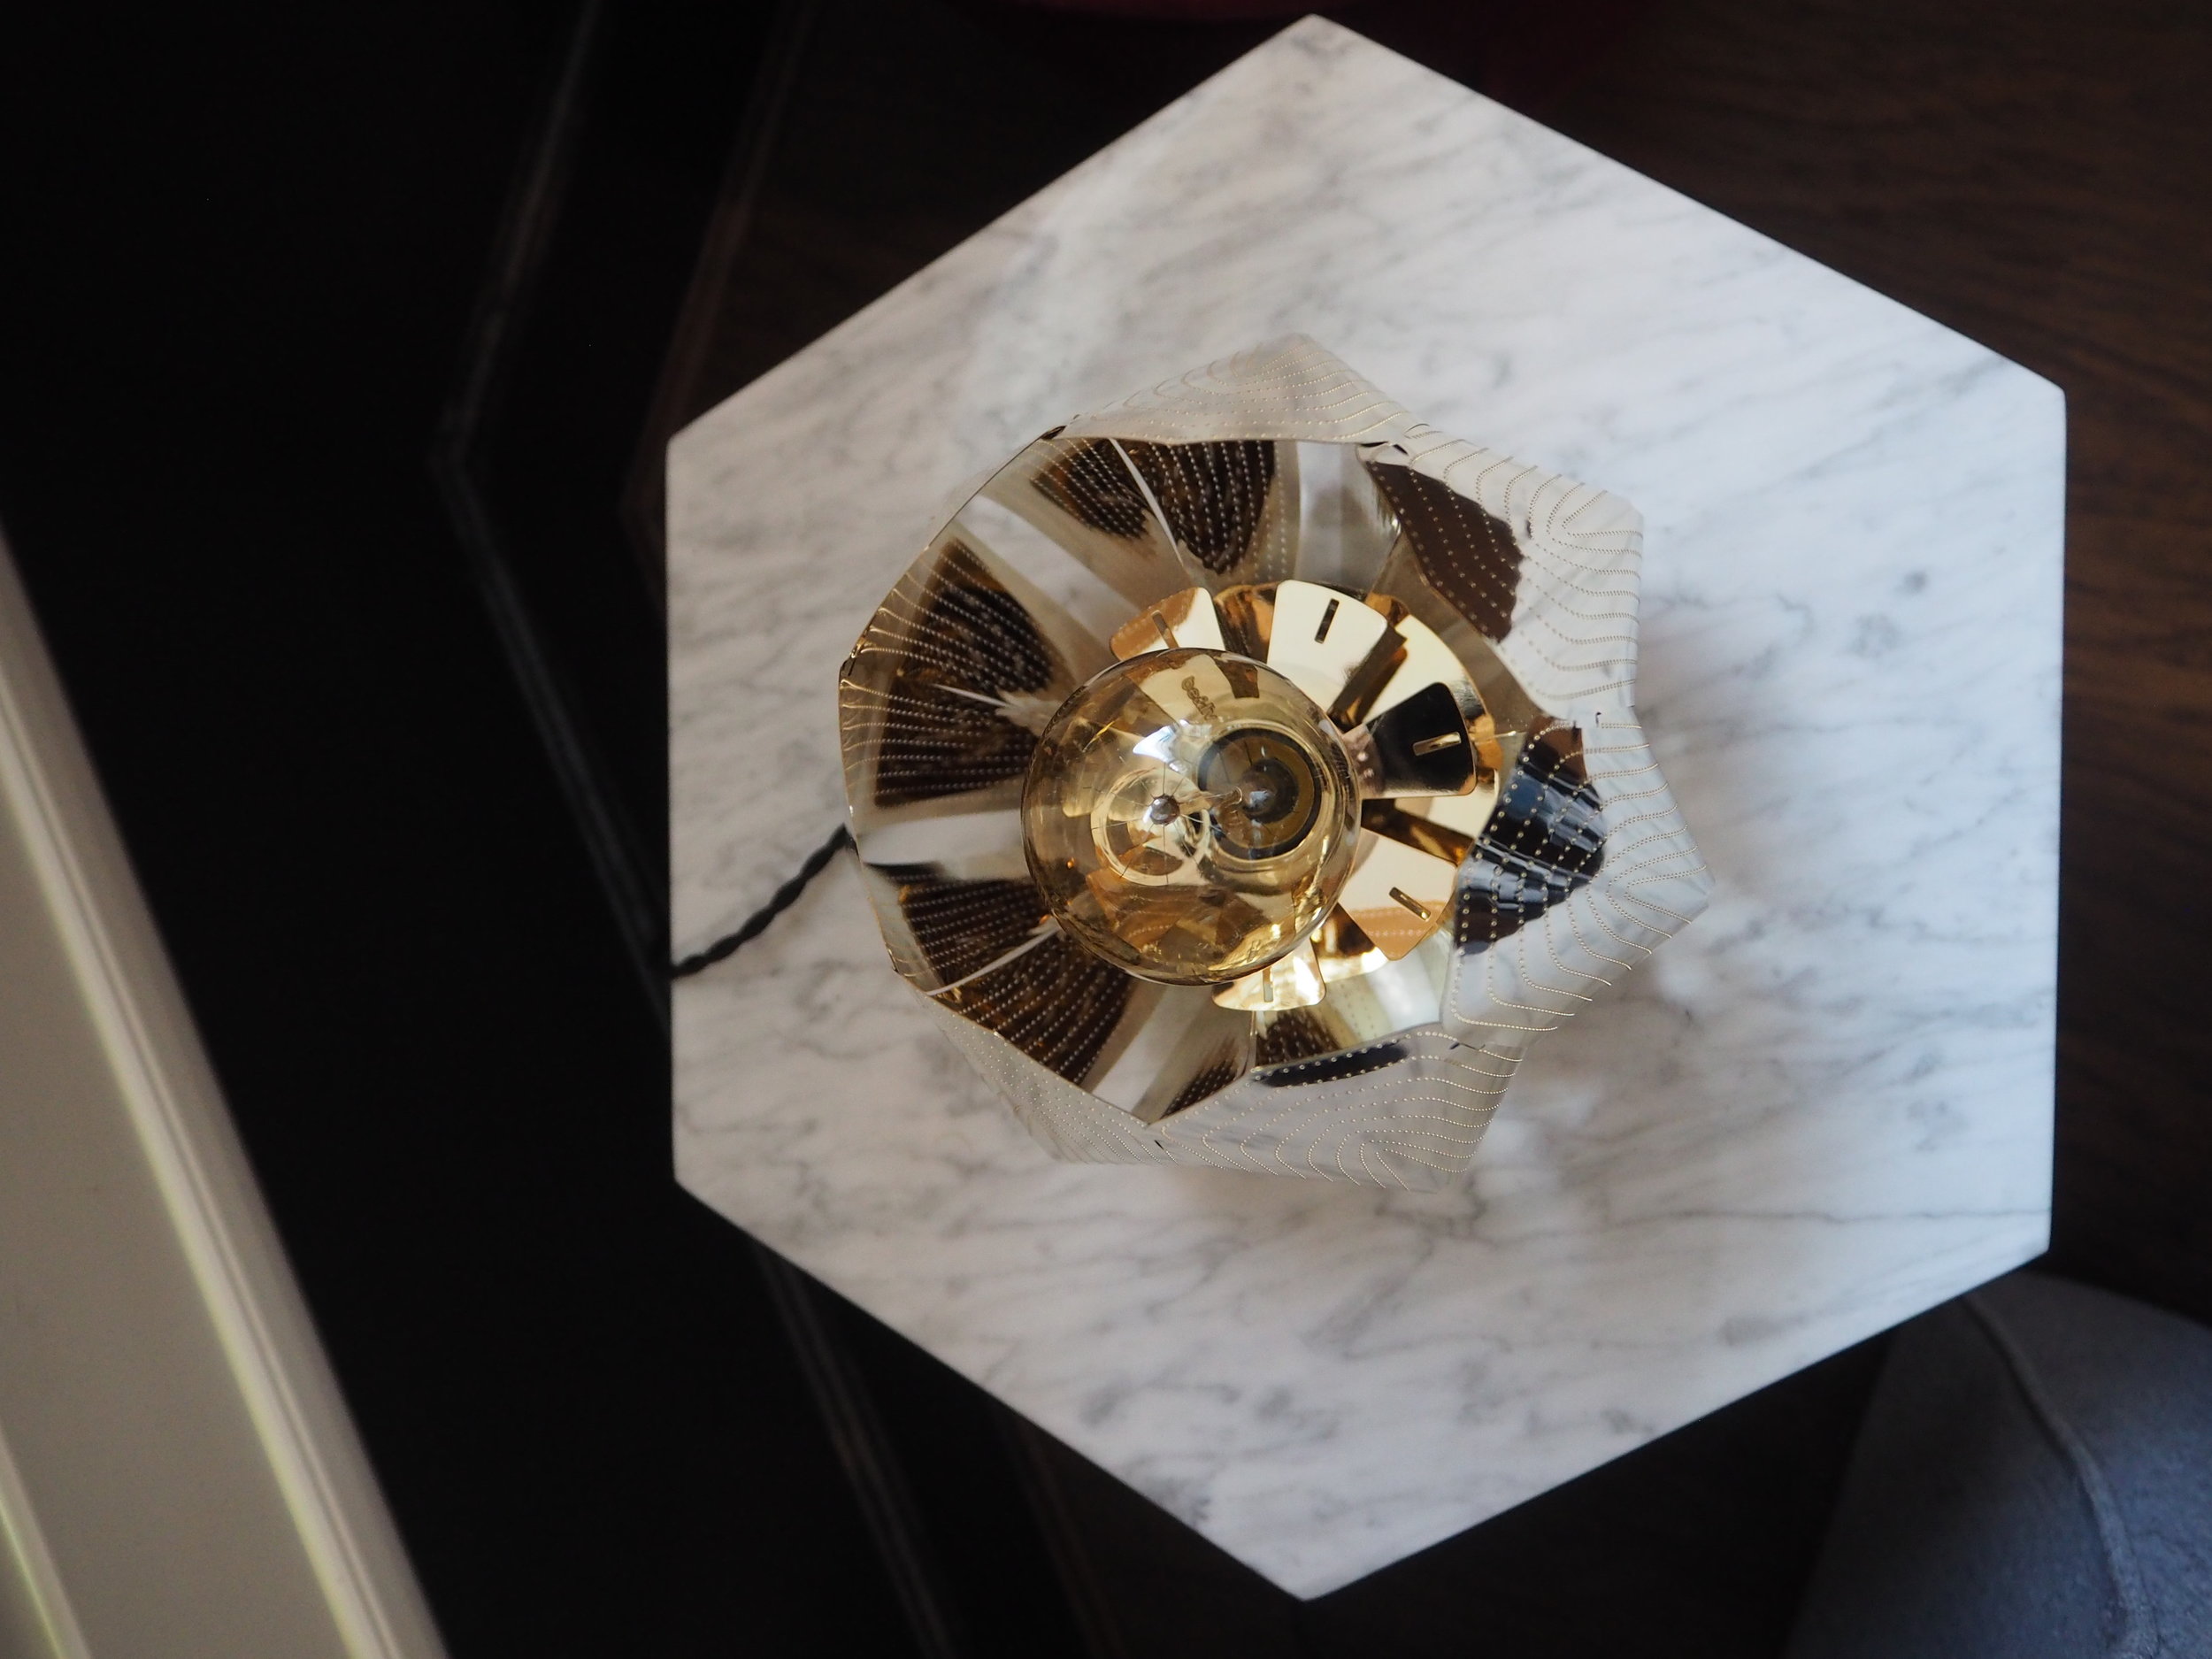
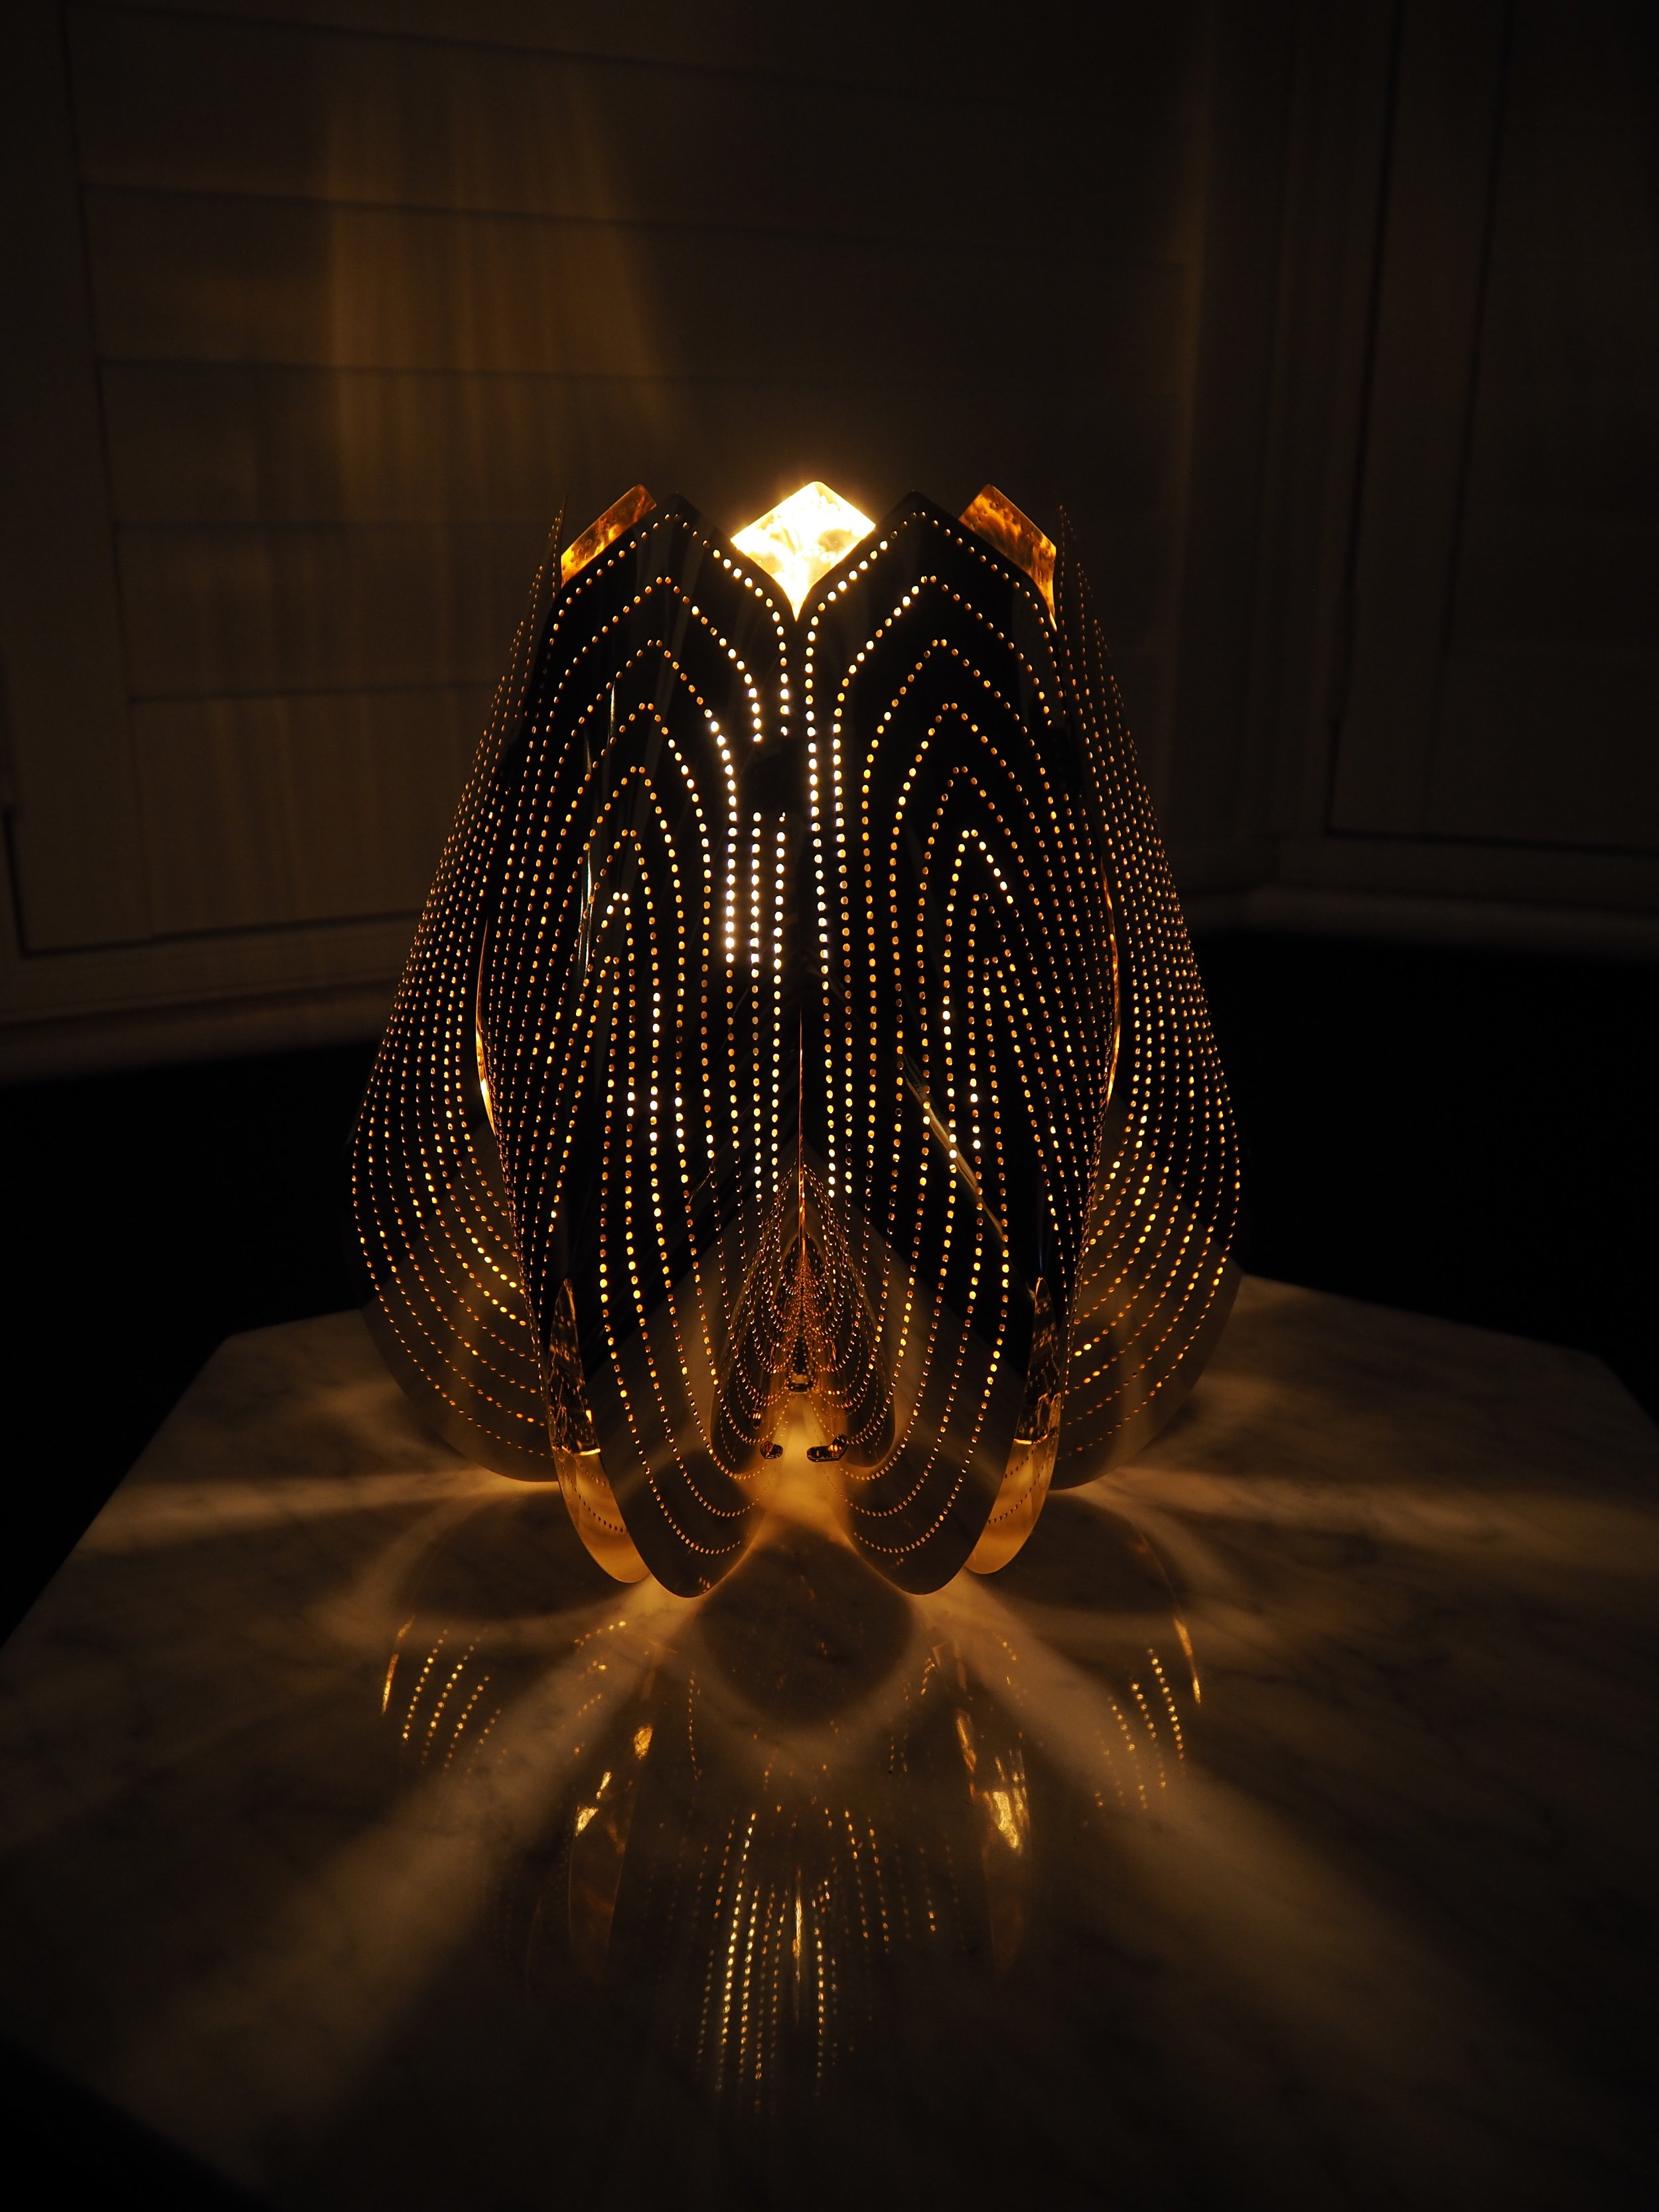
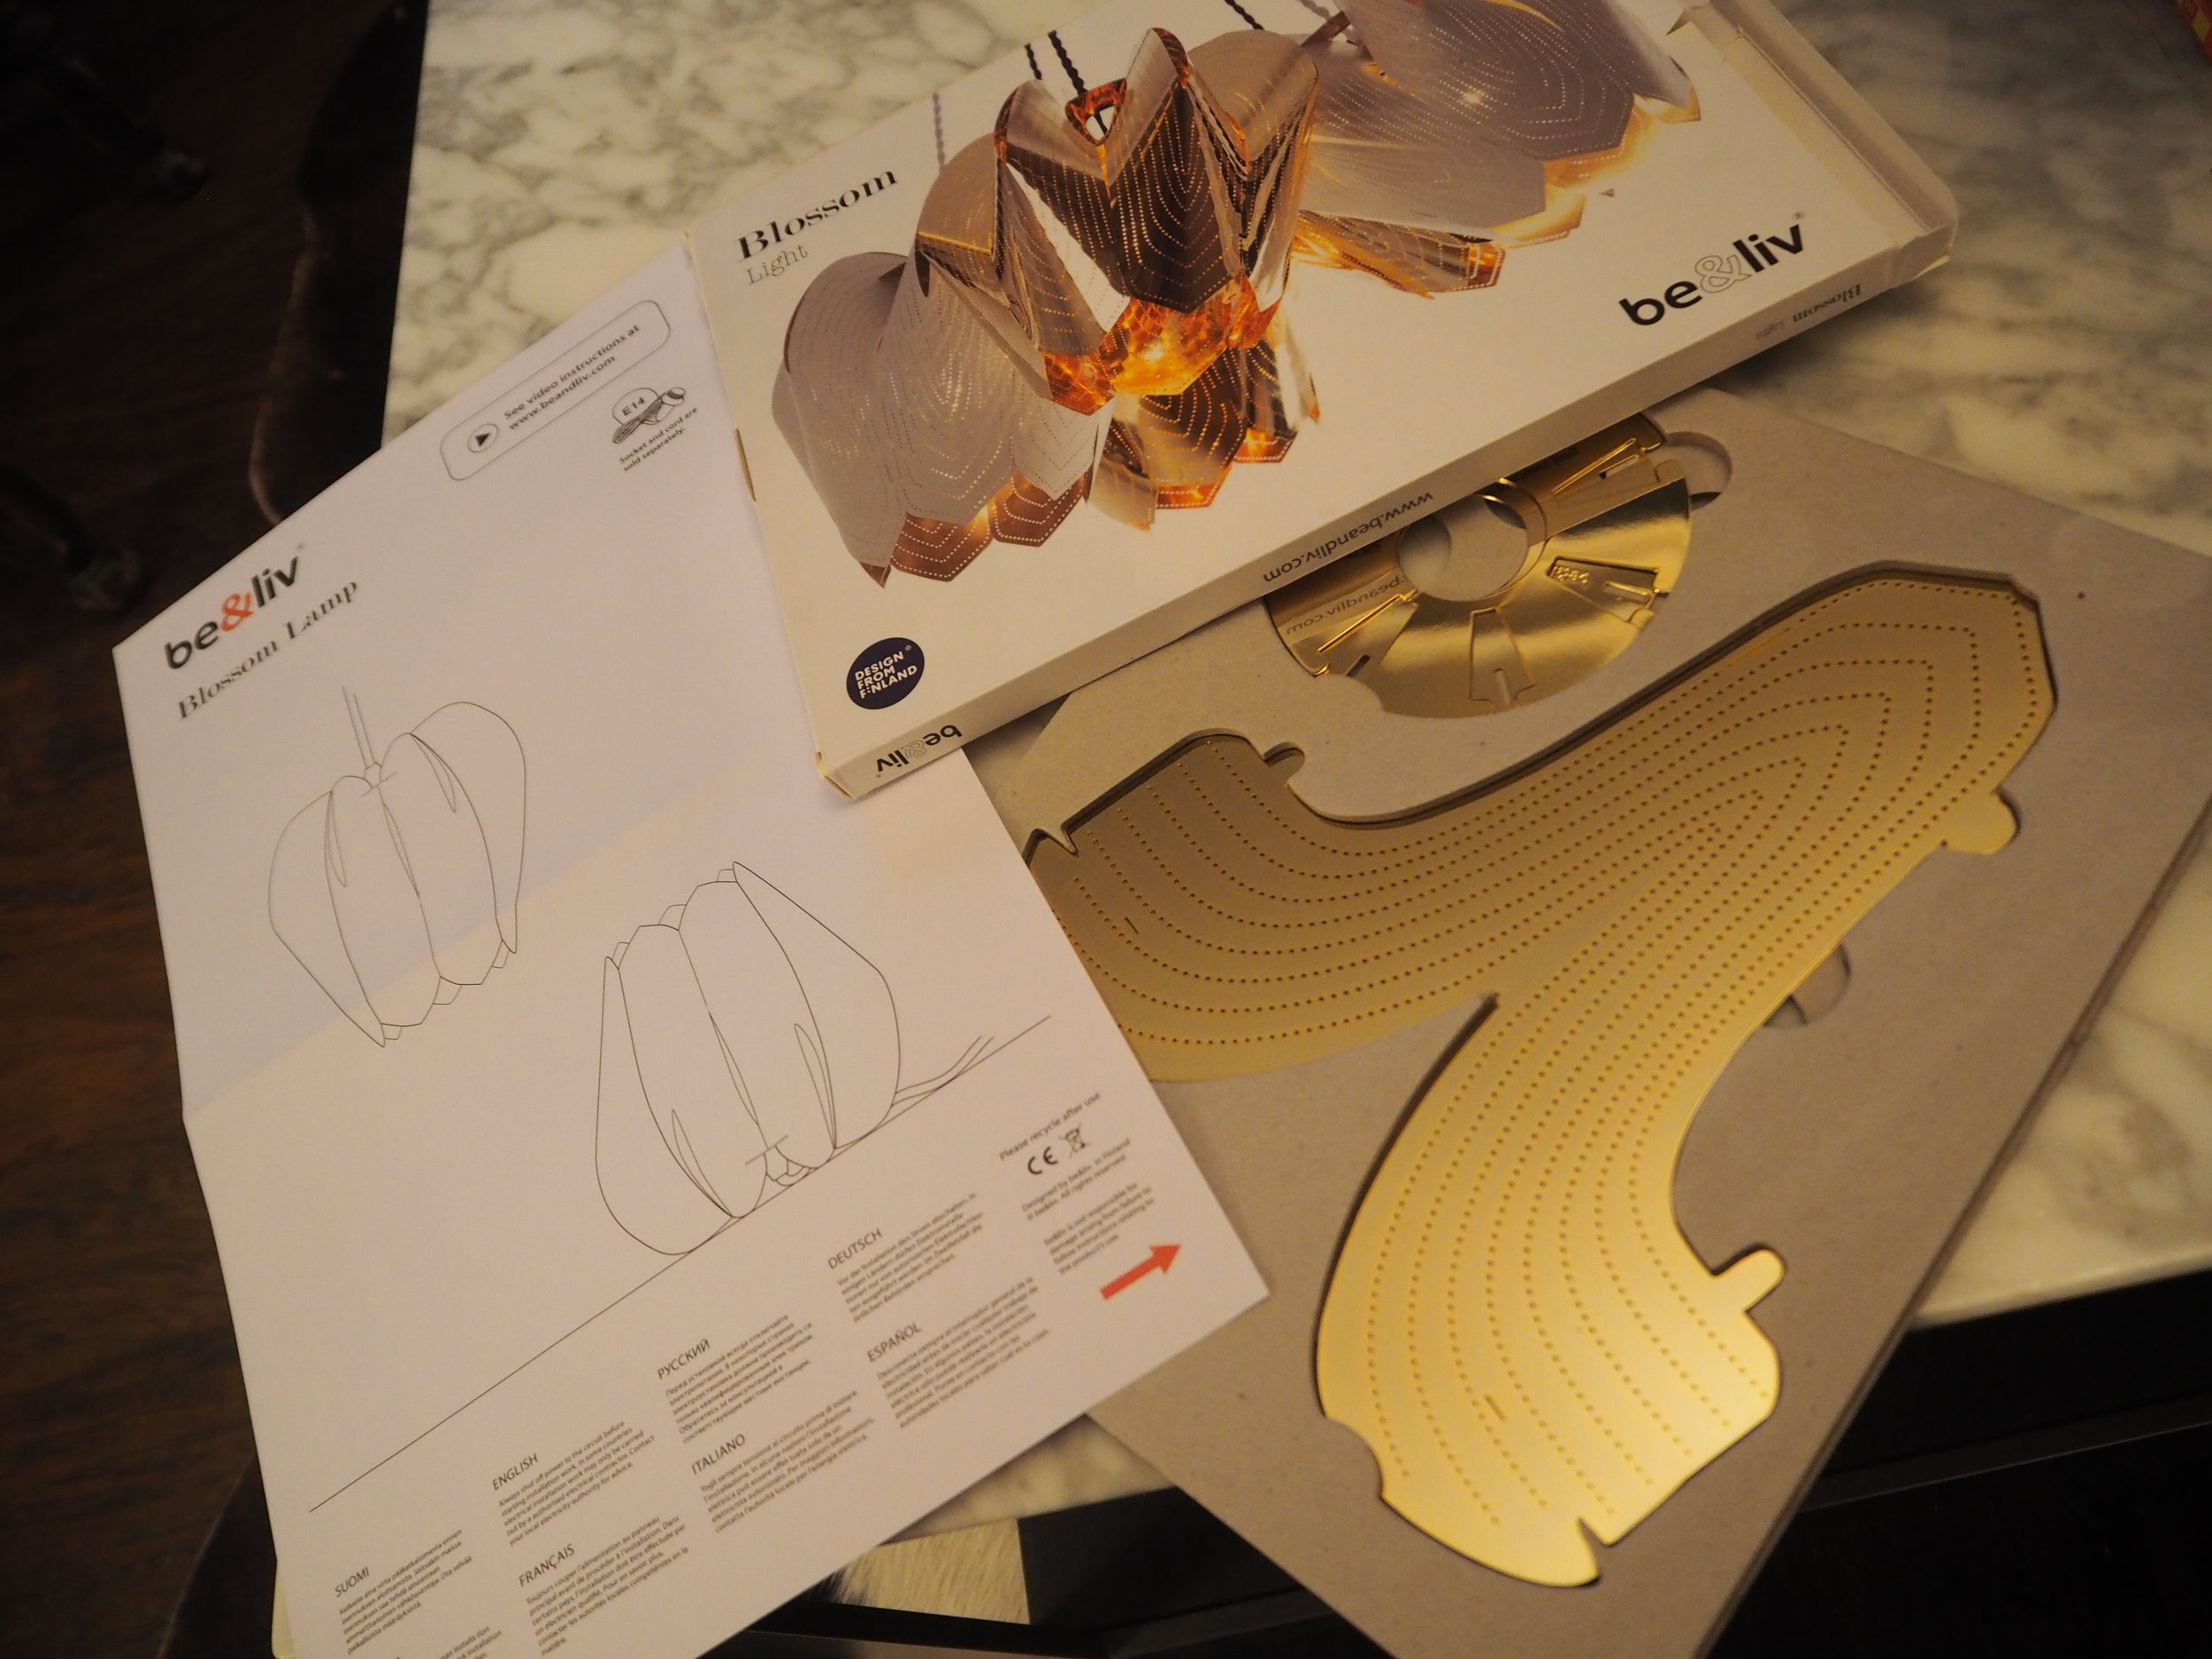
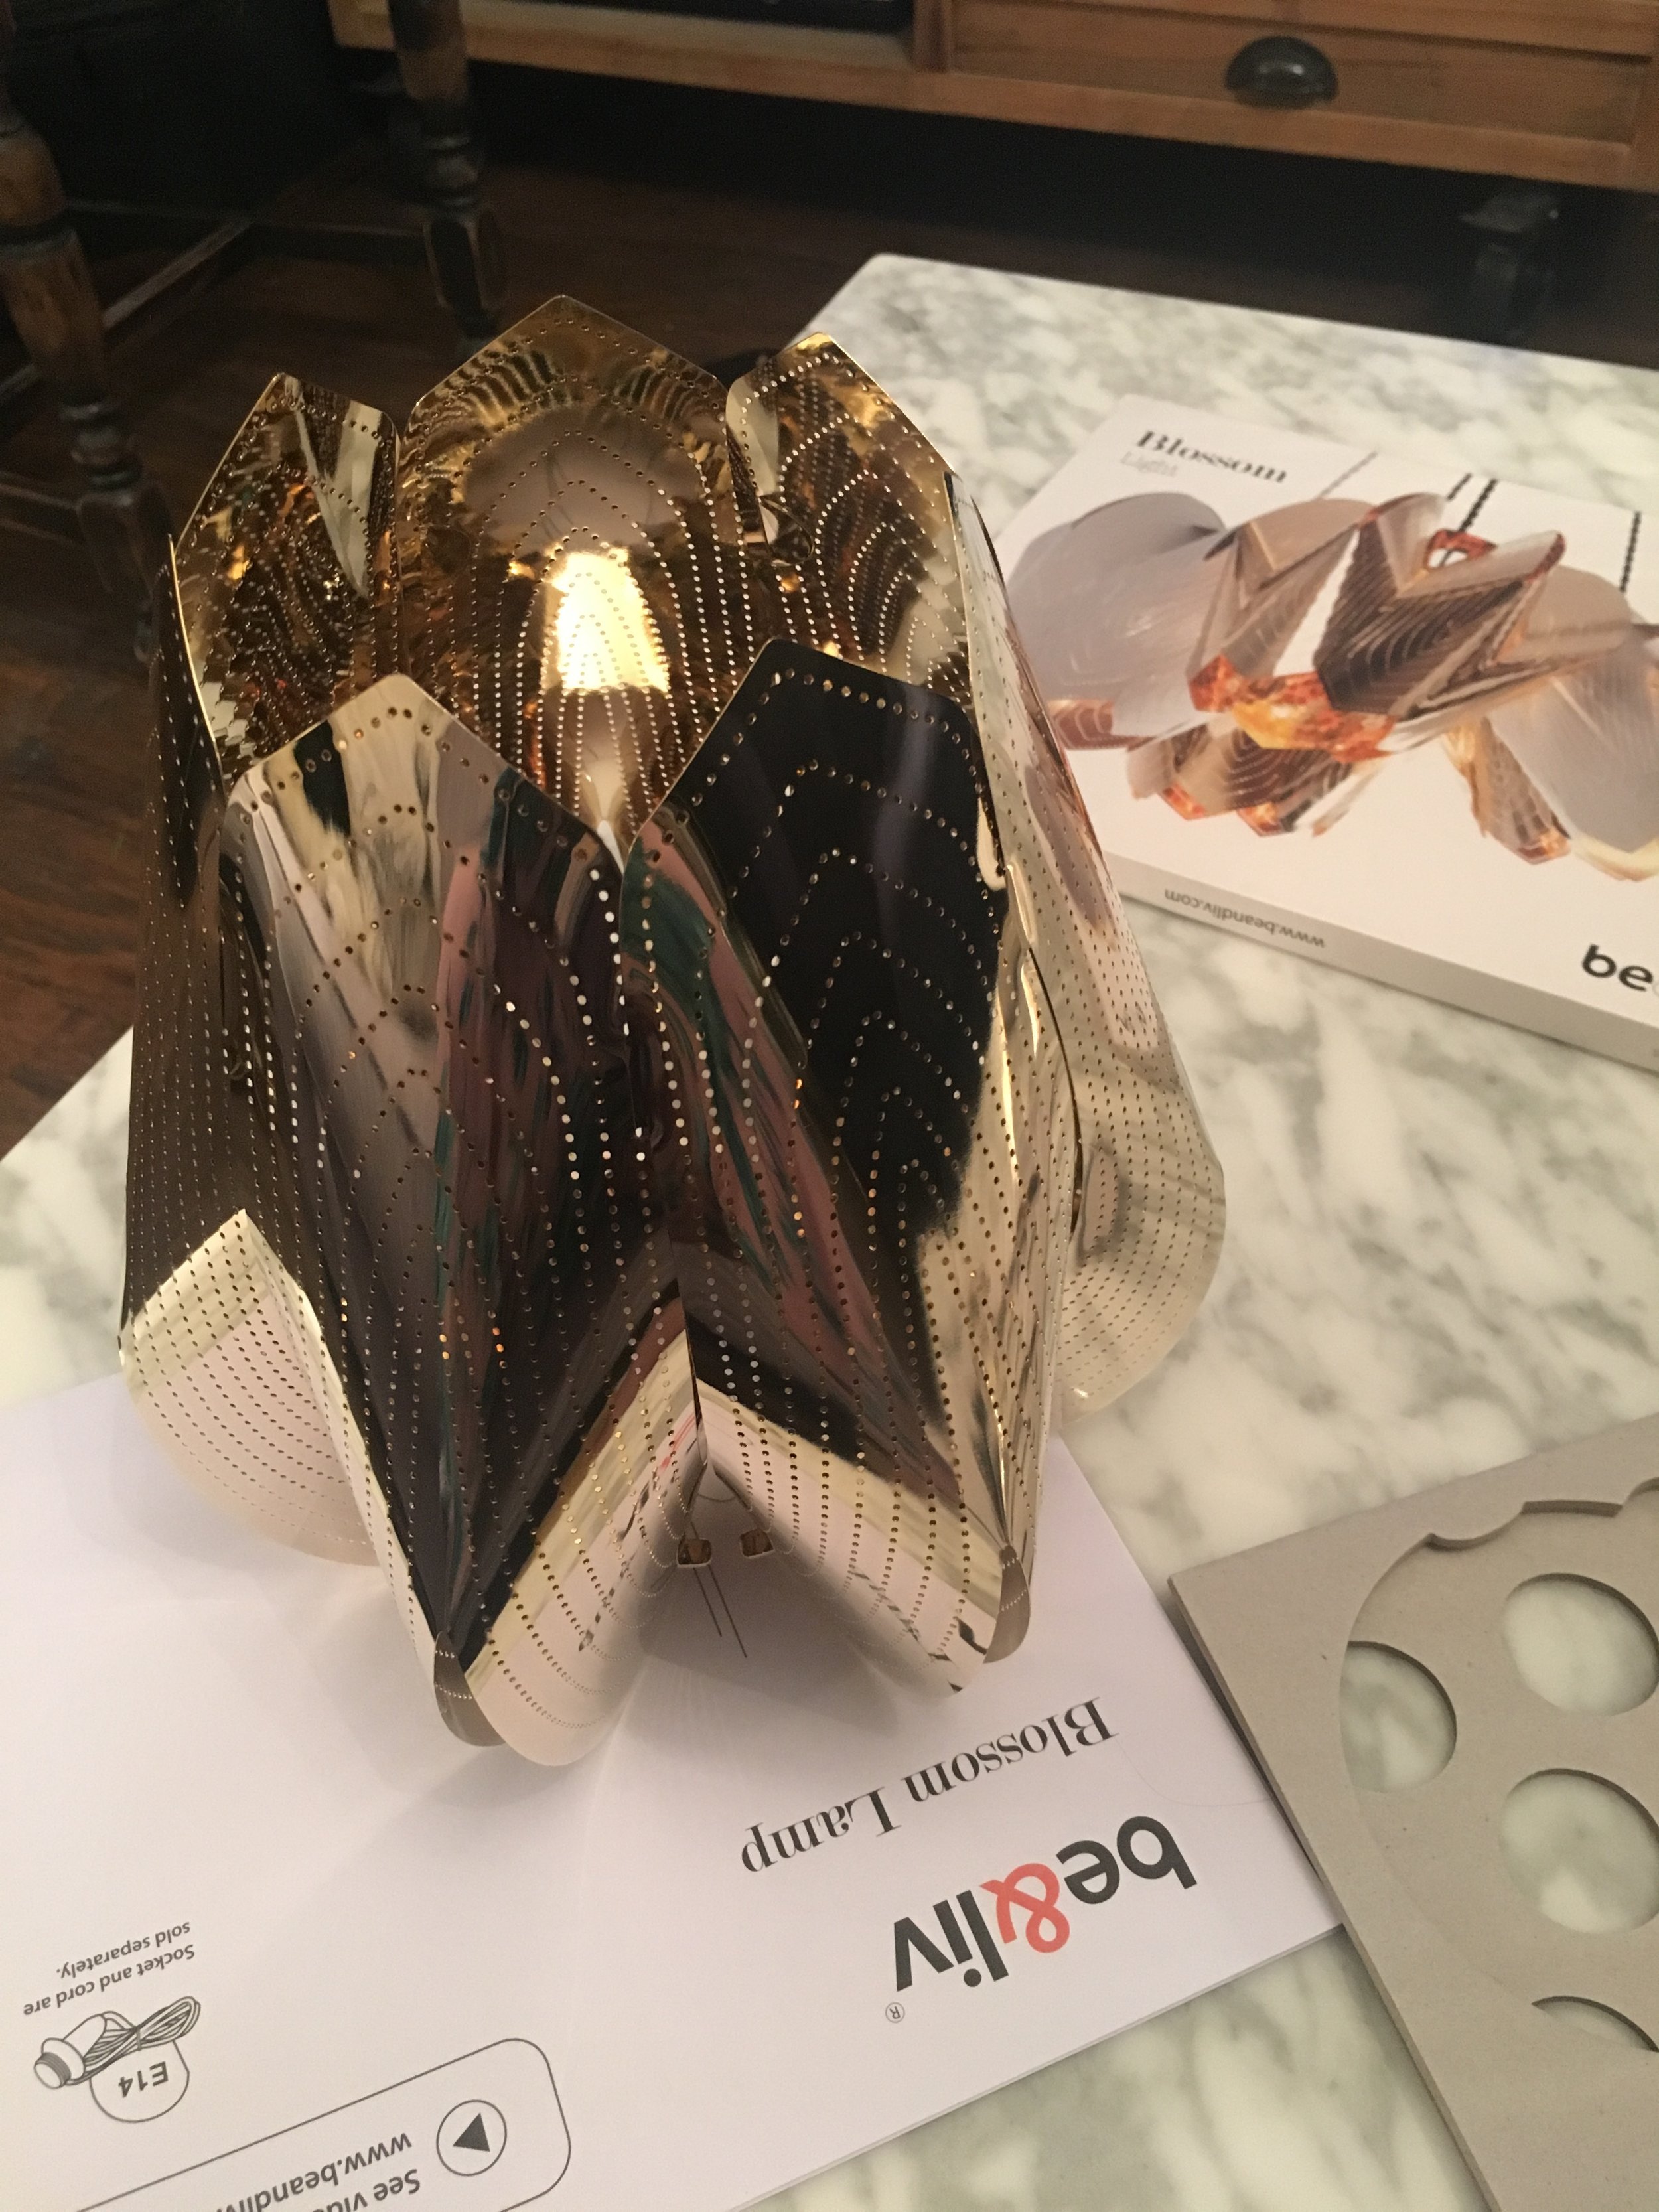
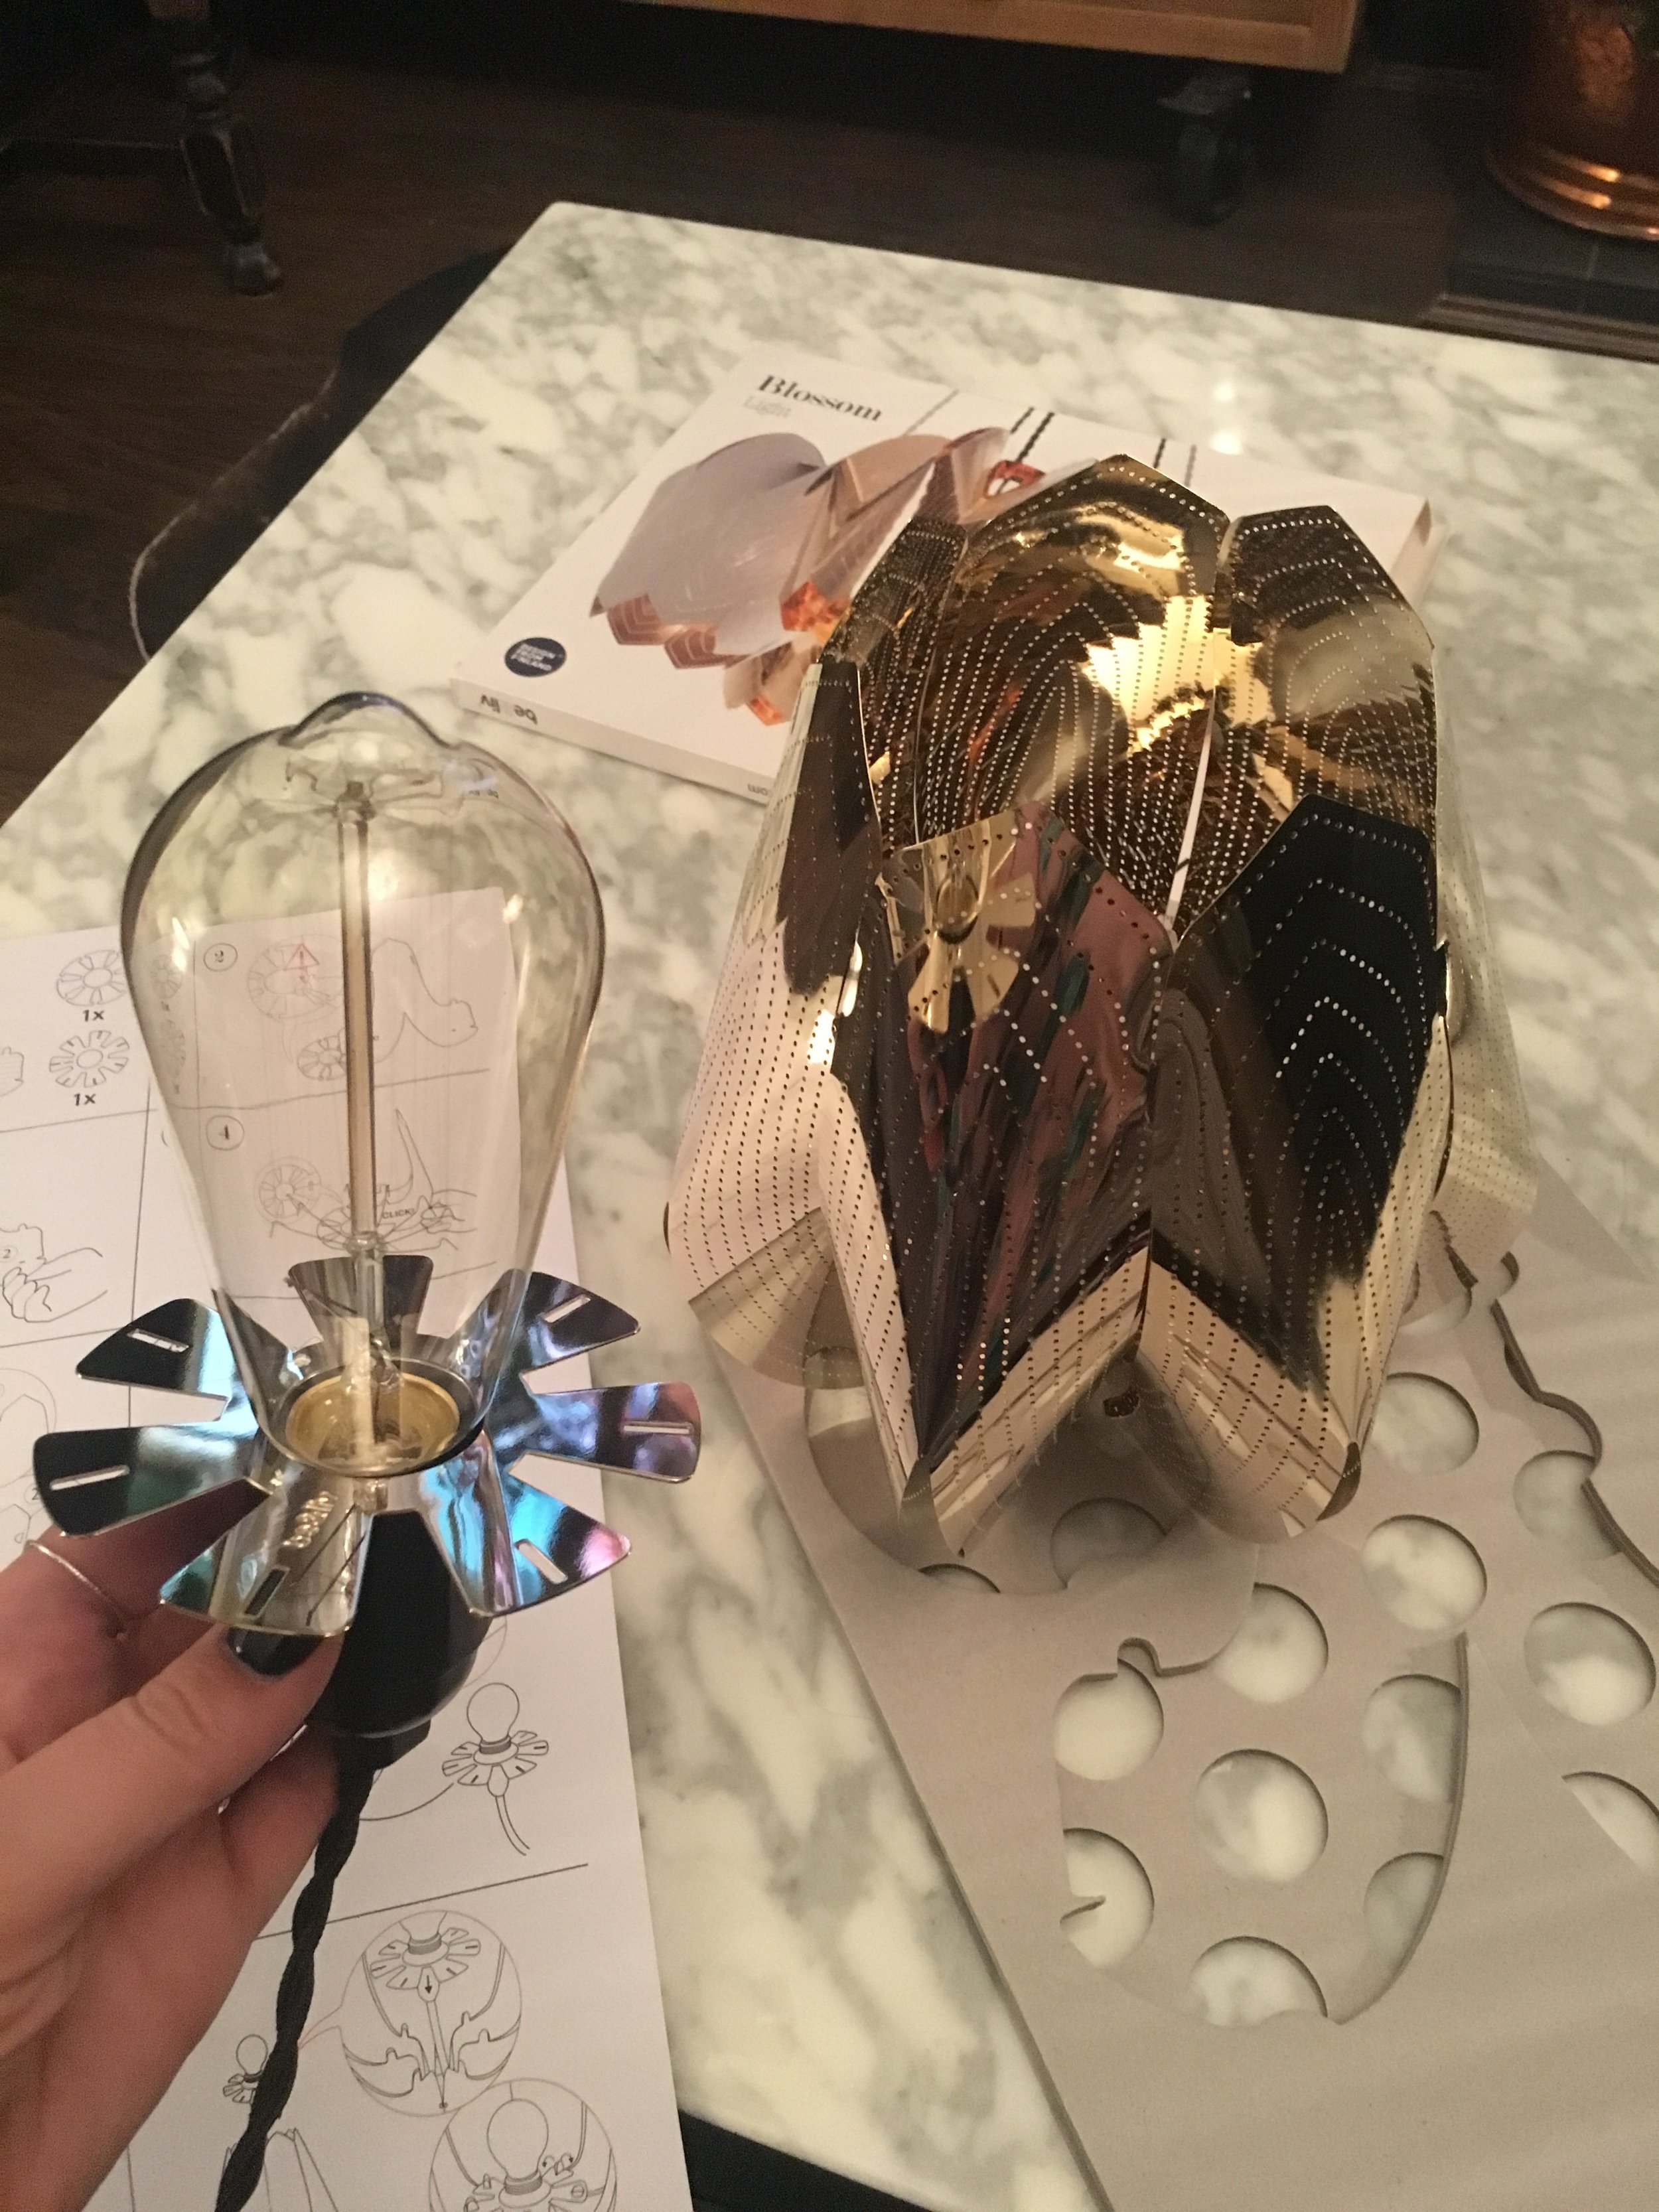
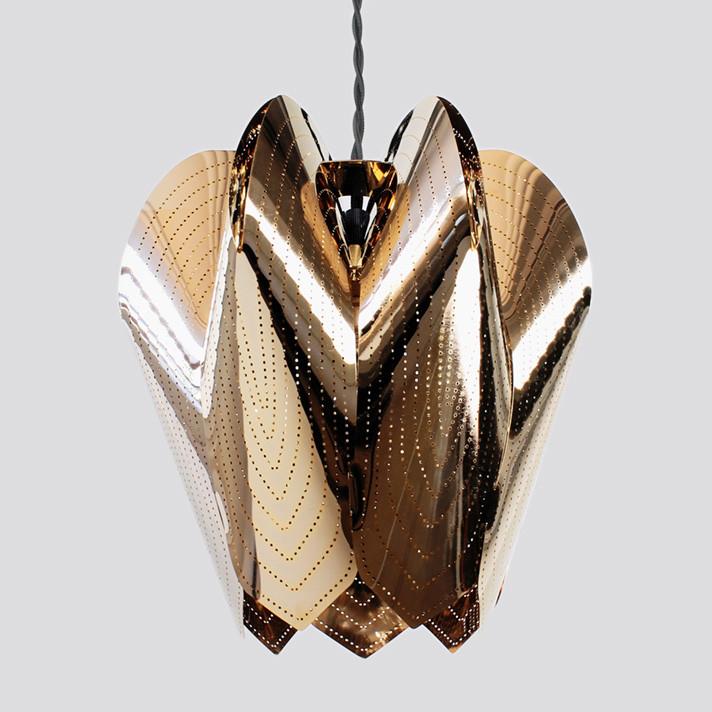
My new favourite of there's is the Blossom light. A bendy brass work of art, this beauty comes flat packed so you can enjoy the assembly as part of the experience.

Plus, you can hang it from the ceiling or use it as a side lamp it’s that versatile. Either way you still get that warm glow from the fine laser cut perforated holes in the bendy metal frame work. And did I mention how easy and most importantly fun it was to assemble? Just see my pics below. I’m rubbish with flat packed furniture, but this has been so well-crafted assembly is a breeze when everything just slots together perfectly.

At €249 the Blossom lamp is worth its price tag to have something so unique and quirky, yet still feel substantial in its weighty metal frame.

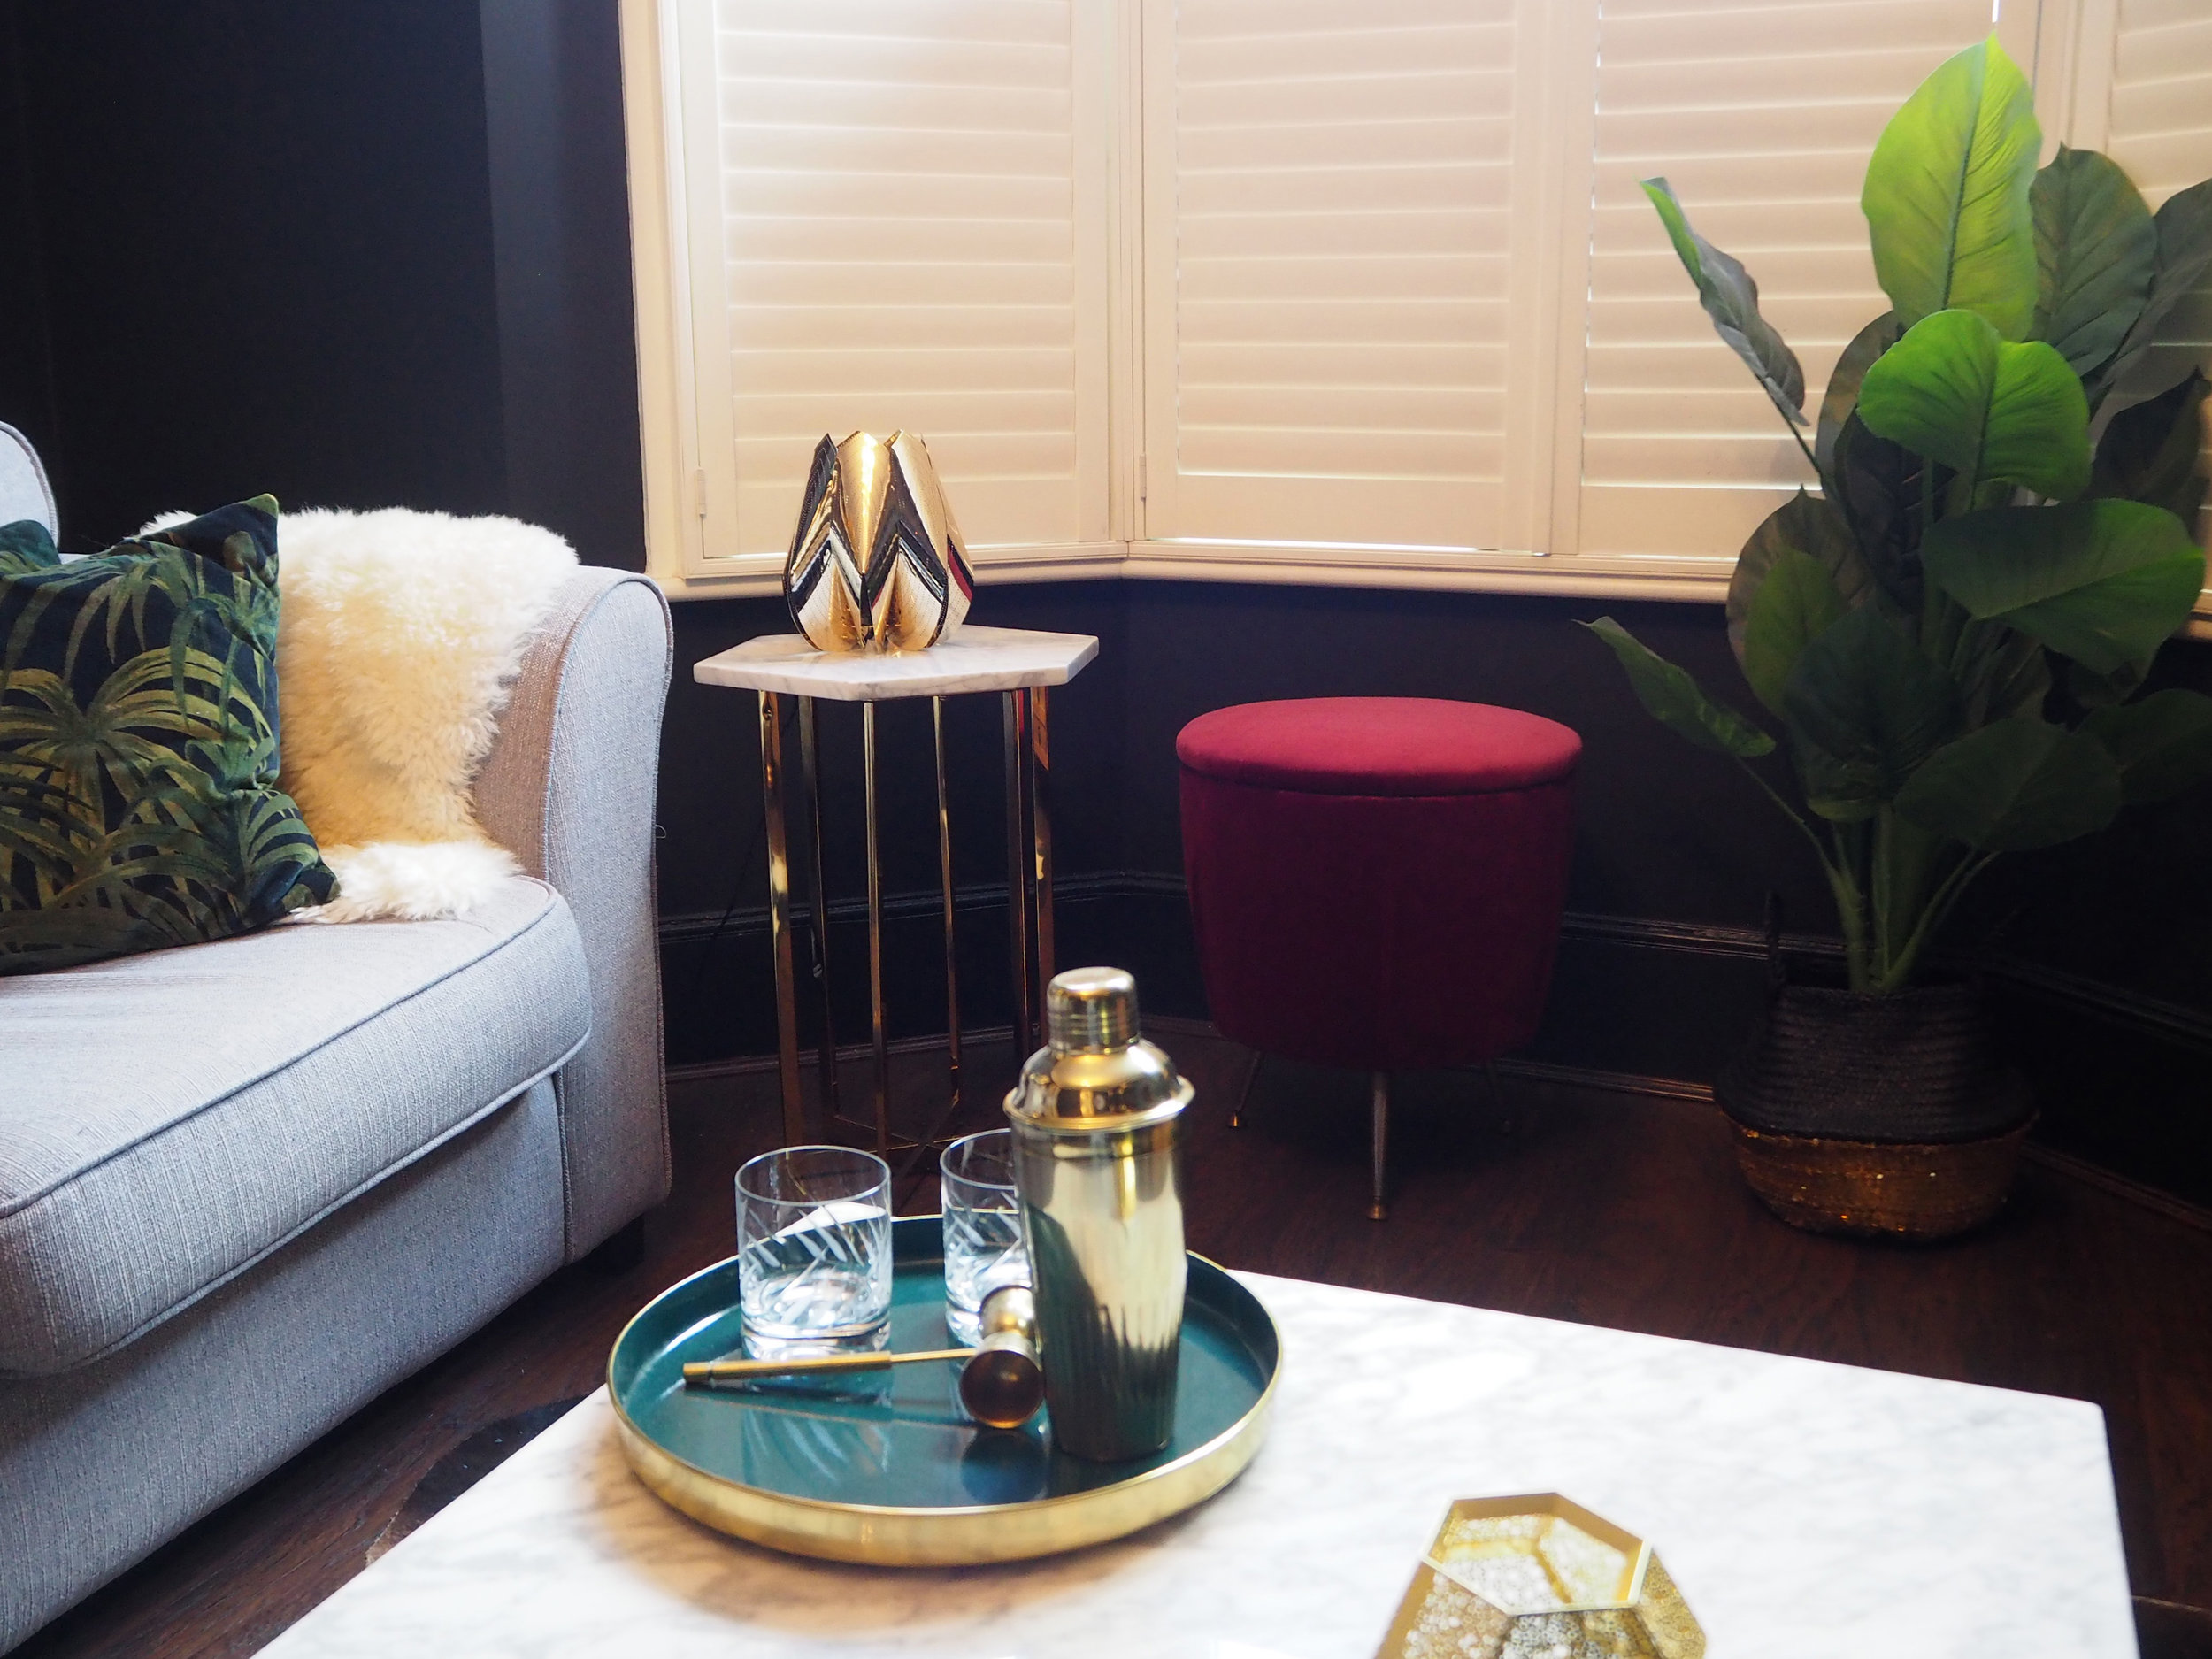
My gorgeous blossom lamp is currently sat in my lounge on my marble top side table, reflecting perfectly against my dark walls.  I have big plans for this little lamp in 2018 to cosy up our new loft space. Plus, with an Edison light bulb you can really get that warm glow that’s really needed at this time of year. It's a new design classic of the modern age. 

How do you get that cosy warm glow at this time of year?


Here's how to assemble.. as shown by Be & Liv. 

To buy your own Be & Liv Blossom lamp- click on the link below.