HOW TO CREATE A PAINTED WALL MURAL, INSPIRED BY DULUX CHANGING ROOMS - AD
/AD - This post is a paid partnership with Dulux, inspired by Dulux Changing rooms.
After an 18 year hiatus, my favourite 90’s TV show for all interior design lovers is back; Changing Rooms!
Changing Rooms re-launched in August 2021 and aired on Channel 4 in the UK, on Wednesdays at 8pm, and is being powered by non other than leading paint brand Dulux.
So what is Changing Rooms? Well, in a nutshell it’s a fun interior design TV show where we see two sets of homeowners from the same neighbourhood work against the clock to renovate a room in each other’s houses. They won’t be alone though, they’ll have the help of interior designers Jordan Cluroe and Russell Whitehead of 2LG Studio and Laurence Llewelyn-Bowen, whilst also having a skilled carpenter and joiner on hand; Tibby Singh.
It’s packed full of design and DIY hints and tips, teaching us all how to be crafty on a budget by upscaling and adding sparkle to unloved or outdated corners of our homes. It’s inspiring to watch how a room can be easily transformed with just a lick of paint.
I’ve been hugely inspired by watching Changing Rooms, and fancied updating a tired and boring wall within my home, by using some of the tips I’ve learnt whilst watching the show.
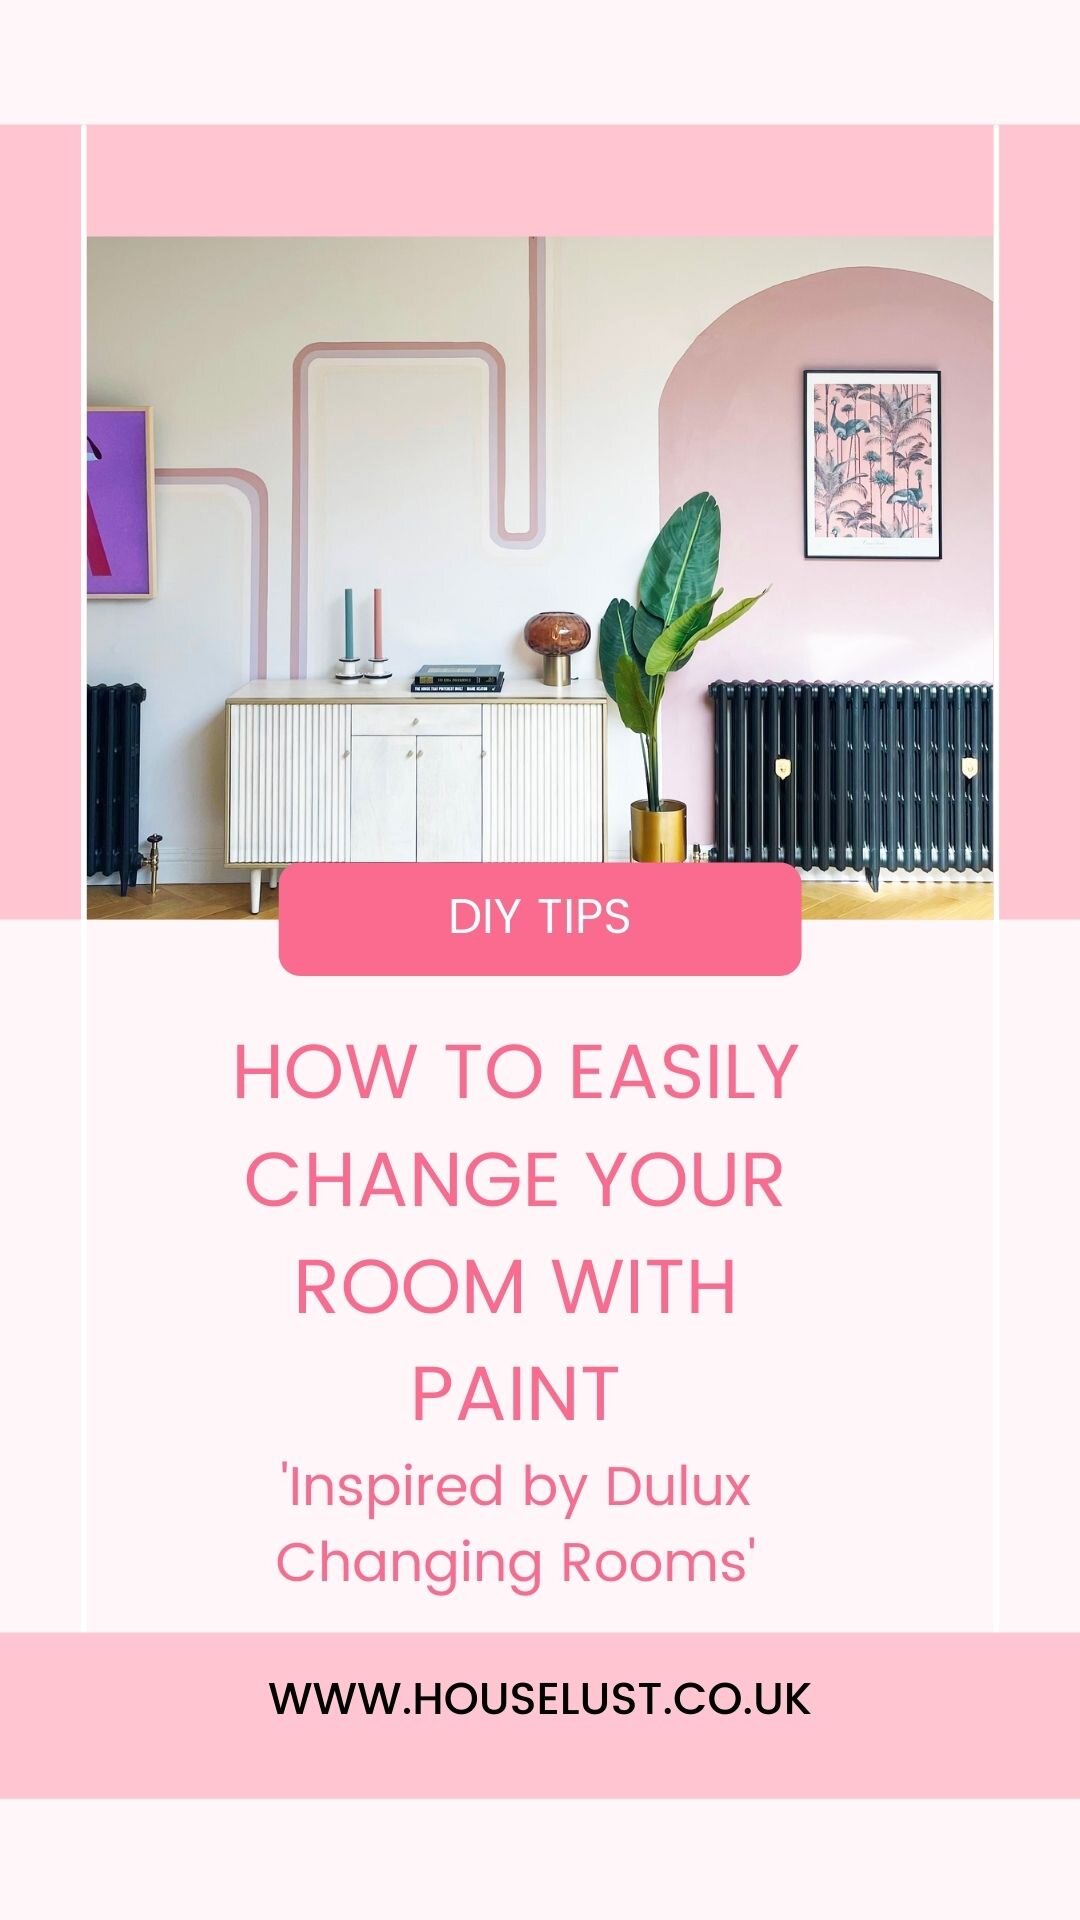
Today, in this blog post I’m going to show you how I took a drab empty white wall in my home, and added some fun and colour, which adds print and texture, whilst only using Dulux ‘Simply Refresh One coat’ paint’.
I decided I wanted to add a painted mural to my dining room wall. I’ve seen murals making a reappearance since 70’s trends returned this last year, and I love the idea of how just using masking tape, a spirit level and some house hold items for templates, you can create your own 70’s wall. So thats exactly what I did.
This is the wall in question. The opposite side of this wall is our kitchen which is a lot more interesting, I just seemed to have neglected this side after our renovation.
BEFORE

THE INSPIRATION
I love the simplicity of these ideas, using masking tape and a spirit level. They make such an impact without having to add tones of layers of paint.

Image credit Very Gay Paint .

Image credit : Forget Me Via Pinterest.
THE PROCESS
The first thing I did was mark out a rough plan of where I wanted to add the lines and curves. You can do this on a bit of paper, I used Adode illustrator just so I could visualise the curves and lines with the correct proportions.
I then decided on the paint and colours. I wanted my wall mural to be quite harmonious, so I chose colours from Dulux Simply Refresh One Coat Pinks, Violets and yellow range, with an added neutral, as I knew the coverage would be perfect, and I’d only have to do one coat to save me time.

How I designed my wall mural.
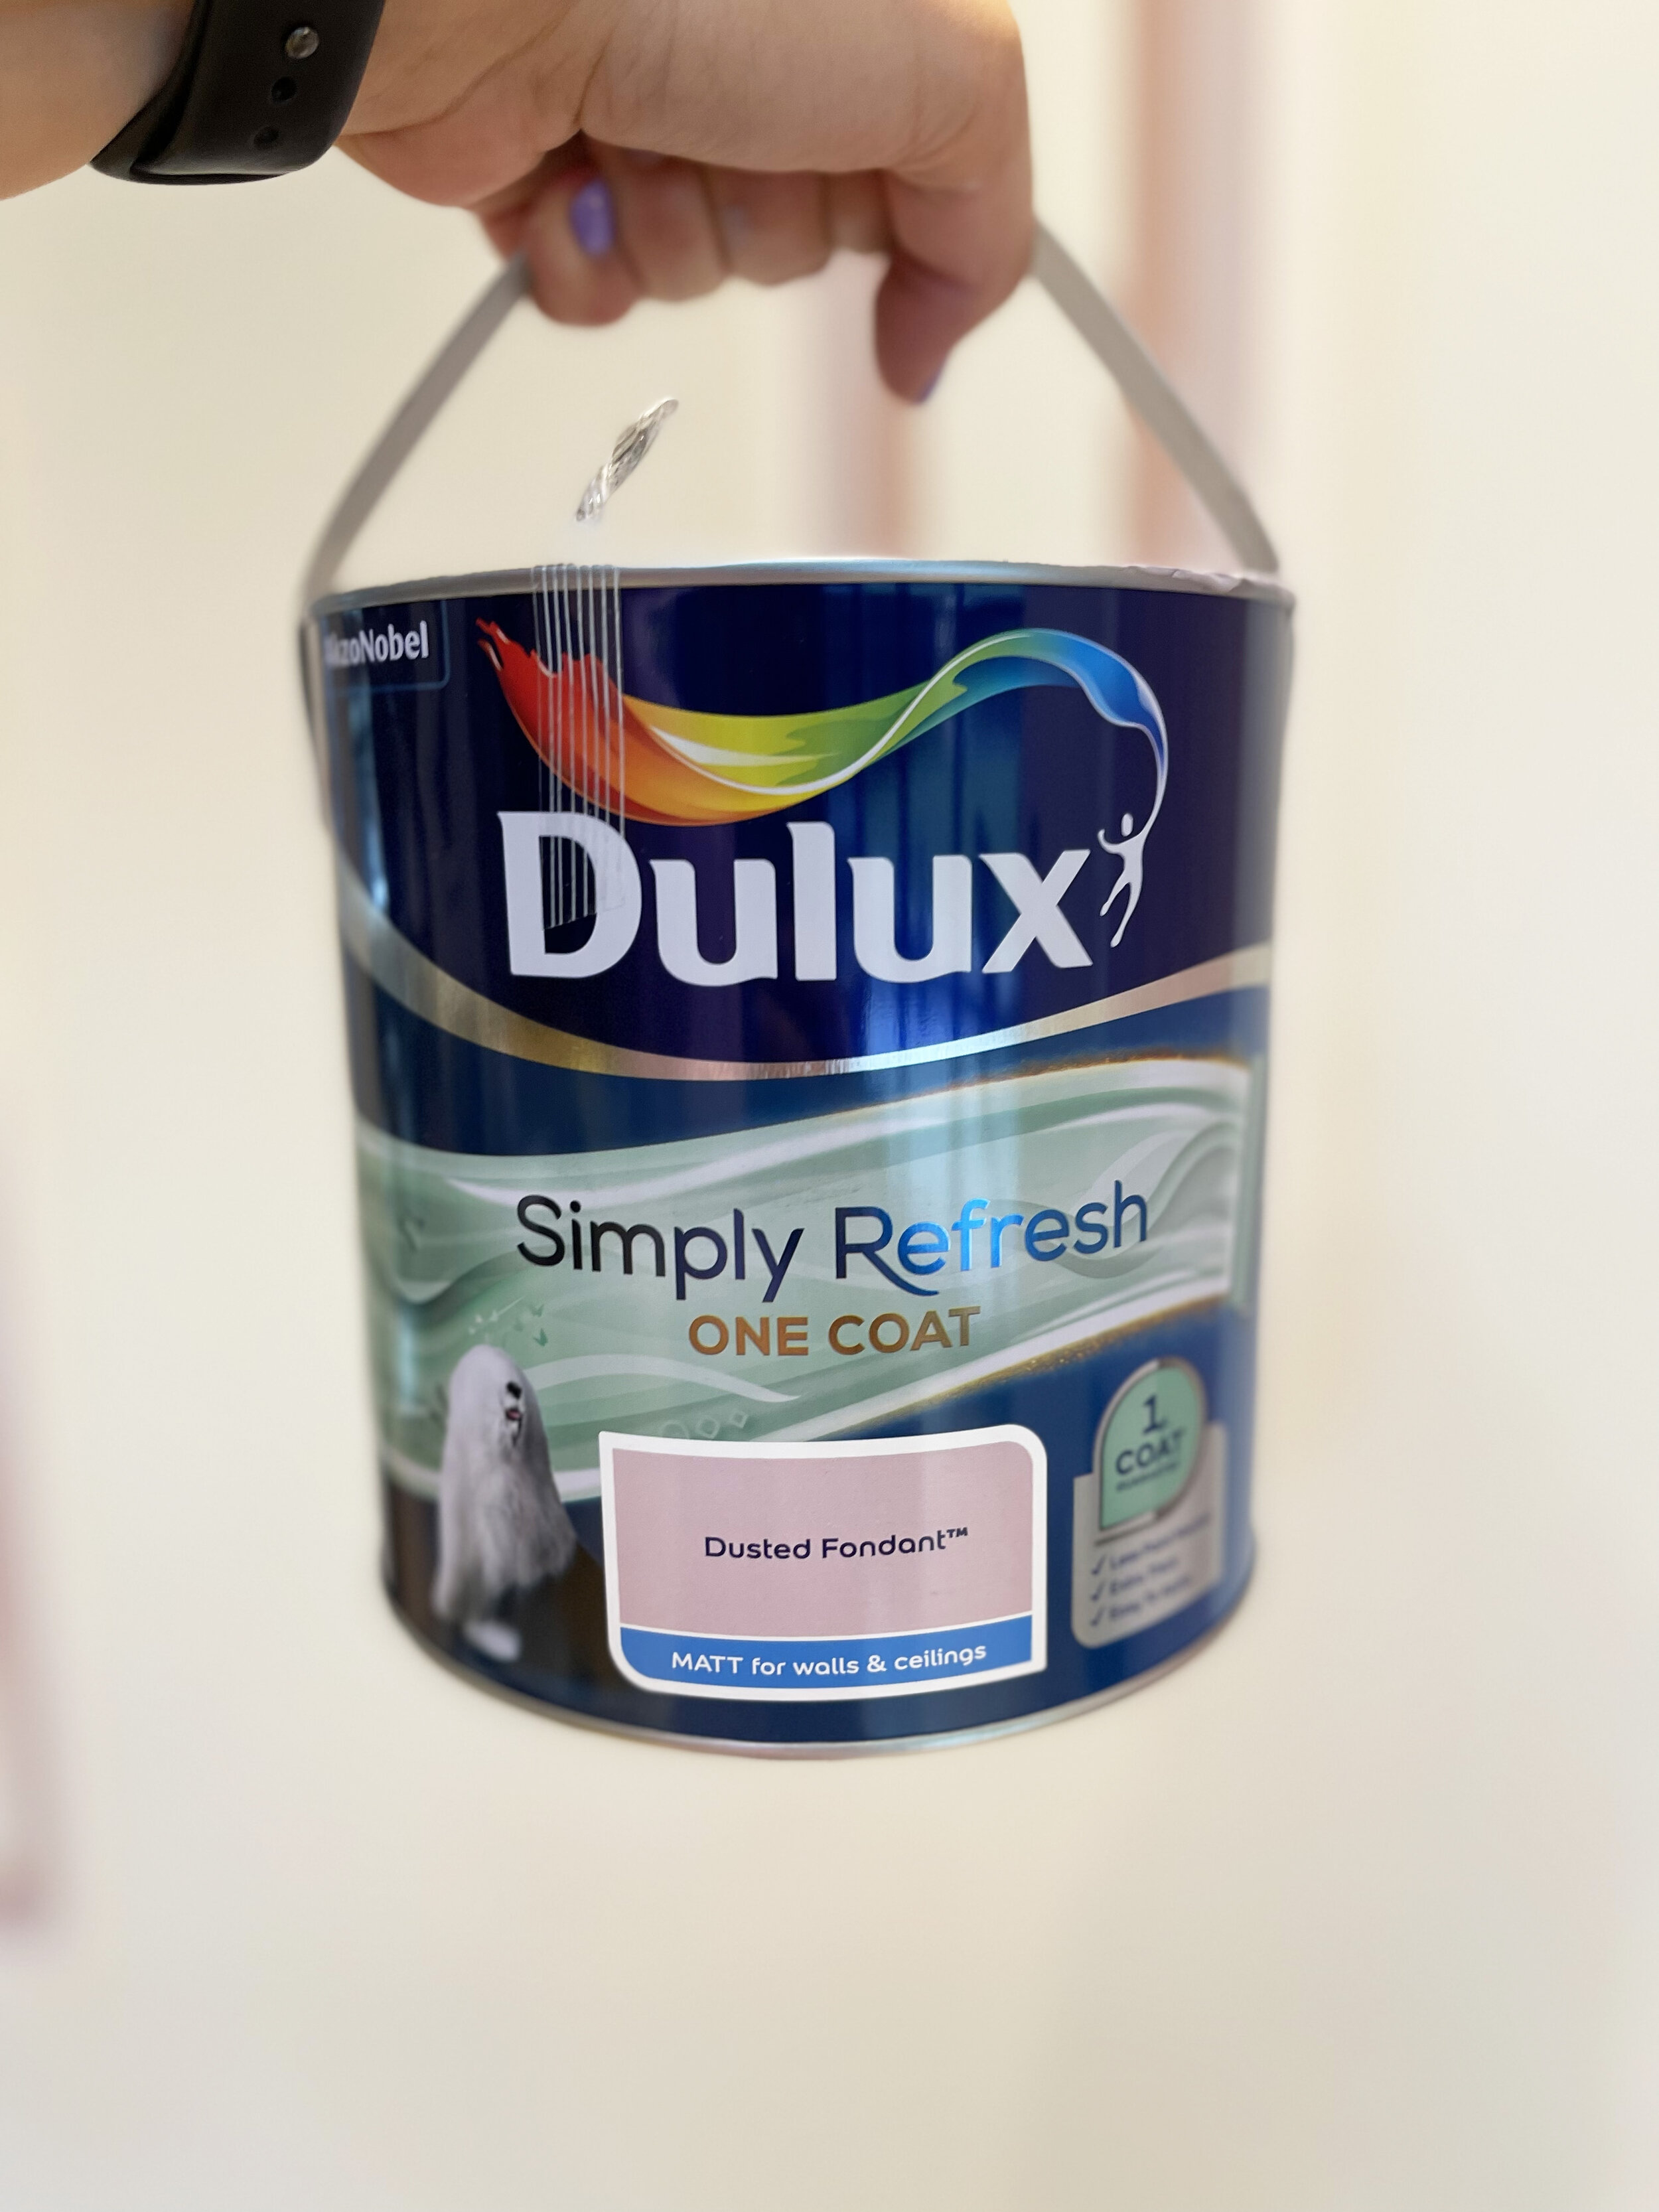
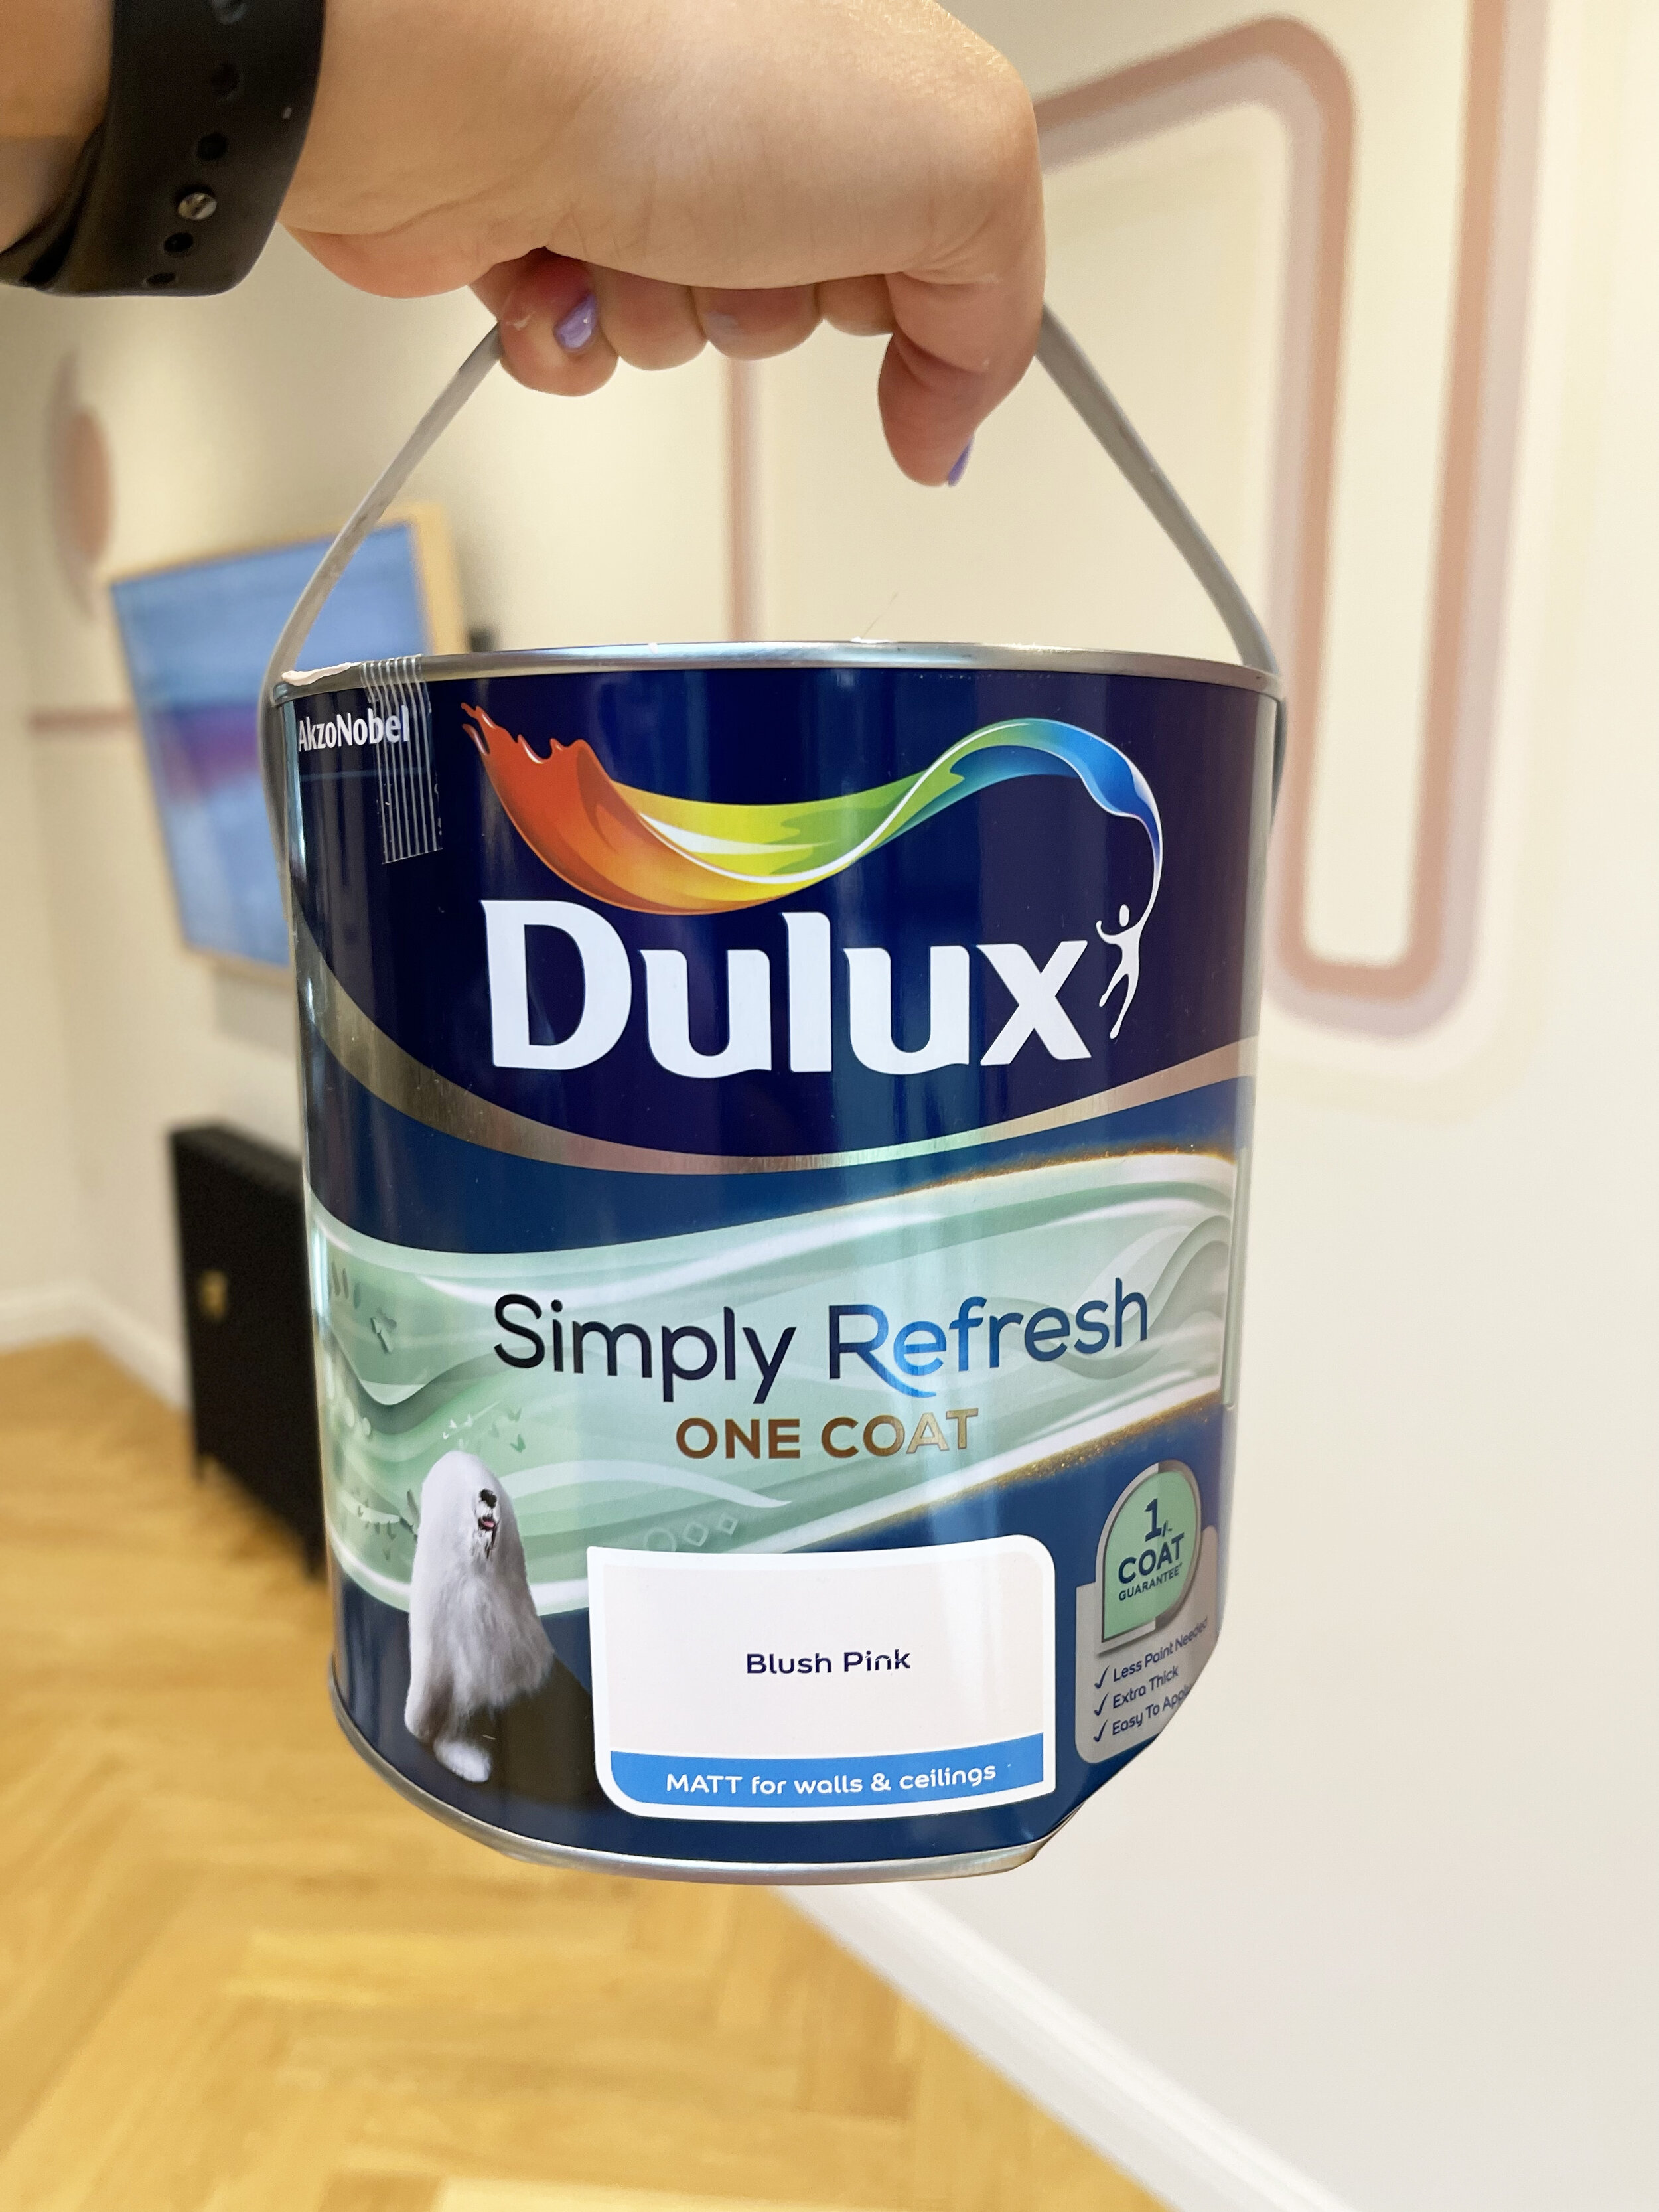
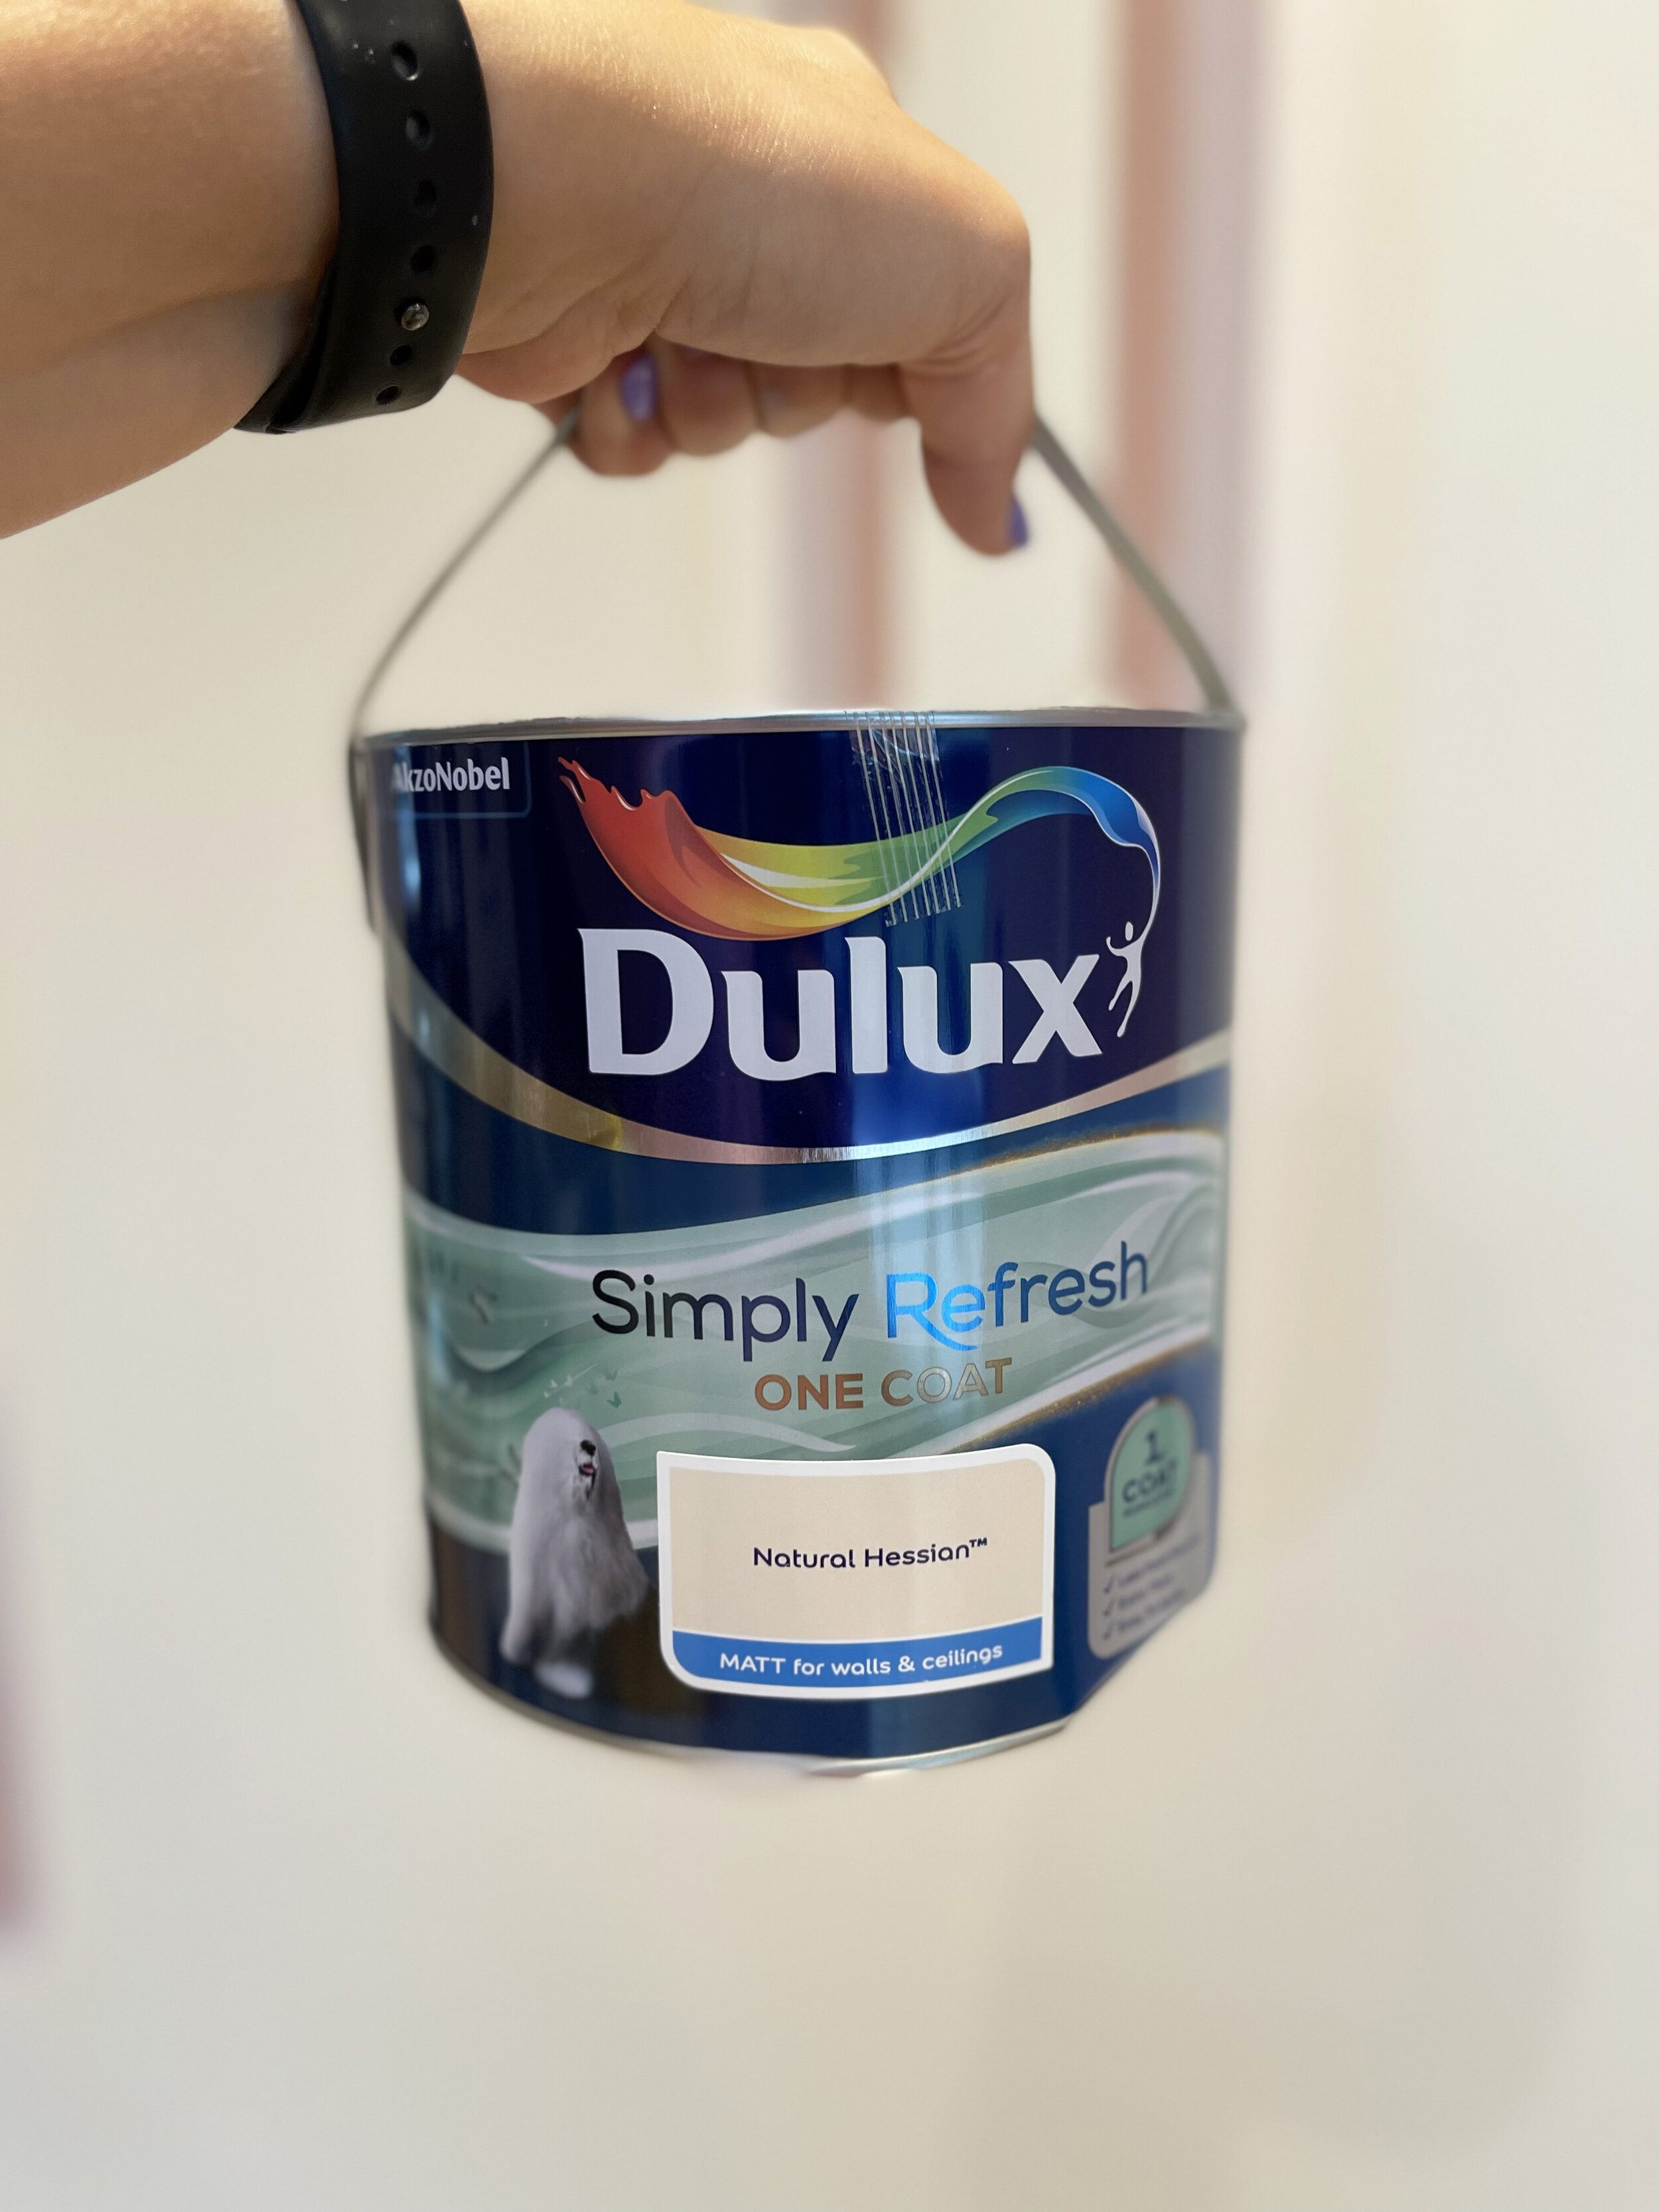
The colours I chose were; Pressed Petal, Dusted Fondant, Blush Pink and Natural Hessian all from the Dulux ‘Simply Refresh One Coat range.

The colours I chose were; Pressed Petal, Dusted Fondant, Blush Pink and Natural Hessian all from the Dulux ‘Simply Refresh One Coat range.

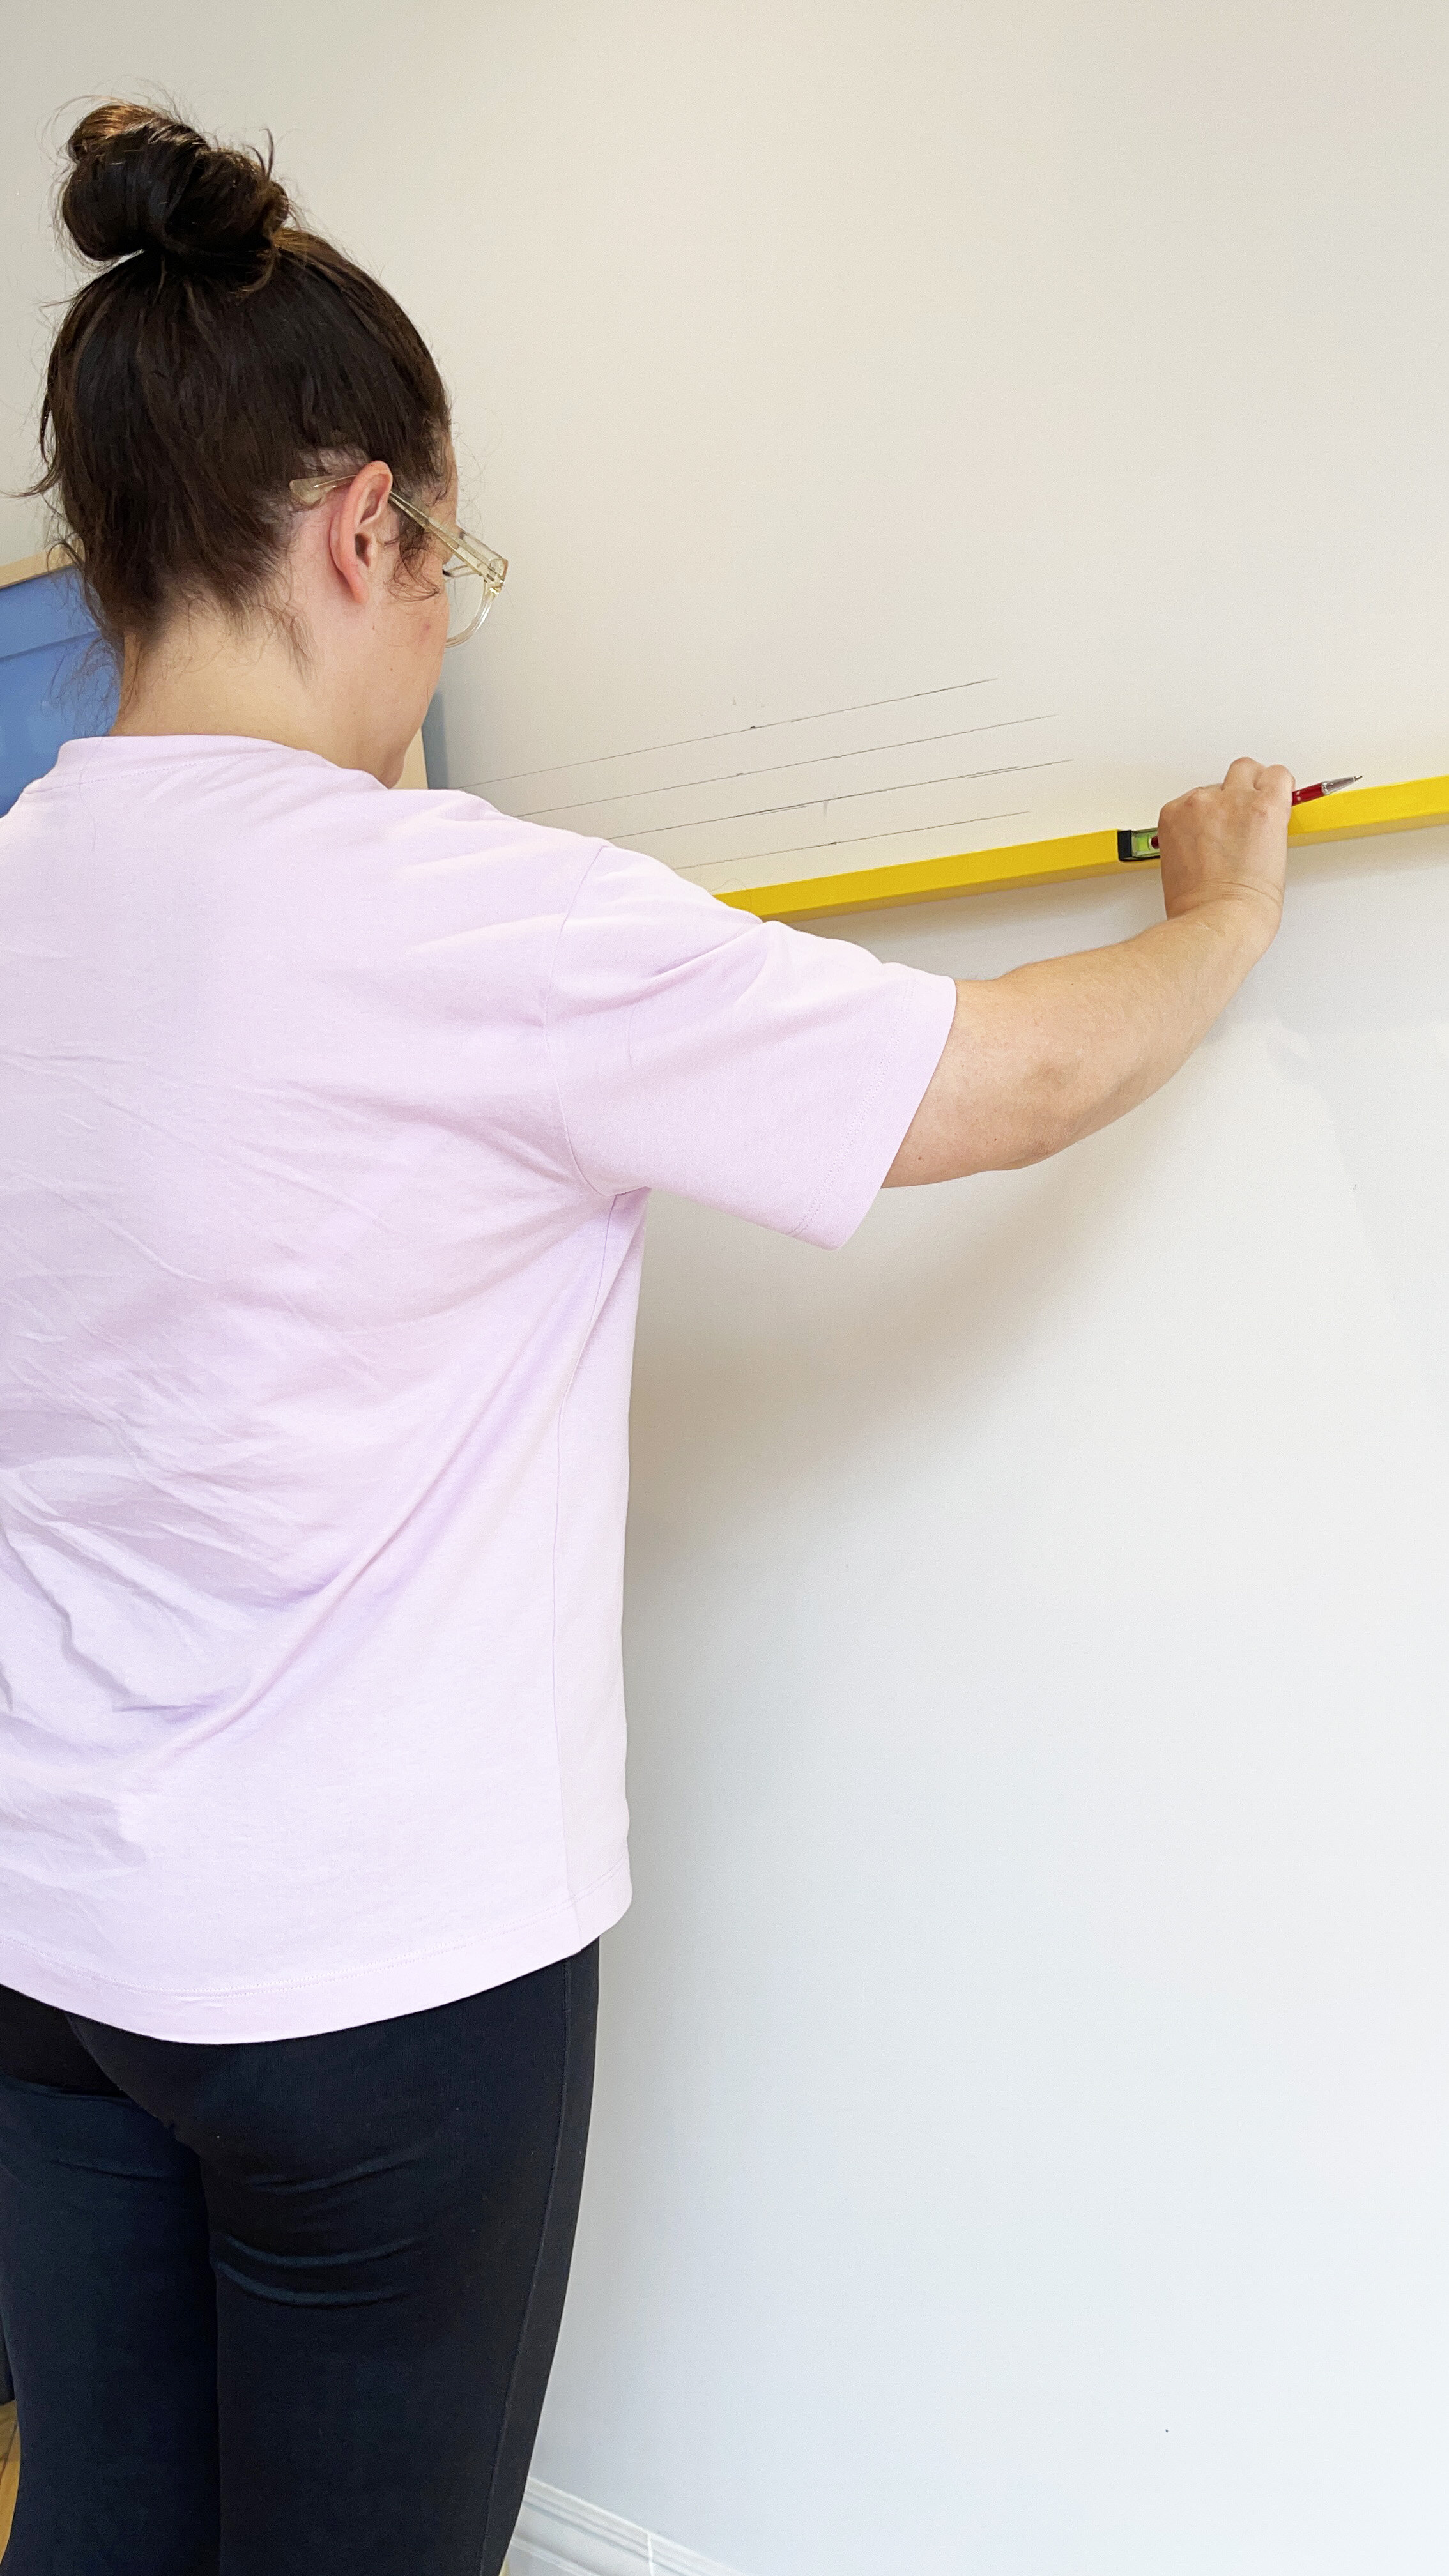
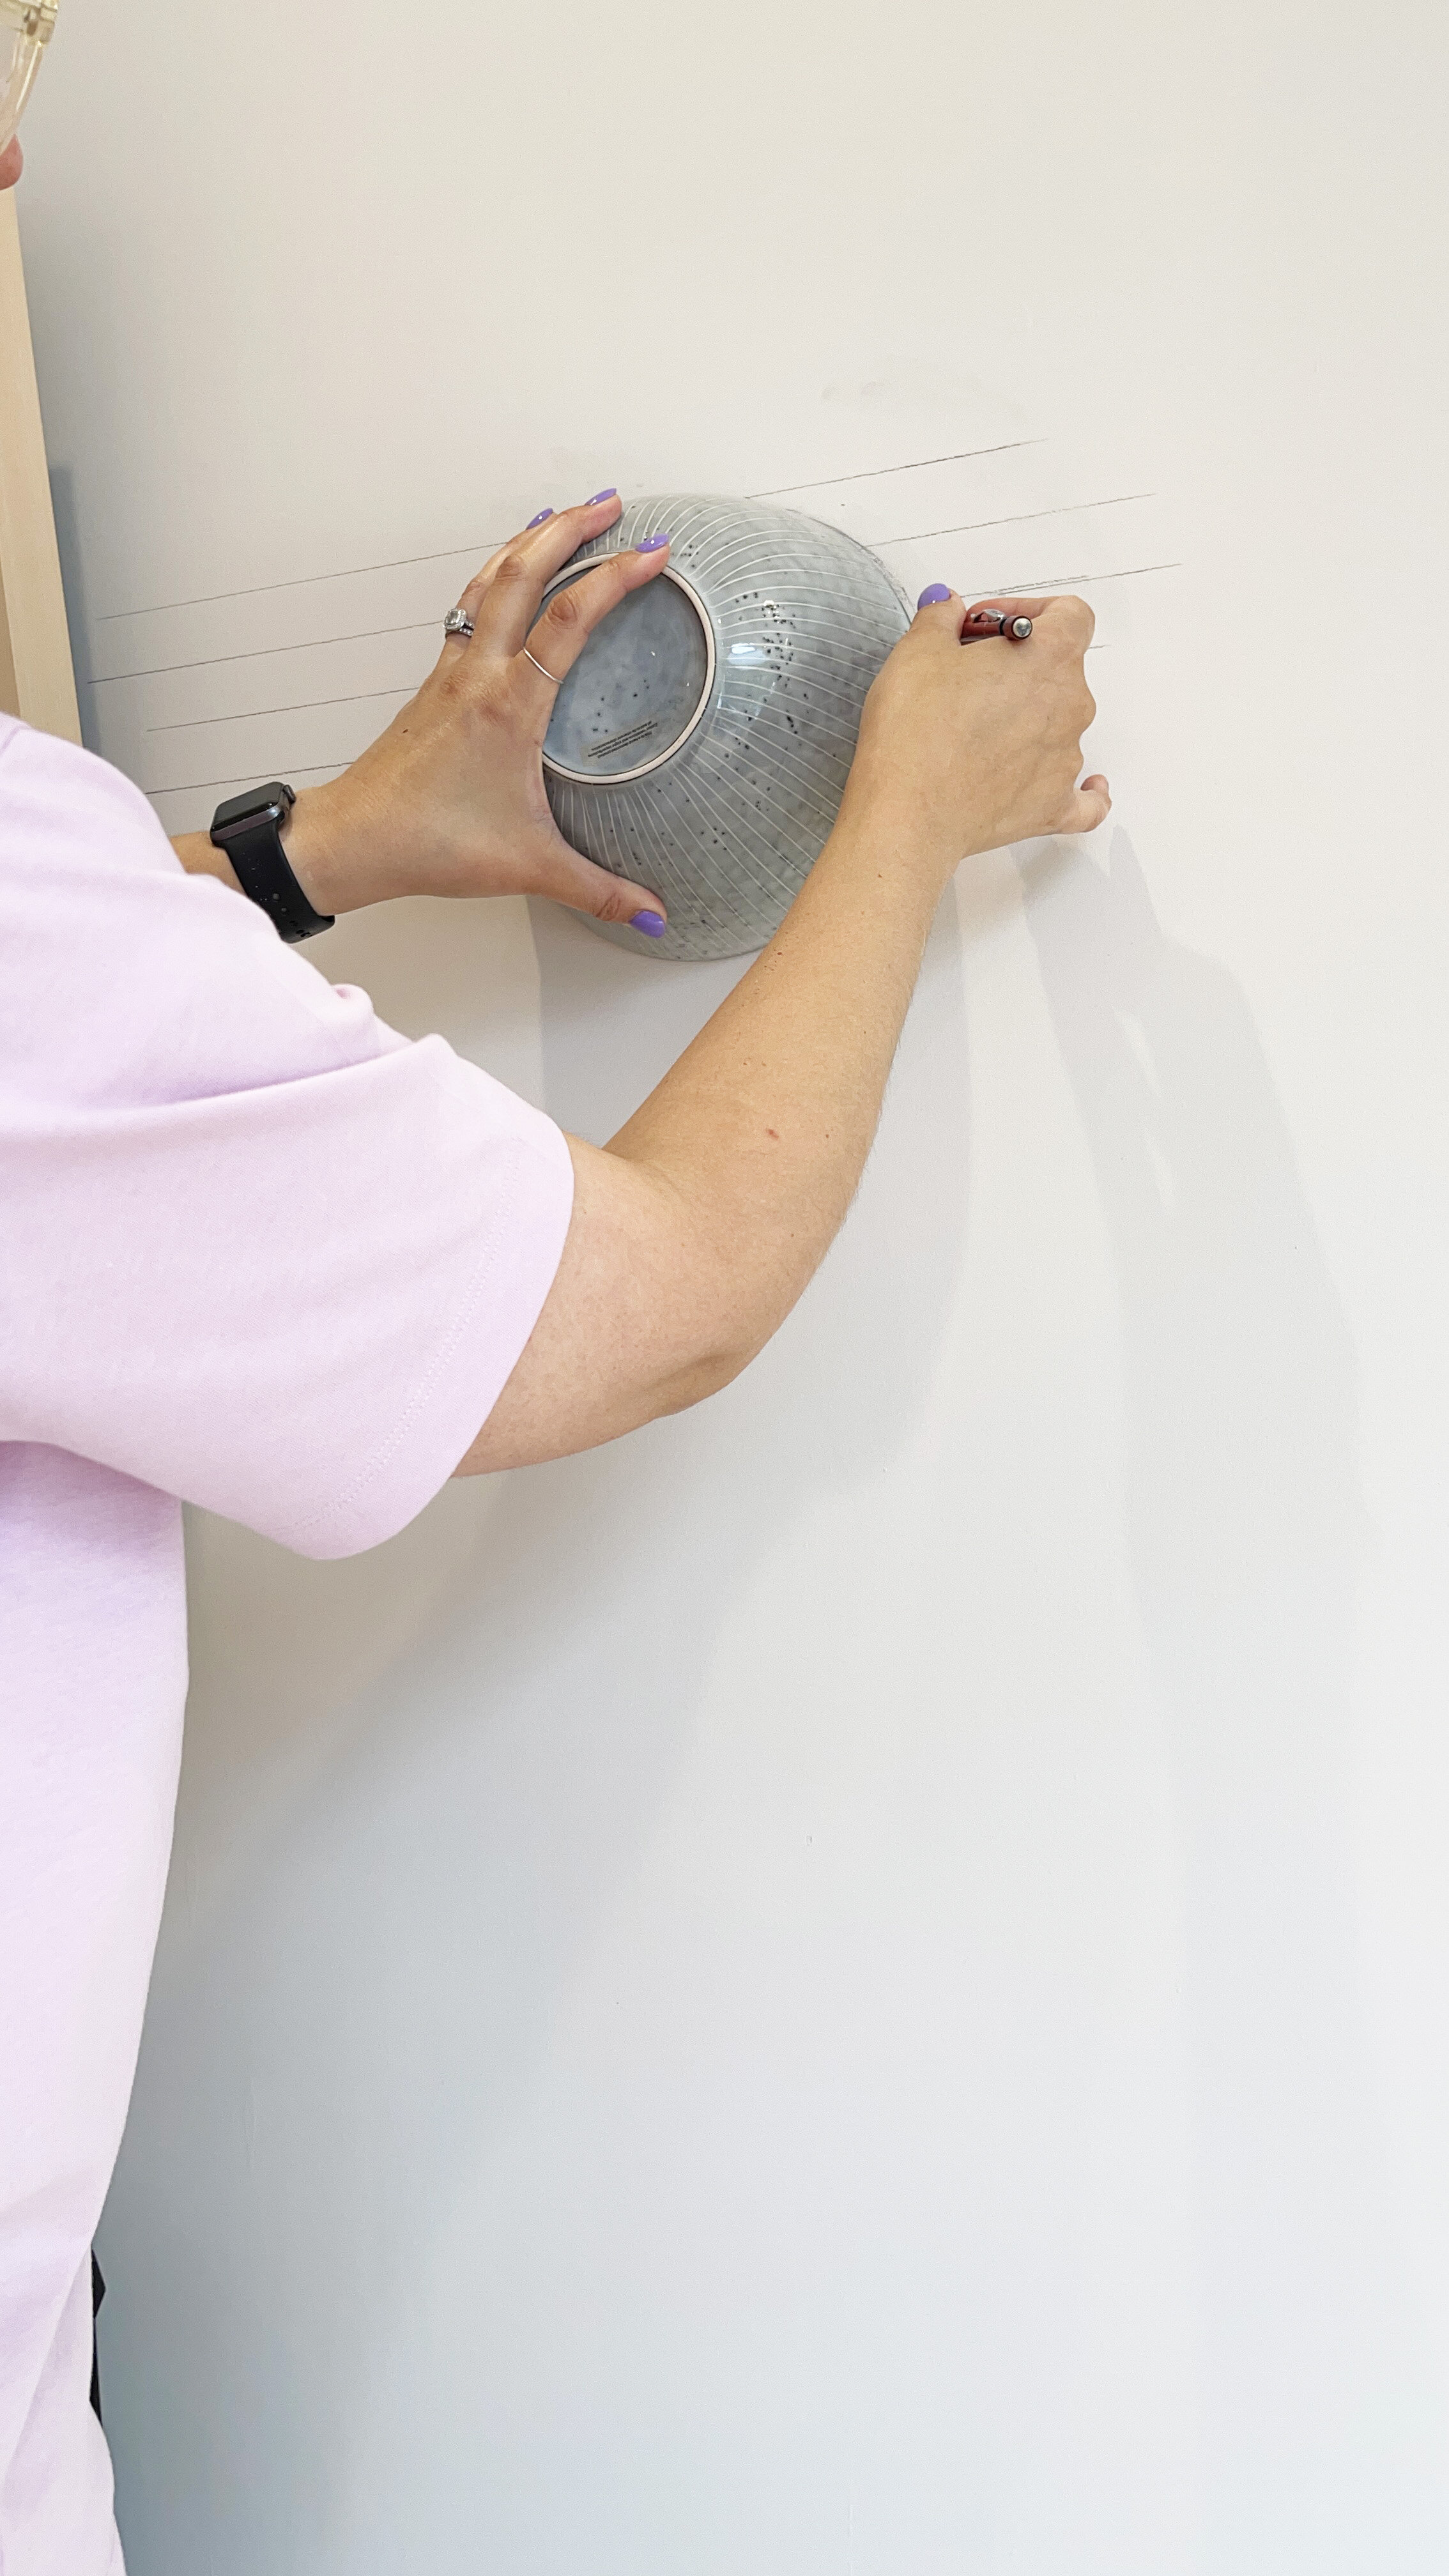
I then got to work on drawing all the lines in pencil on the wall. I used a spirit level to make sure the lines were straight , and I used a kitchen bowl to do the curves.
I measured each painted line to be 3cm wide each.
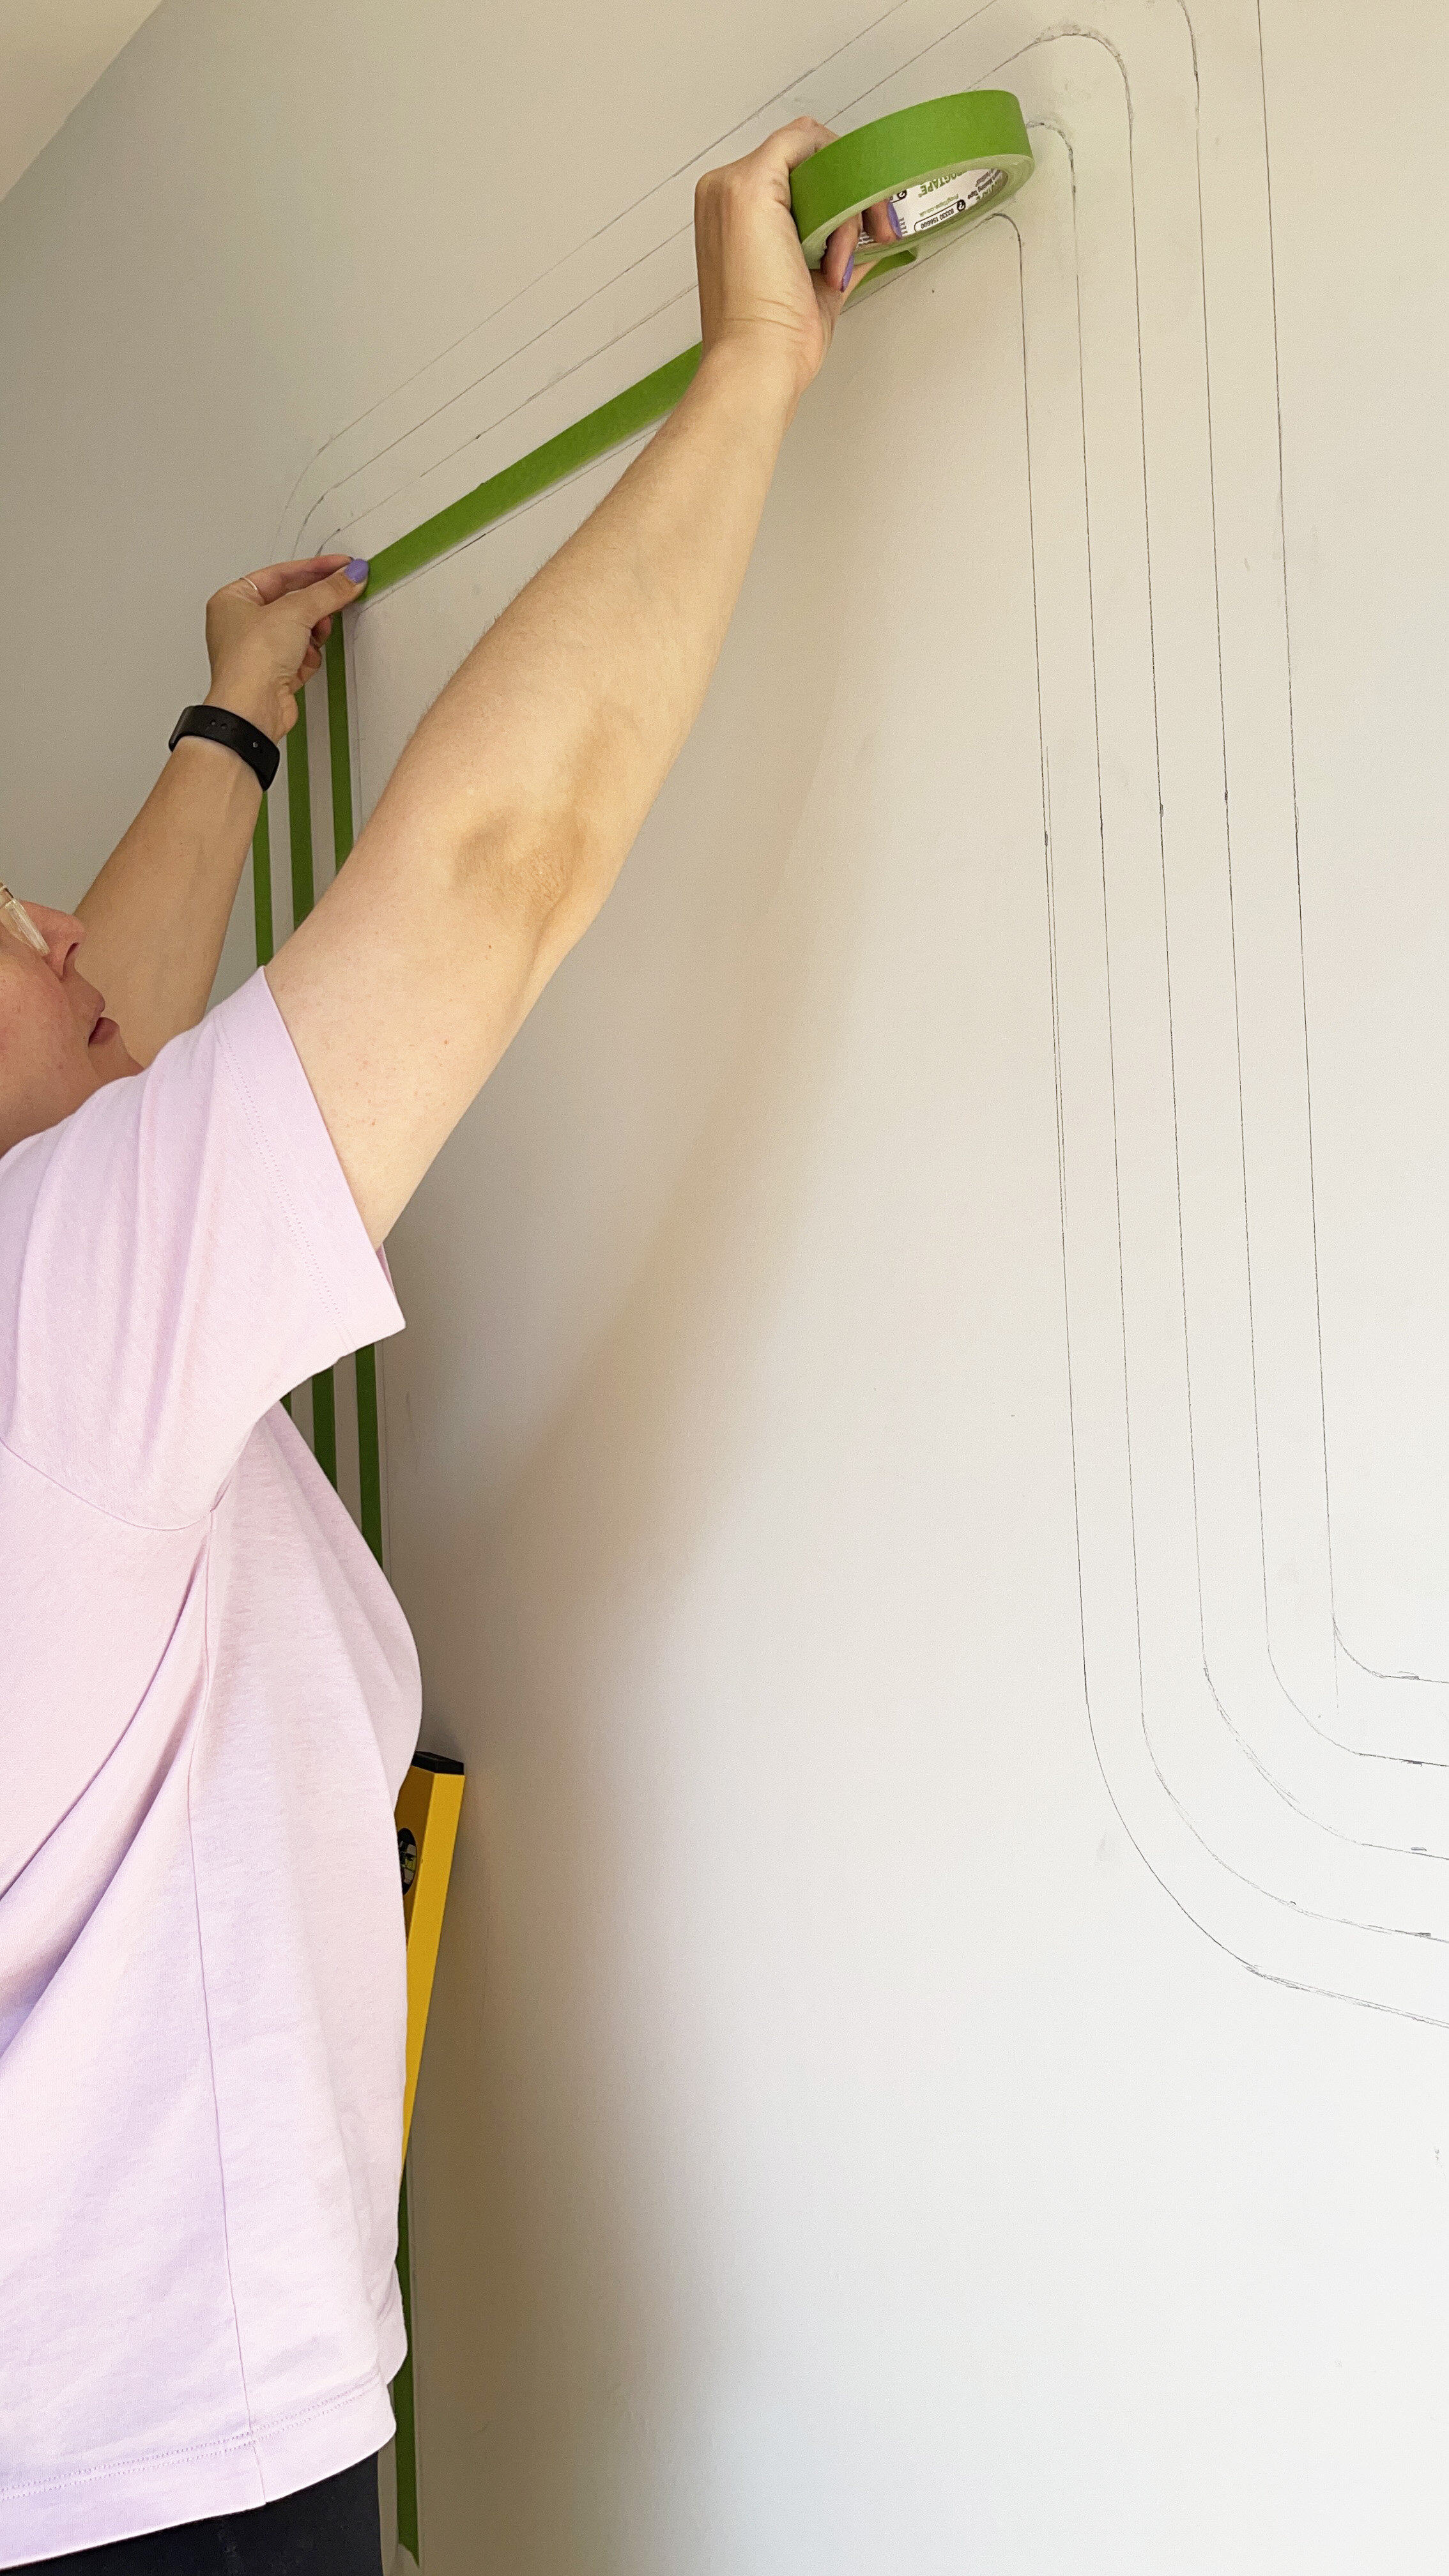
I then started to mask the areas using a general masking tape which is suitable for decorating, to give me the ultimate straight lines for decorating.

I then got to work on the painting , choosing to paint the curves by free hand as I has already marked out the lines in pencil.
I started with the darkest paint colour on the outside line which was Dulux Simply Refresh One Coat in Pressed Petal, then did the third line which Dulux Simply Refresh One Coat in Blush. Once these had dried, I peeled away the masking tape and re masked up the other two lines which were Dusted Fondant as the second line and Natural Hessian as the fourth. All From Dulux Simply Refresh one Coat range.
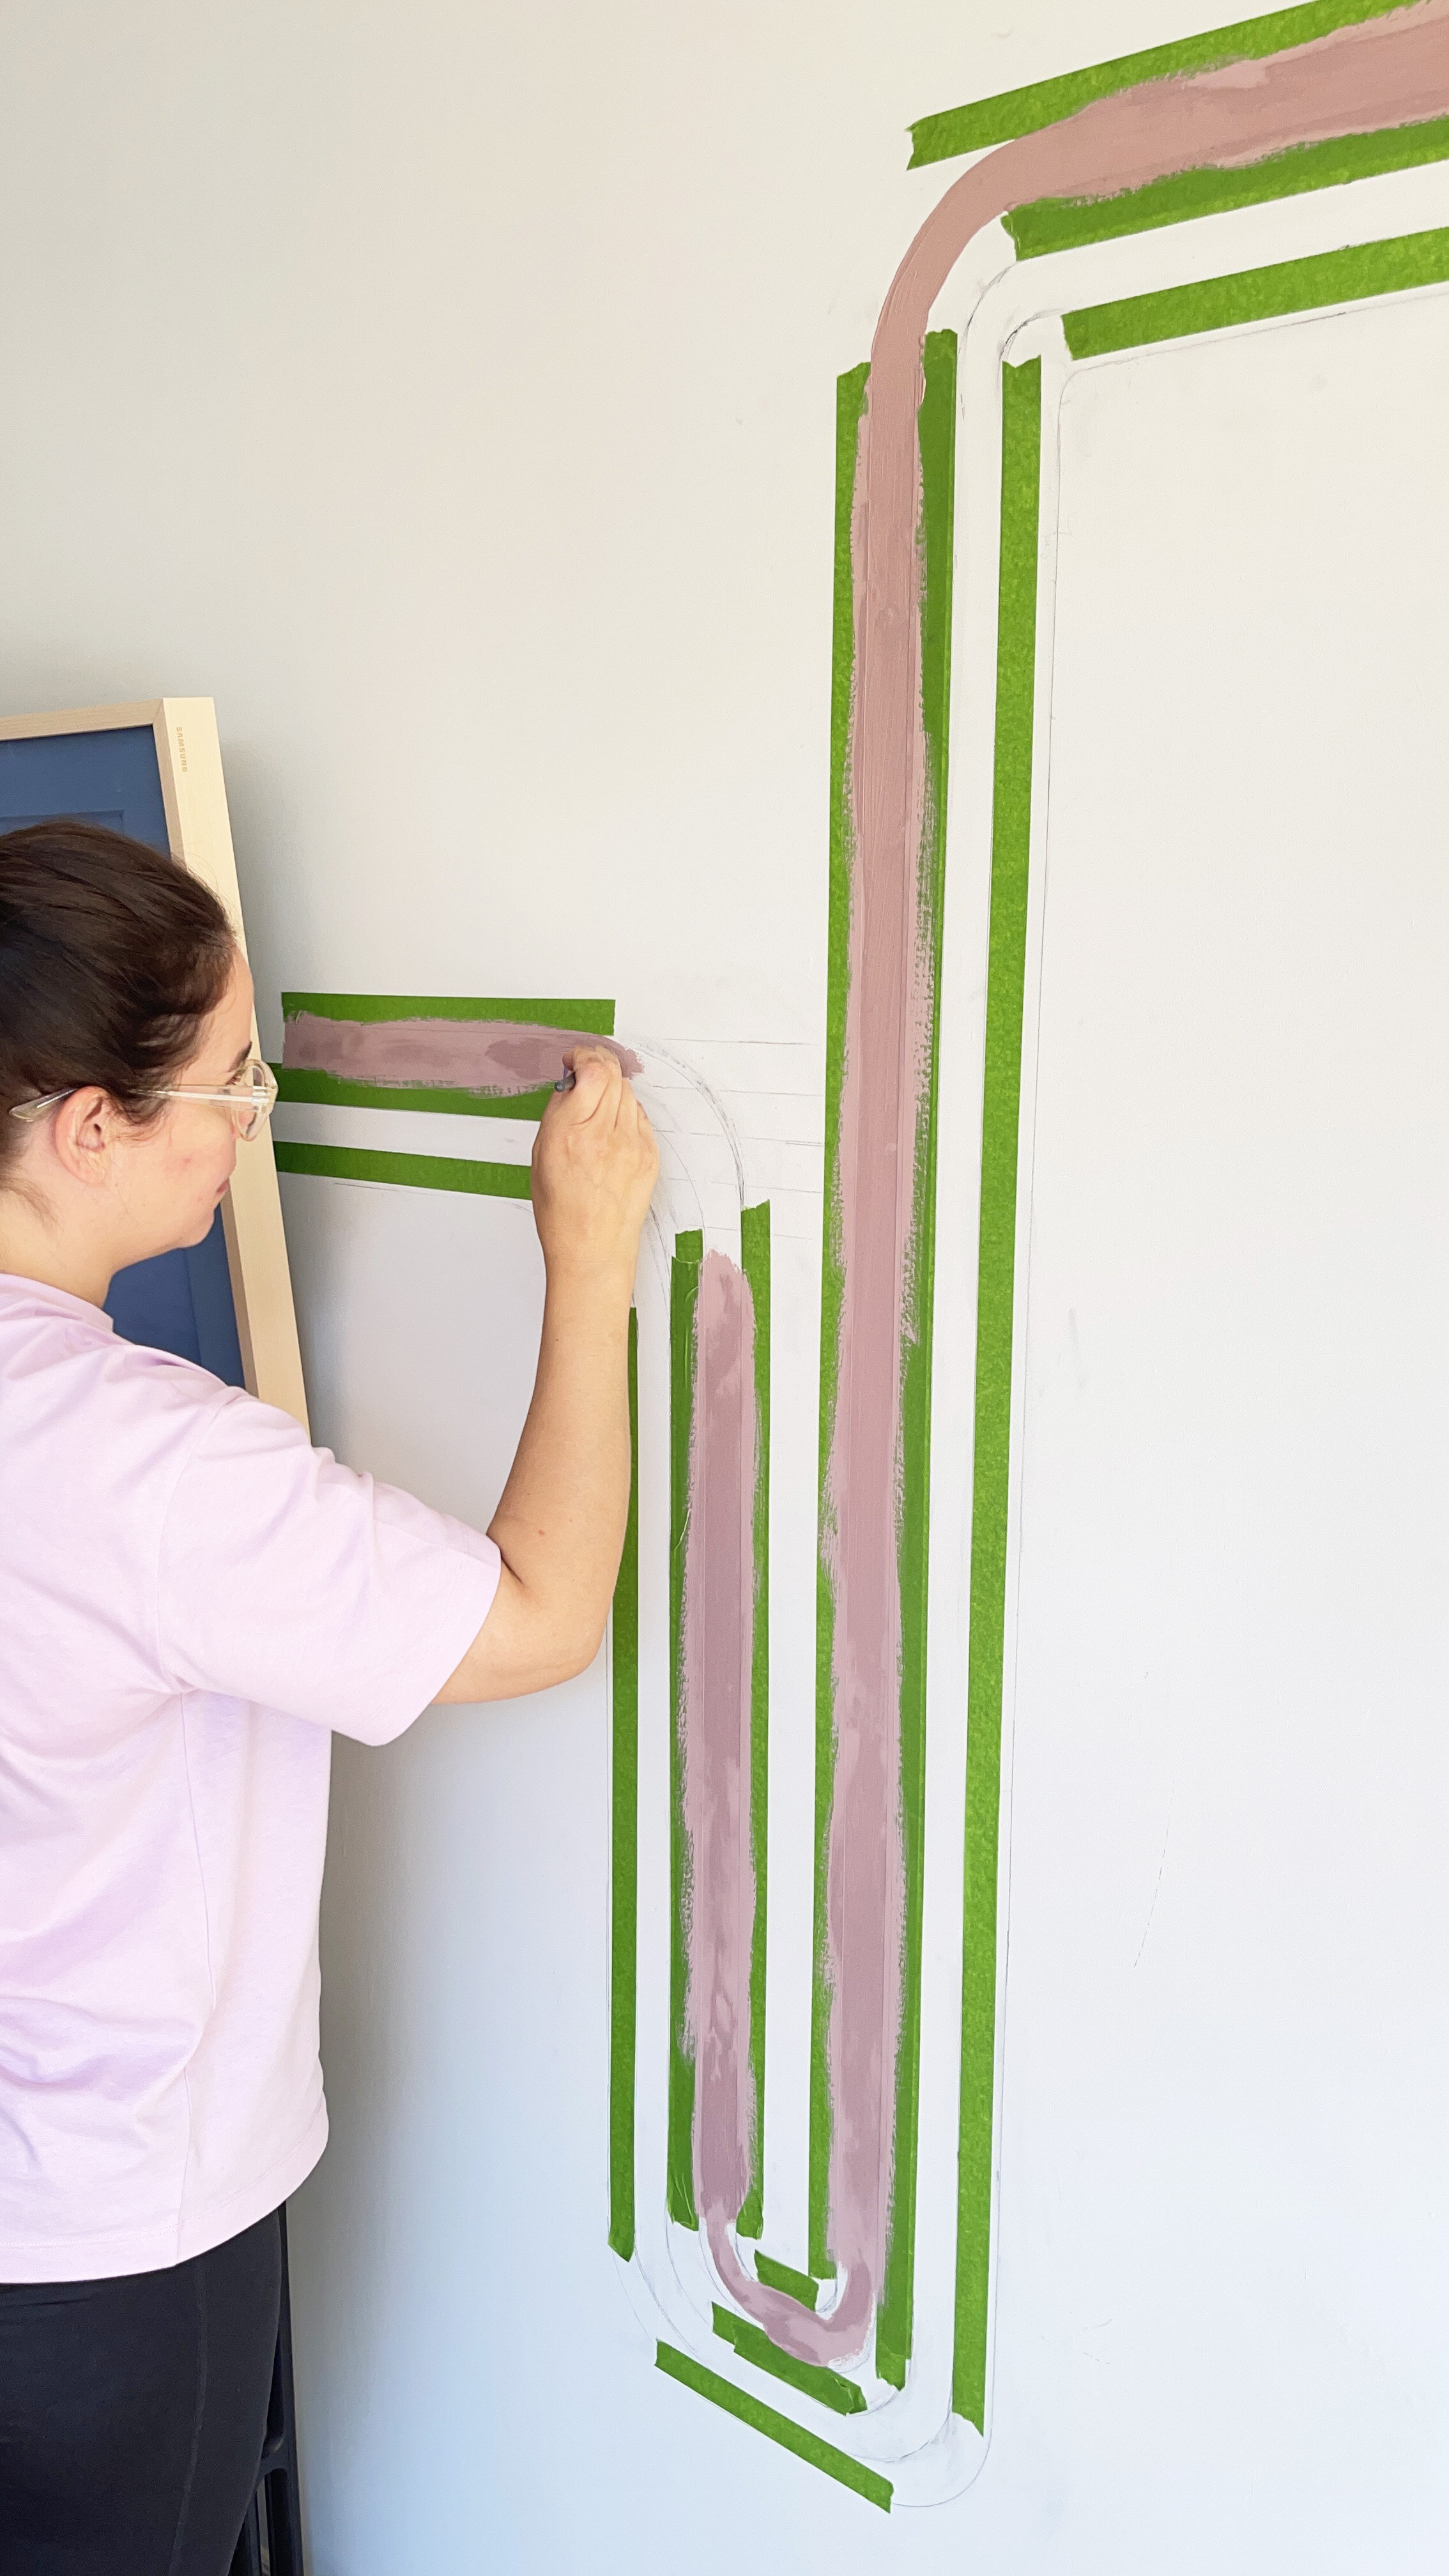
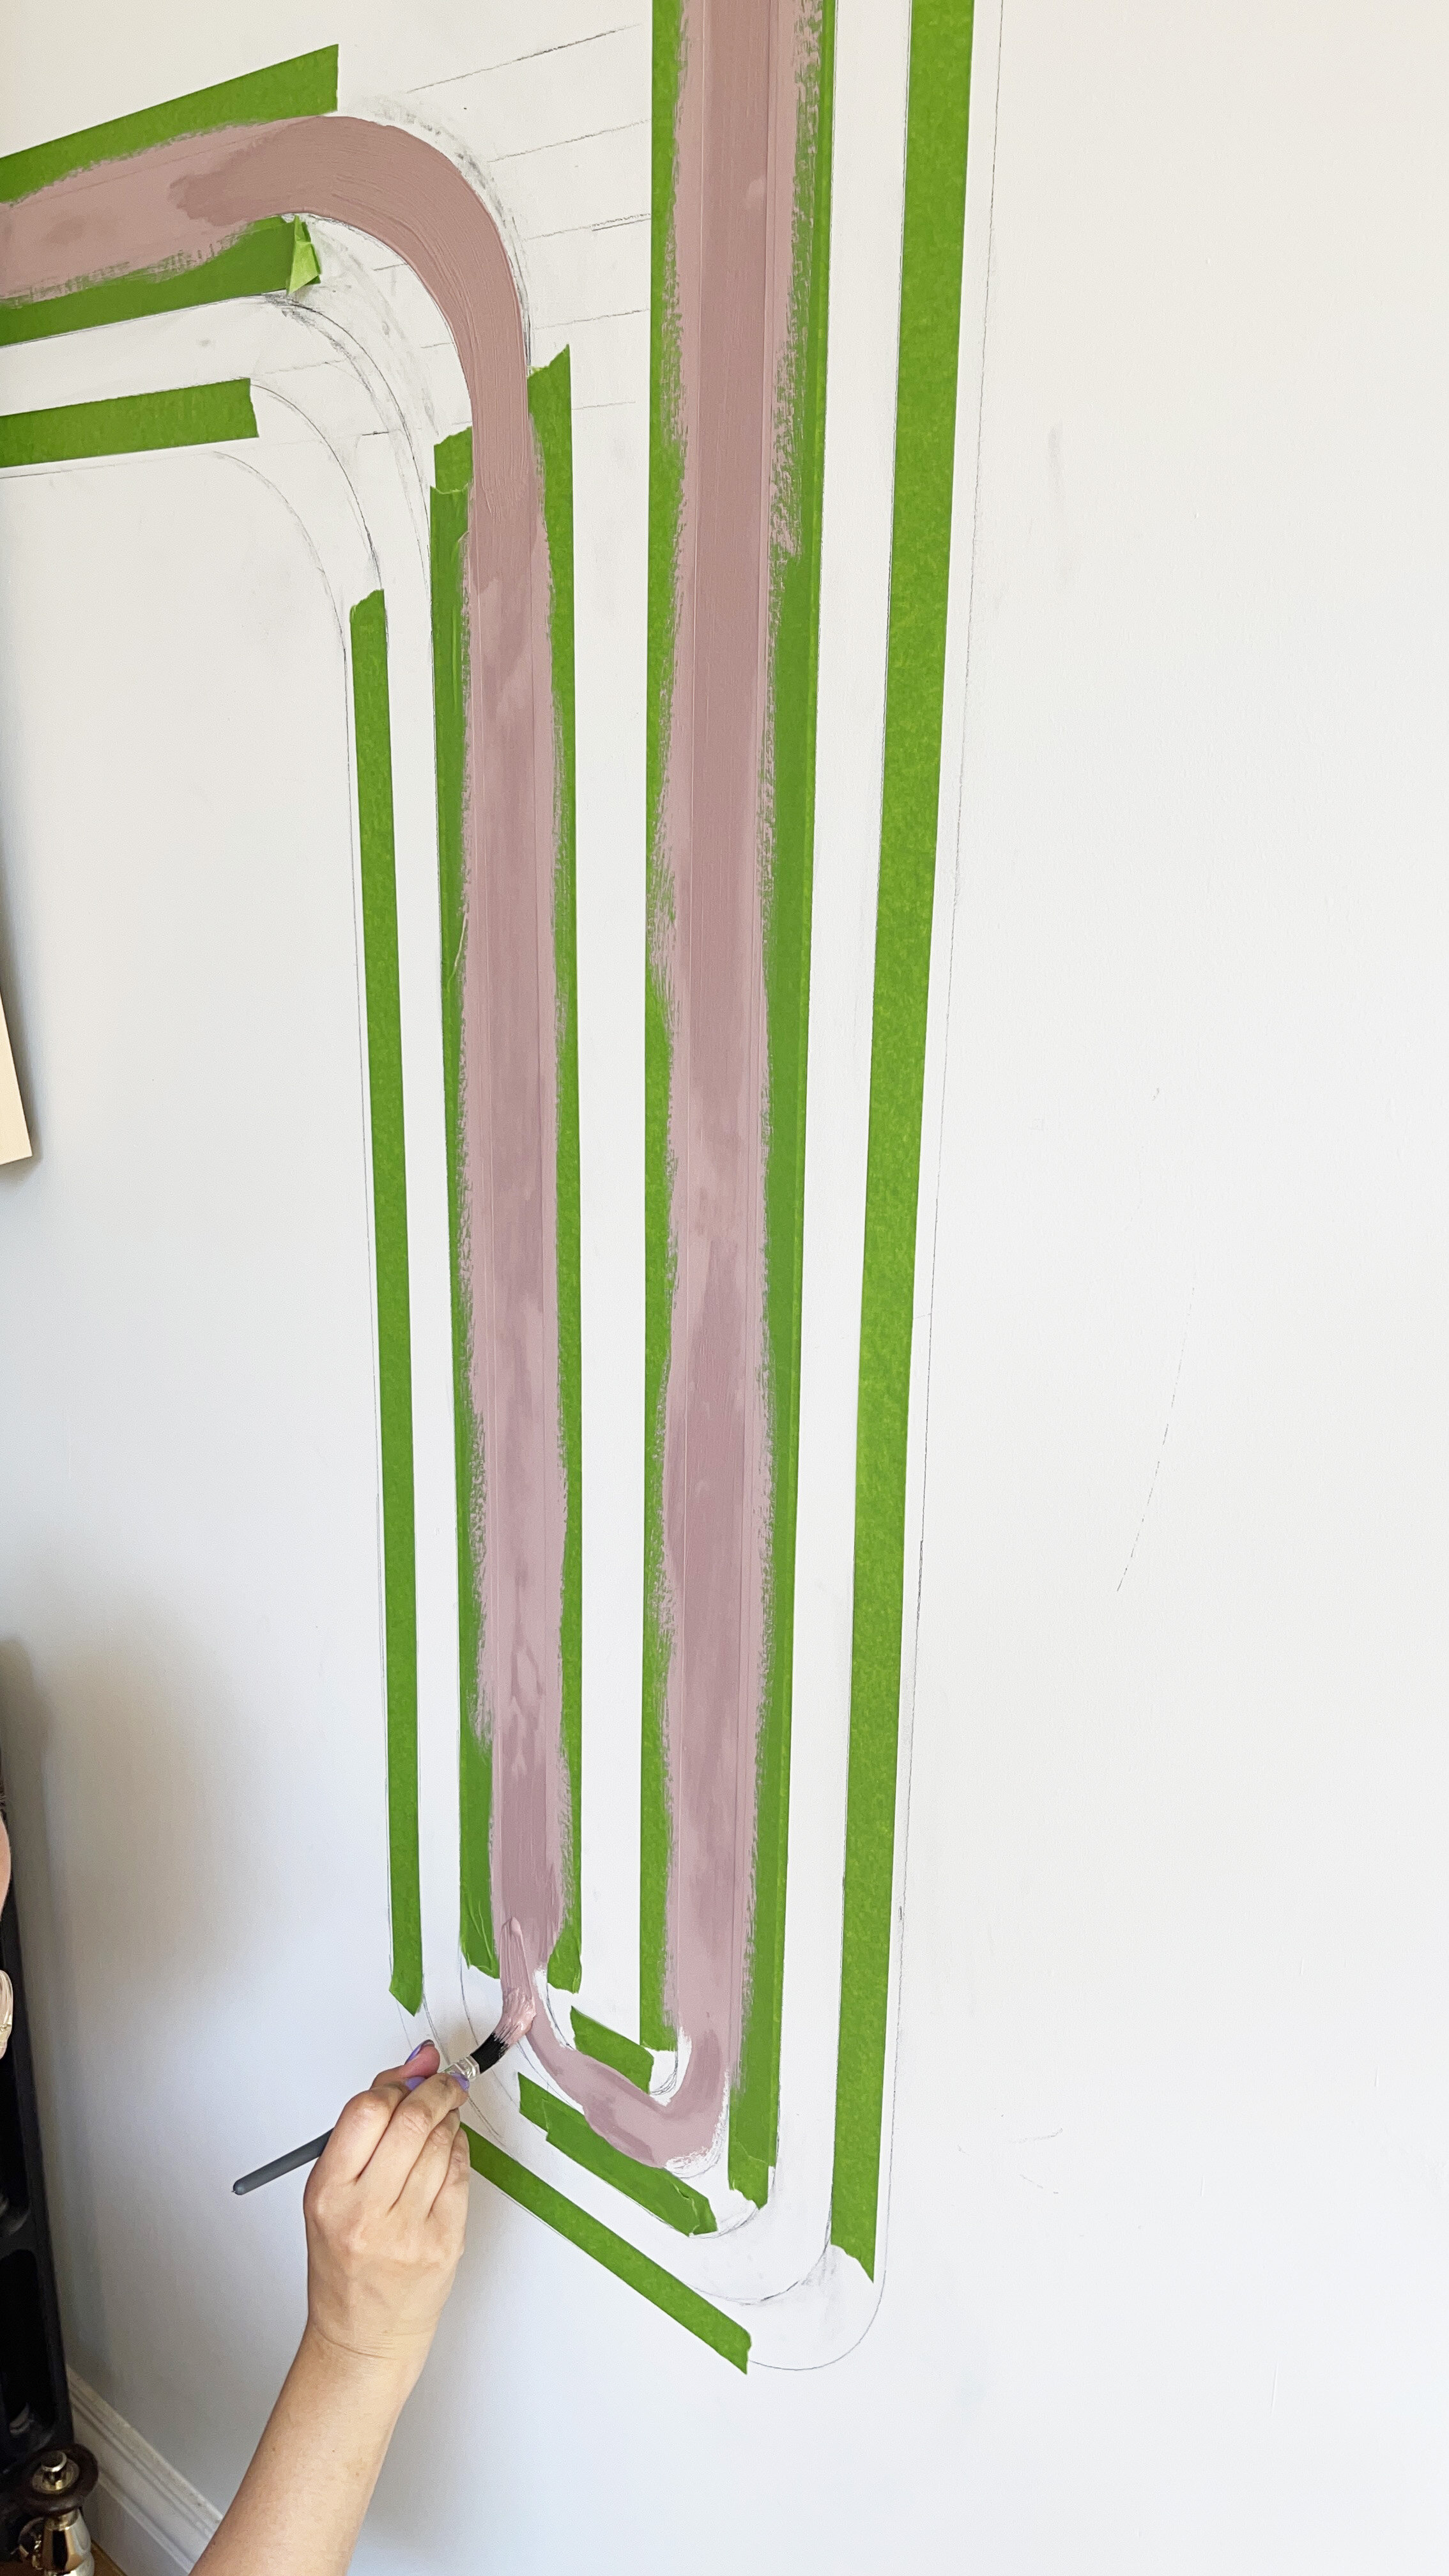

After painting the first and third line, I waited for the paint to dry, before peeling back the masking tape, to then re apply new tape for the second and fourth colour blocked line.

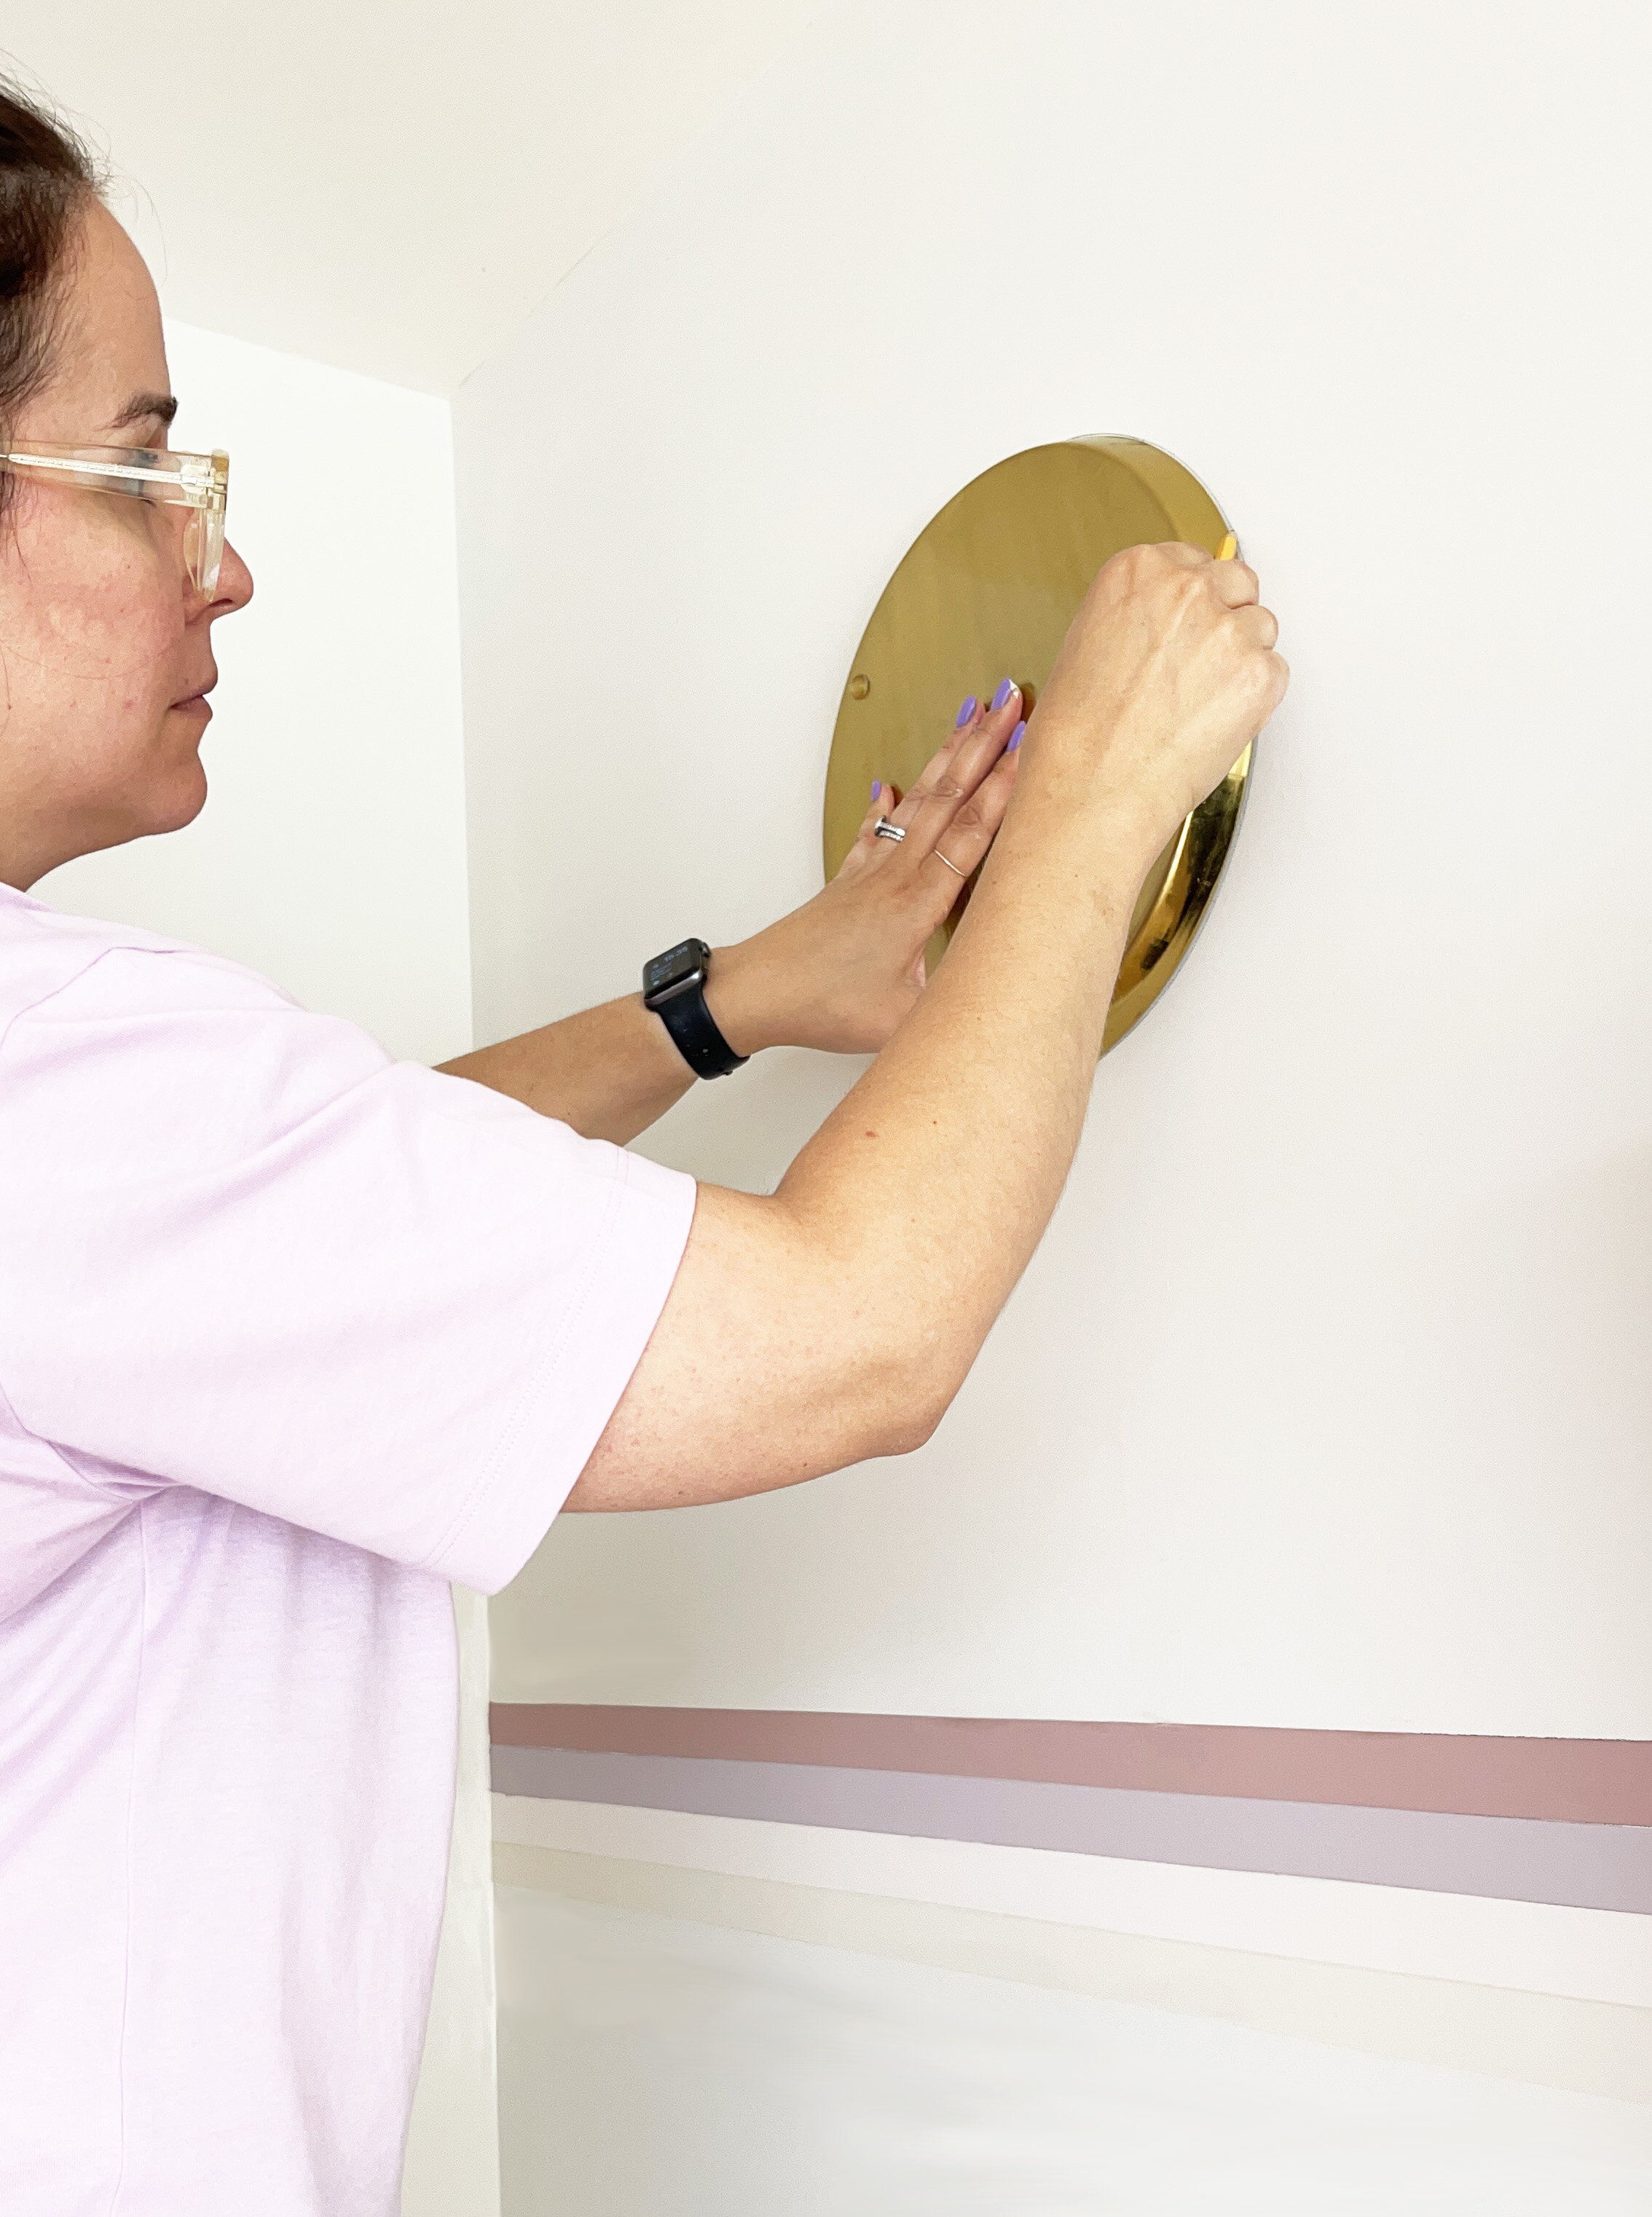
To draw the circle, I used a large round brass tray that I had laying around the house, and then filled it in with Dulux SimplyRefresh One Coat in shade Pressed Petal.
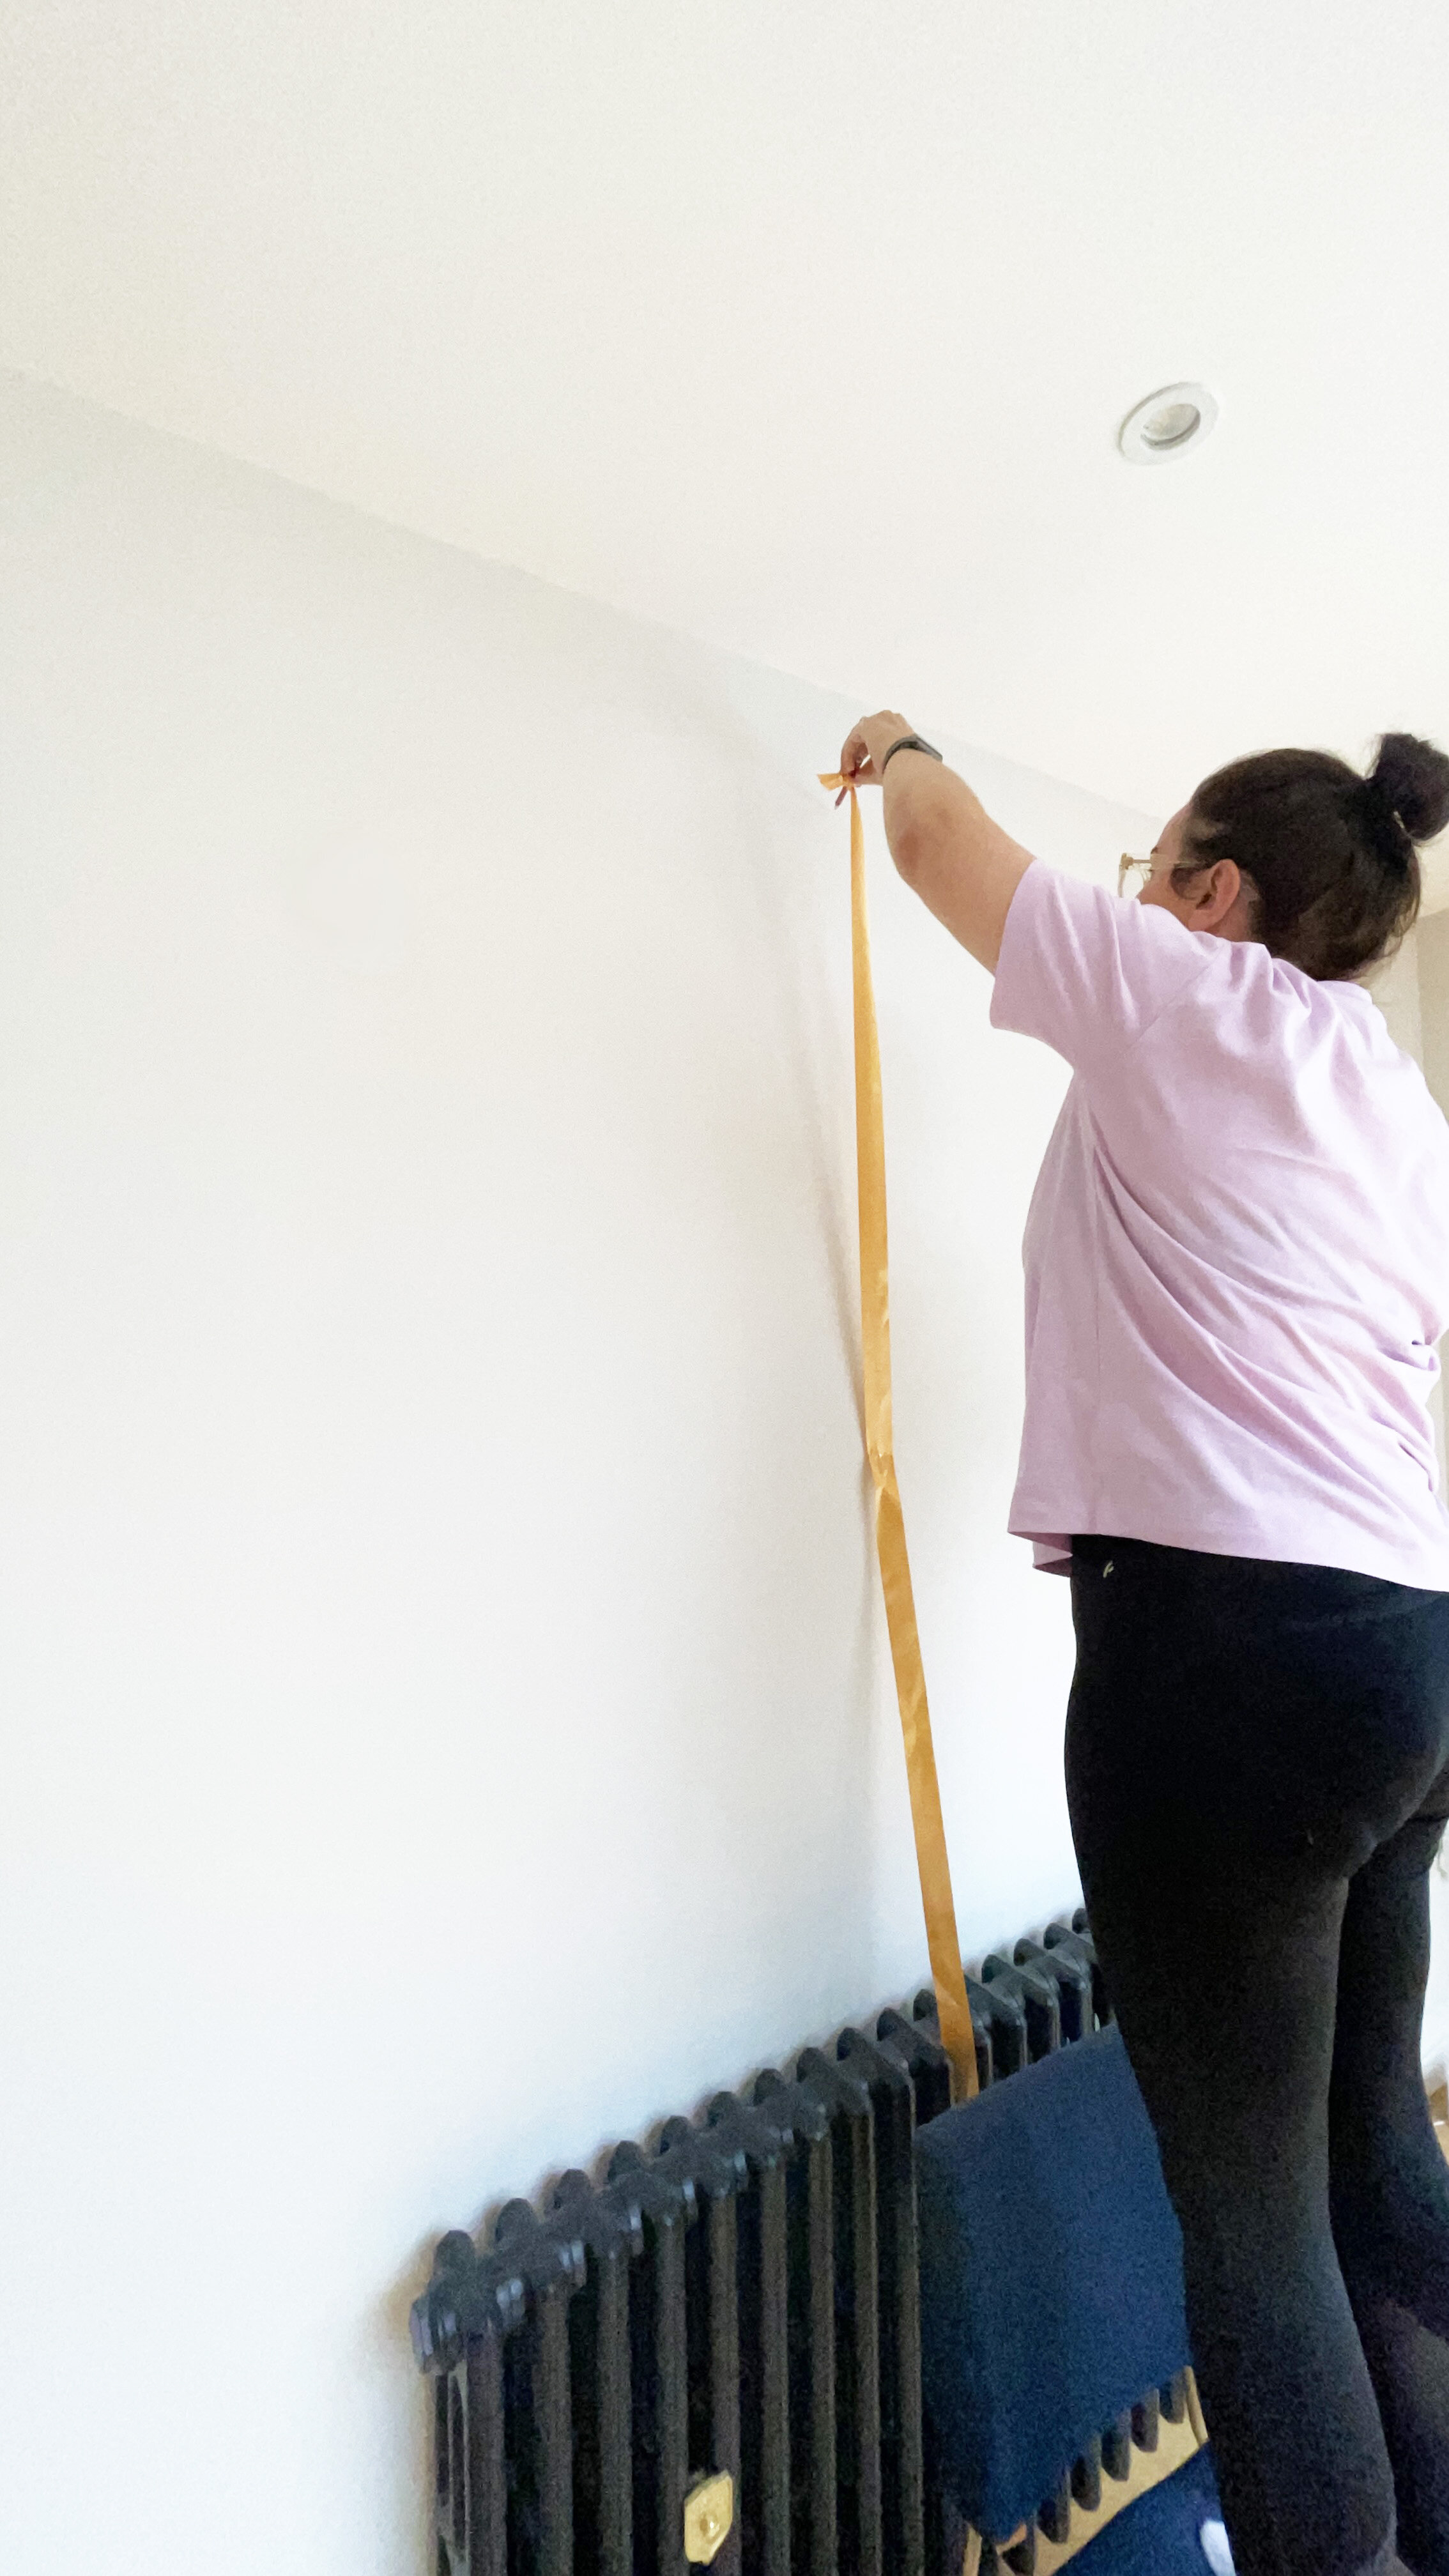
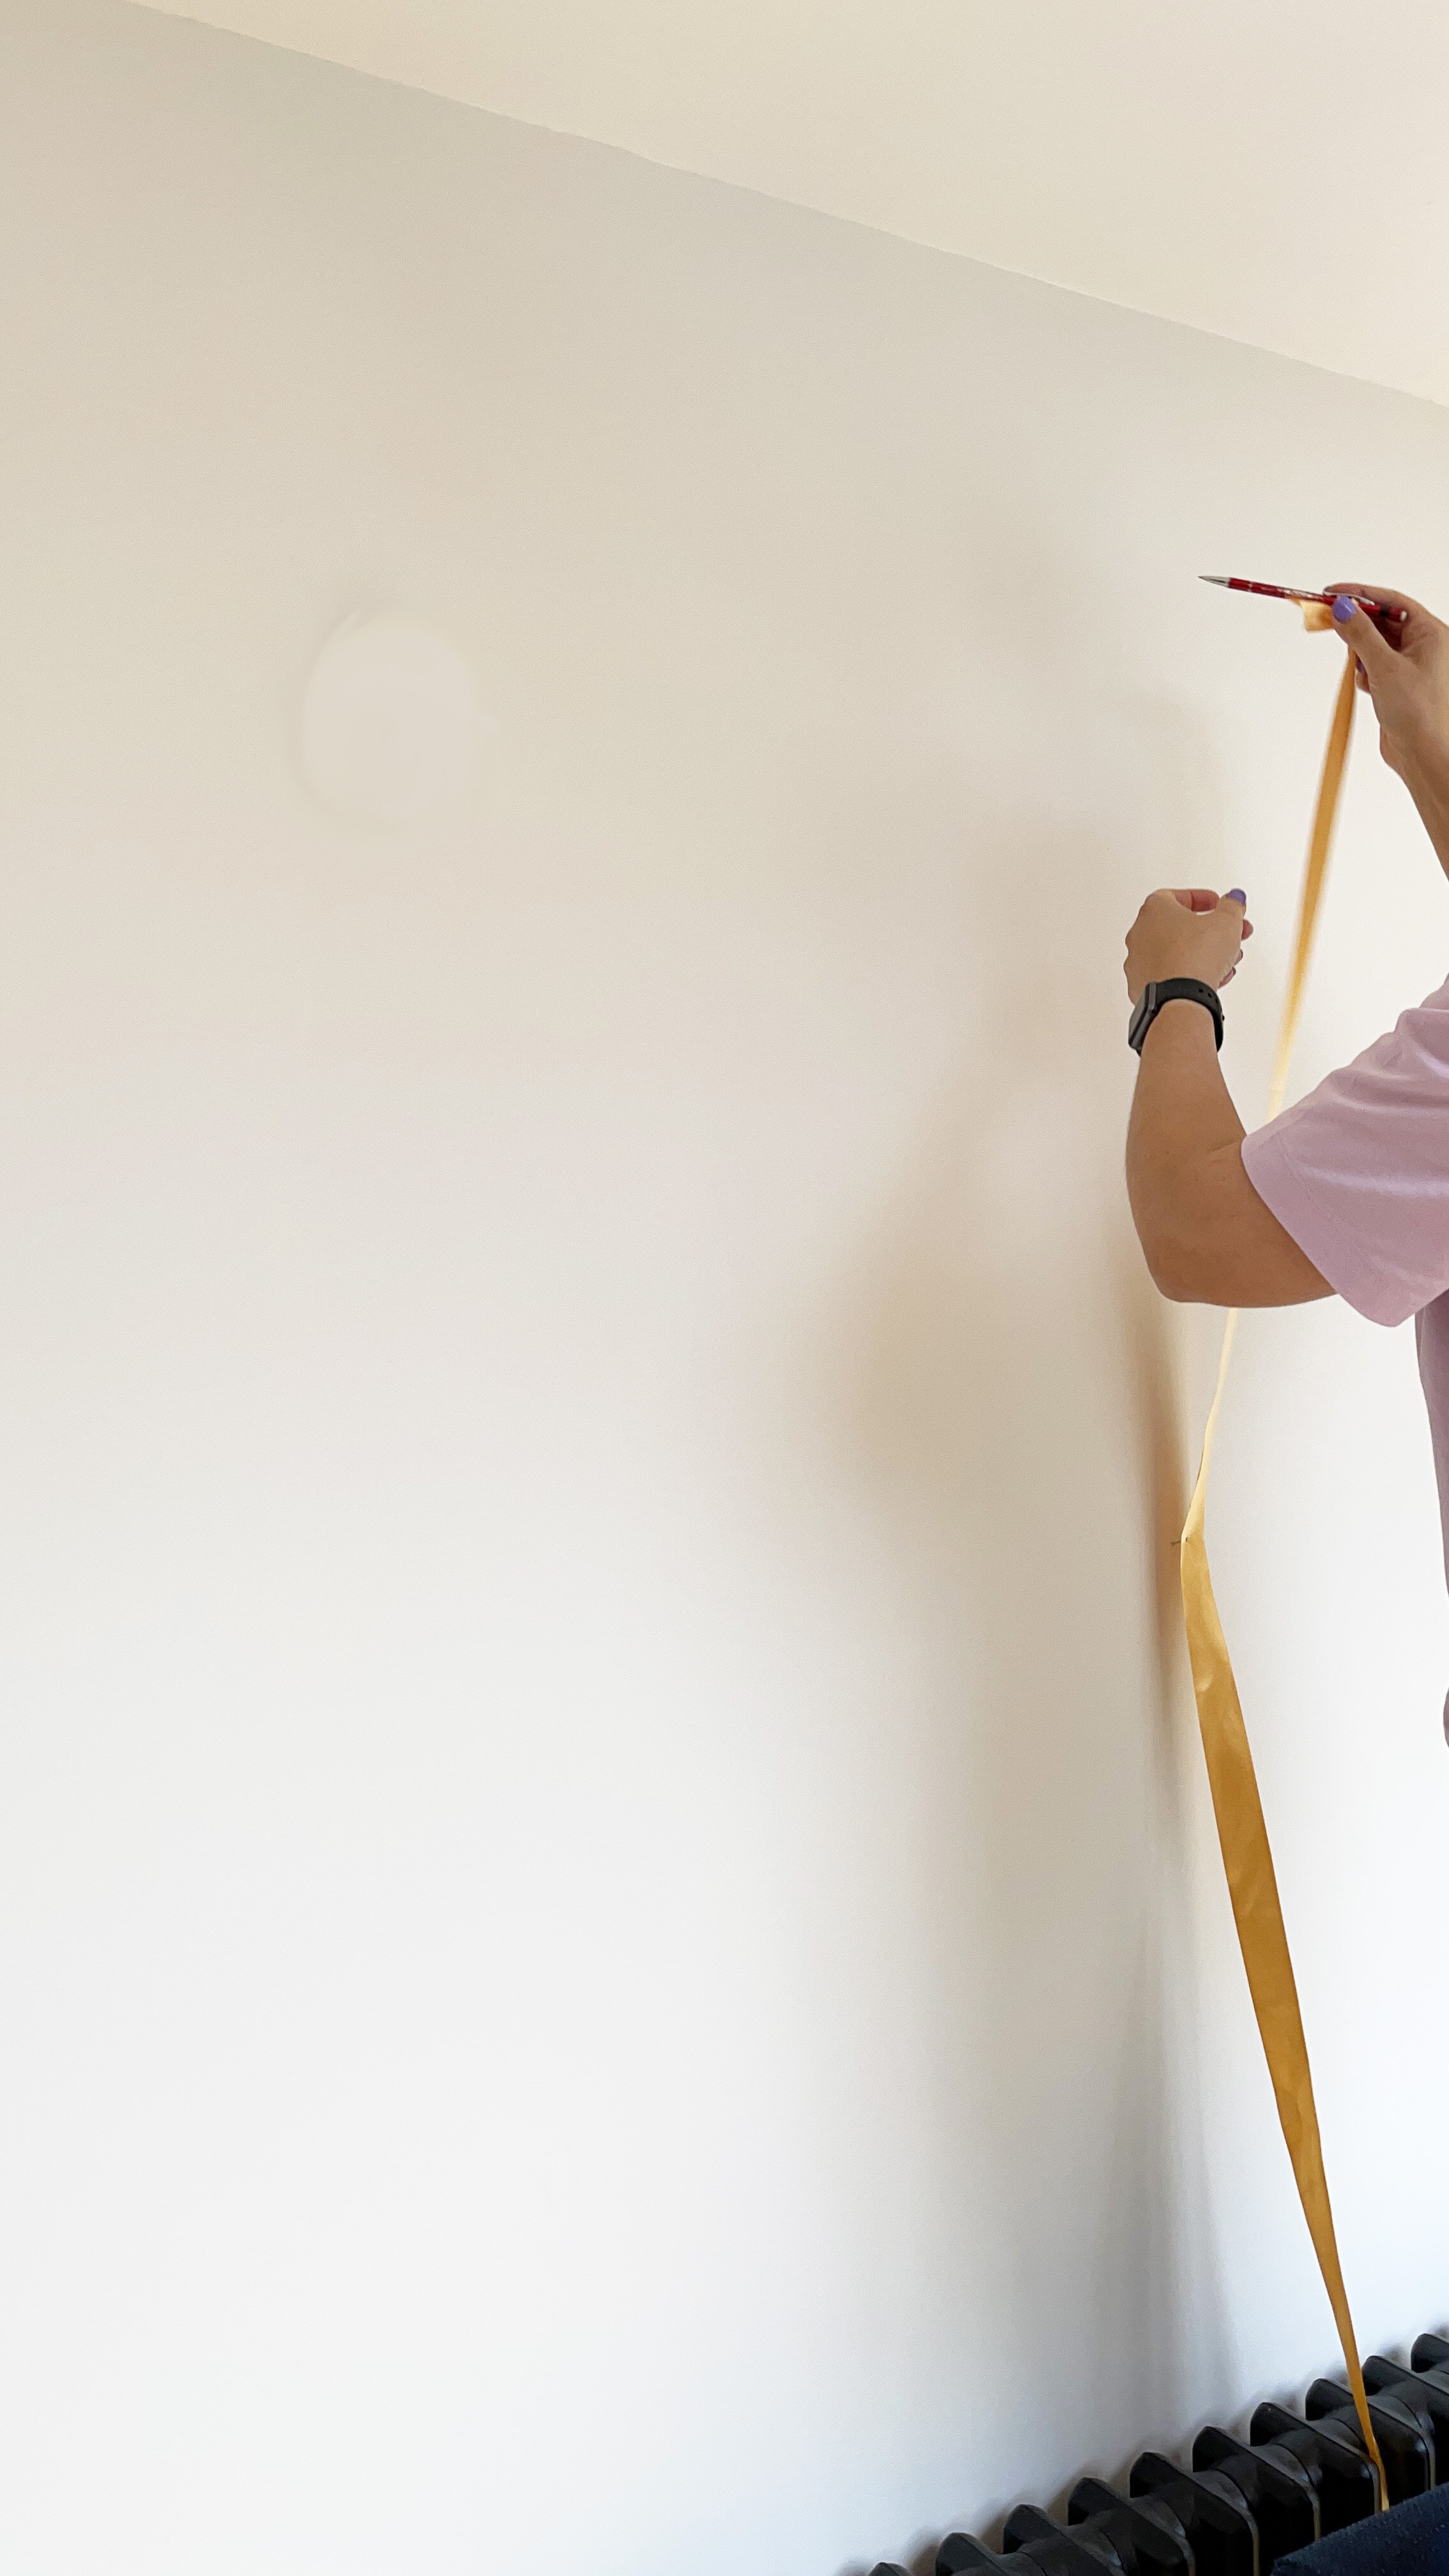
CREATING THE ARCH
My design included an arch to the right hand side of the wall. To create an arch, you have to find the centre of the arch, then use a ribbon or a piece of string which you nail into the middle point, then attach a pencil and drawer out your perfect symmetrical arch, following the curve of the pencil. I used a piece of ribbon as we didn’t have any string.
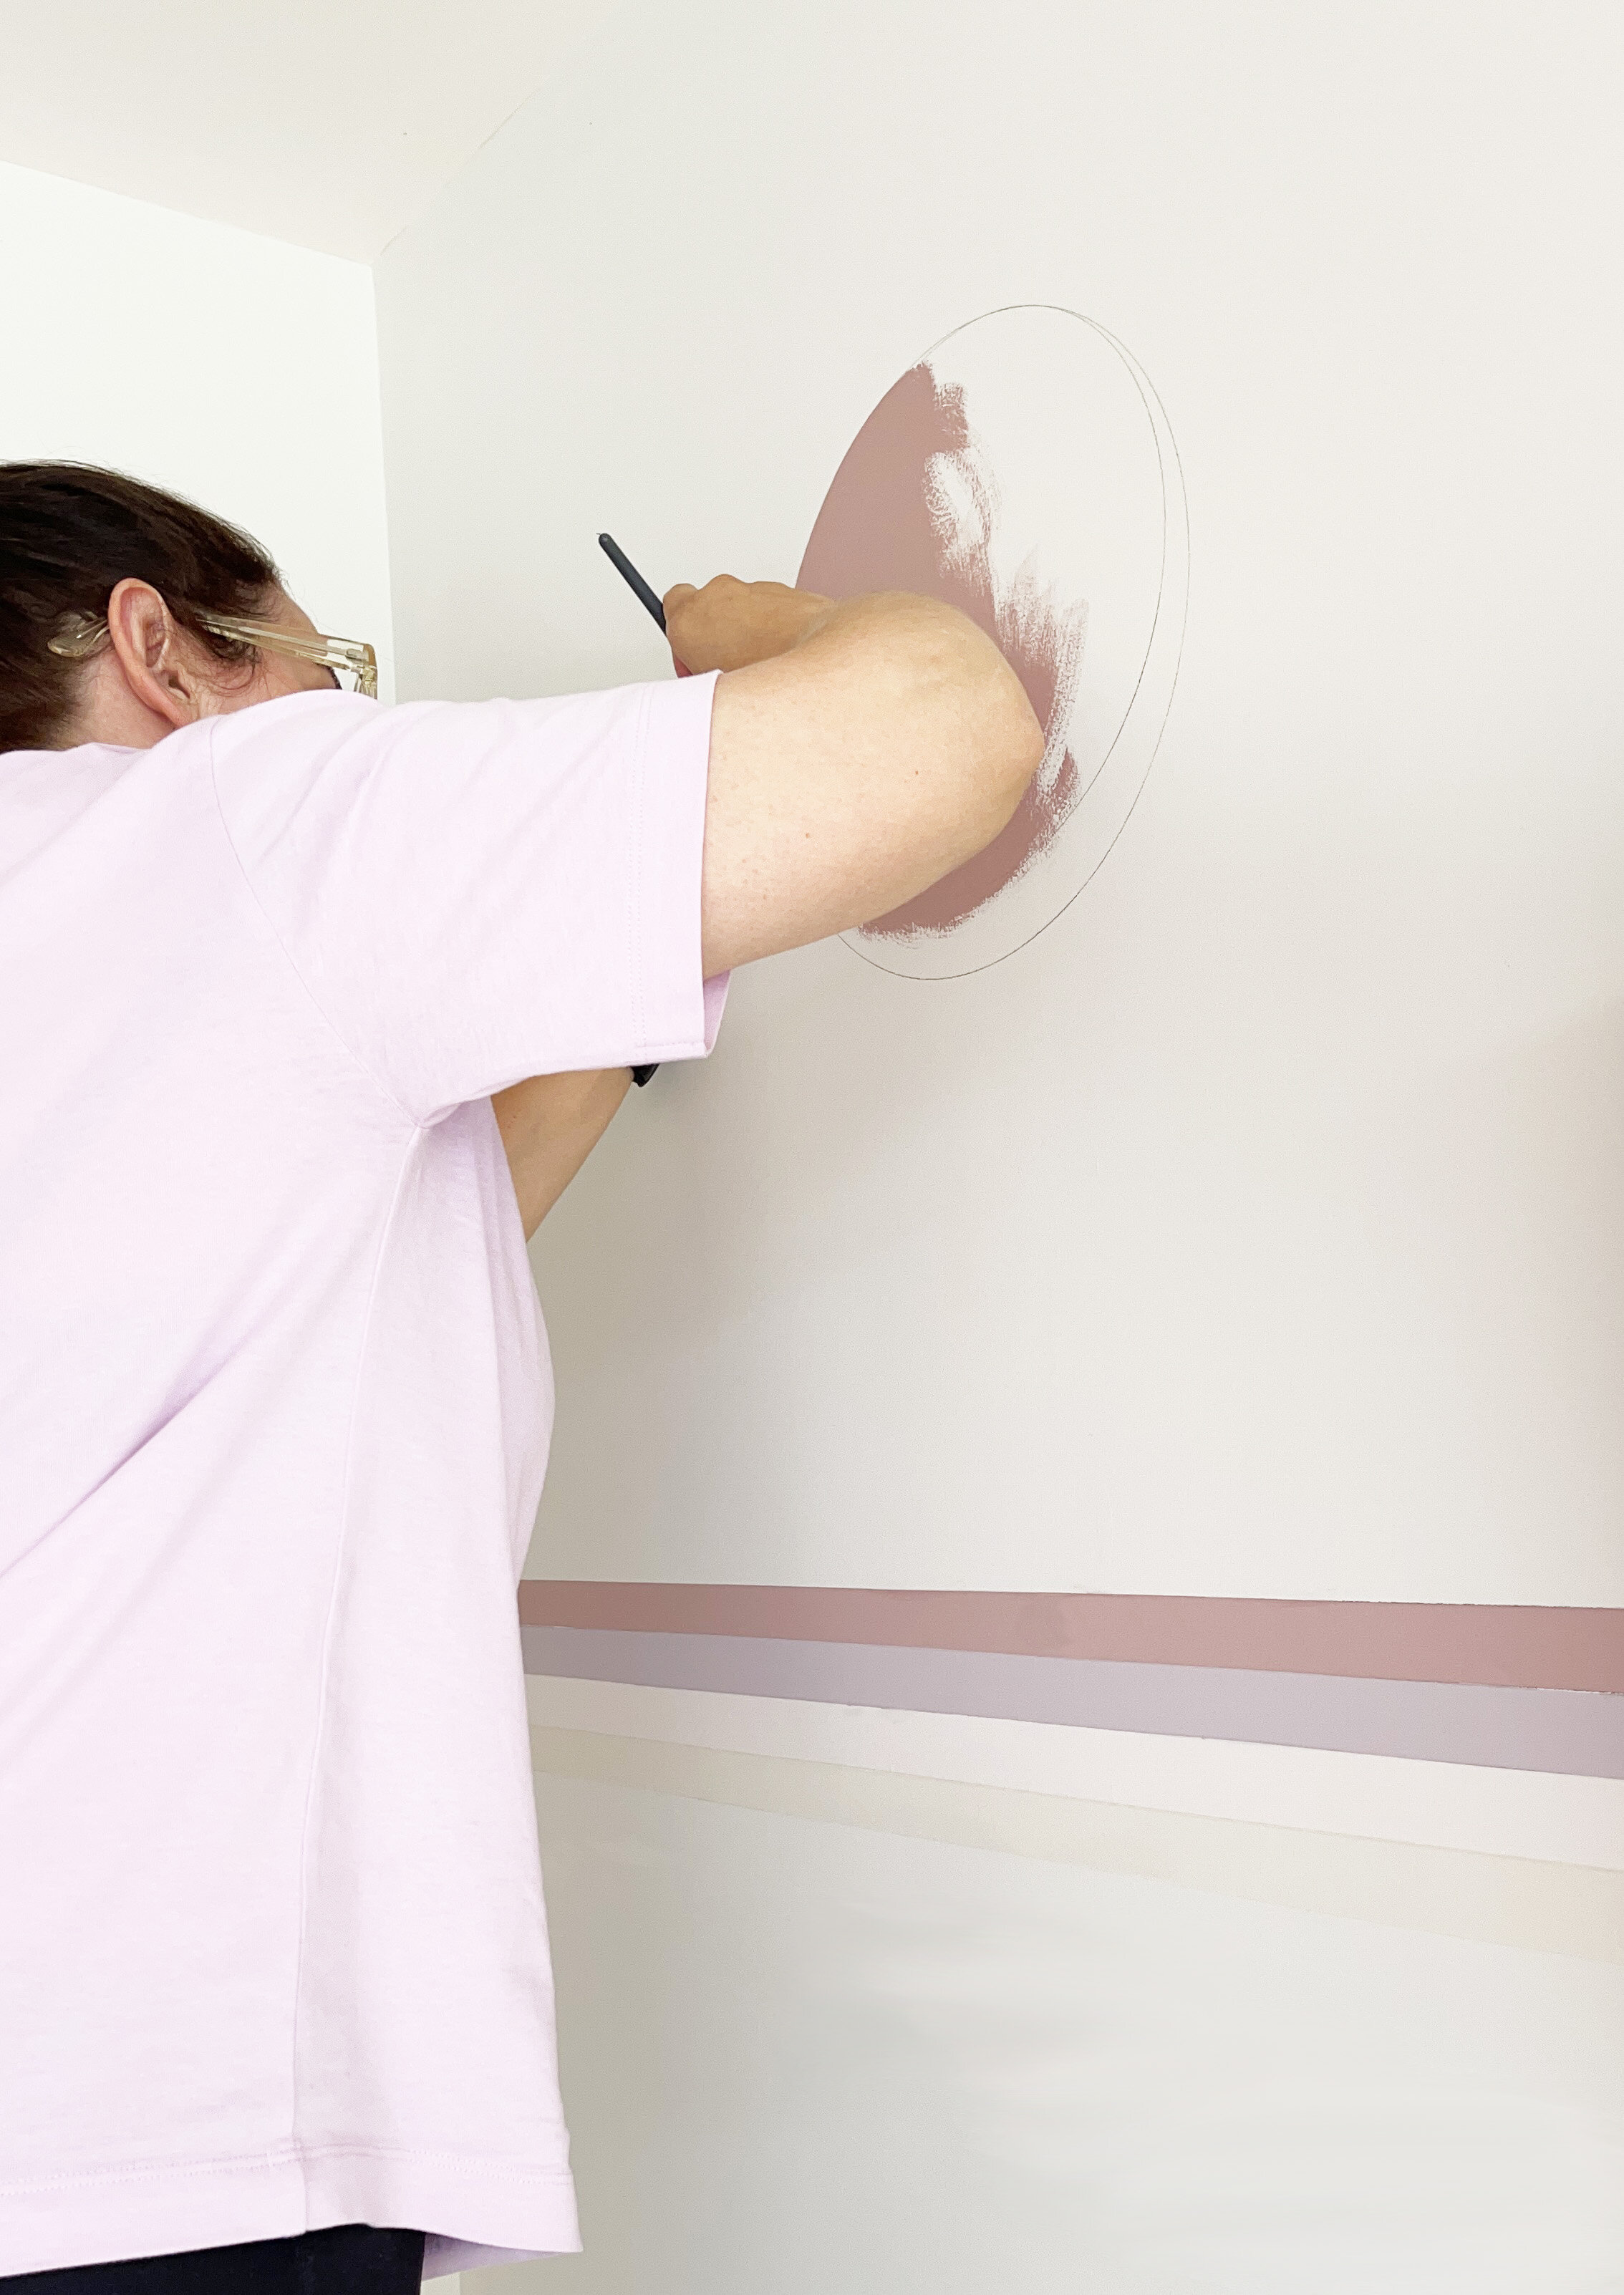
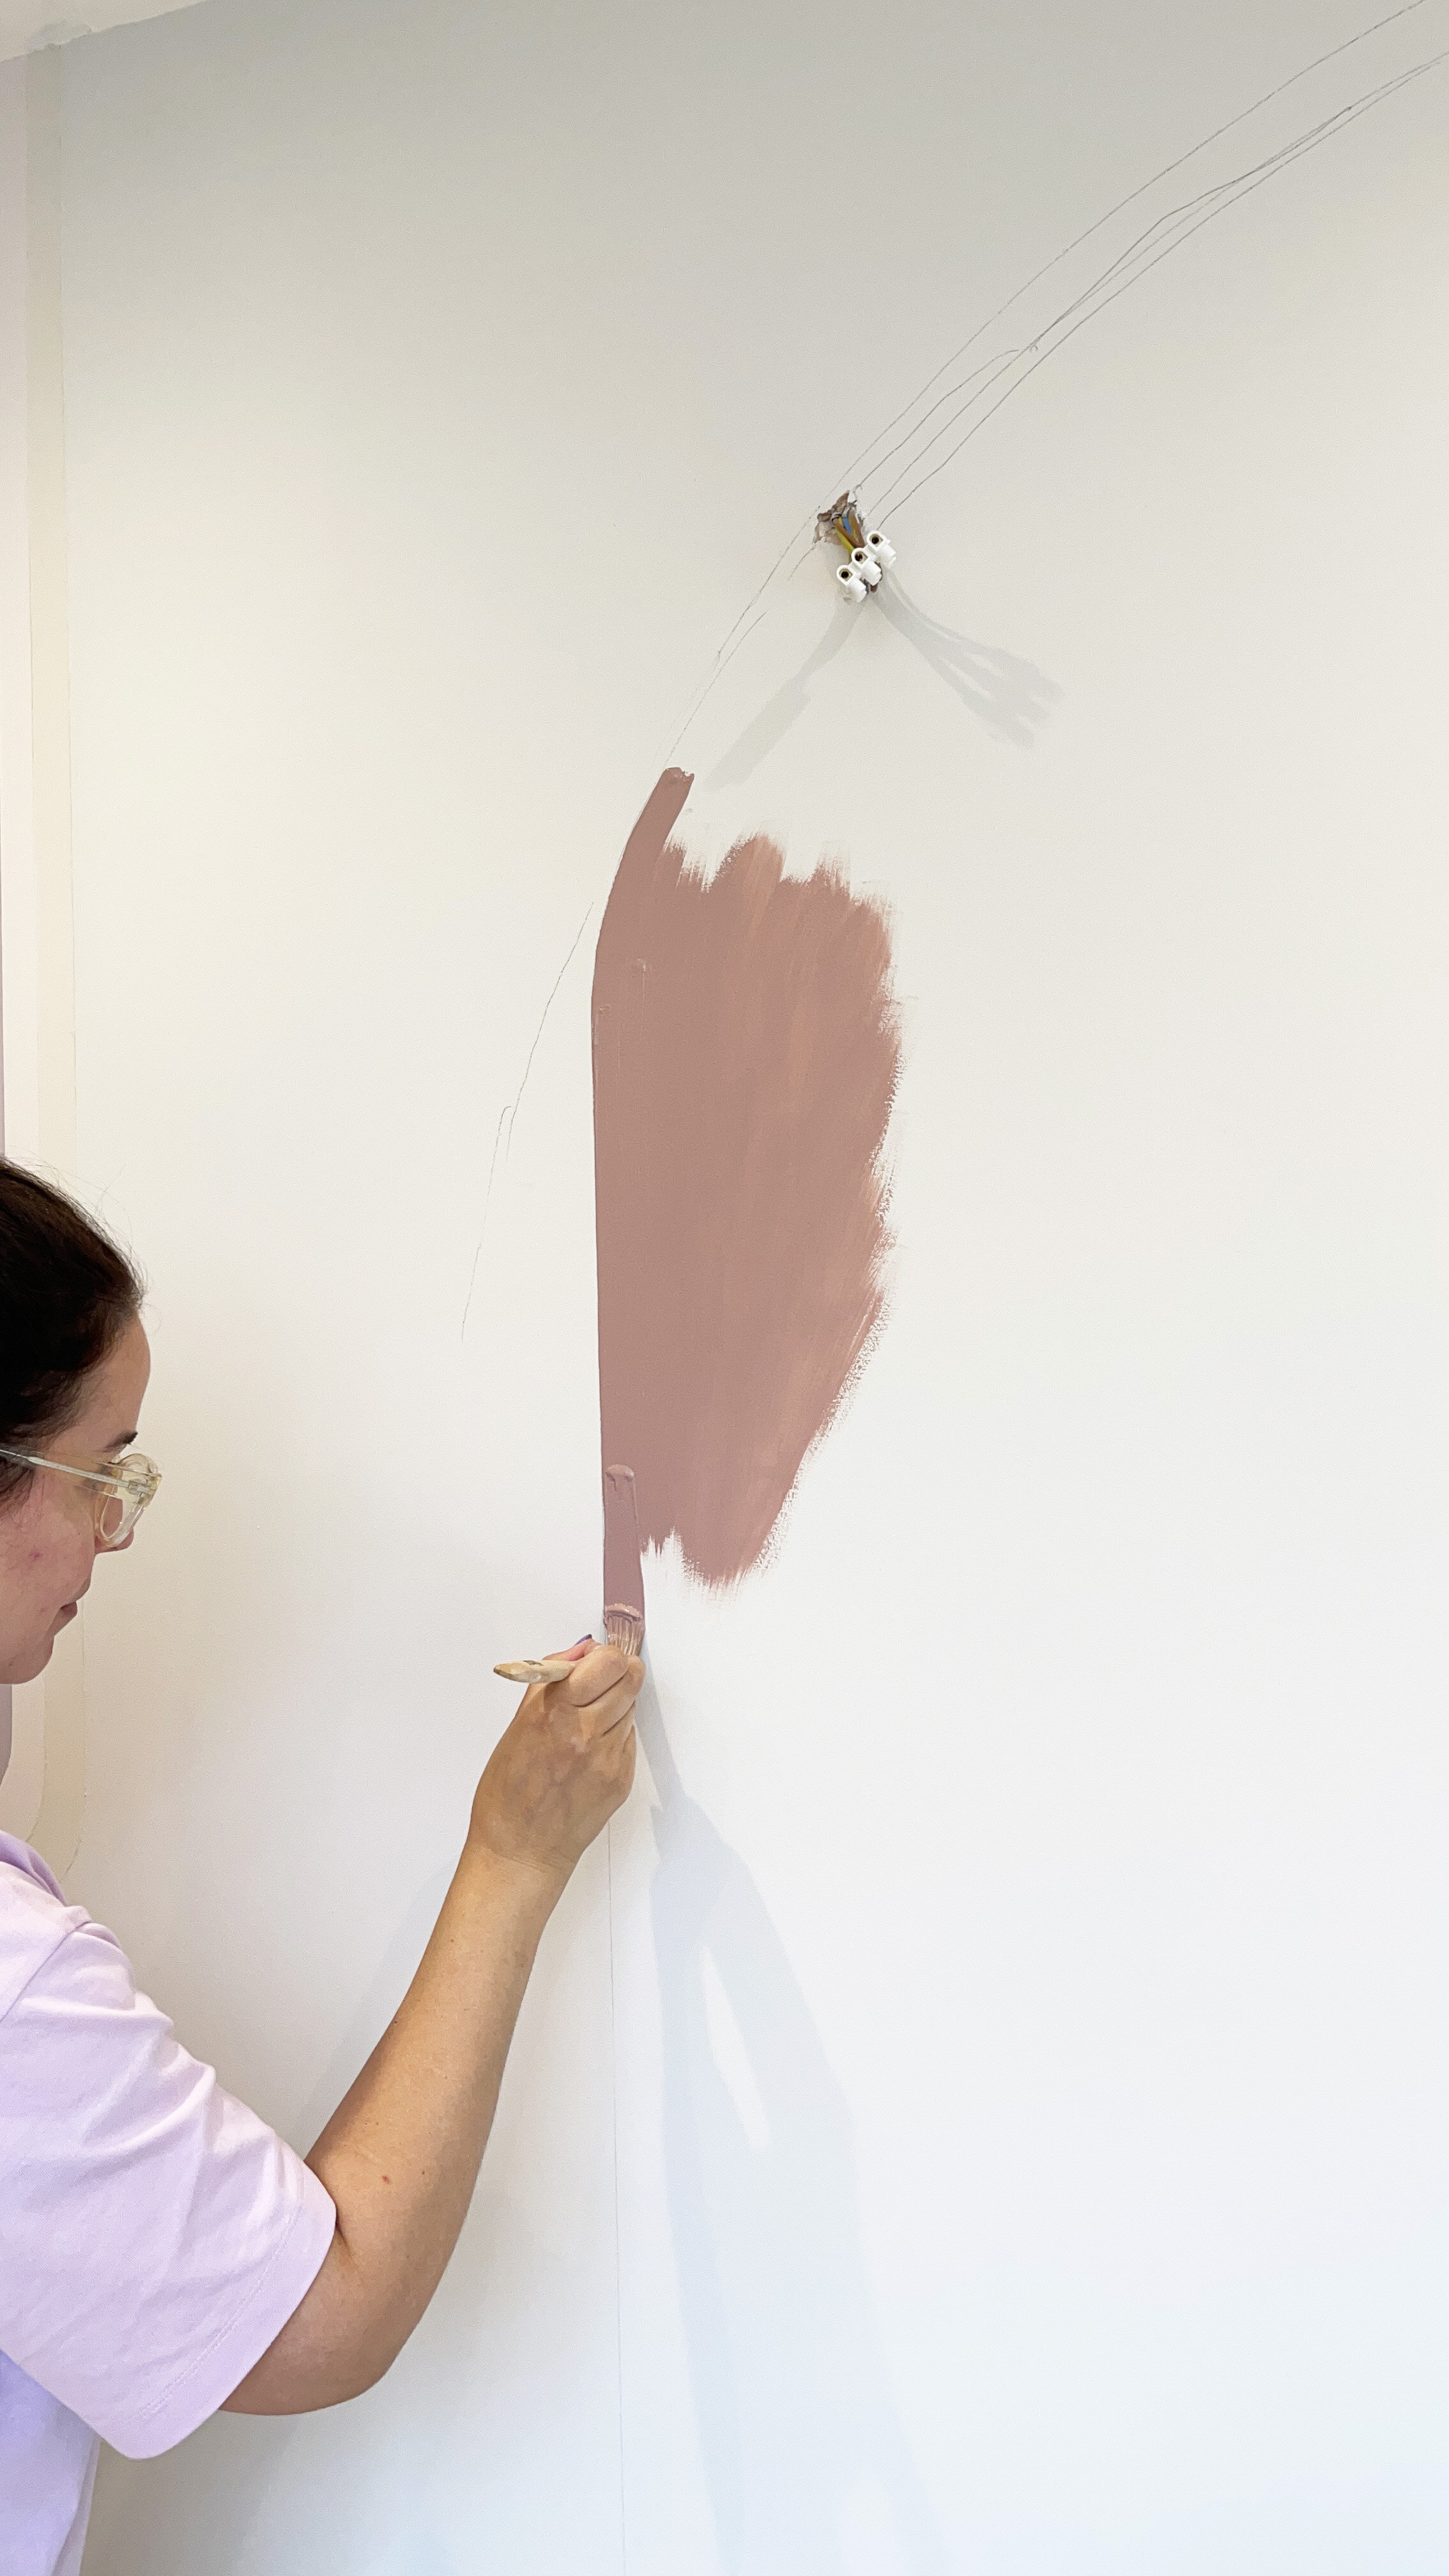
I then painted the arch by freehand, as I had already used a spirit level to draw the perfectly straight sides to the arch.
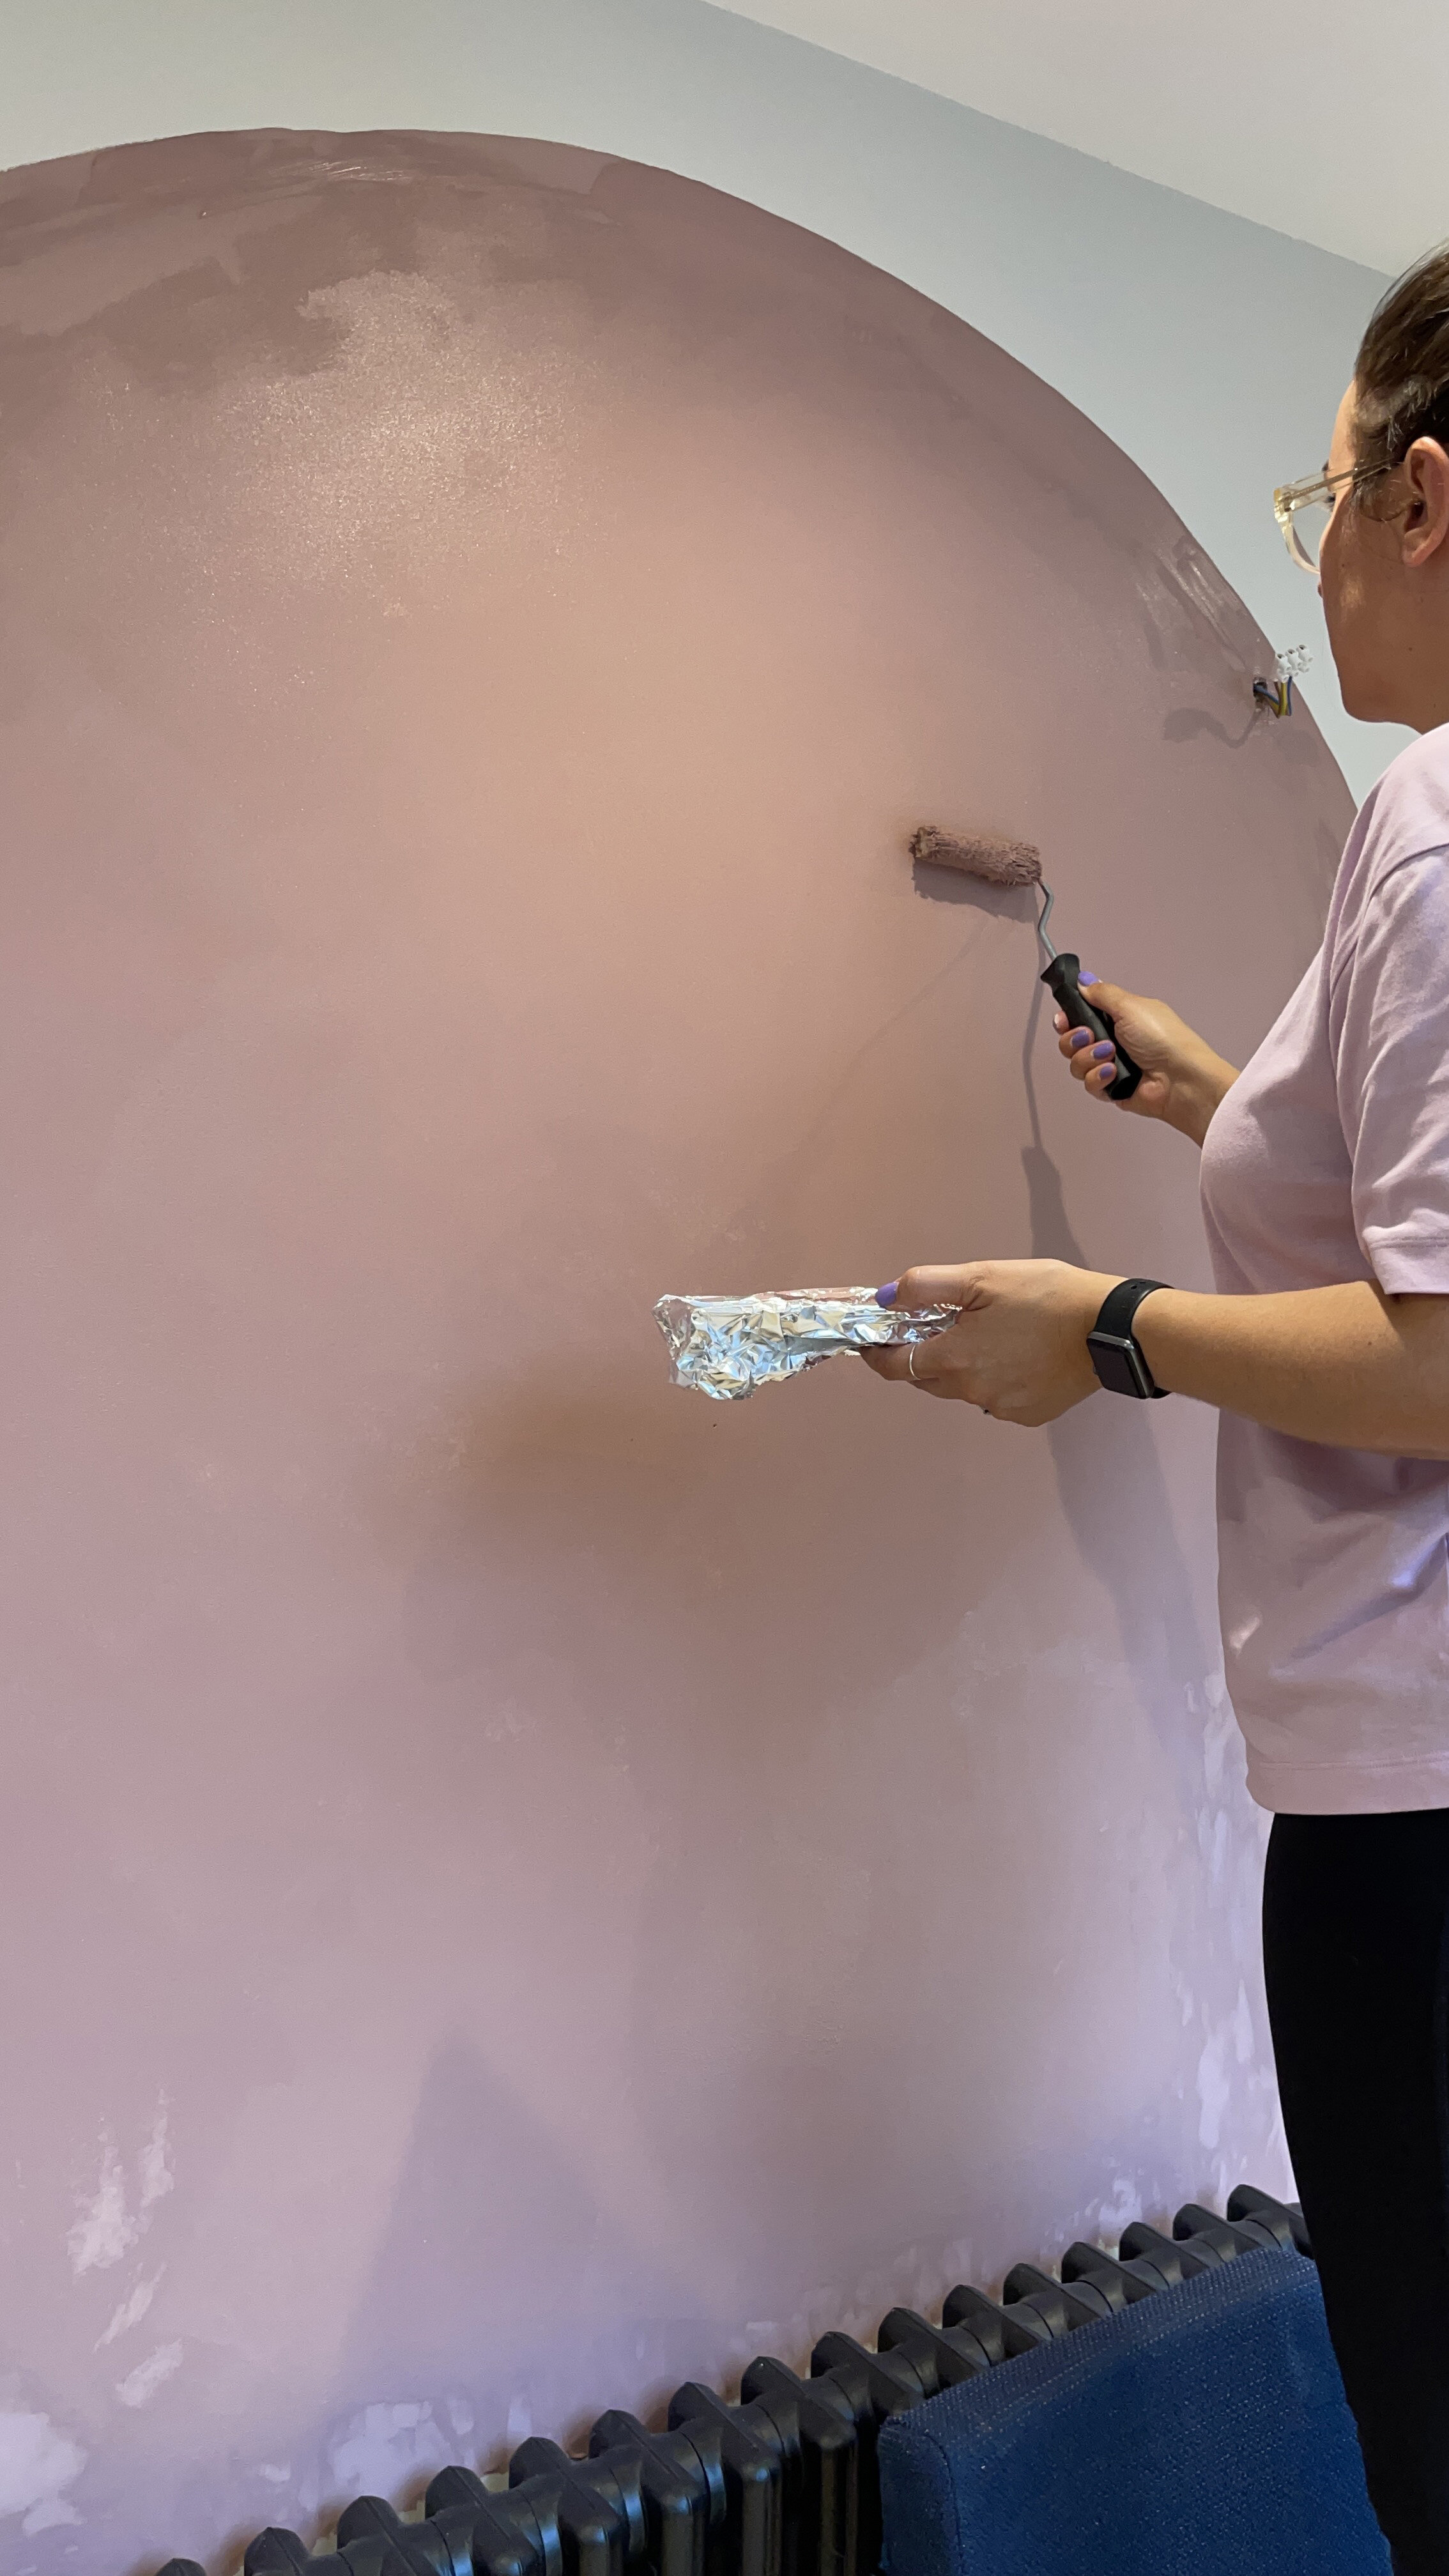
The photos below were taken as I was painting the arch in Dulux Simply Refresh One Coat in Pressed Petal when it still needed time to dry. I painted the edges by brush, and then used a roller for the centre of the arch.

Then once it the paint had dried I peeled off any remaining masking tape, washed my brushes and stepped back to have a look at my new fancy wall mural.
THE END RESULT
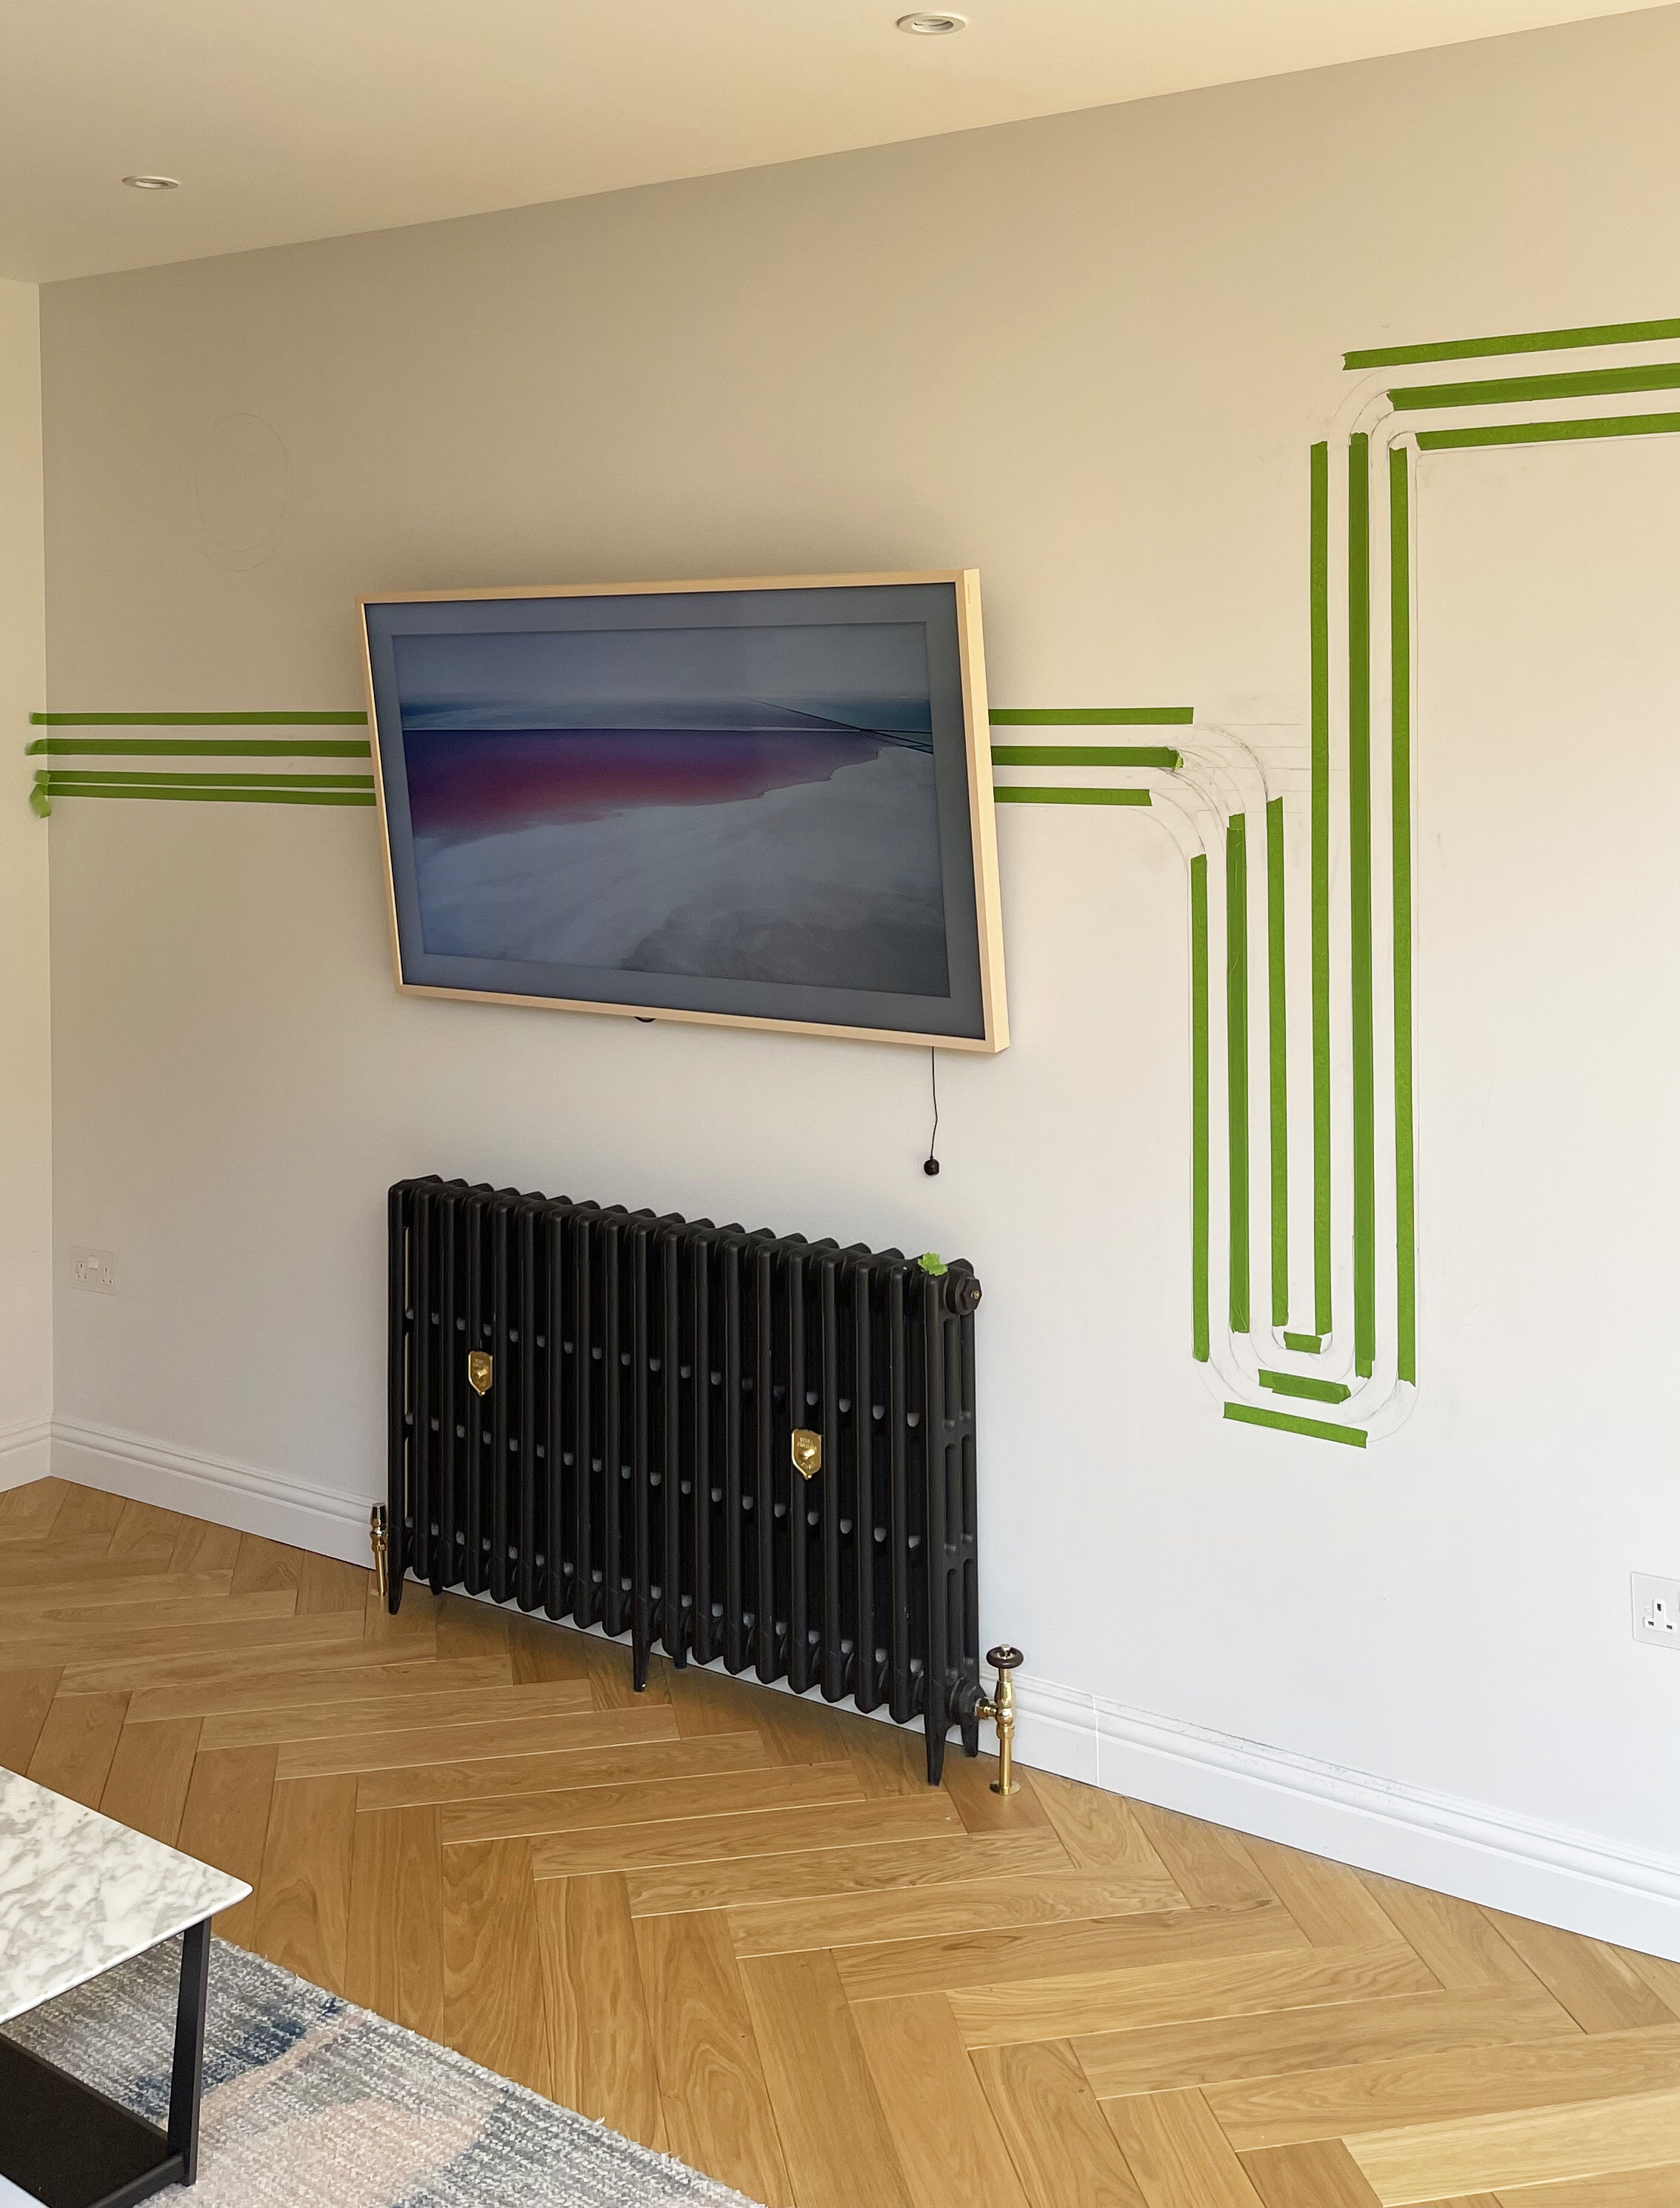
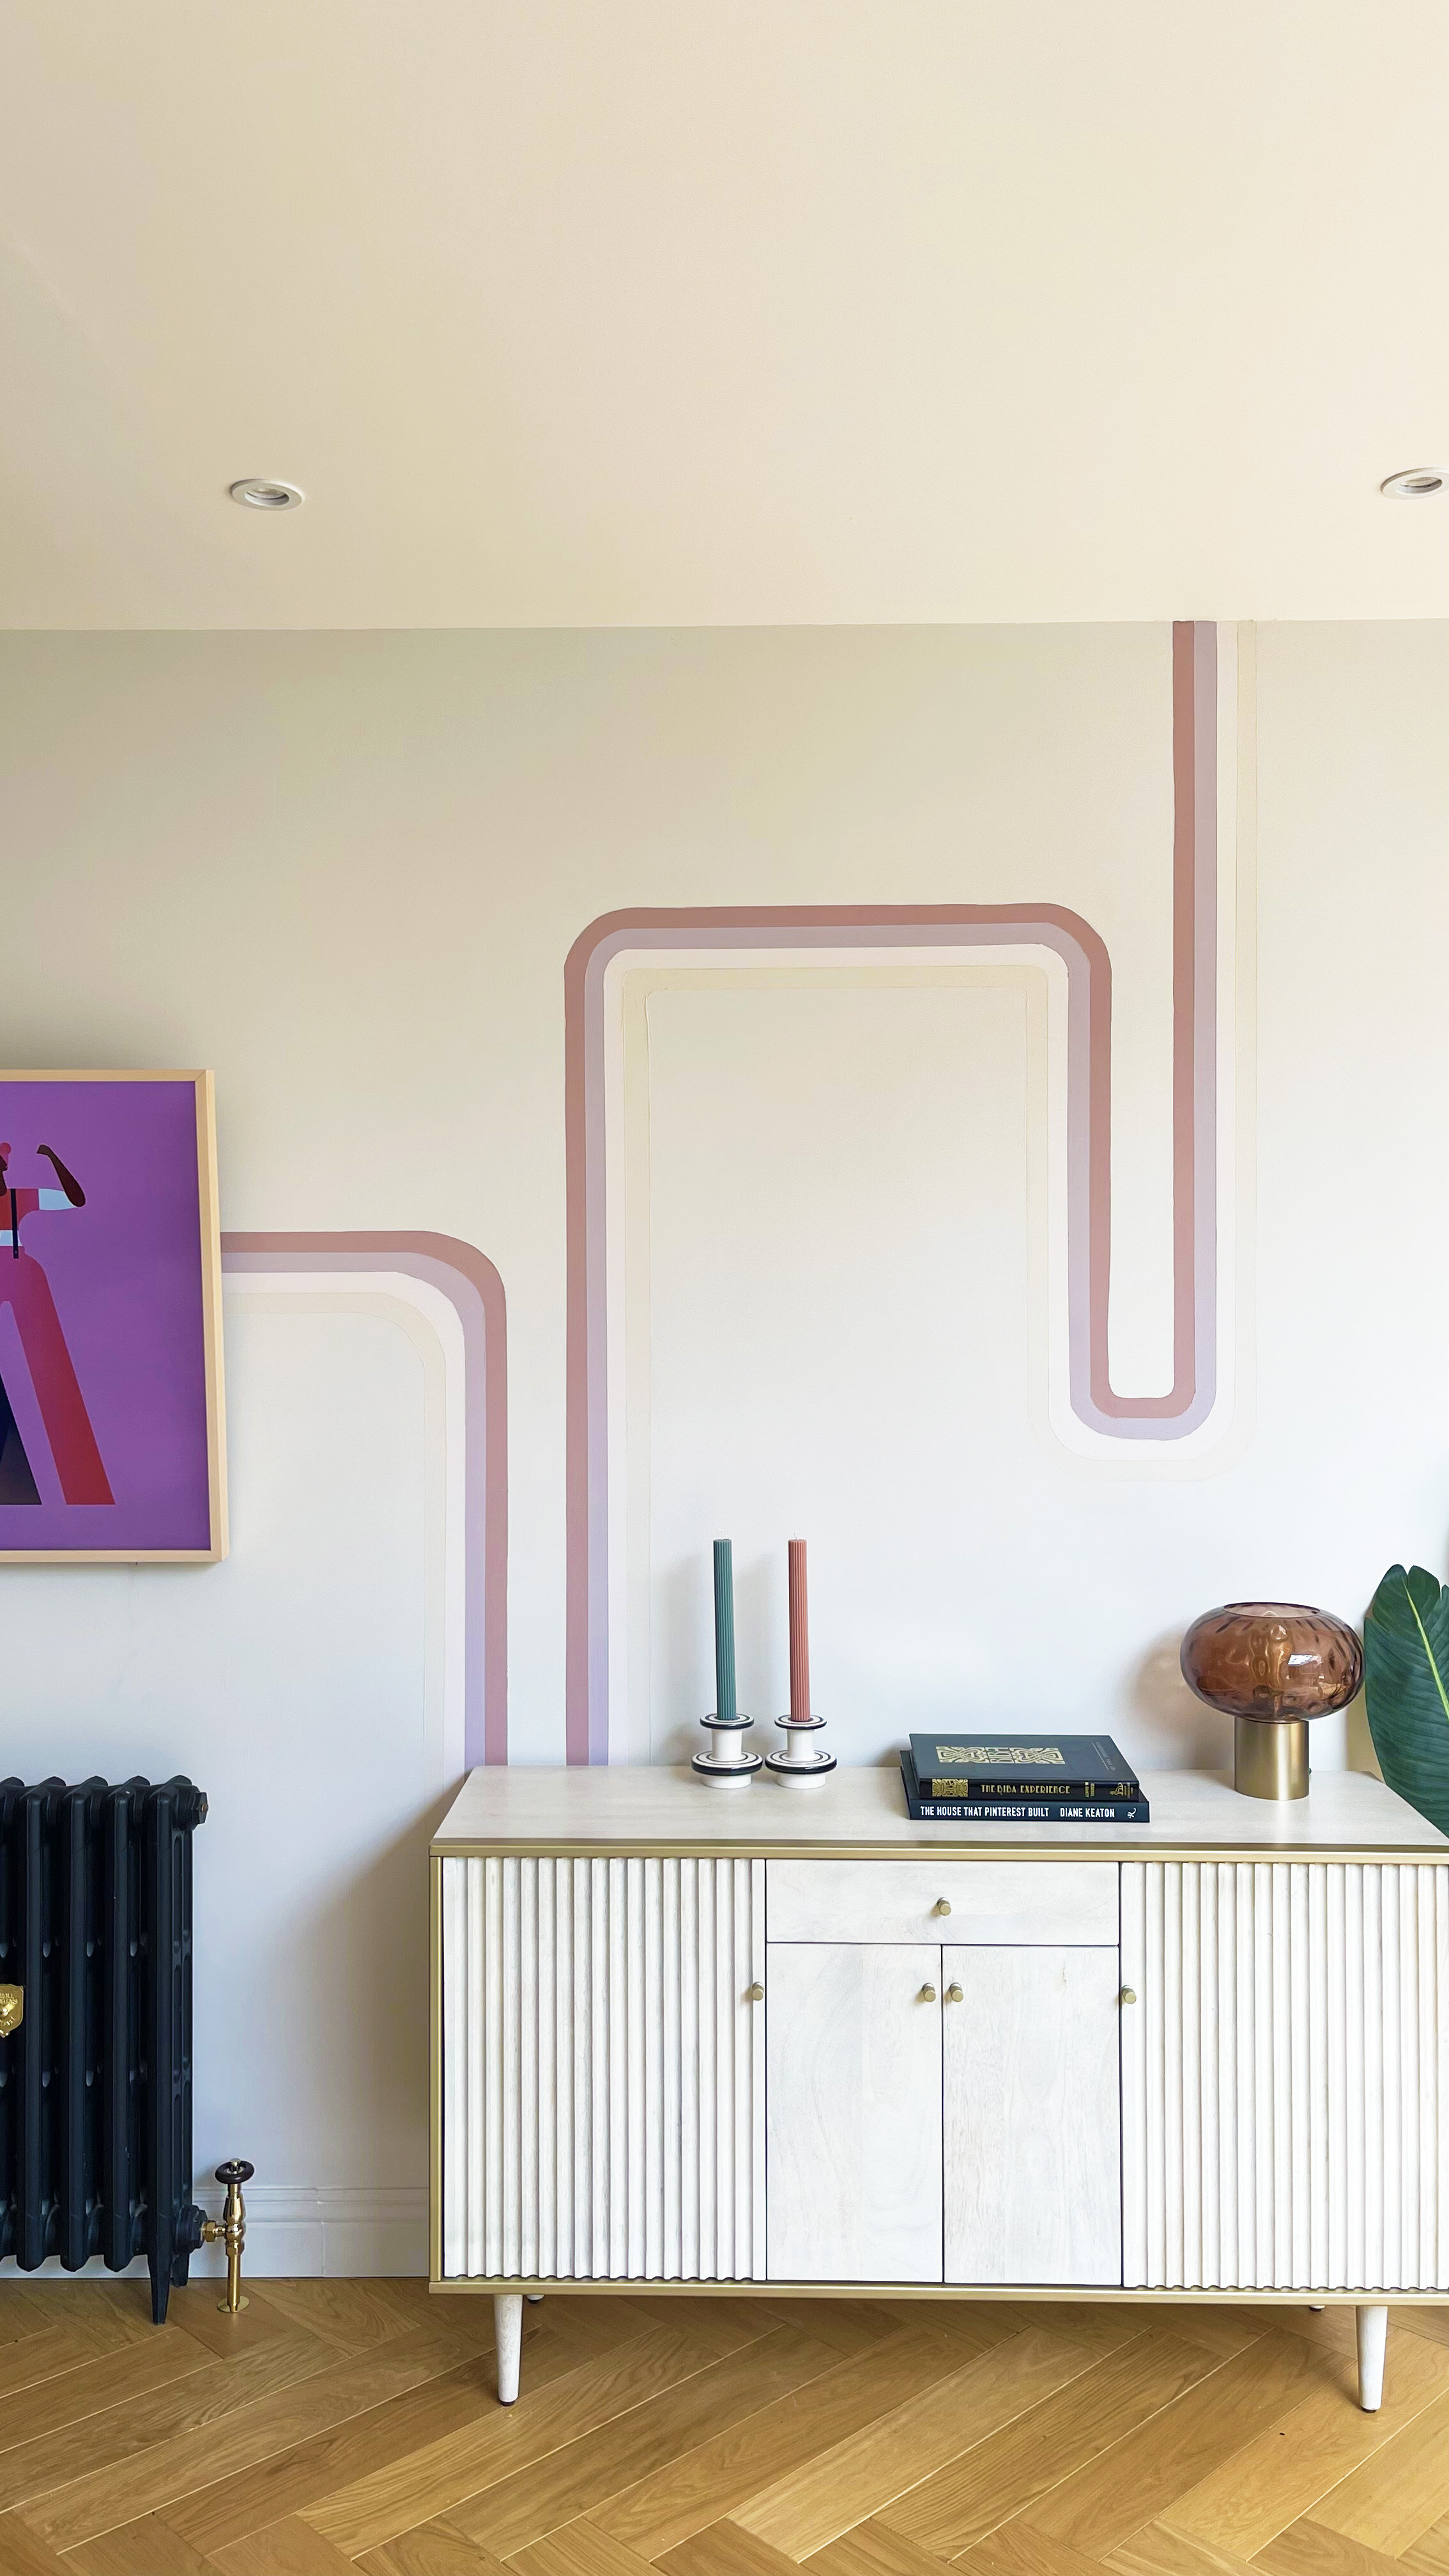
I’m really happy with the results. This took me just over one day to sketch out and paint, and its really transformed the space. I then shopped my own home by moving a sideboard from upstairs, down to fill this gap and re jigged a few bits around. I even changed the screen saver on my TV to match with the decor.
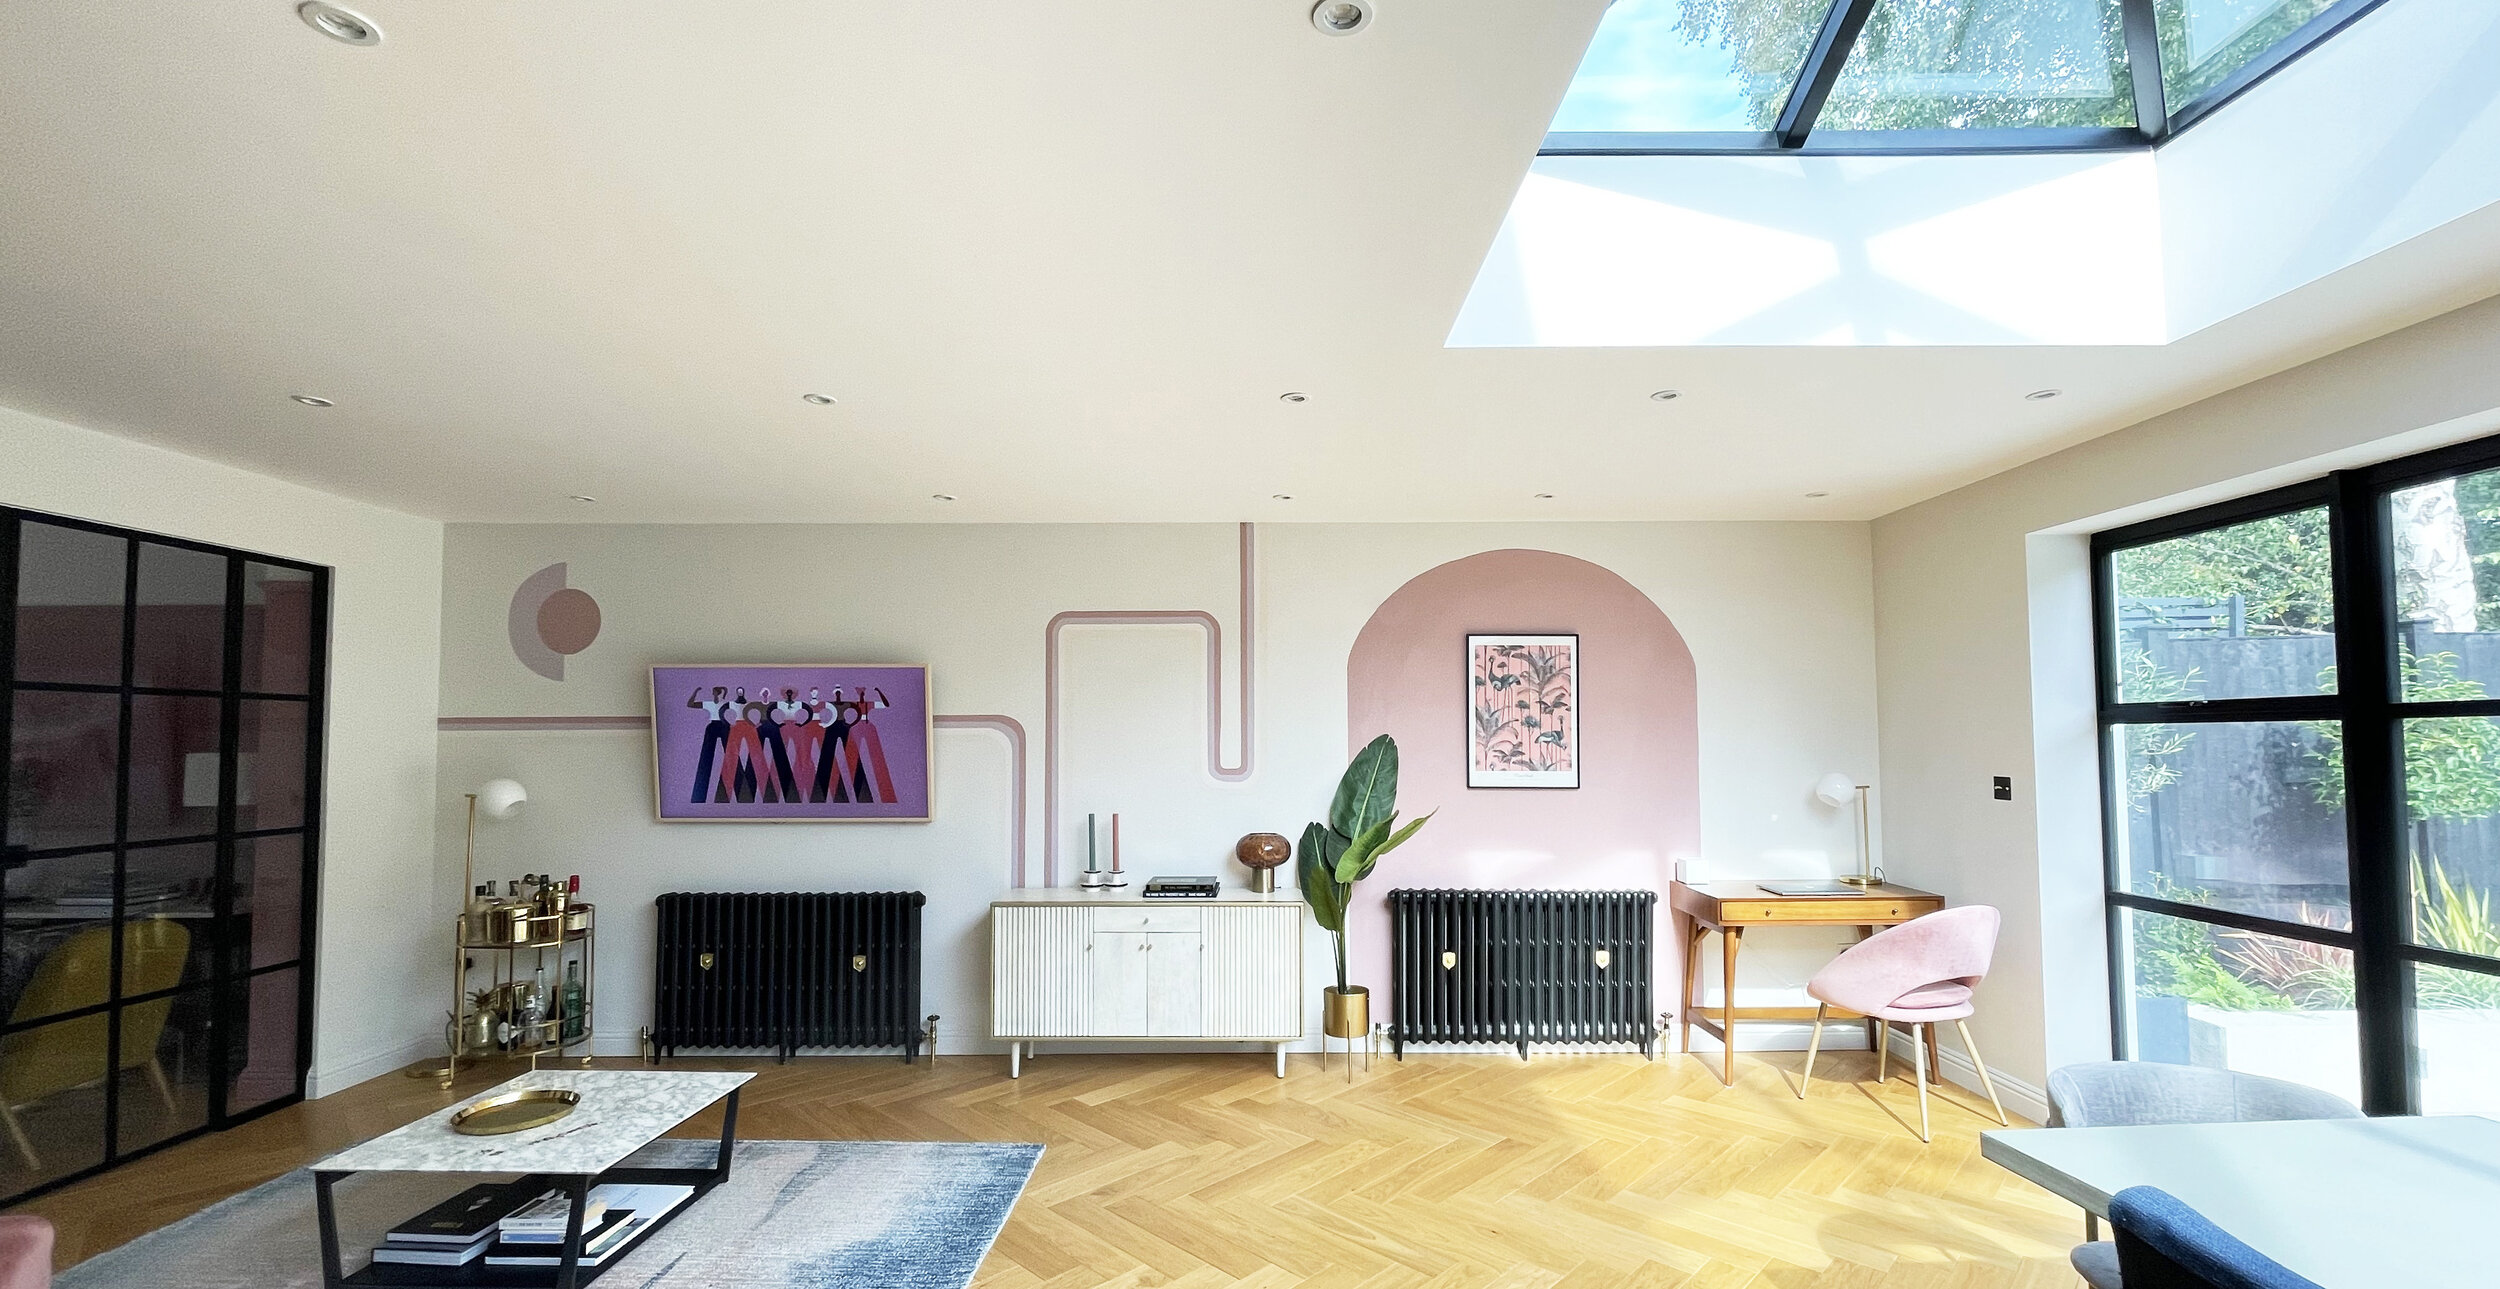
Painted wall mural in Pressed Petal, Dusted Fondant, Blush Pink and Natural Hessian all from the Dulux ‘Simply Refresh One Coat range.

Painted wall mural using Pressed Petal, Dusted Fondant, Blush Pink and Natural Hessian all from the Dulux ‘Simply Refresh One Coat range.

Pressed Petal painted curved arch, from the Dulux ‘Simply Refresh One Coat range.
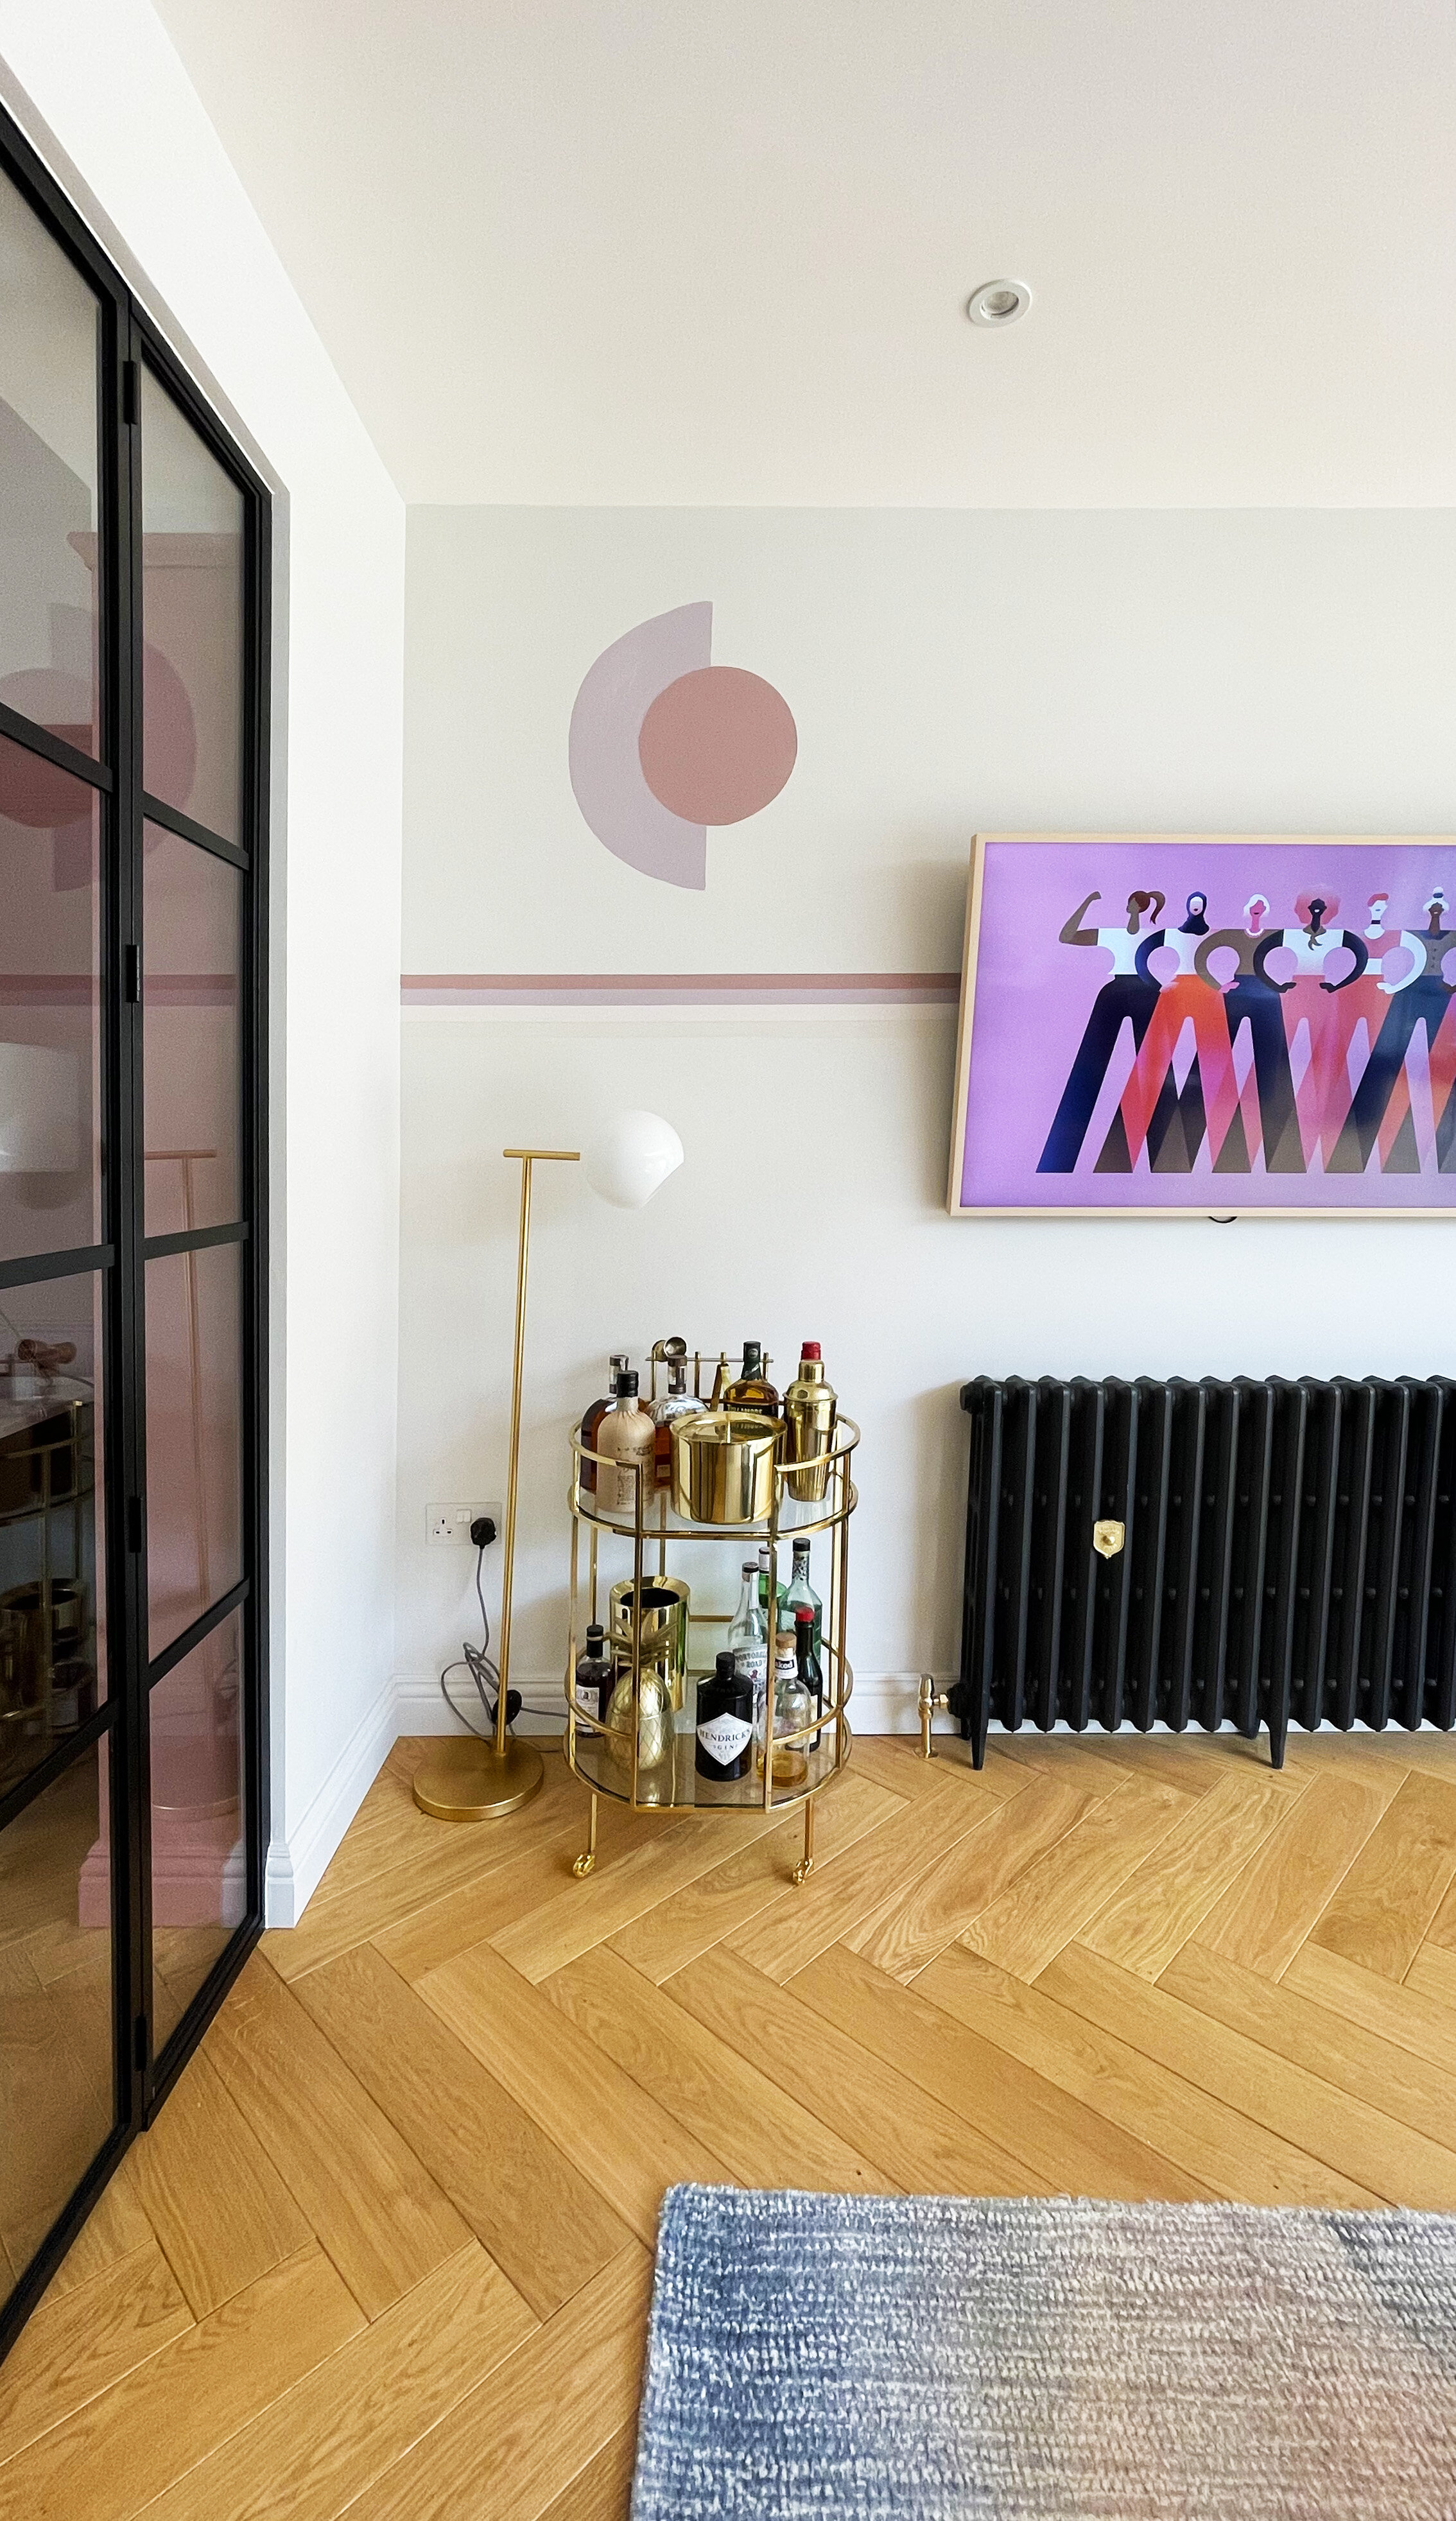
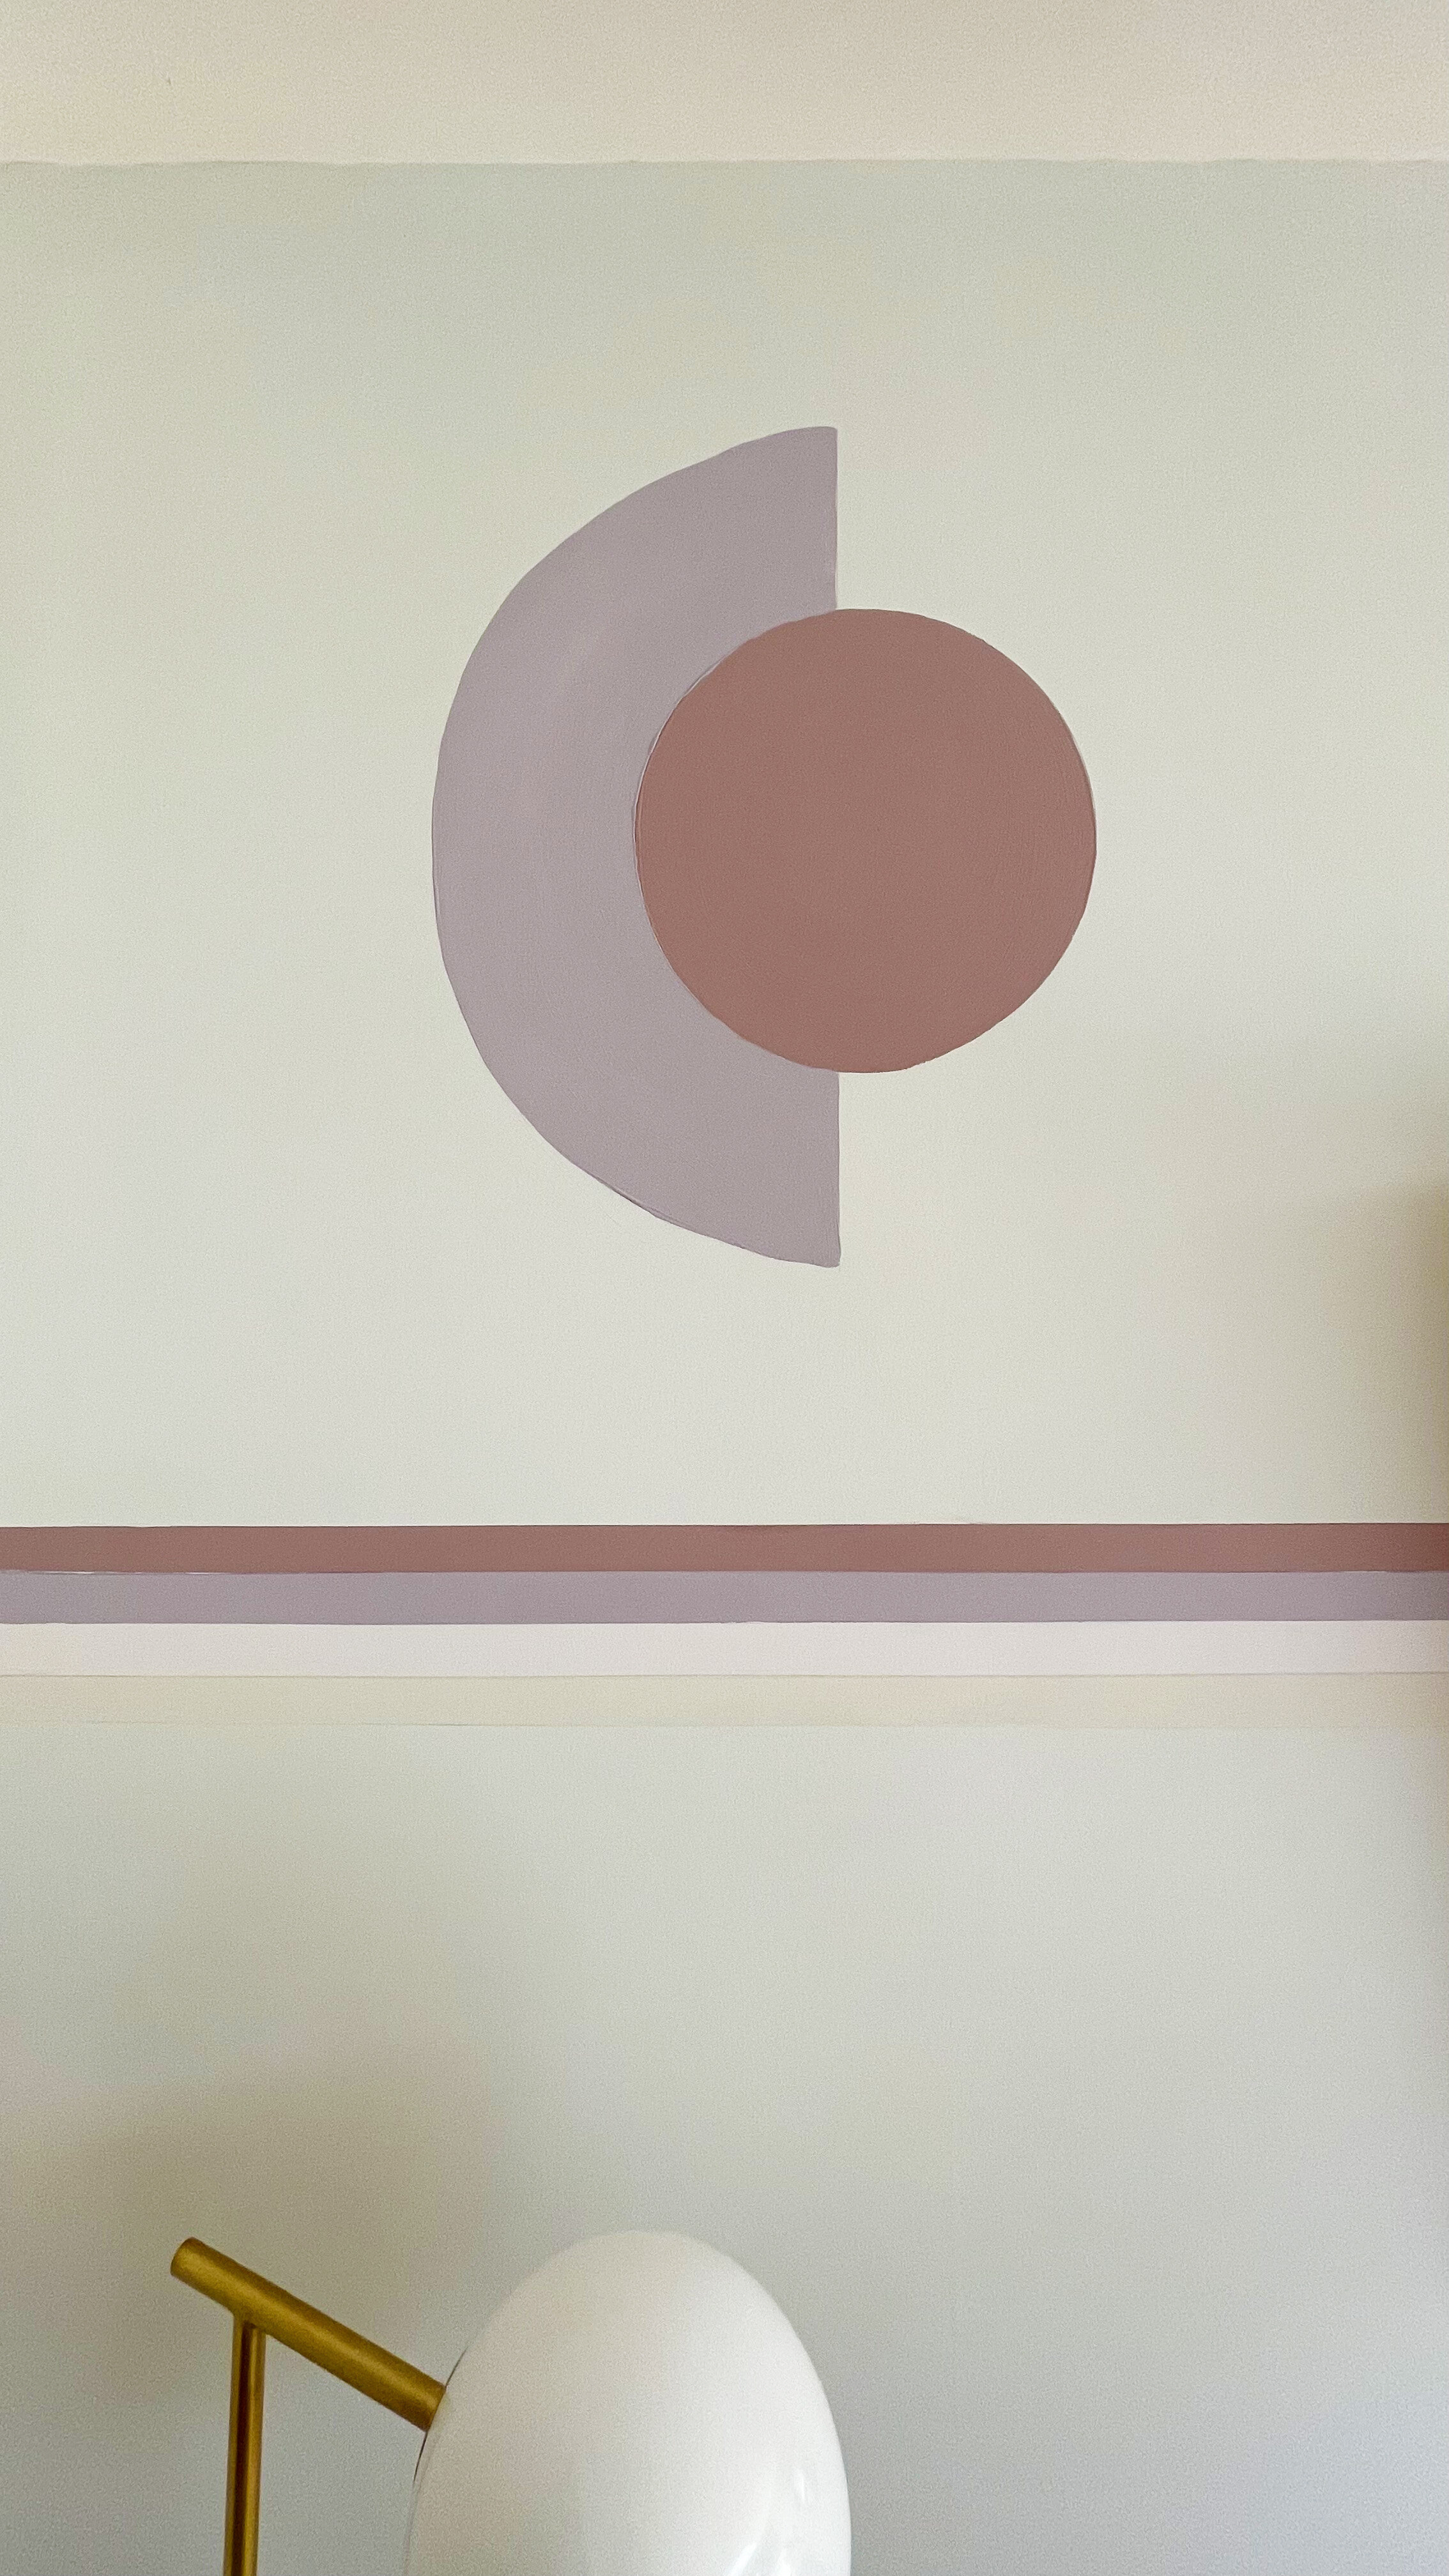
Painted lines in and circle in Pressed Petal, Dusted Fondant, Blush Pink and Natural Hessian all from the Dulux ‘Simply Refresh One Coat range.
Painted mural, using Pressed Petal, Dusted Fondant, Blush Pink and Natural Hessian all from the Dulux ‘Simply Refresh One Coat range.
I was really impressed with how thick the Simply Refresh One Coat from Dulux range was, and how great the coverage was. It really does go on in just one coat., so no need to hang around watching paint dry between coats, you can just get on with your project and have your room back in use in hours. A 2.5L tin will cover four walls of an average sized room.
What do you think? Would you be tempted to try out your own changing room wall mural?